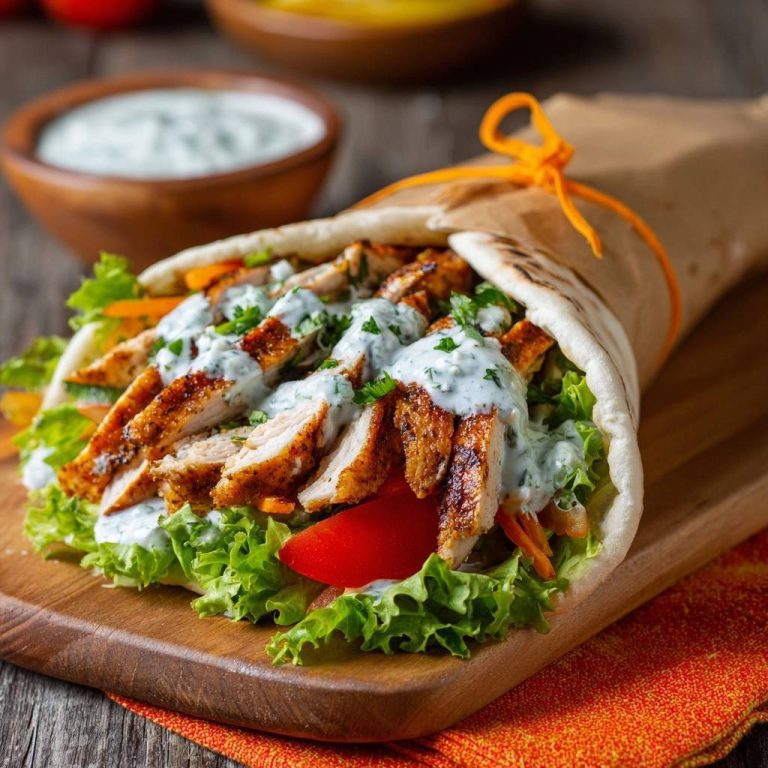
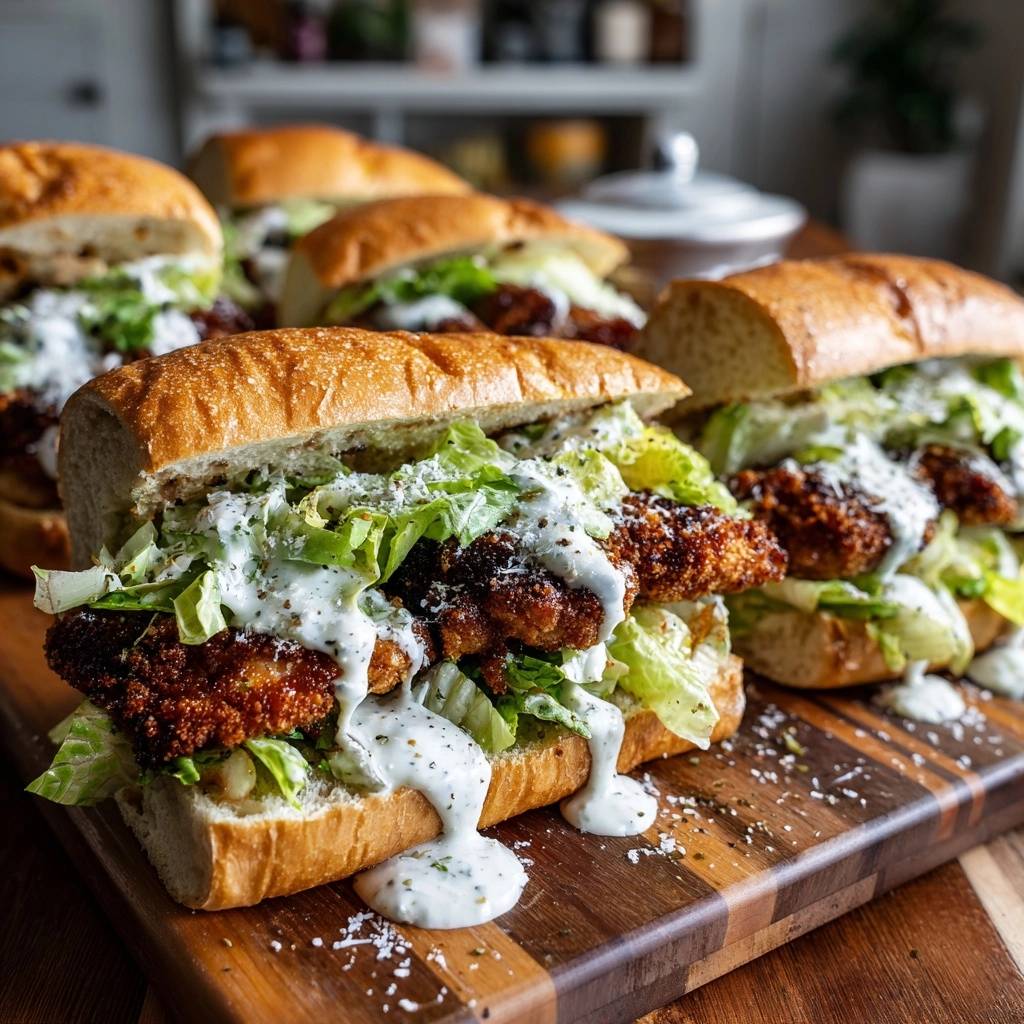
Crispy Chicken Caesar Sandwiches
Why These Sandwiches Stay Crunchy Forever
Picture this: you bite into a fried chicken sandwich and get that heartbreaking crunch, then mush. Soggy breading ruins it every time. But these Crispy Chicken Caesar Sandwiches fix that with a double-dredge and rack-drain method that keeps the crust shatterproof from fry to finish.
Therefore, you get restaurant-level crunch at home without the takeout price. The why? Most home cooks skip key steps like chilling the breaded tenders or proper oil temp, leading to limp disasters. This recipe nails the science so your chicken stays bold and crisp.
Here’s proof it works: the secret lies in patting the chicken bone-dry first. That simple move lets the flour grab hold tight, building an unbreakable seal against moisture. Oh man, the first bite will have you grinning.
Key Ingredients for Shatterproof Crunch
Panko breadcrumbs lead the pack here. Unlike regular crumbs, their jagged edges lock in for superior crisp without sogginess. In addition, they create air pockets that crispify perfectly in hot oil.
Beaten eggs come next. Room-temp ones give a viscous wash that seals the flour base tight. However, cold eggs can cause uneven coating, so let them sit out a bit.
Seasoned flour with garlic powder, paprika, salt, and pepper builds flavor deep into the crust. Paprika adds smokiness without burning. For the sandwich, hoagie rolls hold up better than soft bread, and grated Parmesan binds with Caesar dressing for umami punch that doesn’t wilt the lettuce.
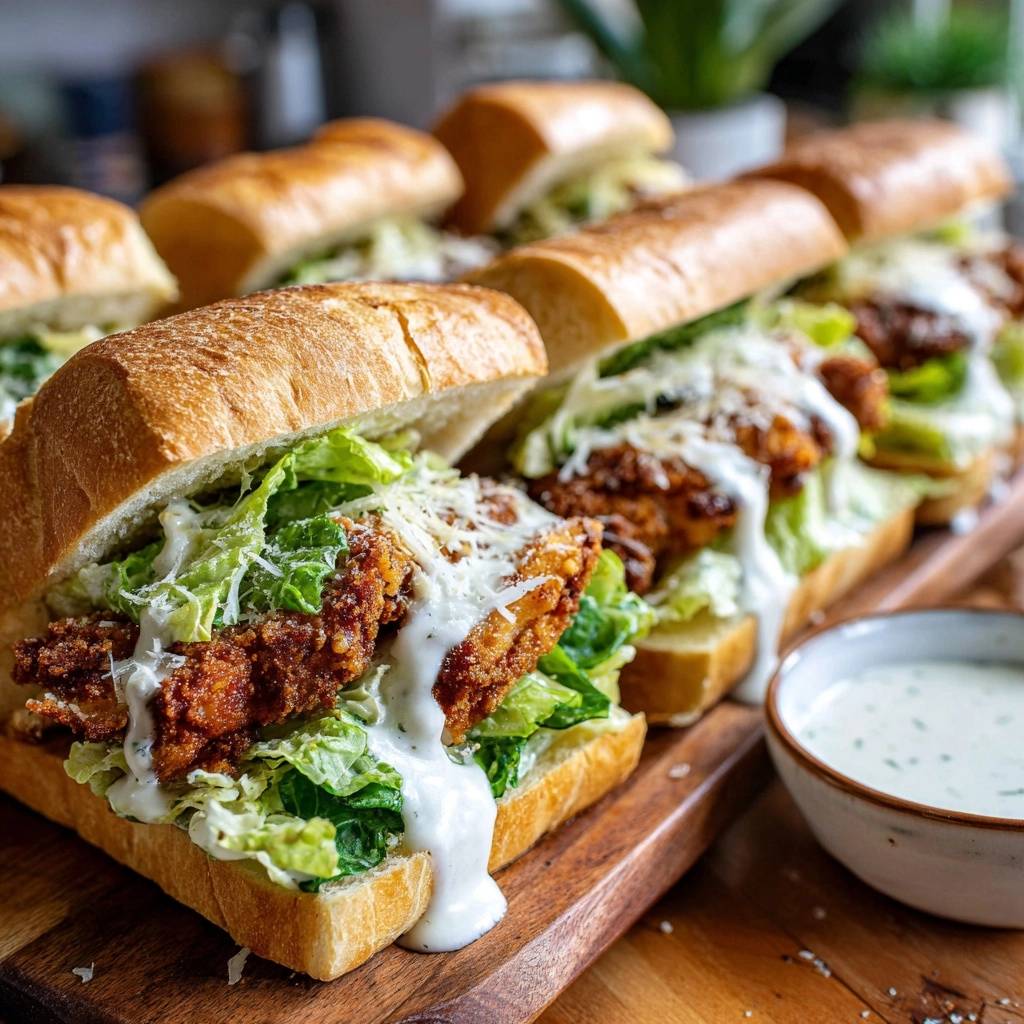
Romaine lettuce stays crunchy if you chop it fresh and dry it well. Caesar dressing ties it all, but drizzle it last to avoid soak-through.
This same chicken and Caesar combo works beautifully in a chicken Caesar taco for a fun twist.
Protein Base: Prepping Chicken Tenders
Start with 4 boneless breasts, sliced into 8 even tenders. Uniform size ensures they fry at the same rate. Pat them obsessively dry with paper towels; surface moisture kills crisp adhesion every time.
Salt penetrates during prep, so season the flour mix generously. This keeps flavors balanced without the chicken weeping liquid later.
Breading Trio: Flour, Egg, Panko Power
Flour acts as the glue, absorbing chicken moisture for a stable base. Shake off excess, or it clumps. Egg wash follows, creating a sticky bridge.
Panko’s rough texture grips like armor. Double-dip by going egg-panko again for thickness. Chill 10 minutes to set proteins, preventing fry-time fallout.
Science of Crispy Chicken Breading
The Maillard reaction kicks in at 350F, browning the crust golden via amino acids and sugars reacting. Therefore, precise heat evaporates water fast, locking in crunch.
Rack-draining lets steam escape freely. Paper towels trap it, turning bottoms soggy. In addition, double-dredge controls hydration: flour dries the surface, egg seals, panko crisps.
Oil at 350F hits the sweet spot. Too low, and oil seeps in; too high, and it burns outside while raw inside. This method delivers pro results.
Double-Dredge Locks Out Moisture
Flour layer absorbs water, egg seals it shut, panko adds airy crunch. Single dredge flakes off; double builds fortress-like crust. Chilling firms the proteins for bombproof hold.
Oil Temperature Precision Matters
Hit 350F exactly with a thermometer. Below 325F, breading soaks oil; above 375F, it chars fast. Fry small batches to maintain heat, avoiding temp drops from overcrowding.
Equipment That Ensures Perfect Fry
Grab a deep skillet for 2 inches of oil stability. An instant-read thermometer keeps you at 350F. Wire rack over a baking sheet drains best, letting air circulate.
Skip paper towels; they steam-trap moisture. Tongs flip tenders cleanly, minimizing oil drip-back. Budget option: any oven rack works over a foil-lined pan.
Step-by-Step: Building Crunchy Tenders
We’ll break this into phases for foolproof results. First, pat tenders dry and set up your station. You’ll smell the garlic-paprika mix right away, building excitement.
Phase 1: Mastering the Dredge Station
Mix flour with seasonings in bowl one, beat eggs in two, panko in three. Dredge: flour coat and shake excess, full egg dip, firm panko press. Repeat egg-panko for double armor.
Plate and fridge 10 minutes. This sets the crust solid. Pro tip: use one hand for dry, one for wet to avoid clumpy fingers.
Phase 2: Frying to Golden Perfection
Heat oil to 350F; test with a scrap if no thermometer. Fry 3-4 tenders per batch, 3-4 minutes per side till deep gold. Don’t crowd, or temp crashes.
Drain on rack immediately. Rest 2 minutes; juices redistribute for juicy insides. The sizzle fades to tempting aroma.
Phase 3: Assembling Caesar Crunch
Toast rolls lightly for structure. Layer bottom with dry romaine as a barrier, add 2 tenders, drizzle Caesar, more greens, extra dressing, Parmesan. Cap quick.
Serve now for peak crunch. The cool lettuce contrasts hot chicken perfectly.
Avoiding Soggy Chicken Pitfalls
Top fails include wet chicken, no chill, low oil, towel drain, and slow assembly. Pat dry fixes moisture; chill locks breading. Rack over towels prevents steam sogginess.
Overcrowding drops temp, inviting oil absorb. Fry hot and sparse. Assemble fast: lettuce first blocks dressing drip.
Fixing Breading Fallout
Shake flour well, press panko hard, cover fully. Minimum 10-minute chill. Double-dip seals gaps for zero loss.
Preventing Post-Fry Wilt
Rack only, no stack. Dry lettuce spins out water. Build and eat within minutes for staying power.
Flavor Twists on Caesar Chicken
Try buffalo Caesar: swap half dressing for buffalo sauce post-fry. Lemon-herb panko adds zest with dried herbs in the mix. For vegan, aquafaba replaces eggs seamlessly.
Add avocado slices as extra barrier, or spicy aioli drizzle. Bacon bits sprinkle on top amps crunch. Core stays crispy.
Ideal Sides for These Sandwiches
Oven fries match the crunch; bake at 425F for ease. Coleslaw adds cool tang, pickle spears cut richness. Iced tea or lemonade refreshes perfectly.
For picnics, wrap individually. Transport tenders separate, assemble on-site to dodge wilt.
Prep Ahead and Storage Tactics
Bread and freeze raw tenders up to a month; fry from frozen, add 2 minutes. Fridge cooked ones 2 days in airtight; re-crisp at 375F oven 5 minutes.
Don’t freeze full sandwiches or dressing; it separates. Prep lettuce and rolls day-of for freshness.
Crispy Chicken Caesar FAQ
Can I Air Fry the Tenders?
Yes, spray basket with oil, air fry at 400F for 10-12 minutes, shaking midway. Crisp hits 85% of deep-fry level. Flip halfway for even gold.
Gluten-Free Swaps Work?
Perfectly: use 1:1 gluten-free flour and GF panko. Add an extra egg for better seal. Double-dredge keeps it shatterproof.
Best Oil for Frying?
Neutral high-smoke like vegetable or canola. Heat to 350F, filter and reuse twice if strained well. Avocado oil works too for subtle flavor.
How Do I Store Leftovers?
Keep cooked tenders in airtight container up to 3 days in fridge. Reheat on rack in 375F oven 5-7 minutes to restore crunch; microwave sogs them. Don’t freeze breaded tenders post-fry; raw freezes best. Assemble fresh to avoid wilt.
Why Did My Breading Fall Off?
Usually wet chicken or skipped chill. Pat extra dry, shake flour excess, press panko firm, and fridge 10+ minutes. Double-dip seals it tight against fry shock.
Can I Bake Instead of Fry?
Bake at 425F on oiled rack, flip halfway, 20-25 minutes. Spray tops for crisp; it’s healthier but 70% as crunchy as fried. Rest on rack still.
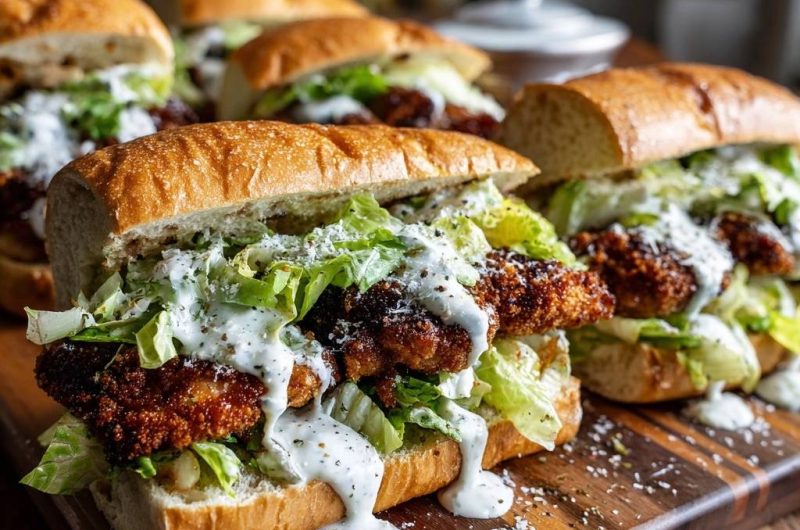
Crispy Chicken Caesar Sandwiches
Course: Main CourseCuisine: AmericanDifficulty: easy4
sandwiches20
minutes20
minutes950
kcal40
MinutesSick of fried chicken that goes limp under dressing and lettuce? This foolproof double-dredge and rack-drain method locks in shatteringly crisp breading that stays crunchy from fry to final bite, solving the #1 home fry fail.
Ingredients
4 boneless chicken breasts, sliced into 8 tenders
1 cup all-purpose flour
1 teaspoon salt
1 teaspoon black pepper
1 teaspoon garlic powder
1 teaspoon paprika
2 eggs, beaten
2 cups panko breadcrumbs
Vegetable oil, for frying
4 hoagie rolls or baguettes, split
4 cups chopped romaine lettuce
1 cup Caesar dressing
1/2 cup grated Parmesan cheese
Directions
- Pat chicken tenders dry with paper towels. This removes moisture for maximum crisp adhesion.
- Set up dredging station: Mix flour, salt, pepper, garlic powder, and paprika in one bowl. Beat eggs in second bowl. Pour panko in third bowl.
- Dredge each tender: Coat in seasoned flour (shake off excess), dip in egg, then press firmly into panko, covering completely. Double-dip by repeating egg and panko for extra-thick, shatterproof crust. Place on plate and chill 10 minutes to set breading. This prevents breading from falling off or absorbing oil during fry.
- Heat 2 inches vegetable oil in deep skillet to 350F (use thermometer; too low = soggy, too high = burnt). Fry tenders in batches 3-4 minutes per side until deep golden. Do not overcrowd. The chicken is done when it reaches 165°F (74°C) in the thickest part.
- Transfer immediately to wire rack over baking sheet (key stay-crispy step: air circulates, steam escapes, no soggy bottom like paper towels cause). Let rest 2 minutes.
- Toast split rolls lightly. Layer bottom with romaine, 2 tenders per sandwich, drizzle Caesar dressing generously, top with more romaine, extra dressing, and Parmesan. Cap with top roll. Serve right away for peak crunch.
- Dig in, no mush in sight!
Notes
- Key tips: Pat chicken dry, double-dredge for thick crust, chill before frying, drain on wire rack (not paper towels), and serve immediately for maximum crunch.