No-Bake Coconut Snowballs That Hold Shape
Why No-Bake Coconut Snowballs Solve Crumbling Woes
Ever rolled coconut balls only to watch them crumble into a sticky mess? You know the frustration when they fall apart right in your hands. This no-bake coconut snowballs recipe fixes that with one simple chill step. You’ll get firm, perfect shapes every time, no disasters.
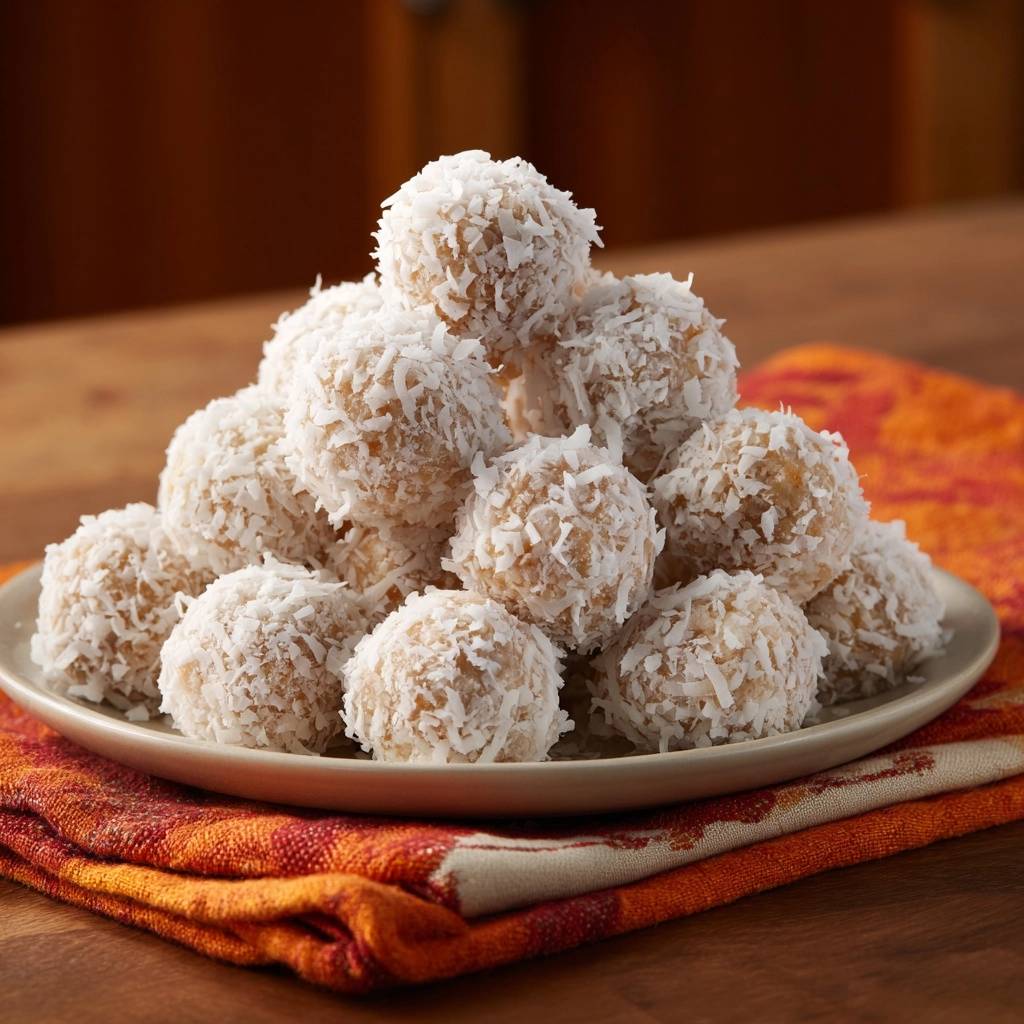
These treats shine because they’re dead simple. Just three ingredients and about 10 minutes of active work mean dinner’s done and dessert’s ready fast. Plus, they look like fresh snow on a platter, with that crisp coconut coating that snaps just right.
Here’s the expertise kicker: chill the mixture for 30 to 45 minutes first. That firms up the sweetened condensed milk’s fats without drying it out. Suddenly, rolling becomes effortless, and you end up with sturdy snowballs that hold up on any holiday tray.
Perfect for Holiday Platters and Gifts
Picture these no-bake coconut snowballs piled high on a cookie tray. No oven needed, so they won’t crowd your baking schedule. Their snowy look and firm texture make them disappear first at potlucks.
Pack them in tins for gifts. They stay fresh in the fridge for a week, beating out most bakery versions that go stale quick. At around 100 calories each, they’re an indulgent yet light crowd-pleaser everyone loves.
Key Ingredients for Firm No-Bake Coconut Snowballs
You only need three stars here: sweetened shredded coconut, sweetened condensed milk, and vanilla extract. The coconut gives crunch and that classic snowball look. Divide it so 1 1/2 cups binds the mix while the rest coats outside for texture contrast.
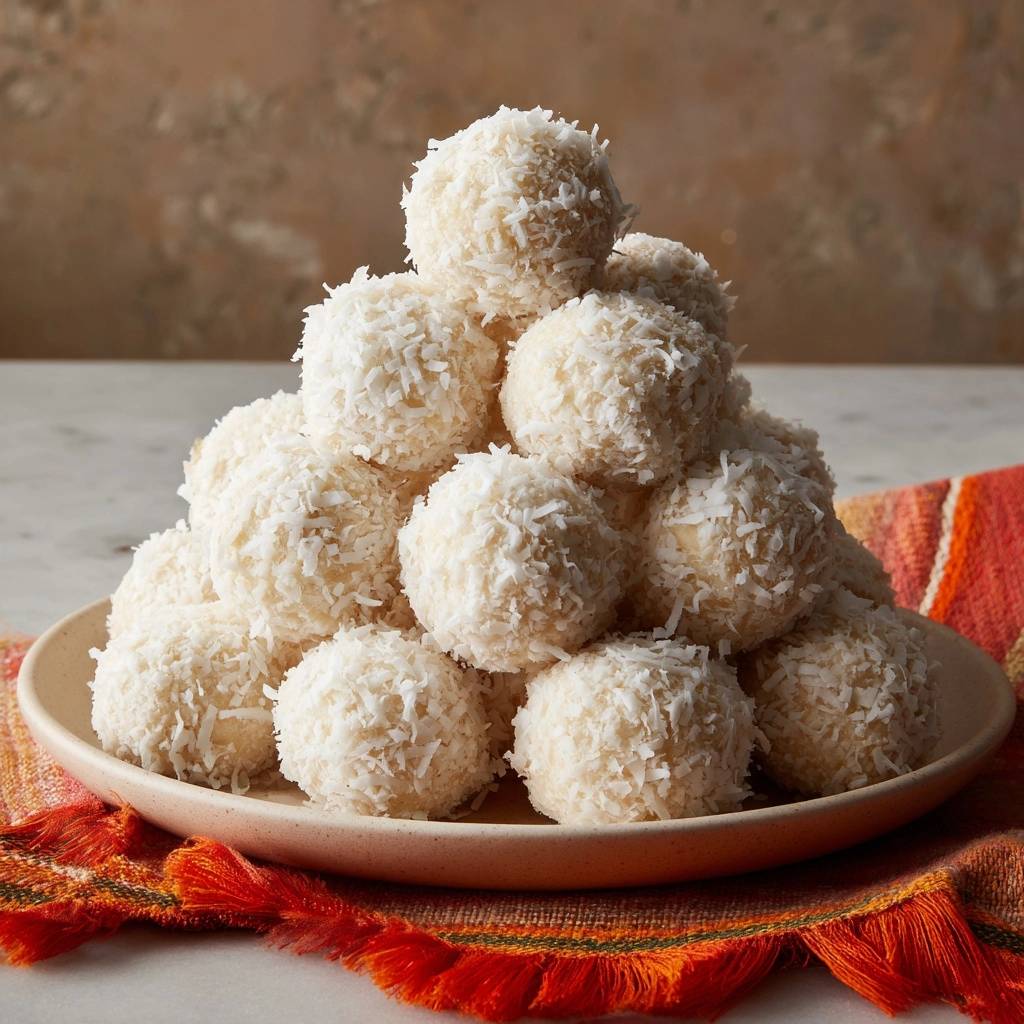
Sweetened condensed milk acts as the glue. Its thick, sugary consistency holds everything together after chilling. Vanilla extract ties in subtle warmth, boosting flavor without overpowering the coconut.
Fresh bagged coconut works best over desiccated types; it has just enough moisture for cohesion. No condensed milk? Coconut cream thickens up nicely as a sub, but adjust chill time. These ratios keep things sticky yet rollable.
Shredded Coconut: Sweetened vs. Unsweetened Choices
Go for sweetened shredded coconut every time. It adds stickiness from the sugar coating, plus a light crunch that unsweetened lacks. Unsweetened versions dry out fast, leading to crumbly fails.
Medium shred rolls easiest; fine shreds clump too much. In addition, sweetened keeps the balls moist inside while the outer layer crisps up perfectly post-chill.
Sweetened Condensed Milk’s Binding Magic
This stuff’s thick texture beats regular milk or cream hands down. It won’t weep or separate, and the sugars firm up beautifully in the fridge. That’s why your snowballs stay intact.
For dairy-free, swap in coconut condensed milk. It mimics the binding power perfectly. Therefore, shelf life stays at a solid week in the fridge.
Chill Method Prevents Crumbly No-Bake Coconut Snowballs
The chill step is your secret weapon. Refrigeration solidifies the fats in the condensed milk-coconut mix, turning sticky goo into firm dough. No more crumbling disasters.
Aim for 30 to 45 minutes on the first go. However, overnight chills risk dryness, so don’t overdo it. Press the mix; if it holds a fingerprint without sticking wild, it’s ready.
This physics trick locks in moisture. You’ll smell sweet vanilla as it sets, and the texture shifts from tacky to perfectly rollable.
Step 1: Mixing Coconut Snowball Base
Grab a large bowl. Stir sweetened condensed milk, vanilla, and 1 1/2 cups coconut until evenly coated. It looks sticky but holds when squeezed; use a spoon for now to avoid clumps.
Hands work too, but grease them lightly first. Therefore, you get that uniform, glossy base ready for chilling.
Step 2: First Refrigerator Chill Phase
Cover with plastic wrap or a lid. Slide to mid-fridge shelf where it’s steady cool. Chill 30 to 45 minutes until firm but not hard.
Test by pressing; it should dent slightly then spring back. This step traps moisture for easy rolling later.
Step 3: Rolling and Coating Snowballs
Pour remaining 1/2 cup coconut in a shallow dish. Scoop tablespoon-sized bits of chilled mix. Roll into smooth balls with greased hands, then coat and press gently.
Work in batches for efficiency. You’ll yield about 24 uniform snowballs that stick without cracking.
Step 4: Final Set in Fridge
Line a plate with parchment. Arrange balls without touching. Chill another 30 minutes until coatings set firm.
Transfer to airtight container. Serve chilled for best snap and texture.
Flavor Variations for No-Bake Coconut Snowballs
Stick to basics or mix it up. Add a teaspoon almond extract for nutty depth. Lemon zest brings bright citrus pop without messing firmness.
Stir in mini chocolate chips or chopped nuts, but keep add-ins under 1/2 cup to maintain shape. For dairy-free, use coconut cream base and chill longer.
Spice lovers, dust with cinnamon or matcha post-coating. Every tweak holds the chill method’s magic for sturdy results.
Chocolate-Dipped Coconut Snowball Upgrade
Melt dark chocolate after final chill. Dip half or drizzle tops for elegance. Re-chill 15 minutes to harden.
The bittersweet pairs perfectly with sweet coconut. Therefore, you get a pro-level treat that wows.
Nutty or Zesty No-Bake Twists
Mix 1/4 cup finely chopped pecans or almonds into the base. Zest one lemon or lime during stirring for fresh balance.
These keep sweetness in check. In addition, nuts add crunch without crumbling risks.
Storage and Make-Ahead for Coconut Snowballs
Fridge them airtight for up to a week; they stay firm and fresh. Double the batch easy, just scale ingredients evenly.
Freeze up to three months in parchment-lined bags. Thaw overnight in fridge for peak texture, then serve at room temp briefly.
Package in tins with wax paper layers for gifts. Pro tip: add a silica packet to fight humidity.
Freezing No-Bake Coconut Snowballs Properly
Freeze single-layer on a sheet first, then bag. This prevents sticking and sogginess.
Thaw in fridge; re-coat if needed. Quality holds great for months.
Avoiding Mistakes in No-Bake Coconut Snowballs
Top pitfall: skipping the chill. Balls crumble instantly without it. Always hit that 30-minute mark.
Over-rolling densifies them; use light pressure. Warm hands melt the mix, so grease and chill tools if needed.
Wrong coconut? Too dry means add a milk splash. Humidity high? Extend chills by 10 minutes.
Humidity and Temperature Fixes
In hot kitchens, work fast and chill extra. Summer humidity? Use AC or add 5 minutes per chill.
Therefore, your snowballs stay perfect no matter the weather.
Pairing No-Bake Coconut Snowballs with Drinks and Desserts
Hot tea cuts through the sweetness perfectly. Coffee’s bitterness balances the coconut richness too.
For a perfect pairing, try our Perfect Coconut Macaroons: Chewy, Moist Recipe.
Fruit smoothies add refreshment. On dessert trays, pair with cheesecakes or fruit tarts for variety.
For holidays, nestle into charcuterie boards. Portion two per serving to keep balance.
No-Bake Coconut Snowballs FAQ
Can I Use Unsweetened Coconut?
Yes, but mix in 1/4 cup powdered sugar to replace sweetness and boost stickiness. It helps binding without drying out. However, sweetened still rolls easiest and tastes truest to classic snowballs. Chill time stays the same for firm results.
How Long Do They Last in Freezer?
Up to three months in airtight, parchment-lined bags. Freeze single-layer first to avoid clumping. Thaw in the fridge overnight; texture stays crisp without sogginess. Beyond that, coconut can lose crunch, so eat sooner for best quality.
Dairy-Free No-Bake Coconut Snowballs Possible?
Absolutely. Swap sweetened condensed milk for coconut condensed milk or thicken full-fat coconut cream with powdered sugar. Use the same ratios and chill method. Therefore, they hold shape perfectly and taste even more tropical. Vegan win.
Why Do My Balls Crumble When Rolling?
Chill time’s too short; the mix stays too soft. Always do 30 to 45 minutes first. If humid, extend to 50. Press test before rolling: it should hold without falling apart. Greased hands help too, preventing melt and mess.
Can I Bake These Coconut Snowballs Instead?
Don’t. Baking dries them out fast, turning chewy coconut into tough bits. The no-bake chill firms naturally for that signature soft-inside, crisp-outside bite. Ovens risk uneven cooking and crumbling. Stick to fridge for perfection every time.

Coconut Snowballs
Course: DessertCuisine: AmericanDifficulty: easy24
snowballs15
minutes40
kcal60
MinutesSick of coconut balls that crumble? This recipe fixes it with a chill step for sturdy, perfect shapes every time.
Ingredients
2 cups sweetened shredded coconut, divided
1 (14-ounce) can sweetened condensed milk
1 teaspoon vanilla extract
Directions
- In a large bowl, combine sweetened condensed milk, vanilla extract, and 1 1/2 cups shredded coconut. Stir until fully mixed and the coconut is evenly coated it will be sticky but hold together.
- Cover the bowl and chill in the refrigerator for 30 to 45 minutes. This is the key fix: chilling firms the mixture just enough to prevent crumbling during rolling, locking in perfect ball shapes without drying out.
- Place the remaining 1/2 cup shredded coconut in a shallow dish. Scoop tablespoon-sized portions of the chilled mixture, roll into smooth balls with lightly greased hands, and coat evenly in the extra coconut. Press gently to secure the coating.
- Arrange on a plate and chill for another 30 minutes to set fully. Store in an airtight container in the fridge up to 1 week. Enjoy firm, non-crumble perfection!
Notes
- Chilling is the key to prevent crumbling. Store in an airtight container in the fridge up to 1 week.