Classic Yellow Squash Casserole: No More Soggy Mess!
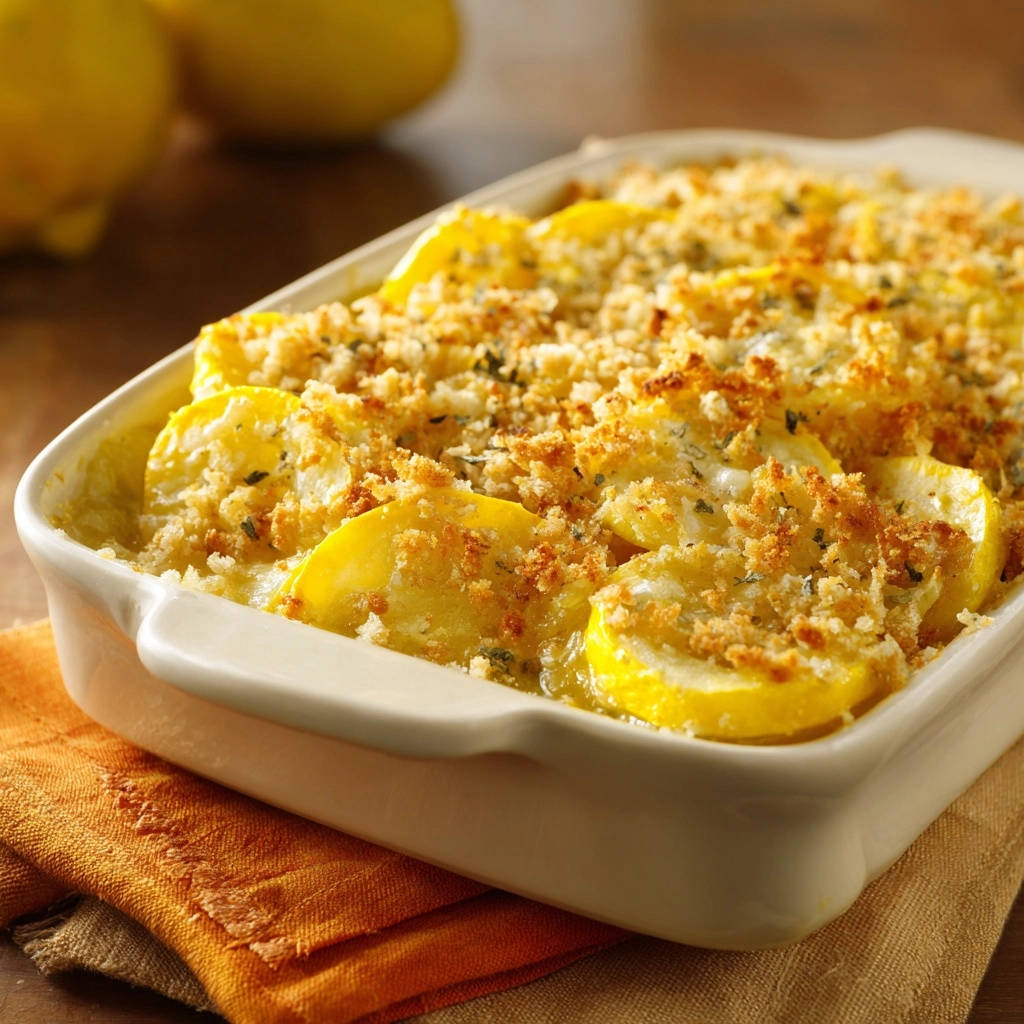
For years, I struggled with watery yellow squash casseroles, a common frustration that can turn this comforting dish into a disappointing side. But I’ve perfected a simple yet incredibly effective technique that ensures your Classic Yellow Squash Casserole is always creamy, perfectly set, and bursting with flavor-never a soggy mess. This recipe is your secret to a truly exceptional, trust-worthy casserole that will become a family favorite.
If you are looking to avoid a dry, disappointing texture in your baked dishes, try this creamy broccoli cheddar shells for a reliably rich result.
Why This Classic Yellow Squash Casserole Wins Every Time
The Secret to Creamy, Never Watery Goodness
The hallmark of this recipe is its genius approach to preventing a watery casserole: pre-salting and draining the squash. This crucial step draws out excess moisture before baking, leaving you with a perfectly creamy, well-structured dish.
It’s the single most important technique to master for any squash casserole, guaranteeing a delightful texture every time.
Simple Ingredients, Incredible Flavor
You don’t need exotic ingredients to create something truly delicious. This recipe harnesses the comforting power of fresh yellow squash, savory onions, rich cheese, and a creamy binder.
Each component plays a vital role in building a deeply satisfying flavor profile that feels both classic and effortlessly gourmet.
Versatile & Family-Friendly Comfort Food
This Classic Yellow Squash Casserole is the epitome of comfort food, perfect for any occasion. It shines as a holiday side dish, elevates a weeknight meal, and is consistently a hit with both adults and children.
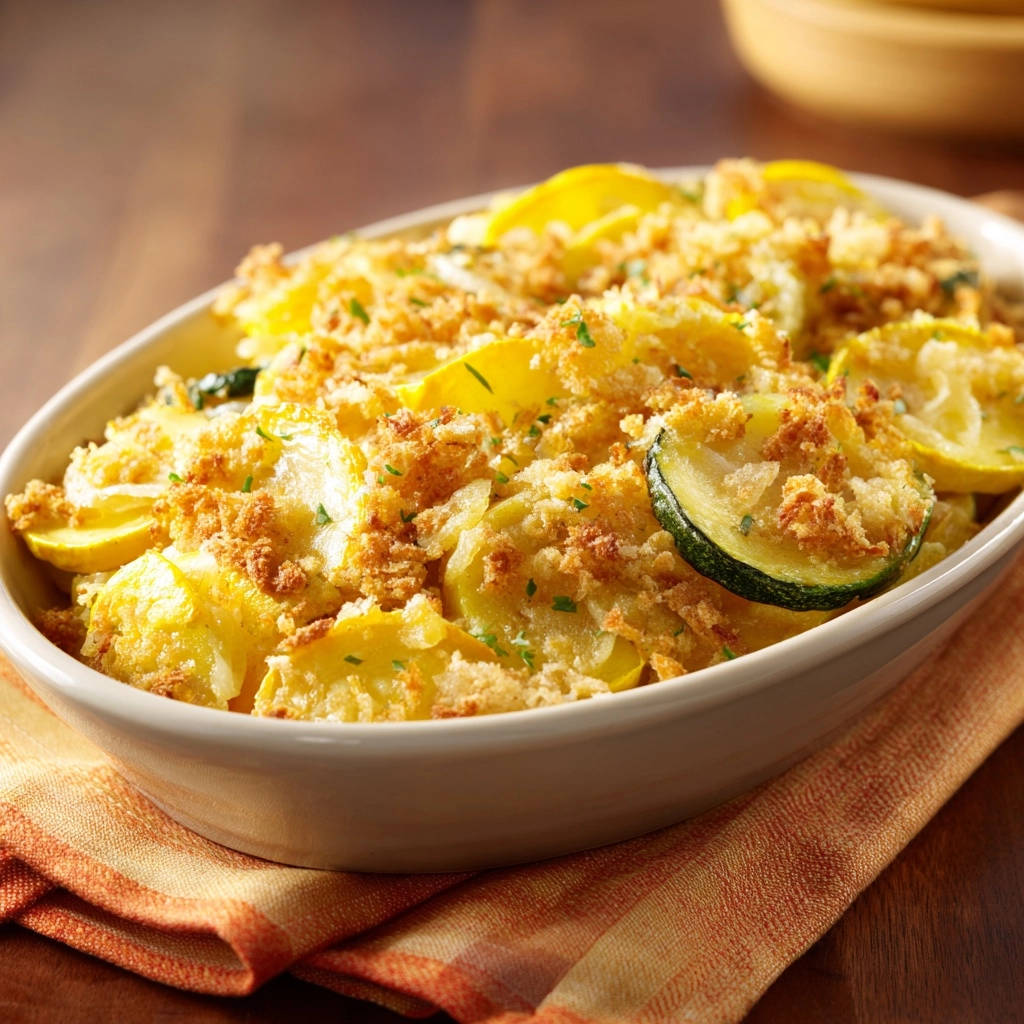
Its mild, savory flavor makes it an adaptable favorite that complements a wide range of main courses.
Gather Your Essentials: Ingredients for the Perfect Casserole
The Star: Fresh Yellow Squash
Three pounds of yellow squash, sliced 1/4-inch thick, form the tender base of our casserole. Choose firm, bright yellow squash free from blemishes for the best texture and flavor.
The consistent 1/4-inch slice ensures even cooking and a pleasant bite in every spoonful.
Binding & Flavor Boosters: Dairy & Cheese
A half cup of mayonnaise or sour cream provides the rich, creamy binder for the squash. This creates a luxurious texture and adds a subtle tang that balances the dish.
One cup of shredded cheddar cheese melts into gooey perfection, infusing the casserole with its signature savory, cheesy goodness. Freshly shredded cheese melts more smoothly than pre-shredded.
Crispy Topping & Seasoning Savvy
Half a cup of panko breadcrumbs creates the irresistible, golden-brown crispy topping. Panko is superior for crispness compared to standard breadcrumbs due to its flaky texture.
Melted butter ensures the breadcrumbs become beautifully golden and richly flavored. A tablespoon of dried parsley or mixed herbs adds an aromatic finish, tying all the flavors together.
Don’t forget the initial teaspoon of salt for the draining step, plus an additional half teaspoon of black pepper to enhance the overall seasoning of the casserole mixture.
Tools for Casserole Perfection: What You’ll Need
Colander: Essential for the draining step, ensuring your casserole is never watery.
Large Skillet: For sautéing the aromatics and squash, building foundational flavor.
9×13 Inch Baking Dish: The standard size for this casserole, perfect for serving a crowd.
Mixing Bowls & Utensils: For combining ingredients smoothly and efficiently.
Your Path to a Flawless Classic Yellow Squash Casserole
The Crucial Draining Method (No More Soggy Casserole!)
Place your sliced yellow squash in a colander. Sprinkle it generously with 1 teaspoon of salt and toss to coat every piece. Let the squash sit for at least 30 minutes, or up to an hour, allowing gravity to draw out significant excess moisture.
You’ll be amazed at the amount of liquid that drains! After draining, gently press the squash to remove even more hidden moisture, then meticulously pat it dry with paper towels. This step is absolutely critical for a firm, non-watery Classic Yellow Squash Casserole.
Prepping Your Oven & Dish
Preheat your oven to 375°F (190°C) to ensure it’s at the ideal temperature when your casserole is ready. Lightly grease a 9×13 inch baking dish; this prevents sticking and aids in easy serving.
Sautéing for Depth of Flavor
In a large skillet, melt 2 tablespoons of butter over medium heat. Add the finely chopped onion and cook until it softens and becomes translucent, which usually takes about 5 to 7 minutes. This builds a savory base for the casserole.
Add the thoroughly drained and dried squash to the skillet. Cook for 5 to 8 minutes, stirring occasionally, just until the squash begins to soften slightly but remains tender-crisp. Avoid overcooking at this stage, as it will continue to cook in the oven.
Assembling Your Creamy Base
Remove the squash and onion mixture from the heat. Transfer it to a large bowl, then add the mayonnaise or sour cream, shredded cheddar cheese, and 1/2 teaspoon black pepper. Gently stir until all ingredients are well combined and the squash is evenly coated.
Pour this creamy squash mixture into your prepared baking dish, spreading it out evenly with a spoon or spatula to ensure a consistent layer for baking.
Crafting the Golden, Crispy Topping
In a small separate bowl, melt the remaining 2 tablespoons of butter. Add the panko breadcrumbs and dried parsley or your preferred mixed herbs, stirring thoroughly to ensure the breadcrumbs are evenly coated with the butter. This step is key for a truly golden and crispy crust.
Generously sprinkle this buttered breadcrumb mixture over the top of the squash in the baking dish, creating an even layer that will brown beautifully.
Baking to Perfection & Resting
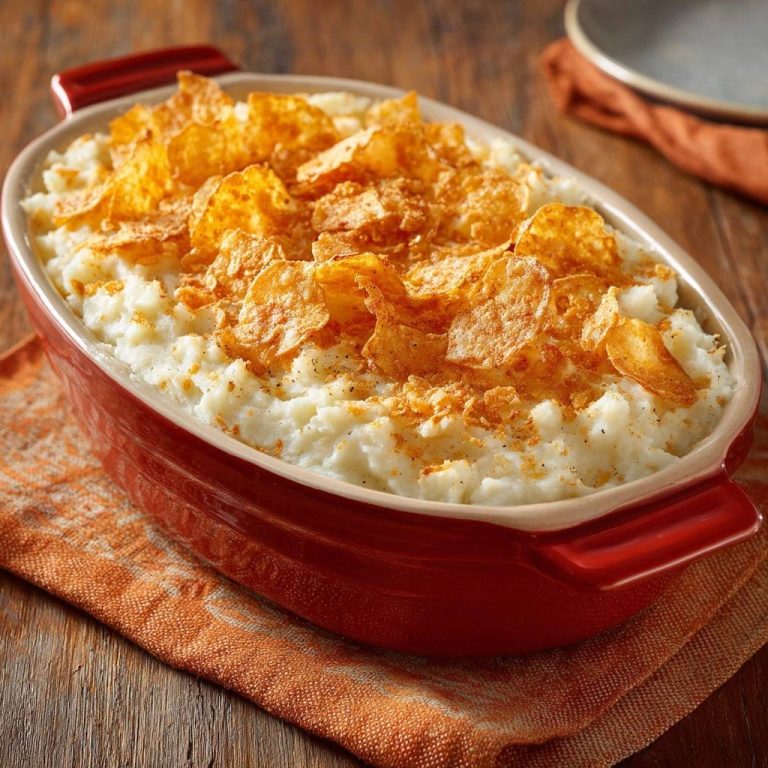
Bake your Classic Yellow Squash Casserole for 25 to 30 minutes, or until you see it bubbling around the edges and the breadcrumb topping has achieved a beautiful golden brown and crispy finish. Monitor closely to prevent the topping from burning.
Once baked, let the casserole rest for 5 to 10 minutes before serving. This crucial resting period allows the casserole to set up further, preventing it from being too loose or falling apart when scooped.
Pro Tips for Your Best Yellow Squash Casserole Yet
Selecting the Best Squash: Always choose firm, blemish-free yellow squash. Opt for smaller to medium-sized squash (6-8 inches long) as they tend to be more tender, have fewer seeds, and offer a milder flavor compared to larger ones.
Mayonnaise vs. Sour Cream: Choosing Your Base: Both mayonnaise and sour cream work wonderfully. Mayonnaise yields a richer, slightly tangy flavor and a creamier texture. Sour cream provides a brighter, more pronounced tanginess and a slightly lighter feel. Consider your preference or what you have on hand, and don’t hesitate to experiment!
Enhancing the Breadcrumb Crunch: For an exceptionally deep golden color and amplified crispiness, lightly toast the panko breadcrumbs in a dry skillet over medium heat for 2-3 minutes before combining them with the melted butter and herbs. Watch them carefully, as they can burn quickly.
Customizing Your Casserole: Add-ins & Variations: Elevate your Classic Yellow Squash Casserole with a pinch of garlic powder or a dash of nutmeg for a subtle warmth. For extra savory depth, consider folding in some crumbled, crispy bacon or leftover cooked ham. You might also enjoy adding a bit of kick with diced green chiles or a sprinkle of cayenne pepper. If you love cheesy delights, consider our Cheesy Ham and Spinach Breakfast Bites for inspiration on incorporating delicious cheese and meat combinations.
Don’t Overcook the Squash in the Skillet: The goal of sautéing the squash is just a slight softening. It will continue to cook through in the oven. Overcooking it in the skillet can lead to a mushy texture in the final casserole, so aim for tender-crisp.
Troubleshooting & FAQs: Your Casserole Conundrums Solved
Why is my casserole still watery?
The most common culprit is insufficient draining of the squash. It’s crucial to give the salted squash ample time (30-60 minutes) to release its moisture, and then to press and pat it thoroughly dry. Even a small amount of residual water can lead to a soggy result.
My topping isn’t crispy enough!
Ensure your panko breadcrumbs are fully coated with the melted butter, as this is essential for crisping. If your topping is still not crispy after the recommended baking time, check your oven temperature for accuracy or try moving the casserole to a higher rack for the last few minutes. For an extra golden crunch, you can carefully broil it for 1-2 minutes, watching it constantly to prevent burning.
Can I make this Classic Yellow Squash Casserole ahead of time?
Absolutely! You can assemble the entire casserole, excluding the breadcrumb topping, up to a day in advance. Cover it tightly and refrigerate. Add the buttered panko topping just before baking to ensure maximum crispness. If baking from cold, you may need to add an additional 5-10 minutes to the baking time.
How long does leftover Classic Yellow Squash Casserole last?
Leftover Classic Yellow Squash Casserole can be stored in an airtight container in the refrigerator for 3-4 days. For best quality, reheat gently.
Can I use frozen squash for this recipe?
While fresh squash generally yields the best texture, frozen sliced yellow squash can be used. Be sure to thaw it completely first, then follow the critical draining and pressing steps with salt, as frozen vegetables release a significant amount of water upon thawing.
What can I substitute for cheddar cheese?
You can experiment with other good melting cheeses! Monterey Jack, Gruyère, or a Colby-Jack blend work well for a similar creamy texture. For a sharper, more complex flavor, a combination of cheddar and a high-quality Parmesan cheese can be fantastic.
Serving Your Masterpiece & Storing Leftovers
Perfect Pairings for Your Casserole
This Classic Yellow Squash Casserole is an incredibly versatile side dish. It complements roasted chicken, grilled fish, or a holiday ham beautifully. For a complete and satisfying meal, pair it with our delightful Baked Glazed Chicken Drumsticks, or serve it alongside a crisp green salad for a lighter option. Another wonderful vegetable pairing for a balanced plate is our simple yet flavorful Crispy Baked Asparagus.
Reheating & Storage Best Practices
Store any leftover casserole in an airtight container in the refrigerator for up to 3-4 days. To reheat, cover the dish loosely with foil and warm it in a 300°F (150°C) oven until heated through, typically 15-20 minutes. Uncover for the last few minutes if you wish to re-crisp the topping.
Ready to Create Your Own Classic Yellow Squash Casserole?
Now that you’re armed with the secret to perfectly creamy, non-soggy Classic Yellow Squash Casserole, there’s no stopping you from impressing your family and friends. This recipe is a true crowd-pleaser, delivering comforting flavors without the common pitfalls of watery results.
Go ahead, give it a try this week! We’d love to hear how your casserole turned out. Share your culinary creations in the comments below or tag us on social media.
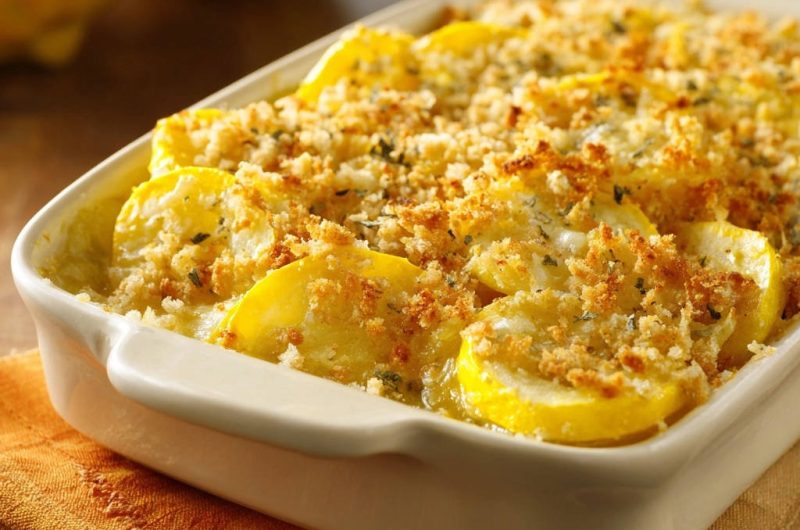
Yellow Squash Casserole
Course: Side DishCuisine: AmericanDifficulty: medium8
servings1
hour40
minutes240
kcal100
minutesEver baked a squash casserole only to find a pool of liquid? This recipe offers a simple trick to ensure your yellow squash casserole is perfectly creamy and delicious every single time, without that dreaded watery outcome. Transform your holiday table or weeknight dinner!
Ingredients
3 pounds yellow squash, sliced 1/4-inch thick
1 teaspoon salt, plus more for seasoning
1/2 cup finely chopped onion
1/4 cup butter, divided
1/2 cup mayonnaise or sour cream
1 cup shredded cheddar cheese
1/2 teaspoon black pepper
1/2 cup panko breadcrumbs
1 tablespoon dried parsley or mixed herbs
Directions
- Tackle the Water (The Key Step!): Place the sliced yellow squash in a colander. Sprinkle with 1 teaspoon of salt and toss to coat. Let it sit for at least 30 minutes, or up to an hour, allowing excess water to drain out. You will be surprised how much liquid comes out! After draining, gently press the squash to remove even more moisture, then pat dry with paper towels. This step is crucial for preventing a watery casserole.
- Preheat your oven to 375°F (190°C). Lightly grease a 9×13 inch baking dish.
- In a large skillet, melt 2 tablespoons of butter over medium heat. Add the chopped onion and cook until softened, about 5 to 7 minutes. Add the drained and dried squash to the skillet and cook for 5 to 8 minutes, stirring occasionally, just until it starts to soften slightly but isn’t mushy.
- Remove the squash mixture from heat. In a large bowl, combine the cooked squash and onion, mayonnaise or sour cream, shredded cheddar cheese, and 1/2 teaspoon black pepper. Stir gently to combine.
- Pour the squash mixture into the prepared baking dish, spreading evenly.
- In a small bowl, melt the remaining 2 tablespoons of butter. Add the panko breadcrumbs and dried parsley or herbs, stirring to coat the breadcrumbs evenly.
- Sprinkle the buttered breadcrumb mixture over the top of the squash in the baking dish.
- Bake for 25 to 30 minutes, or until the casserole is bubbling around the edges and the breadcrumb topping is golden brown and crispy.
- Let the casserole rest for 5 to 10 minutes before serving. This allows it to set up even further.
Notes
- This recipe features a crucial draining step to prevent a watery casserole.