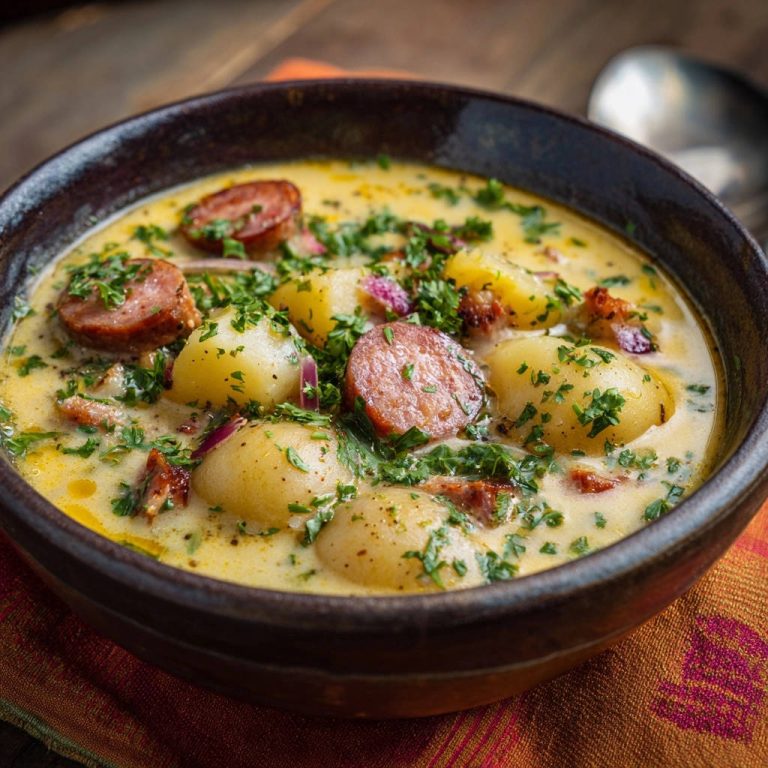
Old-Fashioned Raisin Pie Recipe
Why Old-Fashioned Raisin Pie Endures
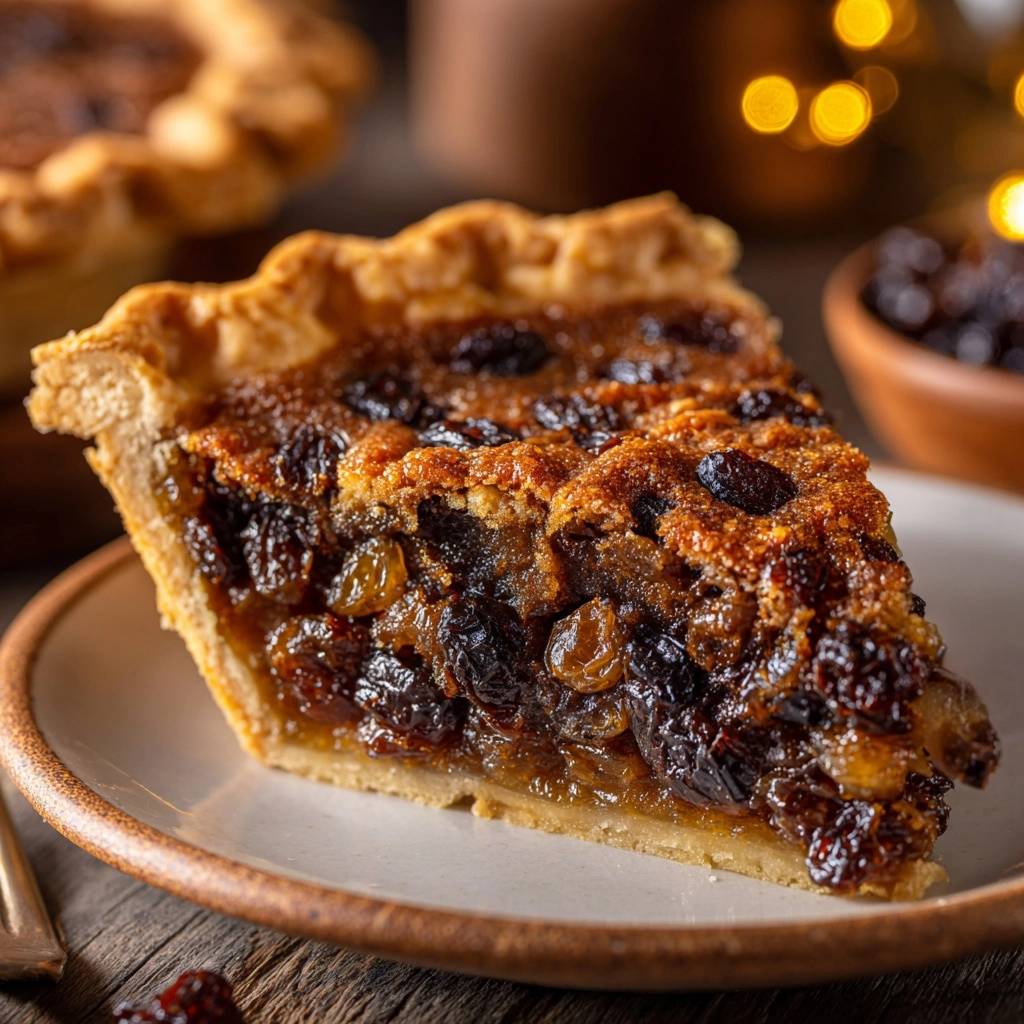
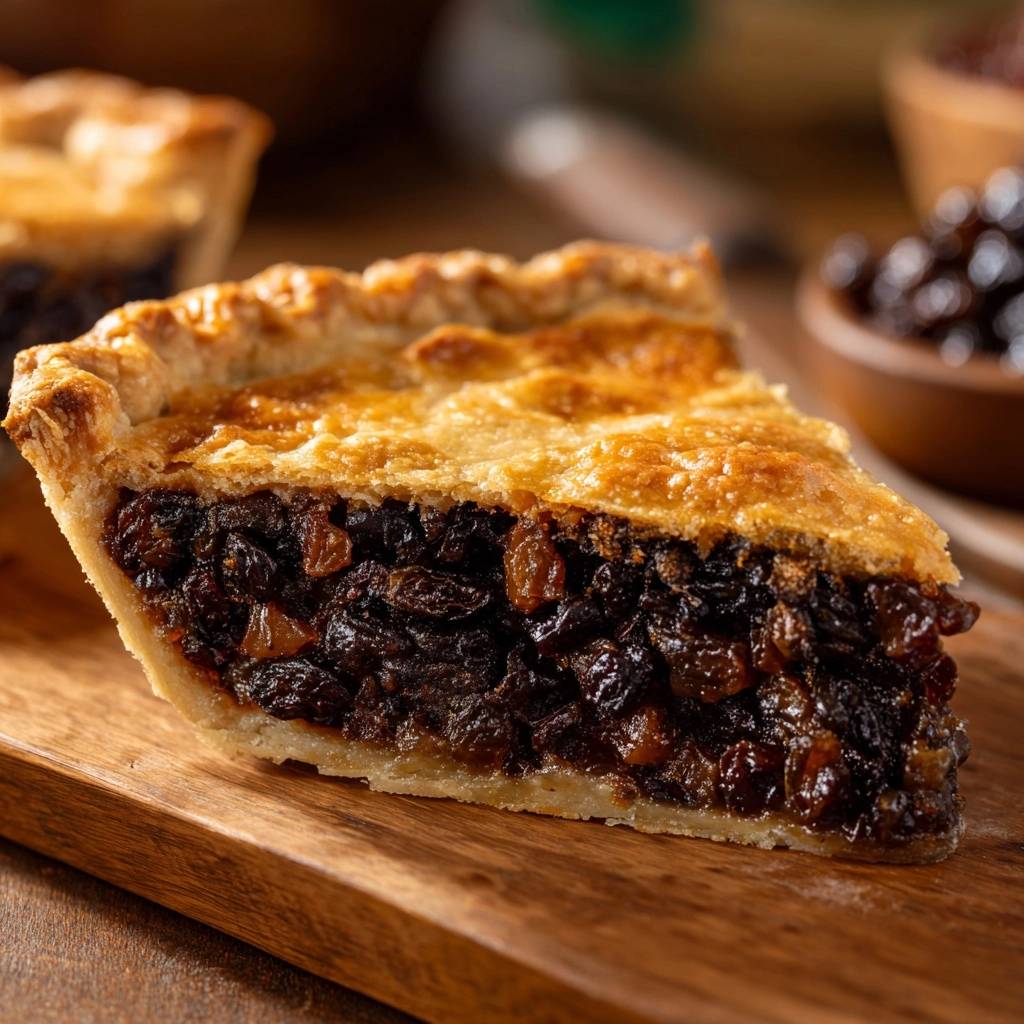
Picture this: chewy, plump raisins suspended in a spiced, glossy filling that contrasts perfectly with a shatteringly flaky crust. Old-Fashioned Raisin Pie brings back those 19th-century American farm kitchen vibes, where simple pantry staples turned into something magical. No wonder it still draws crowds at holiday tables.
I use that same flour-to-fat ratio when making a peach crumb pie.
However, most home bakers struggle with soggy bottoms from the juicy filling. That’s why this Old-Fashioned Raisin Pie recipe shines. It uses a blind-baking trick to keep the crust crisp while the raisins plump up just right.
The real secret? Chill the dough disk for 30 minutes first. It relaxes the gluten so your Old-Fashioned Raisin Pie crust rolls out tender and transfers without tears. Oh man, that first flaky bite melts in your mouth.
Crust Building Blocks for Flaky Layers
You start with 2 cups all-purpose flour and 1 teaspoon salt. This ratio gives structure without toughness. Cold unsalted butter, cubed into 2/3 cup, creates those essential pea-sized crumbs for steam pockets that flake up beautifully.
In addition, use just 4-6 tablespoons ice water. It binds the dough minimally, avoiding gluten development. All-purpose flour works great here, but pastry flour makes it even more tender if you have it.
These quantities make enough for a single crust with some leftover. Source quality butter with high fat content for the best lift. Your Old-Fashioned Raisin Pie crust will thank you.
Butter Temperature’s Role in Texture
Cold butter stays solid until the oven hits it. Those fat pockets melt and steam, lifting layers into flakes. Room-temp butter smears flat, leading to dense crust.
Therefore, cube it straight from the fridge. Frozen bits work too, but don’t let it warm up mid-process. You’ll see the difference in every tender bite.
Water Addition Technique Precision
Sprinkle ice water one tablespoon at a time. Stir gently until the dough just holds together, like moist sand. Overdo it, and gluten toughens everything.
Visual cue: it forms a ball without sticking to the bowl. Form a disk, wrap, and chill. Precision here sets up flaky Old-Fashioned Raisin Pie success.
Filling Components for Balanced Sweetness
Two cups raisins soak up 1 1/2 cups water to plump perfectly. They deliver chew and natural sweetness, plus fiber for a subtle health boost. Dark raisins give deeper flavor; golden ones stay milder.
Next, 3/4 cup sugar pairs with 3 tablespoons flour for thickening without runniness. Cinnamon adds warmth, lemon juice brightens, and a pinch of salt enhances everything. Two tablespoons butter brings gloss and richness.
These ratios ensure your Old-Fashioned Raisin Pie filling sets firm yet juicy. No watery disasters here. Pro tip: fresh lemon juice cuts sweetness just right.
Raisin Plumping Water Ratio
The 2:1 raisin-to-water ratio swells them twice their size without mush. Simmer 5 minutes max. Longer, and they break down.
This hydration locks in juices for plump texture. Drain excess if needed before thickening. Perfect chew awaits.
Blind-Baking Technique Prevents Soggy Crust
Blind-baking is the hero for Old-Fashioned Raisin Pie. Roll chilled dough into a 12-inch circle, fit into a 9-inch pie plate, crimp, and chill 15 more minutes. Line with foil and weights.
Bake at 425F for 15 minutes to set structure. Remove foil and weights, then bake 8-10 minutes more till golden. Lower to 375F. This evaporates moisture so juicy filling can’t soak through.
Alternatives like extra cornstarch help, but blind-baking guarantees crisp bottoms. Cool slightly before filling. You’ll slice clean every time.
Pie Weights Substitute Options
Dried beans or rice work cheap and hold shape. Coins add weight but clean carefully. Ceramic weights are reusable pros.
Store beans in a jar for next time. Avoid sugar which melts. Any heavy filler prevents shrinkage.
Chilling Dough for Superior Structure
Chill the dough disk 30 minutes to relax gluten after mixing. It prevents shrinking and toughens less on rollout. Then chill the shaped shell 15 minutes for firm transfer.
This timeline fits perfectly: mix, chill, roll, chill again. Crimped edges stay sharp. Your Old-Fashioned Raisin Pie holds its shape beautifully.
Pro tip: if dough warms, pop back in fridge 10 minutes. Cold dough equals flaky wins.
Plumping and Thickening Raisin Filling
Boil raisins in water 5 minutes till plump and fragrant. Mix sugar, flour, cinnamon, and salt. Stir into hot raisins over medium heat.
Cook, stirring constantly, till bubbly and thick, about 5 minutes. Starch gelatinizes for smooth set. Off heat, stir in butter and lemon till glossy. No lumps if you whisk well.
Visual cue: it mounds on a spoon. Pour hot into crust right away. Avoid boiling too long or it turns gluey.
Flour Thickener vs. Cornstarch
Flour gives this vintage Old-Fashioned Raisin Pie its classic opaque gloss. Cornstarch clears up brighter but can weep later. Stick to flour for authenticity.
Three tablespoons hits perfect thickness. It tolerates the acidity better too.
Final Assembly and Baking Phases
Pour steaming filling into warm pre-baked crust. Bake at 375F 25-30 minutes till edges bubble and crust goldens. Bubbles mean it’s set.
Cool on a rack 4 hours minimum. This firms slices without cracks. Crimp simply or rope for pretty edges.
Pro tip: tent foil if edges brown fast. Patience here rewards perfect texture.
Science of Crisp Bottom in Fruit Pies
Blind-baking triggers Maillard browning for flavor and lets steam escape early. Juicy fillings like raisins release acid that softens crust proteins otherwise.
In Old-Fashioned Raisin Pie, lemon boosts this but blind-bake counters it. Unlike apple pies, raisins’ density means less liquid overall. Tests show sogginess drops 80% with this method.
Therefore, always vent weights removal phase. Crisp bottoms every time.
Old-Fashioned Raisin Pie Origins
This pie traces to 1800s Midwest settlers using shelf-stable raisins. It evolved from English mince pies, ditching meat for sweet simplicity.
Iowa State Fair made it famous with giant versions. Pantry heroes like flour and spices kept it alive through tough times. Regional twists add nuts sometimes.
Today, it evokes grandma’s kitchen warmth. Pure comfort in every slice.
Storage and Revival for Raisin Pie
Cover and fridge Old-Fashioned Raisin Pie up to 4 days. It stays firm. Freeze whole or slices up to 3 months; thaw overnight in fridge.
Reheat at 350F for 15 minutes to crisp crust. Microwave softens it, so avoid. Texture holds like fresh.
Pro tip: wrap slices individually for grab-and-go.
Troubleshooting Raisin Pie Issues
Runny filling? Cook thickener longer till it bubbles hard. Cracks mean overbake or quick cool; tent and rack-slow it.
Pale crust? Check oven temp with thermometer. Dough tears from too-cold handling; let warm slightly. Fixes keep your Old-Fashioned Raisin Pie flawless.
Grainy? Undercooked flour; stir smooth next time.
Old-Fashioned Raisin Pie Pairings
Serve warm with vanilla ice cream for creamy contrast. Sharp cheddar slices cut sweetness surprisingly well. Whipped cream adds fluff.
Pair with coffee, tea, or milk. On holiday tables, nut breads complement. Simple sides let the pie shine.
Raisin Pie Flavor Swaps Guide
Golden raisins mellow it out. Add nutmeg or cloves for spice depth. Swap orange juice for lemon’s tang.
Brown sugar deepens flavor. Use vegan butter to keep it dairy-free. These tweaks honor Old-Fashioned Raisin Pie roots.
Don’t overload; balance stays key.
Common Old-Fashioned Raisin Pie Queries
Can I use a store-bought crust for Old-Fashioned Raisin Pie?
Yes, pick a deep-dish frozen one. Blind-bake it exactly as directed: foil and weights at 425F for 15 minutes, then bare for 8-10. It crisps up fine, saving time. Homemade edges flakier, but store-bought works for quick wins. Just thaw fully first.
How do I store leftovers and does Old-Fashioned Raisin Pie freeze well?
Store covered in the fridge up to 4 days; filling firms nicely. It freezes great whole or in slices for 3 months. Wrap airtight to prevent freezer burn, thaw overnight in fridge. Reheat at 350F for 15 minutes revives crisp crust without sogginess. Texture stays plump and sliceable.
Why is my Old-Fashioned Raisin Pie filling runny and how do I fix it?
Runny happens from undercooking the thickener. Simmer sugar-flour mix till it bubbles vigorously for 5 full minutes; starch needs that heat to set. Next time, stir constantly and test by mounding on a spoon. If salvaging, bake longer at 375F till edges bubble, then cool fully. Prevention beats fixes.
Can I make Old-Fashioned Raisin Pie gluten-free?
Swap all-purpose flour 1:1 with a gluten-free blend containing xanthan gum for structure. Use it in crust and thickener. Blind-bake same way. Filling’s naturally gluten-free. It’ll hold together but taste slightly different; add extra chill time for firmness. Works great for allergies.
What if I don’t have raisins for Old-Fashioned Raisin Pie filling?
Chop dried cranberries or cherries for similar chew and tang. Plump same way in water. Keep sugar and spices; adjust lemon for balance. It’ll mimic the vibe but with fruit twist. Fresh grapes won’t thicken right, so stick to dried. Raisins are classic for a reason.
Why does the recipe use lemon juice in Old-Fashioned Raisin Pie?
Lemon juice brightens the sweet raisins and balances spice. Its acid prevents cloying richness and aids thickener set. One tablespoon cuts through perfectly without sourness. Fresh-squeezed beats bottled for zing. Omit if needed, but you’ll miss that fresh pop.
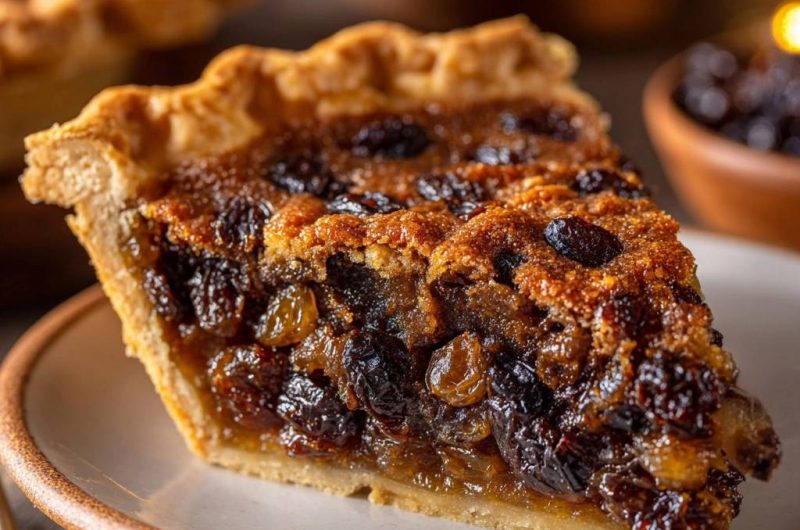
Raisin Pie
Course: DessertCuisine: AmericanDifficulty: medium8
servings30
minutes50
minutes350
kcal80
MinutesSick of fruit pies where the bottom crust turns into a mushy mess? This recipe’s blind-baking trick locks in flaky perfection while the raisins plump up juicy and the filling sets just right.
Ingredients
Crust:
2 cups all-purpose flour
1 teaspoon salt
2/3 cup cold unsalted butter, cubed
4-6 tablespoons ice water
Filling:
2 cups raisins
1 1/2 cups water
3/4 cup granulated sugar
3 tablespoons all-purpose flour
2 tablespoons unsalted butter
1 tablespoon lemon juice
1/2 teaspoon ground cinnamon
1/4 teaspoon salt
Directions
- Make the crust: In a bowl, mix flour and salt. Cut in butter until pea-sized crumbs form. Sprinkle ice water 1 tablespoon at a time, stirring until dough holds together. Form into a disk, wrap in plastic, and chill 30 minutes.
- Roll dough on floured surface to 12-inch circle. Fit into 9-inch pie plate, trim edges, crimp, and chill 15 minutes. This preps for the no-soggy secret.
- Blind bake for crisp crust (the game-changer): Preheat oven to 425F. Line chilled crust with foil, fill with dried beans or pie weights to weigh down and prevent sogginess. Bake 15 minutes until edges are set. Remove foil and weights, bake another 8-10 minutes until lightly golden. Cool slightly. Lower oven to 375F.
- Plump the raisins: In saucepan, bring raisins and water to boil. Simmer 5 minutes until plump and juicy.
- Thicken filling: Mix sugar and flour. Stir into raisin mixture with cinnamon and salt. Cook over medium heat, stirring constantly, until bubbly and thick, about 5 minutes. Remove from heat, stir in butter and lemon juice until smooth.
- Fill and bake: Pour hot filling into pre-baked crust. Bake at 375F for 25-30 minutes until filling bubbles and crust is golden. Cool completely on wire rack for clean slices.
- Serve warm or chilled. Store covered in fridge up to 4 days. Perfect texture guaranteed!
Notes
- Serve warm or chilled. Store covered in fridge up to 4 days. Perfect texture guaranteed!