Peanut Butter Oat Bars: No-Crumble Chewy Perfection
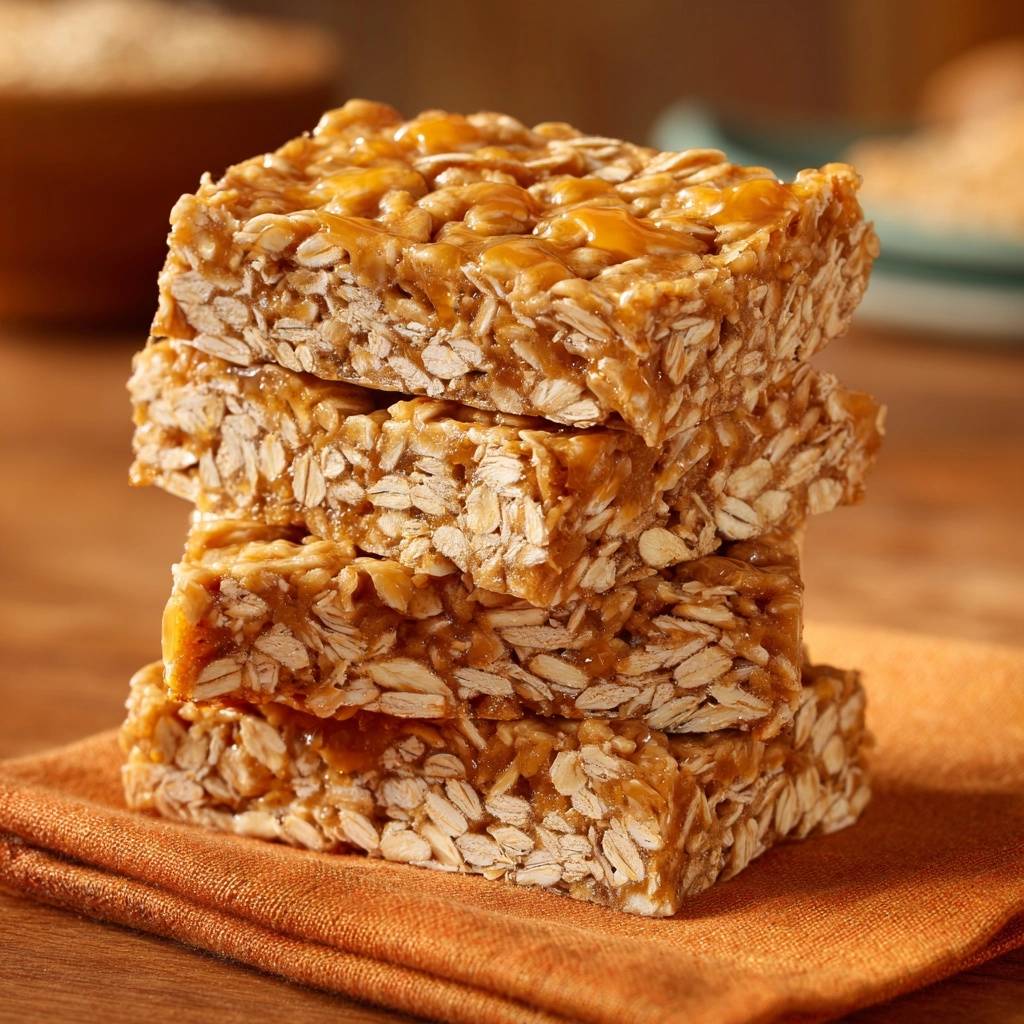
Crumbly no-bake bars that disintegrate the moment you slice them? You’ve been there, watching your snack efforts scatter across the counter. This peanut butter oat bars recipe ends that mess with a peanut butter-honey binder and a pressing trick that delivers chewy perfection every time.
Therefore, you get firm peanut butter oat bars that hold up for grab-and-go snacks. They pack sustained energy from oats plus natural sweetness, without the refined sugar crash. Prep takes just 10 minutes active time, plus 1 hour to chill, yielding 16 satisfying bars perfect for meal prep.
Here’s the expertise kicker: the low-heat melt of peanut butter, honey, and brown sugar creates a viscous glue that coats every oat. Skip that, and you’re stuck with dry crumbs. Nail it, and these become your new kitchen staple.
Why Peanut Butter Oat Bars Hold Together
The Binder Science of Peanut Butter and Honey
Low heat turns peanut butter, honey, and brown sugar into a smooth emulsion. It coats oats evenly, banishing air pockets that cause crumbling. Cold mixing skips this, leaving loose bars.
However, honey’s fructose adds stickiness, while brown sugar caramelizes lightly for chew. This mild Maillard reaction happens without an oven. You’ll smell sweet nuttiness rising from the pan.
In addition, the warm binder soaks into oats perfectly. Result? Solid peanut butter oat bars that flex without breaking. It’s simple science you control at home.
Texture Transformation from Oats
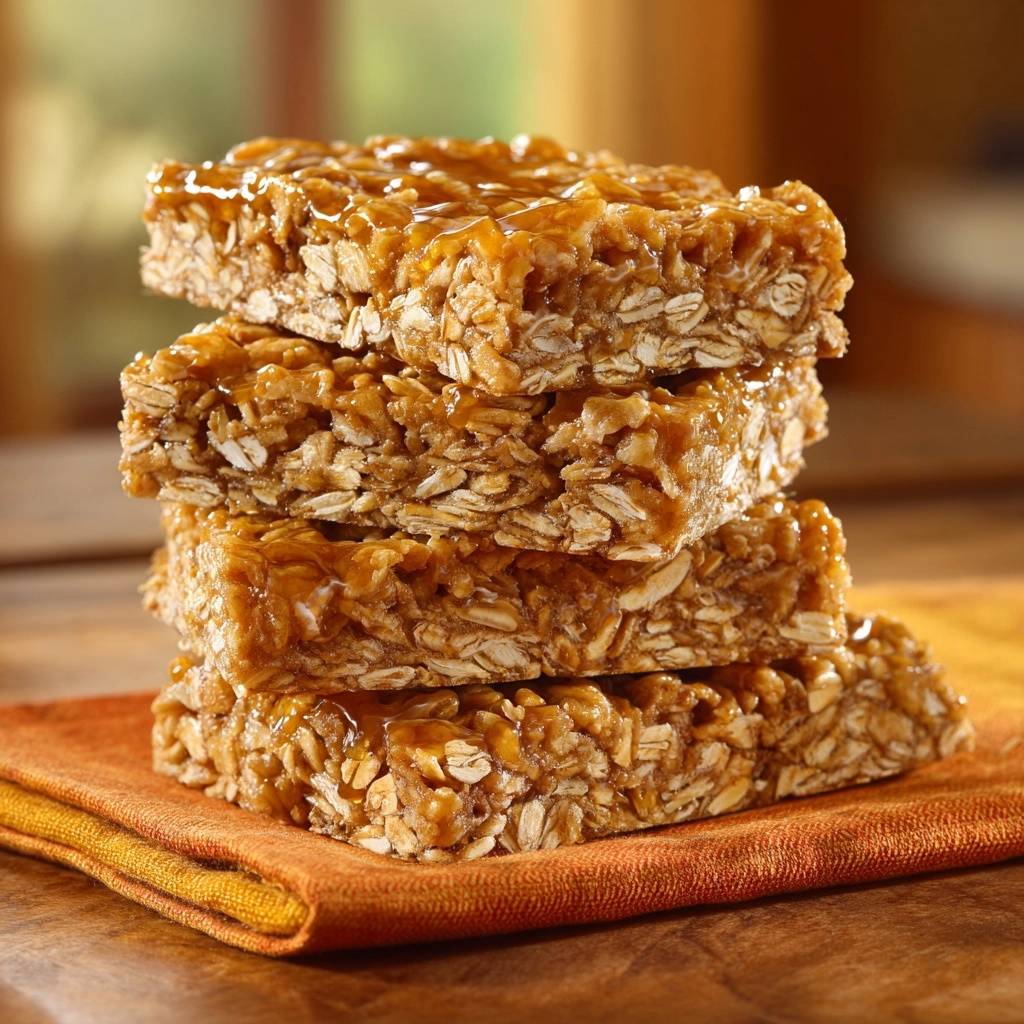
Rolled oats absorb the warm mixture like a sponge. Their bran grips the binder tightly. Instant oats turn mushy, so stick to rolled for that chewy bite.
Therefore, you avoid steel-cut’s toughness too. These chewy peanut butter oat bars promise no-crumble texture. Every bite delivers satisfying resistance.
Key Ingredients for Firm Peanut Butter Oat Bars
Choosing Creamy Peanut Butter
Creamy peanut butter melts smoothly into the base. Natural versions with separated oil work best; stir them first. They bring pure nut flavor without extra sugars.
Plus, it packs protein for lasting fullness. Processed kinds dilute the bind, so go natural. Your peanut butter oat bars will taste richer.
Honey and Brown Sugar Balance
Honey acts as a humectant, keeping bars moist. Brown sugar’s molasses deepens flavor without overpowering. This 1/2 cup honey to 1/4 cup sugar ratio hits sweet spot.
However, natural sweeteners beat refined ones for steady energy. No sticky overload here. Just chewy bliss.
Vanilla, Salt, and Oats Essentials
Vanilla rounds out nutty notes. A pinch of salt amplifies everything, fixing bland batches. Use 3 cups rolled oats for bulk and structure.
Therefore, don’t skip them. They elevate basic to craveable.
Step-by-Step: Building Solid Peanut Butter Oat Bars
Prep the Pan for Easy Release
Line an 8×8-inch pan with parchment, overhang on sides. This lifts bars out cleanly. Foil sticks, so parchment wins.
Metal pans chill faster than glass too. You’re set for success.
Low-Heat Melting Phase
In a medium saucepan over low heat, combine 1 cup peanut butter, 1/2 cup honey, 1/4 cup brown sugar, 1 teaspoon vanilla, and salt. Stir constantly 3-4 minutes till smooth.
Watch for glossy shine and nutty aroma. High heat scorches or separates fats. Low keeps it perfect.
Oats Coating for Maximum Adhesion
Remove from heat. Stir in 3 cups oats right away. Warmth lets them soak up binder fully.
Therefore, every oat sticks. No dry pockets.
Pressing Technique for No-Crumble Lock
Transfer to pan. Press firmly with a water-dipped spoon or parchment top. Compact for 2 full minutes.
This physics packs oats tight, locking shape. Light presses fail; go firm. Foolproof for peanut butter oat bars.
Pro tip: Wet tool prevents sticking. You’ll feel resistance build as it sets.
Chill and Cut Precision
Refrigerate 1 hour till firm. Lift with parchment. Use a sharp knife for clean cuts; warm it first.
Slices stay intact. Store in airtight container.
Equipment Choices for Perfect Peanut Butter Oat Bars
Saucepan and Pressing Tools
Grab a medium nonstick saucepan. It heats evenly without residue. Dip spoon in water for stick-free pressing.
Parchment over top works too. No fancy gear needed.
Pan and Storage Must-Haves
8×8 metal pan chills quick. Glass takes longer. Airtight container keeps them fresh a week.
Avoiding Pitfalls in Peanut Butter Oat Bars
Fixing Overly Dry or Sticky Results
Crumbly? Mixture cooled too fast before oats. Sticky? Overheated fats separated. Always low heat and quick stir-in.
Check oat moisture; dry ones absorb less. Add a teaspoon water if needed.
Common Pressing and Melting Errors
High heat breaks emulsion. Rushed press leaves gaps. Troubleshooting peanut butter oat bars: heat low, press long.
Fixed every time.
Flavor Twists on Peanut Butter Oat Bars
Chocolate Chip and Nut Add-Ins
Stir in 1/2 cup dark chocolate chips or chopped almonds after oats. Mix while warm for even spread. Chocolate melts slightly, adding gooey pockets.
Almonds bring crunch. Antioxidants from dark chocolate boost health.
For a perfect pairing, try our Chewy Chocolate Chip Oatmeal Bars: Irresistibly Soft & Never Dry.
Spice and Fruit Variations
Add 1 teaspoon cinnamon or 1/2 cup dried cranberries with oats. Swap honey for maple if you like. Fruits plump up nicely.
Storage and Make-Ahead for Peanut Butter Oat Bars
Freezer Guide for Longevity
Wrap bars individually in parchment, then freezer bag. Freeze up to 3 months. Thaw at room temp; chew stays intact.
Daily Storage Best Practices
Room temp in airtight container lasts a week. Fridge extends to 2 weeks, but humidity softens them. Avoid moisture.
Pairing Ideas with Peanut Butter Oat Bars
Breakfast and Snack Combos
Layer in yogurt parfait for creamy contrast. Pair with almond milk. Steady energy all morning.
Post-Workout and Dessert Sides
Team with fresh banana slices or oat milk. Protein and carbs recover muscles fast. Sweet finish without guilt.
Peanut Butter Oat Bars FAQ
Can I Use Natural Peanut Butter?
Yes, stir in the oil first for smooth melting. It binds just as well, maybe better with pure flavor. If bars seem dry, add 1 tablespoon honey. Texture stays chewy.
Are These Peanut Butter Oat Bars Gluten-Free?
Choose certified gluten-free rolled oats to avoid cross-contamination. Peanut butter and other ingredients are naturally GF. Perfect for safe snacking.
How Long Do Peanut Butter Oat Bars Last?
Room temperature in airtight container: up to 1 week. Fridge: 2 weeks. Watch for softening or off smells. Freezer adds 3 months; thaw overnight.
Vegan Swaps for Peanut Butter Oat Bars?
They’re already vegan with standard ingredients. Swap honey for maple syrup 1:1 if preferred. Any nut butter works too. No changes needed otherwise.
Why Do My Bars Crumble?
Usually rushed pressing or cool mixture before oats. Heat low to melt fully, stir oats in hot, press 2 minutes firm. Wet spoon helps compact without sticking. Retry for solid results.
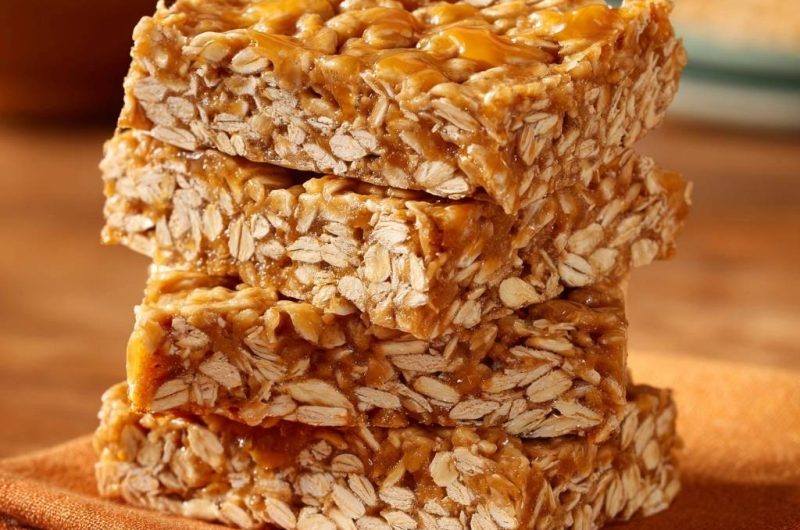
Peanut Butter Oat Bars
Course: DessertCuisine: AmericanDifficulty: easy16
bars10
minutes5
minutes180
kcal60
MinutesTired of no-bake oat bars that fall apart? This recipe uses a perfect peanut butter-honey bind and pressing technique for chewy bars that hold shape every time.
Ingredients
3 cups rolled oats
1 cup creamy peanut butter
1/2 cup honey
1/4 cup brown sugar
1 teaspoon vanilla extract
Pinch of salt
Directions
- Line an 8×8-inch pan with parchment paper, leaving overhang for easy removal.
- In a medium saucepan over low heat, combine peanut butter, honey, brown sugar, vanilla, and salt. Stir constantly for 3-4 minutes until fully melted and smooth. This even heating creates the unbreakable binder that solves crumbling.
- Remove from heat and immediately stir in oats until completely coated. The warm mixture absorbs into the oats for maximum stickiness.
- Transfer to prepared pan. Press firmly and evenly using the back of a spoon dipped in water or a piece of parchment paper on top. This wet-press technique compacts the oats without sticking, ensuring solid bars that hold shape. Press for a full 2 minutes for the no-crumble lock-in.
- Refrigerate for 1 hour until set. Lift out using parchment, cut into bars, and store in an airtight container. Enjoy chewy perfection that stays together!
Notes
- Press firmly for 2 full minutes using a wet spoon or parchment for no-crumble results. Store in airtight container for up to a week.