Perfect Cherry Crumble Pie with Never-Runny Filling
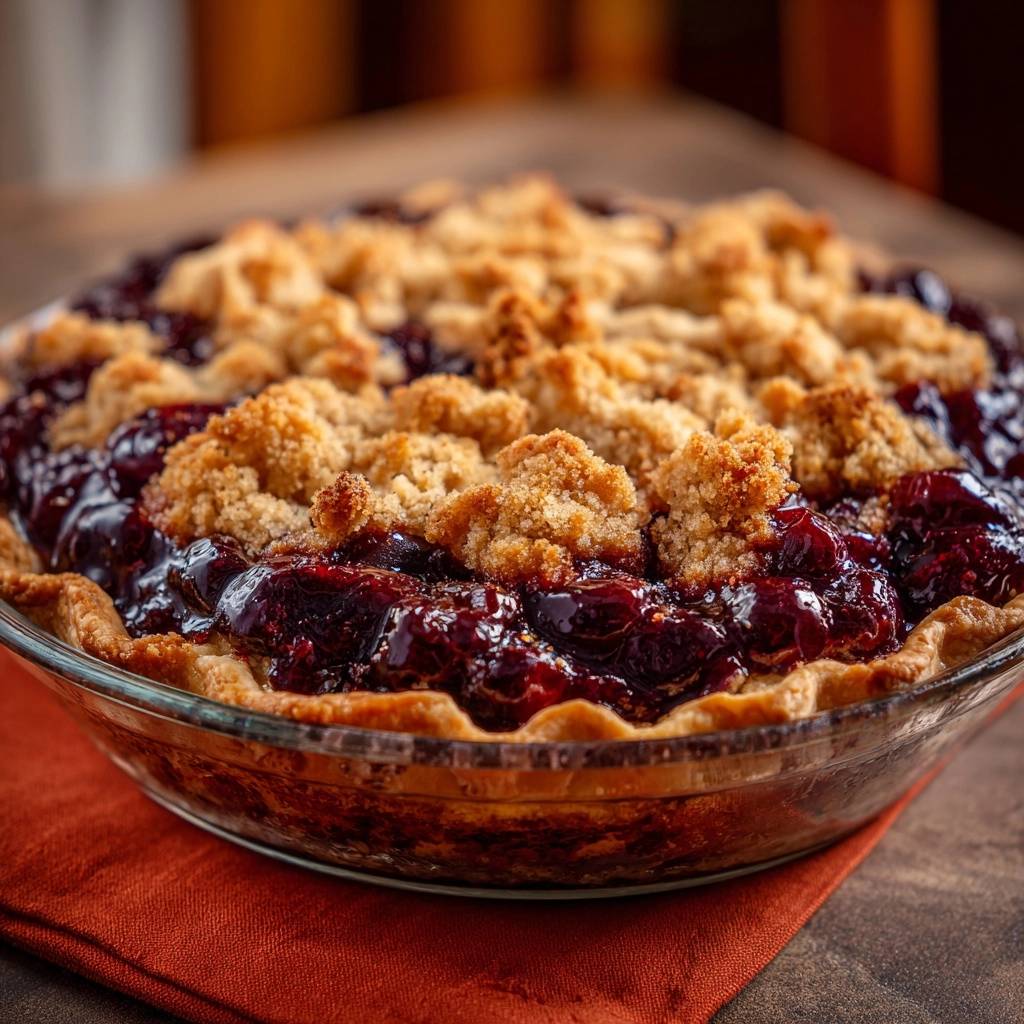
Picture this: you slice into a Cherry Crumble Pie, and the filling stays put, glossy cherries suspended in thick, juicy perfection without a hint of leak or sogginess. No more pie disasters where the fruit runs everywhere and the crust turns to mush. This Cherry Crumble Pie fixes that heartbreak with one game-changing step.
I’ve battled watery pies before, the kind that collapse on the plate and leave you disappointed. But pre-cooking the cherries locks in those juices, so every bite delivers bold cherry flavor and a sturdy slice. It’s ideal for summer barbecues or cozy dessert nights, where you want showstopper results without the fuss.
Here’s the expertise kicker: cornstarch activates in the hot cherry juices, bubbling into a thick gel that holds firm through baking. That simple science means your Cherry Crumble Pie stands tall, every time. You’ll crave it all season long.
Why Cherry Crumble Pie Demands Thickened Filling
Watery fruit pies frustrate everyone. During baking, raw cherry juices flood the oven, turning crusts soggy and fillings soupy. However, pre-cooking with cornstarch traps those liquids first, so your Cherry Crumble Pie filling emerges glossy and sliceable.
Fresh cherries pack more pectin than frozen ones, which release extra water. Therefore, this recipe adjusts for both, ensuring the cherry pie filling thickens reliably. No more weeping slices that ruin the presentation.
In addition, the method creates a cherry pie filling that bubbles just right in the oven. You get that perfect set without tapioca or flour lumps. It’s why this Cherry Crumble Pie beats every other version.
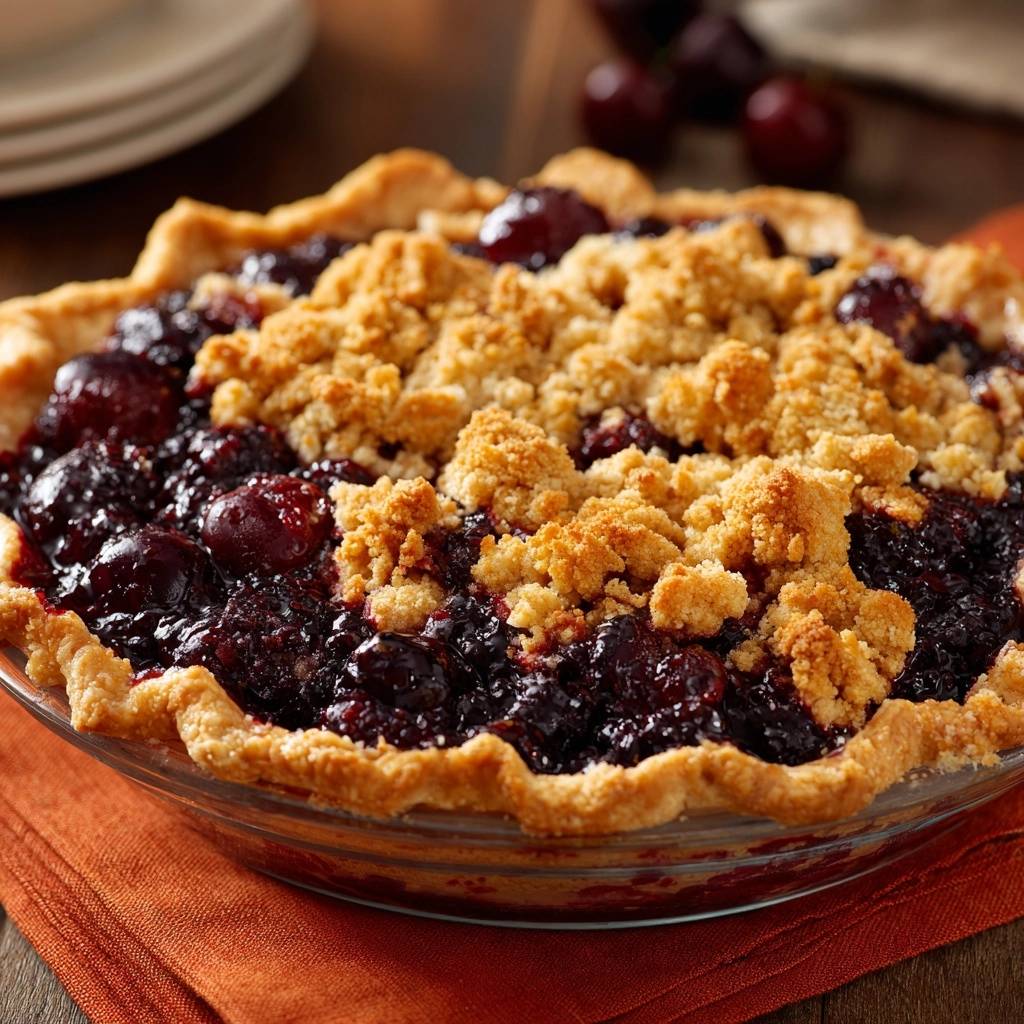
Juicy Cherries Without the Weep
Sweet Bing cherries burst with juice, while tart varieties like Montmorency hold less water naturally. Both shine here, but raw fillings always fail because oven heat (375°F) breaks cell walls, unleashing floods.
Therefore, cook them down first. You’ll see the mixture go from soupy to thick, preventing any weep in your Cherry Crumble Pie.
Science of Cornstarch in Cherry Pies
Cornstarch gelatinizes above 180°F when mixed with sugar and acid like lemon juice. In Cherry Crumble Pie filling, heat swells the starch granules, trapping cherry juices into a glossy gel.
Stir until it bubbles steadily for 1 minute; that’s the activation point. However, skip this, and it stays thin. The result? A sturdy, vibrant filling that slices cleanly.
Visually, it shifts from cloudy to clear and thick. This pro step guarantees your Cherry Crumble Pie holds shape for hours.
Key Ingredients for Flawless Cherry Crumble Pie
Start with 4 cups pitted cherries; they’re the heart of this Cherry Crumble Pie recipe. Fresh or frozen work, but pit them cleanly to avoid grit. Next, 3/4 cup granulated sugar balances tartness, while 3 tablespoons cornstarch thickens without cloudiness.
1 tablespoon lemon juice brightens flavors, and 1 teaspoon vanilla plus 1/2 teaspoon almond extract add depth. For the crumble in this Cherry Crumble Pie recipe, use 1 cup flour, 1/2 cup brown sugar, 1/2 cup cold unsalted butter (it flakes better), 1/2 cup oats for chew, and 1/4 teaspoon salt.
Don’t sub flour for cornstarch; it tastes starchy. Unsalted butter lets you control saltiness. This Cherry Crumble Pie recipe nails every element for pro results.
Substitutions? Mix milk with lemon if needed elsewhere, but here it’s straightforward. Follow this Cherry Crumble Pie recipe closely for the best crumble texture.
Cherries: Fresh, Frozen, or Jarred?
Fresh cherries taste brightest in Cherry Crumble Pie, but frozen save time; thaw and drain excess liquid first. Jarred work in a pinch, though rinse syrup to cut sweetness.
The same trick of thickening the fruit filling works beautifully for this deep dish apple pie.
All release water, so precook adjusts. Pit fresh ones with a cherry pitter for efficiency.
Crumble Components for Buttery Crunch
Oats give chew that quick oats can’t match. Brown sugar melts into caramel edges, and precise flour keeps it light.
Cut cold butter into pea-sized bits. That’s the secret for flaky Cherry Crumble Pie topping.
Essential Tools for Cherry Crumble Pie Success
A 9-inch glass pie dish conducts heat evenly for crisp bottoms in Cherry Crumble Pie. Metal works faster, so watch edges. A large saucepan precooks filling without scorching.
Pastry blender creates uniform crumbs quickly. Finally, a wire rack cools evenly, preventing steam from sogginess. These ensure flawless Cherry Crumble Pie every bake.
Skip shortcuts; proper tools mean pro-level slices.
Pastry Blender vs Fork Showdown
Pastry blender yields even, pea-sized crumbs fast. Forks work but mash butter unevenly, leading to dense spots.
Avoid overmixing either way. You’ll get tender, golden Cherry Crumble Pie topping.
Step-by-Step: Building Cherry Crumble Pie Layers
Making Cherry Crumble Pie starts simple. Follow these phases for success.
Prep and Chill the Pie Crust Base
Fit your 9-inch unbaked crust into the dish and crimp edges high. Refrigerate 15-30 minutes; it prevents shrinkage.
Blind baking isn’t needed here. Chilled dough stays flaky under the thick filling.
Cook Cherry Filling to Thick Perfection
Combine cherries, sugar, cornstarch, lemon juice, vanilla, and almond extract in a saucepan over medium heat. Stir constantly 8-10 minutes until it bubbles and thickens to glossy.
Smell the sweet cherries releasing; that’s doneness. Cool 10 minutes to set the cherry pie filling safely.
Scorching happens without stirring, so stay attentive.
Assemble Filling in Crust
Pour cooled filling evenly into crust. Wipe any spills from edges to avoid burning.
If you like this method for preventing a runny cherry filling, the same approach is used in this golden cherry cobbler.
It mounds slightly; that’s perfect for crumble.
Mix and Apply Golden Crumble Topping
Mix flour, brown sugar, oats, and salt dry. Cut in cold butter until coarse crumbs form pea-sized bits.
Sprinkle evenly; press lightly for stability. This ensures uniform baking in your Cherry Crumble Pie.
Bake and Cool for Sliceable Results
Bake at 375°F for 35-40 minutes on the lower rack until golden and bubbling. Tent edges with foil if browning fast.
Cool on a wire rack 2+ hours. Patience lets starch set fully, preventing cracks or runny cuts.
The aroma fills your kitchen; resist early slicing!
Avoiding Pitfalls in Cherry Crumble Pie
Common Cherry Crumble Pie problems stem from skipping precook, using warm butter, or rushing cool time. First, always thicken filling; raw cherries weep badly.
Second, cold butter keeps crumble light; warm makes it cake-like. Third, undercooling leads to messy slices.
Fourth, poor pitting adds grit. Fifth, overcrowding the oven slows baking. Fixes? Follow steps precisely for no-fail Cherry Crumble Pie.
Runny Filling Rescue Techniques
Prevention rules: precook fully. If runny post-bake, a cornstarch slurry (1 tsp in water) stirred in while warm can thicken, but reheat gently.
Chill overnight next time.
Soggy Crust Prevention Steps
Chill crust, use dry filling, and cool on rack. Add a crust shield early.
Glass dishes help evaporate steam best.
Flavor Twists on Classic Cherry Crumble Pie
Classic Cherry Crumble Pie variations start easy. Swap almond extract for vanilla bean paste for subtlety.
Add chocolate chips to crumble for melty pockets. Mix in almonds for crunch. Spice with cinnamon in the topping.
What to Serve With This Pie?
If you’re serving this cherry crumble pie for brunch or a dessert spread, a fruit-forward pancake stack fits right alongside.
- For a berry-filled morning table, try these Fluffy Blueberry Pancakes — they share the same fruit-forward sweetness and are quick to make while the pie bakes.
- Want a heartier option that still plays well with cherries? The Fluffy Oatmeal Pancakes add a gentle nutty note and soft texture that complements the crumble topping without competing.
Keep cornstarch the same; it handles tweaks. These Cherry Crumble Pie variations keep filling thick.
Pro tip: stir extras into cooled filling to avoid sinking.
Mixed Fruit Cherry Crumble Pie
Blend 2 cups cherries with 2 cups blueberries; up sugar to 1 cup, cornstarch to 4 tbsp for extra juice.
Rhubarb needs 1/4 cup more cornstarch. Test thickness before assembling your Cherry Crumble Pie variation.
Pairing Sides with Cherry Crumble Pie
A generous scoop of vanilla bean ice cream melts into the warm filling, cutting richness. Fresh whipped cream (stabilized with a touch of cornstarch) holds peaks.
Pair with nutty shortbread for contrast. Coffee or tea balances sweetness; sparkling water refreshes the cherry brightness.
These sides make Cherry Crumble Pie shine brighter.
Storage and Make-Ahead for Cherry Crumble Pie
Store Cherry Crumble Pie covered in fridge up to 3 days. Freezing works great; wrap tightly in foil then plastic for 3 months.
Thaw overnight, reheat at 350°F for 20 minutes. Make-ahead? Precook filling up to 2 days early.
Par-bake crust for events, then finish day-of.
Cherry Crumble Pie Troubleshooting
Filling Too Thin After Baking?
You skipped full bubbling in precook. Next time, stir to steady bubbles 1 minute at 8-10 min mark. Chill sets it firm.
Crumble Topping Too Dense?
Warm butter overworked it. Use ice-cold cubes and stop at coarse crumbs for flaky texture.
Pie Crust Edges Burning?
Tent with foil after 20 minutes. Crimp high and chill dough to slow cooking.
Best Cherry Substitutes Work?
Blueberries or blackberries in 1:1 ratio; increase cornstarch 1 tbsp for juicier fruits. Adjust sugar for tartness.
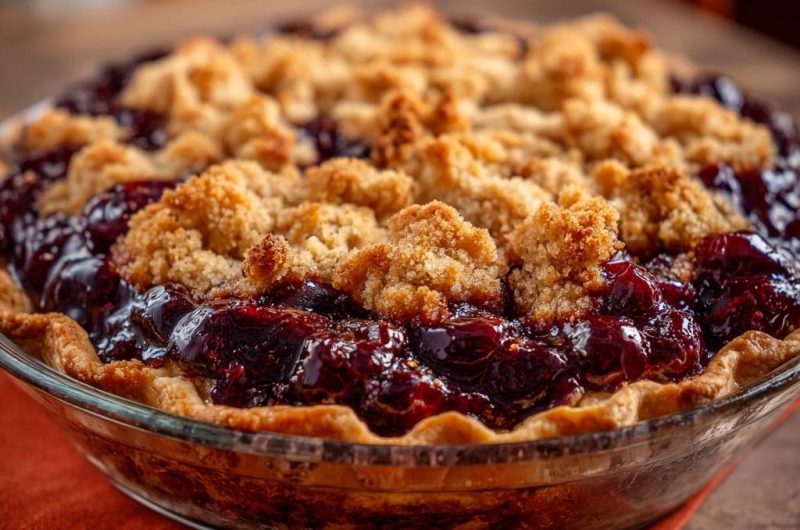
Cherry Crumble Pie
Course: DessertCuisine: AmericanDifficulty: medium8
servings20
minutes45
minutes450
kcal180
MinutesThis cherry crumble pie delivers juicy, glossy cherries in a thick, sliceable filling that holds up perfectly, topped with buttery golden crumbs. Say goodbye to watery fruit pies thanks to a simple thickening step that locks in all the juices.
Ingredients
1 9-inch unbaked pie crust
4 cups fresh or frozen pitted cherries
3/4 cup granulated sugar
3 tablespoons cornstarch
1 tablespoon lemon juice
1 teaspoon vanilla extract
1/2 teaspoon almond extract
For the crumble topping:
1 cup all-purpose flour
1/2 cup packed brown sugar
1/2 cup cold unsalted butter, cubed
1/2 cup old-fashioned oats
1/4 teaspoon salt
Directions
- Preheat oven to 375 degrees F. Fit pie crust into a 9-inch pie dish and crimp edges. Refrigerate while preparing filling.
- In a large saucepan over medium heat, combine cherries, granulated sugar, cornstarch, lemon juice, vanilla, and almond extract. Cook, stirring constantly, for 8 to 10 minutes until mixture thickens and bubbles. This is the key to never-runny filling: the cornstarch activates in the cherry juices as they heat, creating a glossy, sliceable texture that stays put during baking and serving, no weeping or leaks. Remove from heat and let cool 10 minutes.
- Pour thickened cherry filling into prepared crust.
- For crumble topping, mix flour, brown sugar, oats, and salt in a bowl. Cut in cold butter with a pastry blender or fork until mixture forms coarse crumbs. Sprinkle evenly over filling.
- Bake 35 to 40 minutes until topping is golden and filling bubbles. Cool on wire rack at least 2 hours before slicing to set fully. Serve warm or at room temperature.
Notes
- Key to never-runny filling: Cook cherries with cornstarch on stovetop before baking to activate thickening in juices. Cool pie at least 2 hours before slicing for perfect slices.