Classic Chocolate Crinkle Cookies: The Secret to Snowy Cracks
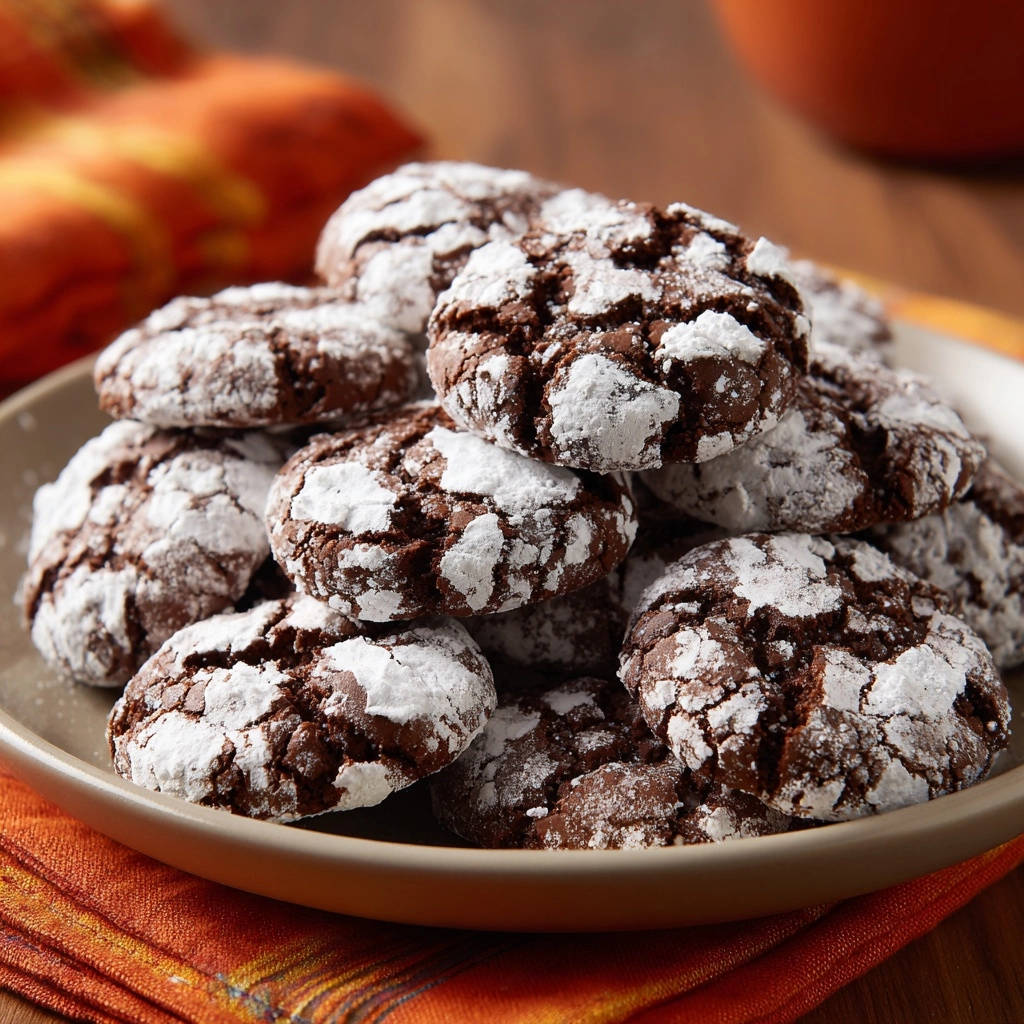
There’s nothing quite like biting into a rich, fudgy chocolate cookie, but the frustration of powdered sugar disappearing into your crinkles is all too real. After countless batches and experiments, I’ve perfected a method to ensure those gorgeous, snowy white cracks stay pristine, creating bakery-style Classic Chocolate Crinkle Cookies every single time.
This recipe isn’t just about a delicious treat; it’s a trustworthy guide to achieving that iconic, enduring powdered sugar coating that makes these Classic Chocolate Crinkle Cookies so beloved.
Why This Classic Chocolate Crinkle Cookies Recipe Stands Out
The Magic of the Double Powdered Sugar Coating
The secret lies in a unique double-coating technique for the powdered sugar. This creates an impenetrable barrier, effectively preventing the sugar from melting into the dough during baking.
You’ll achieve those striking white cracks that define perfect crinkle cookies, maintaining their beautiful appearance from oven to plate.
Irresistibly Fudgy Texture, Never Dry
Unlike some dry or cakey versions, these Classic Chocolate Crinkle Cookies boast a wonderfully fudgy and moist interior. The precise balance of ingredients ensures a tender chewiness that melts in your mouth.
This recipe consistently delivers a rich chocolate experience without any hint of dryness, making them truly irresistible homemade treats.
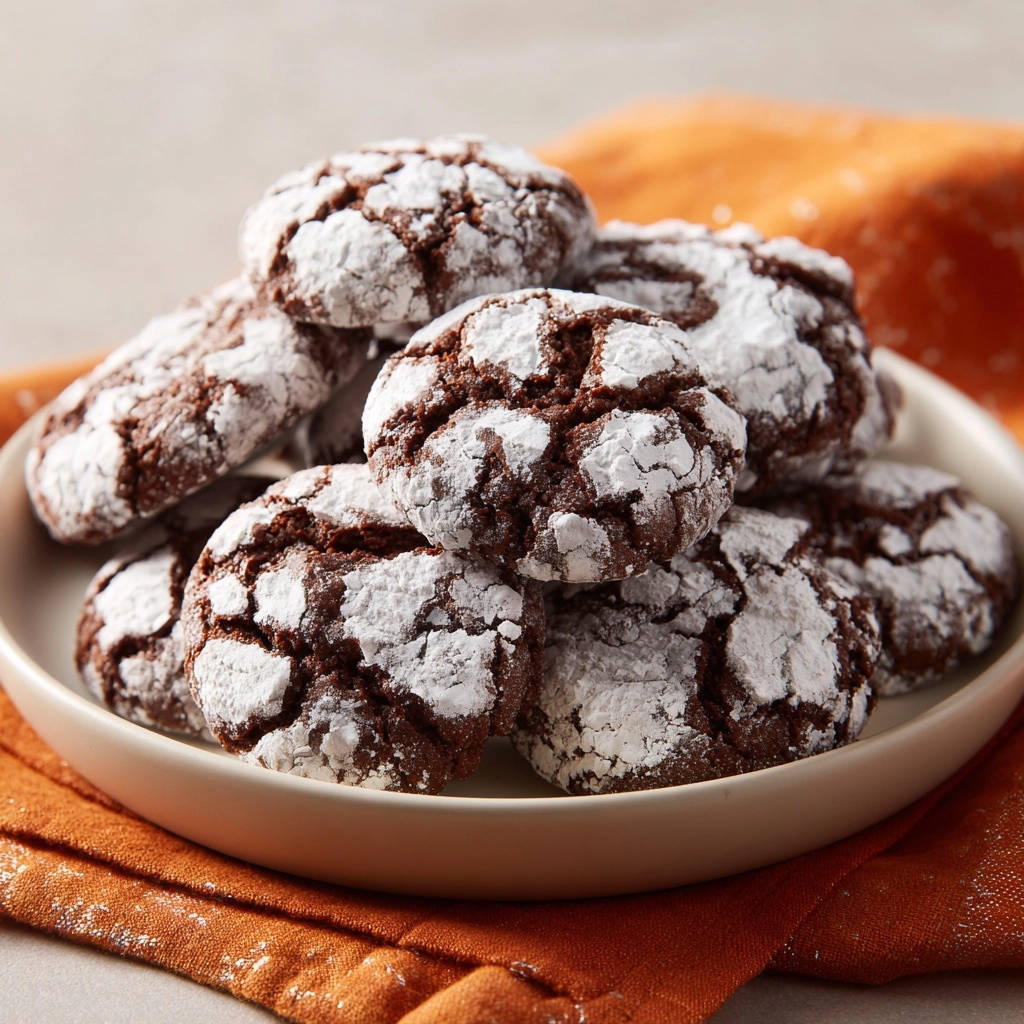
Effortless Elegance: Bakery-Perfect Results at Home
Despite their sophisticated, bakery-style appearance, these cookies are surprisingly simple to make. The steps are straightforward, designed for home bakers of all skill levels.
You can effortlessly create stunning desserts that look like they came from a professional pastry kitchen, all from your own kitchen.
Gather Your Essentials: Simple Ingredients for Sublime Cookies
Before we begin our baking adventure, let’s gather the high-quality ingredients that will transform into these magnificent fudgy chocolate cookies:
- 1 1/2 cups all-purpose flour
- 1/2 cup unsweetened cocoa powder
- 1 teaspoon baking powder
- 1/4 teaspoon salt
- 1 cup granulated sugar
- 1/2 cup vegetable oil
- 2 large eggs
- 1 teaspoon vanilla extract
- 1 1/2 cups powdered sugar, for rolling
Mastering the Cocoa: Choosing Your Chocolate Flavor
Unsweetened cocoa powder is the star of our chocolate flavor. For a deep, intense chocolate taste, opt for a good quality natural unsweetened cocoa.
Dutch-processed cocoa can also be used for a slightly mellower, darker crumb, but ensure your baking powder is balanced accordingly if substituting. For these Classic Chocolate Crinkle Cookies, natural unsweetened works beautifully.
The Role of Oil vs. Butter in Crinkle Cookies
This recipe specifically calls for vegetable oil, and there’s a good reason why. Oil contributes to a softer, chewier cookie texture that stays moist for longer.
Unlike butter, which can make cookies spread more and become crispier, oil helps maintain that desired fudgy consistency and delicate crinkle formation.
Ensuring Fluffy Cracks: Baking Powder’s Function
Baking powder is a crucial leavening agent in these cookies. It creates air pockets within the dough as it bakes, which in turn helps the cookies puff up.
This expansion and subsequent settling are what allow the powdered sugar coating to “crackle” and reveal the dark chocolate beneath, forming those iconic snowy cracks.
Tools of the Trade: What You’ll Need for Baking Success
Having the right tools makes the baking process smooth and enjoyable. Here’s what you’ll need:
- Medium mixing bowl
- Large mixing bowl
- Whisk
- Electric mixer (handheld or stand mixer)
- Rubber spatula
- Plastic wrap
- Small cookie scoop (1-inch) or tablespoon
- Shallow bowl (for powdered sugar)
- Baking sheets
- Parchment paper
- Wire cooling rack
Your Step-by-Step Guide to Irresistible Chocolate Crinkle Cookies
Prepping Your Dry Ingredients
In a medium bowl, whisk together your all-purpose flour, cocoa powder, baking powder, and salt. Whisking ensures these ingredients are evenly distributed, preventing pockets of leavening or salt in your finished cookies.
Set this bowl aside; it will be added to the wet ingredients later.
Crafting the Wet Mixture
In a large bowl, whisk together the granulated sugar and vegetable oil until they are well combined. This initial step creates a smooth, foundational mixture for your cookie dough.
Next, beat in the eggs one at a time, ensuring each is fully incorporated before adding the next. Finally, stir in the vanilla extract, which deepens the overall chocolate flavor of your Classic Chocolate Crinkle Cookies.
Combining for Perfect Dough Consistency
Gradually add the dry ingredients to the wet ingredients. Mix until they are just combined, and you no longer see any streaks of flour.
It is crucial not to overmix the dough. Overmixing develops gluten, which can lead to tough, dry cookies rather than the desired fudgy texture.
The dough will naturally be quite soft at this stage; this is perfectly normal and expected.
The Critical Chilling Phase
Cover the dough bowl tightly with plastic wrap and refrigerate it for at least 4 hours, or preferably overnight. This chilling step is absolutely essential for perfect crinkle cookies.
Chilling allows the dough to firm up, making it much easier to handle and roll. It also prevents excessive spreading during baking, ensuring your cookies hold their shape beautifully.
Readying Your Workspace & Oven
Before you start rolling, preheat your oven to 350°F (175°C). Proper oven temperature is key for even baking and ideal crinkle formation.
Line two baking sheets with parchment paper. Parchment paper prevents sticking and makes cleanup a breeze.
Shaping the Cookie Dough Balls
Remove the chilled dough from the refrigerator. Using a small cookie scoop (about 1-inch) or your hands, roll portions of dough into uniform balls.
Consistent sizing ensures that all your fudgy chocolate cookies bake evenly.
The Double Coating Technique for Lasting Crinkles
Pour the powdered sugar into a shallow bowl. Take each dough ball and roll it thoroughly in the powdered sugar, ensuring it’s completely coated in an initial layer.
Here’s the critically important trick: after the first generous roll, place the powdered sugar-coated ball back into the bowl of powdered sugar and roll it again. Ensure a very thick, second layer of powdered sugar completely covers the entire surface of the cookie.
If you want even more guidance on achieving those signature snowy tops, check out this guide to chocolate crinkle cookies with perfect cracked tops.
This double coating creates a robust barrier, which is the secret to preventing the powdered sugar from melting into the cookie as it bakes, guaranteeing those stunning, snowy cracks.
Baking to Golden Perfection
Place the double-coated dough balls on the prepared baking sheets, leaving about 2 inches between each to allow for proper air circulation and spreading.
Bake for 8 to 10 minutes, or until the edges are set but the centers still look soft. The cookies will puff up in the oven and then flatten as they cool, creating those beautiful crinkles with the white sugar intact.
Cooling for Optimal Texture
Let the cookies cool on the baking sheets for a few minutes after removing them from the oven. This allows them to firm up slightly due to residual heat.
After a brief rest, transfer them gently to a wire rack to cool completely. Cooling on a wire rack allows air to circulate around all sides, preventing condensation and maintaining their perfect texture.
Chef’s Secrets: Elevate Your Chocolate Crinkle Cookies Game
The Importance of Adequate Chilling Time
Resist the urge to shorten the chilling period. Proper chilling stiffens the dough, making it less sticky and much easier to roll into perfect balls.
More importantly, it helps prevent the cookies from spreading excessively in the oven, ensuring those beautiful, distinct crinkles and a fudgier texture.
Mastering the Double Powdered Sugar Roll
For the best results, don’t just lightly dust the cookies; truly pack on that second layer of powdered sugar. Gently press the dough ball into the sugar to ensure full adhesion.
This thick, double coating is the ultimate safeguard against the sugar melting away, preserving the iconic look of your Classic Chocolate Crinkle Cookies.
Avoiding Overmixing: The Key to Fudgy Crinkles
Once you add the flour, mix only until just combined. Overmixing activates gluten, which can lead to a tough, dry cookie texture rather than the soft, fudgy interior we’re aiming for.
A few streaks of flour are better than an overmixed, chewy dough.
Knowing When Your Cookies Are Perfectly Baked
Look for edges that are just set and appear slightly firm, while the centers still look very soft and slightly puffed. If you gently touch the center, it should yield slightly.
Remove them from the oven promptly, as they will continue to cook slightly on the hot baking sheet, preventing them from becoming dry or hard.
Pro-Tips for Gluten-Free & Vegan Adaptations
For a gluten-free version, substitute the all-purpose flour with a 1:1 gluten-free baking blend that contains xanthan gum. Ensure all other ingredients are naturally gluten-free.
To make these vegan, replace the eggs with flax eggs (1 tablespoon ground flaxseed meal + 2.5 tablespoons water per egg) and ensure your cocoa powder is vegan-friendly. The texture will be slightly different but still delicious.
Common Challenges & Simple Solutions for Crinkle Cookies
Why Did My Powdered Sugar Disappear?
The most common culprit is an insufficient coating of powdered sugar. Ensure you perform the double-coating technique meticulously, creating a very thick layer.
Additionally, if your cookie dough was too warm, the sugar may have absorbed into the dough more quickly.
My Cookies Are Spreading Too Much!
Warm dough is a primary reason for excessive spreading. Always ensure your dough is thoroughly chilled for at least 4 hours, or even overnight, before rolling.
Incorrect flour measurement (too little) or an oven that isn’t at the correct temperature can also contribute to spreading. Use an oven thermometer to verify accuracy.
The Crinkles Aren’t Forming Properly
Proper crinkle formation relies on a few factors. Ensure your dough consistency isn’t too stiff or too wet, as indicated in the recipe.
Adequate chilling is vital for the dough’s structure. Most importantly, a very thick, double coating of powdered sugar is essential for those beautiful, contrasting cracks.
Cookies Are Too Dry or Hard
This is often a sign of overbaking. Keep a close eye on your cookies and remove them from the oven as soon as the edges are set but the centers are still soft.
Always measure your flour accurately, ideally by weight, as too much flour can also lead to a drier cookie. Store them properly in an airtight container once cooled.
Enjoying & Preserving Your Homemade Delights
Creative Ways to Serve Your Crinkle Cookies
These Classic Chocolate Crinkle Cookies are a showstopper on their own, but they also shine on a holiday dessert platter. Pair them with a scoop of vanilla bean ice cream for an indulgent treat.
They make delightful gifts when packaged in decorative boxes, perfect for spreading joy during the festive season.
Storing for Freshness: Keeping Cookies at Their Best
Once completely cooled, store your perfect crinkle cookies in an airtight container at room temperature. They will remain fresh and fudgy for up to 3-5 days.
To maintain their soft texture, you can add a slice of bread to the container; the cookies will absorb moisture from the bread.
Make-Ahead Magic: Dough & Baked Cookie Storage Tips
The cookie dough can be prepared up to 2-3 days in advance and stored tightly covered in the refrigerator. This is perfect for holiday baking or entertaining.
Baked Classic Chocolate Crinkle Cookies also freeze beautifully. Place them in a single layer in an airtight container or freezer bag, separated by parchment paper, for up to 3 months. Thaw at room temperature.
Your Top Questions About Classic Chocolate Crinkle Cookies, Answered
Can I use butter instead of vegetable oil?
While you can substitute butter, it will change the texture of your Classic Chocolate Crinkle Cookies. Butter tends to make cookies spread more and results in a crispier texture rather than the fudgy, chewy one intended by the oil.
If using butter, ensure it’s melted, and you might need a slightly longer chill time for the dough.
Why do I need to chill the dough for so long?
Chilling the dough is paramount for several reasons. It allows the flour to fully hydrate, preventing a crumbly texture. It also solidifies the fats, making the dough less sticky and easier to roll, which in turn minimizes spreading in the oven.
This extended chill also deepens the chocolate flavor, leading to more flavorful homemade treats.
What if I don’t have parchment paper?
If you don’t have parchment paper, you can lightly grease your baking sheets with butter or non-stick spray. However, parchment paper is highly recommended as it prevents sticking entirely and promotes even baking without risking a greasy bottom.
Aluminum foil can also be used, but ensure you grease it well to prevent sticking.
How can I make these cookies even richer?
To amplify the richness of your Classic Chocolate Crinkle Cookies, consider adding 1/2 cup of mini chocolate chips to the dough during the final mixing stage.
You can also experiment with a high-quality dark unsweetened cocoa powder for a deeper, more complex chocolate flavor.
Are these cookies freezer-friendly?
Yes, both the dough and the baked cookies are very freezer-friendly. You can roll the dough into balls, coat them in powdered sugar, and then freeze them on a baking sheet before transferring to an airtight bag for up to 3 months.
Baked cookies can also be frozen for similar durations. Just thaw at room temperature before enjoying.
Ready to Bake? Share Your Classic Chocolate Crinkle Cookies Creation!
Now that you have all the insider tips and tricks, you’re ready to bake a batch of truly exceptional Classic Chocolate Crinkle Cookies. This recipe is designed to deliver consistent, bakery-quality results right in your own kitchen.
Embrace the joy of baking these iconic fudgy chocolate cookies, and don’t forget to share your beautifully crinkled creations! Happy baking!
Chocolate Crinkle Cookies
Course: DessertCuisine: AmericanDifficulty: easy36
cookies25
minutes8
minutes30
kcal240
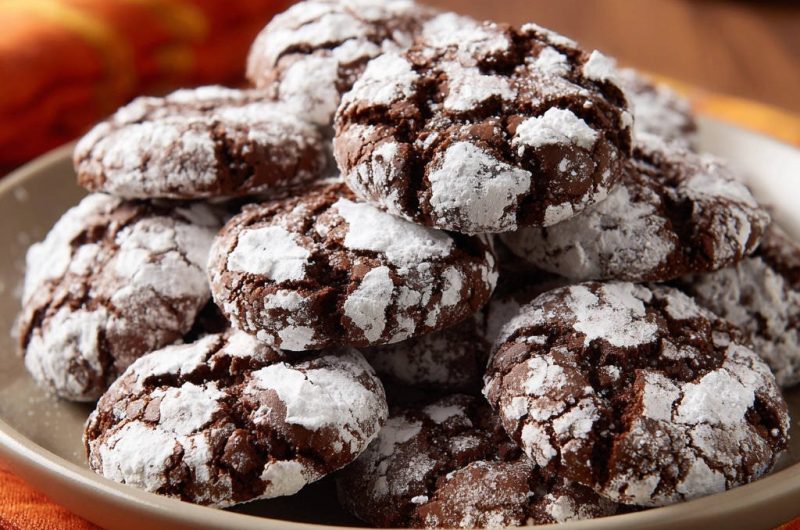
minutesAchieve bakery-perfect chocolate crinkle cookies with this fool-proof recipe. Learn the secret to keeping that beautiful snowy white coating intact, creating rich, fudgy centers with perfectly cracked exteriors every single time.
Ingredients
1 1/2 cups all-purpose flour
1/2 cup unsweetened cocoa powder
1 teaspoon baking powder
1/4 teaspoon salt
1 cup granulated sugar
1/2 cup vegetable oil
2 large eggs
1 teaspoon vanilla extract
1 1/2 cups powdered sugar, for rolling
Directions
- In a medium bowl, whisk together the all-purpose flour, cocoa powder, baking powder, and salt. Set aside.
- In a large bowl, whisk together the granulated sugar and vegetable oil until combined. Beat in the eggs one at a time until fully incorporated. Stir in the vanilla extract.
- Gradually add the dry ingredients to the wet ingredients, mixing until just combined and no streaks of flour remain. Do not overmix. The dough will be soft.
- Cover the dough bowl tightly with plastic wrap and refrigerate for at least 4 hours, or preferably overnight. This chilling is essential for the dough to firm up and be manageable for rolling.
- Preheat your oven to 350°F (175°C). Line two baking sheets with parchment paper.
- Take out the chilled dough. Using a small cookie scoop or your hands, roll portions of dough into 1-inch balls.
- Pour the powdered sugar into a shallow bowl. Take each dough ball and roll it thoroughly in the powdered sugar, ensuring it is completely coated.
- Here’s the trick to keeping that snowy finish: After the first generous roll, place the powdered sugar-coated ball back into the bowl of powdered sugar and roll it again, ensuring a very thick, second layer of powdered sugar completely covers the entire surface of the cookie. This double coating helps create a barrier that prevents the sugar from melting into the cookie as it bakes.
- Place the double-coated dough balls on the prepared baking sheets, leaving about 2 inches between each.
- Bake for 8 to 10 minutes, or until the edges are set but the centers are still soft. The cookies will puff up and then flatten, creating those beautiful crinkles with the white sugar intact.
- Let the cookies cool on the baking sheets for a few minutes before transferring them to a wire rack to cool completely.
Notes
- Chilling the dough for at least 4 hours, or preferably overnight, is crucial for easy handling and proper texture. Double coating in powdered sugar prevents melting.