Decadent Pumpkin Pie Truffles: Bakery-Perfect Every Time
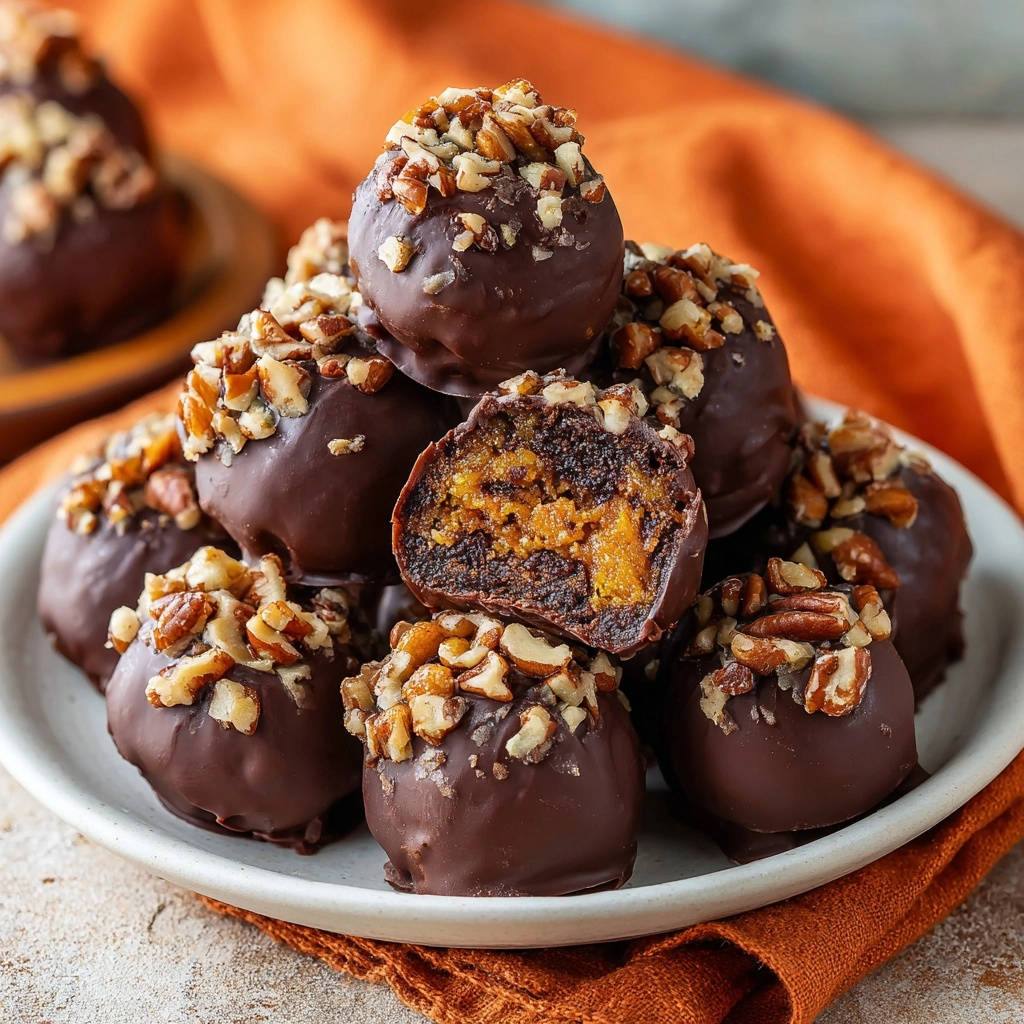
There’s nothing quite like the joy of biting into a perfectly coated truffle, but getting that smooth, beautiful chocolate shell without a sticky mess or cracks can feel like a culinary magic trick. I used to dread dipping day, but once I cracked the code on a few simple steps, everything changed. Now, these Decadent Pumpkin Pie Truffles come out looking bakery-perfect every single time, and it’s surprisingly easy to achieve that glossy, professional finish.
The Secret to Smooth, Bakery-Perfect Pumpkin Pie Truffles
Why This Recipe Solves Your Truffle Troubles
Many home cooks struggle with truffles that are too soft to handle, chocolate coatings that crack, or a messy, uneven finish. Our method directly addresses these common pain points by focusing on critical temperature control and precise dipping techniques.
The double-chill process ensures your truffle centers are firm enough for effortless handling, while our foolproof chocolate melting method guarantees a silky-smooth, even coating that sets beautifully every time.
Beyond Basic: What Makes Our Decadent Pumpkin Pie Truffles So Special?
This recipe transforms the classic flavors of autumn into an exquisite, bite-sized delight. It seamlessly marries a velvety, spiced pumpkin core with a rich, moist chocolate cake base.
The result is a treat that’s not only visually stunning but also offers a harmonious balance of flavors and textures, making these Decadent Pumpkin Pie Truffles truly stand out.
Gather Your Delights: Essential Ingredients for Decadent Truffles
The Velvety Heart: Pumpkin & Cream Cheese Core
Canned Pumpkin Puree: Provides the authentic pumpkin flavor and a creamy base. Ensure you’re using plain pumpkin puree, not pumpkin pie filling, which is already spiced and sweetened.
Powdered Sugar: Adds sweetness and helps create a smooth, firm consistency for the pumpkin filling. Its fine texture blends seamlessly without grittiness.
Pumpkin Pie Spice: Essential for that signature autumnal aroma and taste. Adjust the amount to your preference for a bolder or subtler spice profile.
Cream Cheese, Softened: Crucial for the filling’s velvety texture and rich tang. Make sure it’s fully softened to room temperature for effortless blending into a smooth mixture.
Building the Perfect Shell: Chocolate Cake Crumbs & Butter
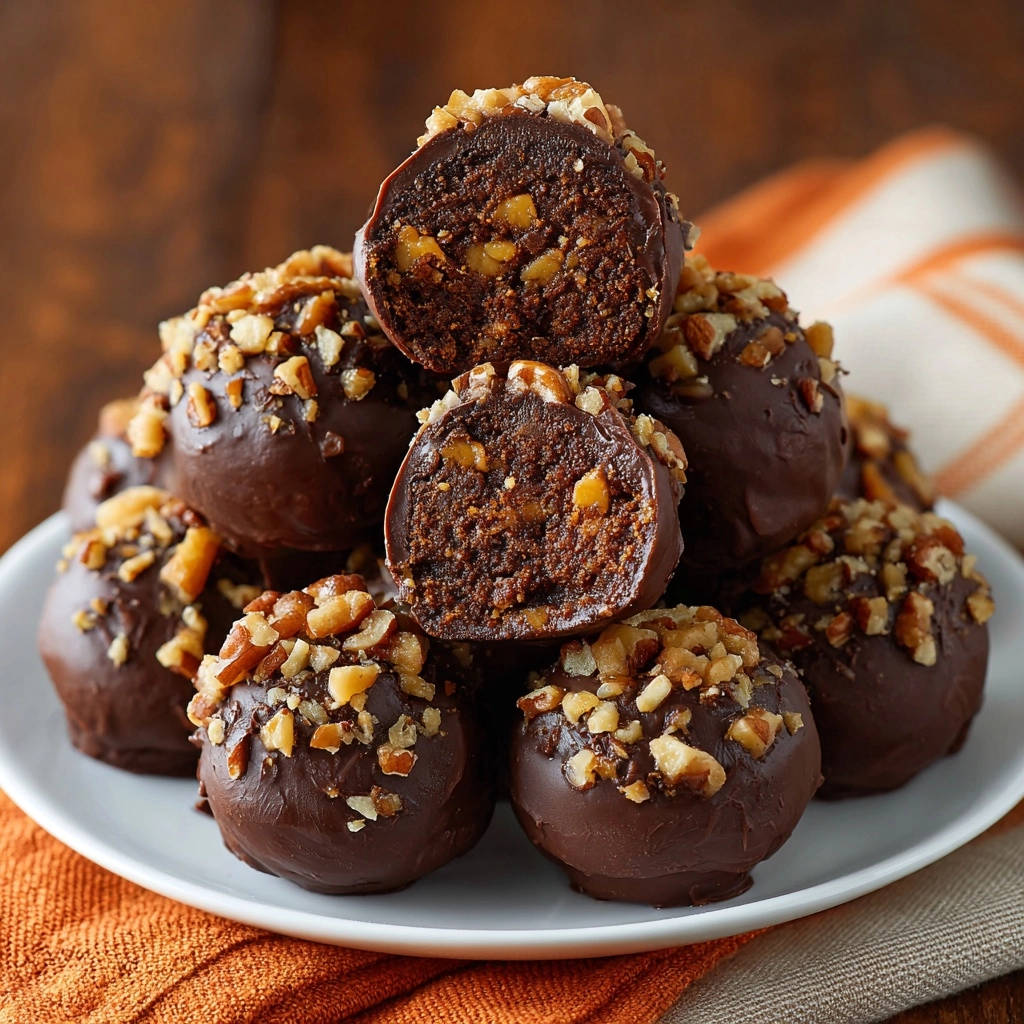
Chocolate Cake Crumbs: These form the foundational layer that encases the pumpkin filling. You can use crumbs from any baked and cooled chocolate cake or even brownies for a richer base.
Unsalted Butter, Melted: Acts as the binding agent, moistening the cake crumbs so they can be pressed and molded. Using unsalted butter gives you control over the overall sweetness and saltiness of the truffles.
Achieving that Glossy Finish: Chocolate Coating Essentials
Dark Melting Chocolate or Chocolate Chips: High-quality melting chocolate (like confectionery coating or couverture) offers the best, most consistent results for a smooth, glossy finish. If using chocolate chips, choose a good quality brand.
Coconut Oil or Vegetable Shortening (Optional): A small amount is a secret weapon when using chocolate chips. It helps thin the melted chocolate, making it more fluid and easier to work with for a thinner, more even coating on your pumpkin treats.
Topping It Off: The Crunchy Pecan Finish
Finely Chopped Pecans: These add a delightful crunch and nutty flavor contrast to the smooth truffles. Their finely chopped nature ensures they adhere well and distribute evenly for beautiful presentation.
Your Kitchen Arsenal: Tools for Truffle Success
Basic Mixing & Rolling Gear
You’ll need a couple of mixing bowls for combining ingredients. A sturdy spatula or spoon is helpful for mixing and scraping down the sides.
Parchment paper is indispensable for lining baking sheets, preventing sticking, and making cleanup a breeze. Several baking sheets will be needed for chilling and setting the truffles.
Specialized Dipping Tools (and Why They Matter)
A fork or a dedicated candy dipping tool is vital for achieving a professional-looking coating. These tools allow excess chocolate to drip off efficiently, preventing thick, uneven layers or unsightly pooling at the bottom of your truffles.
Crafting Your Decadent Pumpkin Pie Truffles: A Step-by-Step Guide
- Step 1: Prepare the Velvety Pumpkin Filling
In a small bowl, combine the pumpkin puree, powdered sugar, pumpkin pie spice, and softened cream cheese. Mix thoroughly until the mixture is completely smooth and uniform.
The pumpkin mixture should be firm enough to roll easily without sticking excessively. If it feels too soft, refrigerate it for about 30 minutes to firm up. Roll the mixture into 18-20 small balls, each about 3/4 inch in diameter. Place these perfectly formed pumpkin balls on a parchment-lined plate or small baking sheet and freeze them for at least 1 hour, or until they are very firm. This initial freeze is absolutely essential for easy handling during assembly.
- Step 2: Create the Chocolate Cake Base
In a medium bowl, combine the chocolate cake crumbs and the melted butter. Mix these ingredients thoroughly until the crumbs are evenly moistened and have a consistency that allows them to be pressed together and hold their shape.
If the mixture appears too dry or crumbly, incorporate a tiny bit more melted butter, adding it a teaspoon at a time, until you reach the desired consistency for forming a cohesive truffle shell.
- Step 3: Expert Truffle Assembly & Initial Chill
Take a portion of the prepared chocolate cake mixture, approximately one tablespoon, and flatten it into a disc in the palm of your hand. Carefully place one of the frozen pumpkin balls directly in the center of this flattened disc.
Gently but firmly wrap the chocolate cake mixture around the pumpkin ball, pinching the edges together completely to seal it. Once sealed, lightly roll the truffle between your palms to form a smooth, perfectly round shape. Repeat this process with the remaining pumpkin and cake mixtures, then place all the assembled truffles on a clean parchment-lined baking sheet.
- Step 4: The Crucial Freeze for Flawless Dipping
This step is paramount for achieving perfectly coated truffles. Place the baking sheet with all the assembled truffles back into the freezer for at least 30 minutes, or up to 2 hours, ensuring they become very firm and thoroughly cold.
This critical pre-chilling prevents the truffles from melting and collapsing when they hit the warm chocolate, allowing the coating to set quickly and preventing any unsightly cracks or unevenness. Do not skip or shorten this step!
- Step 5: Mastering the Foolproof Chocolate Melt
In a microwave-safe bowl, combine your dark melting chocolate (and the optional coconut oil or shortening if you’re using chocolate chips). Microwave the chocolate on high power in short, 30-second intervals, stirring thoroughly after each interval, until the chocolate is completely smooth and fully melted.
Alternatively, you can use a double boiler over simmering water, stirring constantly until the chocolate is smooth. It is crucial to ensure the chocolate is melted and fluid, but not too hot; it should be warm enough to be easily pourable yet cool enough that it won’t prematurely melt your perfectly chilled truffles upon contact.
- Step 6: The Art of Dipping for an Even Coat
Working quickly with one truffle at a time, use a fork or a dedicated candy dipping tool to gently submerge the very cold truffle completely into the melted chocolate. Ensure the entire surface is covered.
Lift the truffle out of the chocolate and delicately tap the fork or tool against the edge of the bowl. This allows any excess chocolate to drip off, creating a thin, even, and beautifully smooth coating that gives your truffles that desirable bakery-perfect finish.
- Step 7: Adding the Signature Pecan Topping
Immediately after dipping, and while the chocolate coating is still wet and pliable, carefully transfer the coated truffle to your parchment-lined baking sheet. Generously sprinkle the top and sides of the truffle with the finely chopped pecans.
If you struggle with cracks while dipping, the same technique is refined in these crack‑free pumpkin spice truffles.
It’s important to work swiftly here, as the chocolate sets quickly once the cold truffle hits it. Repeating this process promptly ensures the pecans adhere perfectly before the chocolate hardens.
- Step 8: Final Set & Perfect Presentation
Once all your Decadent Pumpkin Pie Truffles are beautifully coated and topped, place the entire baking sheet back into the refrigerator. Allow them to chill for approximately 15-20 minutes, or until the chocolate coating is completely set and firm to the touch.
This final chill ensures the truffles are fully stable, durable, and ready for elegant serving or secure storage. The perfectly set chocolate adds to their appealing appearance.
Unlock the Secrets: Pro Tips for Decadent Pumpkin Pie Truffle Perfection
Temperature is Key: Mastering the Chill Steps
The success of these truffles hinges on proper chilling. Freezing the pumpkin balls ensures they hold their shape perfectly when wrapped. The subsequent deep freeze of the assembled truffles prevents them from softening or melting the chocolate during dipping, allowing for a flawless coat.
Chocolate Melting Mastery: Avoiding Seize and Thickening
Always ensure your bowl and utensils are completely dry when melting chocolate; even a tiny drop of water can cause chocolate to seize and become unusable. Melt chocolate gently and avoid overheating, which can burn it or make it too thick.
If your chocolate does become a bit too thick, you can often thin it by stirring in a very small amount (1/2 to 1 teaspoon) of additional coconut oil or vegetable shortening, one drop at a time, until it reaches the desired fluid consistency.
Smooth Dipping Techniques for a Professional Finish
When dipping, fully submerge the cold truffle and lift it quickly. Tap the dipping fork or tool against the side of the bowl several times to allow all excess chocolate to drip away; this prevents unsightly pooling at the base of the truffle.
Transfer the truffle to the parchment paper by gently nudging it off the fork with another utensil, aiming for minimal contact to avoid disturbing the still-wet chocolate.
Flavor Variations & Customization Ideas
Elevate your Decadent Pumpkin Pie Truffles by experimenting with the cake base. Try gingerbread cake for a spicier kick, or even vanilla cake for a different flavor harmony. For toppings, consider a drizzle of white chocolate, a dusting of cinnamon sugar, toasted shredded coconut, or crushed shortbread cookies for added texture.
Gifting and Packaging Decadent Pumpkin Pie Truffles
These beautiful treats make exceptional homemade gifts. Arrange them in small, food-safe gift boxes lined with parchment or festive tissue paper. You can also place them in mini cupcake liners within a decorative tin for a charming presentation.
Common Truffle Troubles & How to Solve Them
My Truffles Are Too Soft to Roll!
This usually indicates that the pumpkin mixture has too much moisture or hasn’t been chilled sufficiently. Return the pumpkin mixture to the refrigerator for an additional 30-60 minutes, or even longer if needed, until it firms up.
For persistent softness, you can carefully mix in a tiny bit more powdered sugar (a tablespoon at a time) or a very small amount of finely ground cake crumbs to help absorb excess moisture and firm the mixture.
The Chocolate Coating is Too Thick or Won’t Stick!
If your chocolate coating is too thick, it might be too cool, or it may have seized. Gently re-warm the chocolate using short intervals in the microwave or over a double boiler, stirring frequently, until it regains its fluidity. If it seized, unfortunately, it’s best to start with fresh chocolate.
If the chocolate isn’t sticking, your truffles might not be cold enough. Ensure they are thoroughly frozen before dipping, as the cold surface helps the chocolate adhere and set quickly for a beautiful, even layer.
My Truffles Have a Flat Bottom or Uneven Coating!
A flat bottom often occurs when excess chocolate isn’t fully tapped off the truffle before transferring it, causing it to pool at the base. Make sure to tap the fork firmly against the bowl edge until only a thin layer remains.
For uneven coatings, ensure your truffles are very cold, which allows the chocolate to set almost instantly on contact. Work quickly when dipping and transferring to parchment paper, and use a smooth, even motion to submerge and lift the truffles.
Storing and Serving Your Decadent Truffles
How to Store for Peak Freshness
To maintain their exquisite taste and texture, store your finished Decadent Pumpkin Pie Truffles in an airtight container. Keep them refrigerated for up to one week.
This prevents them from drying out and helps the chocolate coating remain firm and glossy.
Make-Ahead Magic: Preparing Truffles in Advance
These truffles are a fantastic make-ahead dessert! You can prepare and freeze the pumpkin balls up to a month in advance. The assembled, uncoated truffles can also be frozen for several weeks, ready for dipping whenever you are.
Simply thaw the assembled truffles in the refrigerator for about 30 minutes before proceeding with the dipping steps.
Elegant Serving Suggestions
Serve your beautiful Decadent Pumpkin Pie Truffles chilled, allowing them to warm slightly to room temperature for optimal flavor release. Arrange them on a decorative platter or in small paper liners.
They pair wonderfully with a warm cup of coffee, a comforting tea, or even a glass of cold milk for a delightful treat any time of day.
Your Decadent Pumpkin Pie Truffle Questions Answered
Can I Use Different Types of Chocolate for the Coating?
Yes, absolutely! While dark chocolate offers a beautiful contrast, you can certainly use milk chocolate, white chocolate, or even a blend for the coating. Keep in mind that different chocolates have varying melting points and consistencies, which might require slight adjustments to your melting process. For more on chocolate types, see our guide to baking chocolates.
Are These Truffles Gluten-Free or Dairy-Free?
The original recipe uses chocolate cake crumbs and cream cheese, so it is not inherently gluten-free or dairy-free. However, you can adapt it by using certified gluten-free chocolate cake crumbs and dairy-free cream cheese alternatives, along with dairy-free melting chocolate. Note that texture might vary slightly with substitutions.
Can I Omit the Pecans or Use a Different Topping?
Yes, the pecans are entirely optional and easily customizable! You can omit them for a plain chocolate coating, or get creative with other toppings. Consider a drizzle of contrasting white chocolate, a dusting of cocoa powder, crushed graham crackers, mini chocolate chips, or even a sprinkle of sea salt for a sophisticated touch.
How Long Do Decadent Pumpkin Pie Truffles Last?
When stored properly in an airtight container in the refrigerator, these delicious truffles will remain fresh and delightful for up to a week. For the best flavor and texture, we recommend consuming them within 5-7 days.
Can I Freeze Finished Truffles for Longer Storage?
Yes, you can! Once fully set and coated, these Decadent Pumpkin Pie Truffles freeze beautifully. Place them in a single layer in an airtight, freezer-safe container, separating layers with parchment paper, and freeze for up to 1-2 months. Thaw them in the refrigerator overnight before serving to enjoy their perfect texture and flavor.
Making these Decadent Pumpkin Pie Truffles is truly a rewarding experience, transforming simple ingredients into bakery-perfect delights right in your own kitchen. With our foolproof methods, you’ll achieve that glossy, smooth coating and exquisite flavor every single time, making holiday preparations or everyday cravings a breeze. We encourage you to try this recipe and share your beautiful creations; these are sure to become a beloved fall tradition!
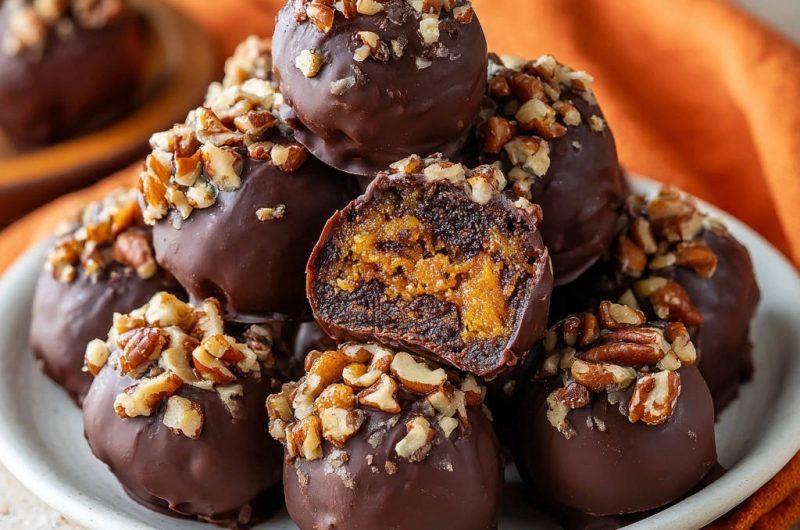
Pumpkin Pie Truffles
Course: DessertCuisine: AmericanDifficulty: medium18
truffles45
minutes100
kcal120
minutesAchieve bakery-perfect pumpkin pie truffles every time with this easy-to-follow guide. Learn the secrets to a smooth chocolate shell and impress with these delightful, homemade treats. They’re surprisingly simple to make and incredibly satisfying.
Ingredients
1 cup canned pumpkin puree
1/4 cup powdered sugar
1/2 teaspoon pumpkin pie spice
1/4 cup cream cheese, softened
2 cups chocolate cake crumbs (from a baked and cooled cake or brownies)
1 tablespoon unsalted butter, melted
12 ounces dark melting chocolate or chocolate chips
1 teaspoon coconut oil or vegetable shortening (optional, for chocolate chips)
1/2 cup finely chopped pecans, for topping
Directions
- Prepare the Pumpkin Filling: In a small bowl, combine pumpkin puree, powdered sugar, pumpkin pie spice, and softened cream cheese. Mix until completely smooth. The mixture should be firm enough to roll. If it feels too soft, refrigerate for 30 minutes. Roll the pumpkin mixture into 18-20 small balls, about 3/4 inch in diameter. Place them on a parchment-lined plate or small baking sheet and freeze for at least 1 hour, or until very firm.
- Prepare the Chocolate Cake Base: In a medium bowl, combine the chocolate cake crumbs and melted butter. Mix well until the crumbs are thoroughly moistened and can be pressed together to form a ball. If the mixture is too dry, add a tiny bit more melted butter, a teaspoon at a time, until the desired consistency is reached.
- Assemble the Truffles: Take a portion of the chocolate cake mixture (about 1 tablespoon) and flatten it into a disc in your palm. Place a frozen pumpkin ball in the center. Carefully wrap the chocolate cake mixture around the pumpkin ball, pinching the edges to seal completely. Roll gently between your palms to form a smooth, round truffle. Repeat with the remaining pumpkin and cake mixtures. Place the assembled truffles on a clean parchment-lined baking sheet.
- Chill Thoroughly: This step is crucial for successful dipping. Place the baking sheet with the assembled truffles in the freezer for at least 30 minutes (or up to 2 hours) until they are very firm and cold. This helps the chocolate set quickly and prevents the truffles from falling apart during dipping.
- Melt the Chocolate (The Foolproof Dipping Method Highlight!): In a microwave-safe bowl, combine the dark melting chocolate (and coconut oil or shortening if using chocolate chips). Microwave on high power in 30-second intervals, stirring thoroughly after each interval, until the chocolate is smooth and completely melted. Alternatively, use a double boiler over simmering water, stirring constantly until smooth. Ensure the chocolate is melted but not too hot. It should be warm enough to be fluid but cool enough that it won’t melt your truffles too quickly.
- Dip the Truffles: Working with one truffle at a time, use a fork or a candy dipping tool. Submerge the cold truffle completely into the melted chocolate. Lift the truffle out of the chocolate, gently tapping the fork against the edge of the bowl to allow any excess chocolate to drip off. This creates a thin, even coating and prevents pooling at the bottom.
- Add Pecans and Set: Immediately transfer the coated truffle to the parchment-lined baking sheet. While the chocolate is still wet, sprinkle generously with chopped pecans. Repeat with the remaining truffles, working quickly before the chocolate sets.
- Final Chill: Once all truffles are coated and topped, place the baking sheet back into the refrigerator for about 15-20 minutes, or until the chocolate coating is completely set and firm to the touch. Store the finished truffles in an airtight container in the refrigerator for up to a week.
Notes
- Store in an airtight container in the refrigerator for up to a week.