Easy Golden Cheese Crisps: The Secret to Perfect Crunch!
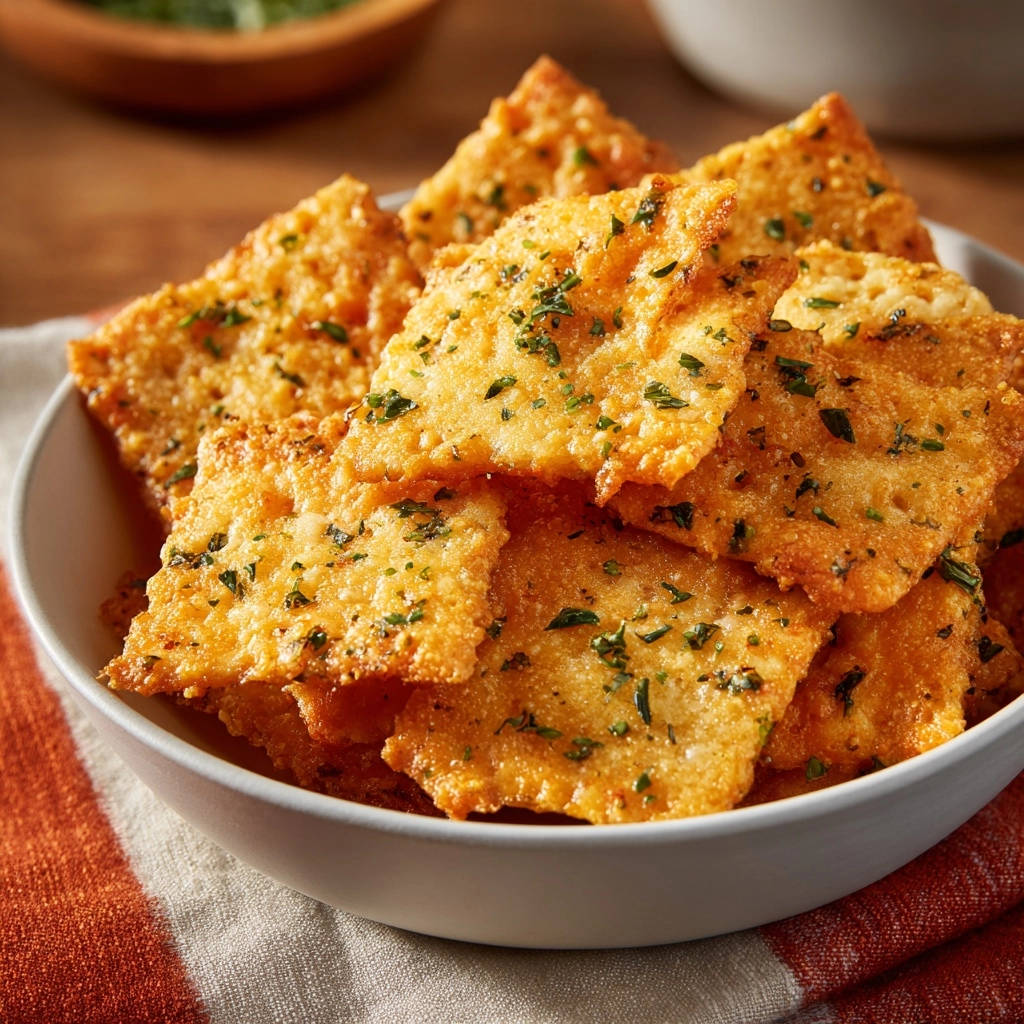
Who hasn’t experienced the frustration of cheese crisps that turn out disappointingly chewy, soft, or even worse, unevenly burnt? I’ve been there, but after countless experiments, I finally cracked the code to consistently crisp, irresistible Easy Golden Cheese Crisps.
This recipe guarantees that satisfying snap every time, transforming simple ingredients into a truly perfect golden crunch that’s simpler to achieve than you might imagine.
Why These Easy Golden Cheese Crisps Will Be Your New Go-To Snack
Forget those past struggles with soggy or overly brittle cheese crisps. This recipe for Easy Golden Cheese Crisps is designed to deliver a foolproof, consistently crisp texture and beautiful golden-brown edges every single time.
It’s incredibly simple, fast, and remarkably reliable, making it the ideal choice for a quick snack or a last-minute appetizer. If you love quick cheesy treats, you might also enjoy making some speedy cheesy pepper bites for another delicious option.
The Simple Ingredients Behind Irresistible Crisps
Achieving perfect Easy Golden Cheese Crisps requires only two ingredients, but their quality and type make all the difference.
The Star of the Show: Choosing Your Shredded Cheese
For the best results, opt for hard, shreddable cheeses like sharp cheddar, Monterey Jack, or Parmesan. These cheeses have lower moisture content, which is key to achieving that desired crispness rather than a chewy texture.
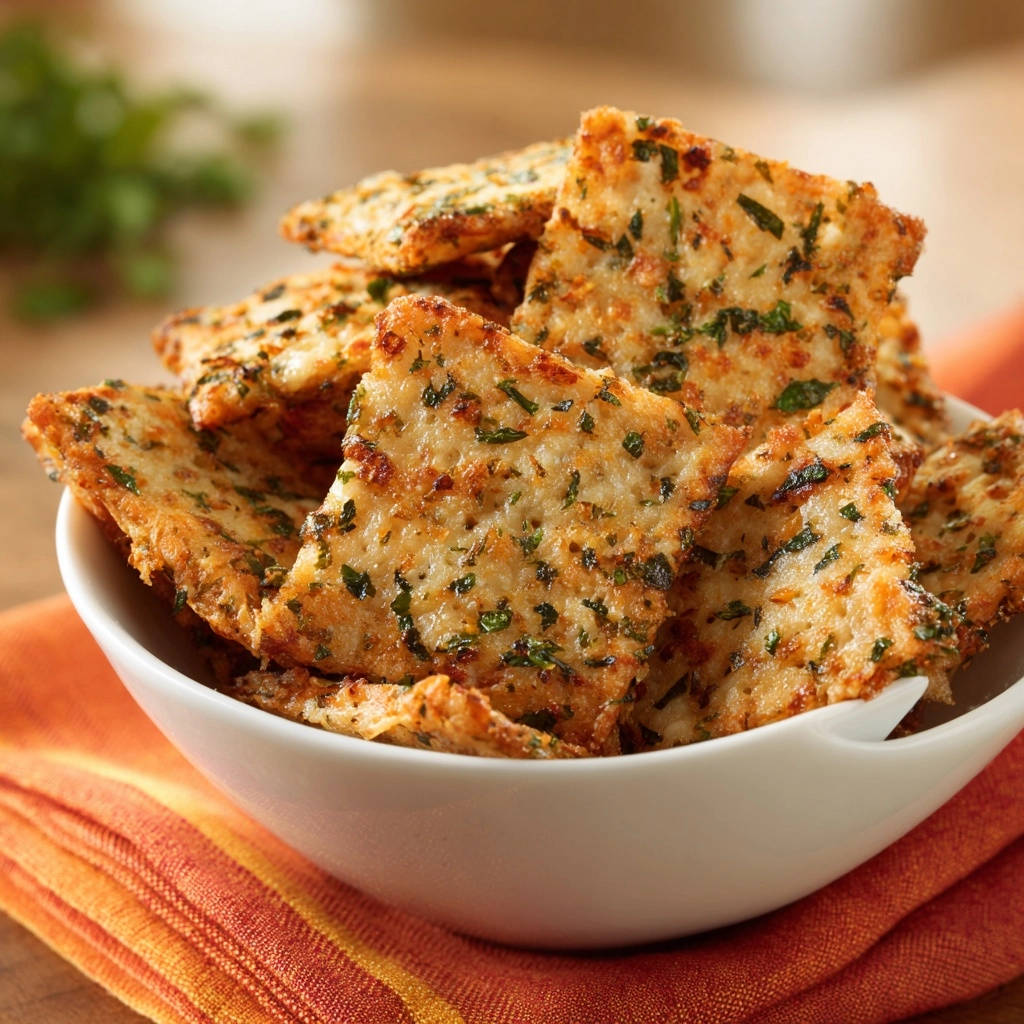
Avoid very soft or high-moisture cheeses, as they tend to melt into a greasy puddle without crisping properly. Pre-shredded cheese works perfectly here, saving you time.
A Dash of Color and Flavor: Dried Parsley Flakes
Dried parsley flakes add a subtle, fresh herbal note and a beautiful visual appeal to your golden crisps. It’s not just for garnish; it enhances the overall experience.
The gentle flavor complements the rich cheese without overpowering it, making each crisp truly irresistible.
Essential Tools for Your Easy Golden Cheese Crisps Adventure
While this recipe is incredibly simple, having the right tools on hand ensures success and an effortless cooking experience.
The Non-Negotiable: Why Parchment Paper is Crucial
Parchment paper is absolutely critical for making Easy Golden Cheese Crisps. It provides a non-stick surface, guaranteeing perfect release of your crisps without any tearing or sticking.
More importantly, it promotes even crisping across the entire surface of the cheese, which is essential for that uniform, satisfying crunch.
Basic Baking Gear: Sheet Pan & Oven Essentials
A standard baking sheet is all you need to create these delicious crisps. Ensure it’s clean and ready for lining.
A properly preheated oven is equally important; consistent heat ensures the cheese melts and crisps evenly without burning prematurely.
Master the Method: Your Step-by-Step Guide to Perfect Cheese Crisps
- Preheat & Prepare Your Baking Canvas:
Set your oven to 375°F (190°C). Achieving this precise temperature ensures even cooking without burning, a crucial first step for crispy results.
Line a baking sheet with parchment paper. This isn’t optional; it’s a critical step for preventing sticking and guaranteeing your crisps release beautifully.
- Crafting Your Crisps: Mounds and Spacing:
On the prepared baking sheet, place small, thin mounds of shredded cheese. Leave about 2 inches between each mound to allow for spreading without merging.
The secret to ultimate crispiness lies in their thickness. Gently spread each mound slightly to create a uniform, thin layer.
- A Dash of Delight: The Parsley Sprinkle:
Lightly sprinkle dried parsley flakes over each cheese mound. This adds a subtle herby note and makes your crisps visually appealing.
- The Golden Bake: Watch for Perfection:
Bake for 5 to 8 minutes. This stage requires your full attention – cheese crisps can go from perfectly golden to burnt in moments!
Your visual cue for readiness is when the edges turn a beautiful golden brown and the cheese is bubbling. This browning signifies ultimate crispness.
- The Cooling Secret: Patience for Perfect Crunch:
Carefully remove the baking sheet from the oven. Resist the urge to touch or move the crisps immediately!
Let them cool completely on the parchment paper, directly on the baking sheet. As they cool, they will firm up and become perfectly crunchy. Attempting to remove them while warm will result in a soft, non-crisp texture.
- Serve & Savor: Enjoying Your Crisps:
Once fully cooled, gently peel the crispy cheese rounds off the parchment paper. They should detach effortlessly.
Serve immediately and enjoy the satisfying, golden crunch you’ve created!
Troubleshooting Common Cheese Crisp Hurdles
Even with a simple recipe, minor issues can arise. Here’s how to ensure your Easy Golden Cheese Crisps are always perfect.
Why Are My Easy Golden Cheese Crisps Chewy or Soft?
If your crisps aren’t crunchy, they likely weren’t baked long enough, or your cheese mounds were too thick. Ensure they bake until the edges are deep golden brown.
Another common culprit is removing them from the parchment paper before they’ve fully cooled. Patience during the cooling process is absolutely crucial for achieving that satisfying snap.
Preventing Burnt Edges: The Watchful Eye
Cheese crisps can go from perfectly golden to burnt very quickly, usually in the last minute or two of baking. Stay near your oven during the final few minutes and watch for the edges to just turn golden brown.
Oven temperatures can vary, so adjust baking time as needed; your eyes are your best guide here.
My Crisps are Sticking to the Pan!
This almost always points to one thing: not using parchment paper. It is the absolute necessity for preventing sticking and ensuring easy release.
Always make sure the entire surface where cheese is placed is covered by parchment paper.
Elevate Your Easy Golden Cheese Crisps: Pro Tips & Flavor Adventures
Ready to take your Easy Golden Cheese Crisps from great to extraordinary? These tips and variations will inspire your culinary creativity.
Mastering Thickness for Ultimate Crispness
The initial thinness of your cheese mounds is paramount. Spreading the shredded cheese into a single, uniform layer before baking ensures even heat distribution and maximum crisping.
Too thick, and the center may remain chewy. Aim for a delicate, lacy spread for the best results.
Beyond Parsley: Creative Flavor Combinations
While parsley is fantastic, feel free to experiment! Try a sprinkle of dried oregano, chives, or a classic Italian seasoning blend for different herbal notes.
For a kick, a pinch of paprika, chili powder, or black pepper works wonderfully. Even a tiny dusting of garlic powder or everything bagel seasoning can transform the flavor profile of your golden crisps.
Storage Secrets for Lasting Crunch
To keep your Easy Golden Cheese Crisps delightfully crunchy, store them in an airtight container at room temperature. Layer them with parchment paper to prevent sticking.
They are best enjoyed within 2-3 days. Avoid refrigerating, as humidity can make them lose their crispness.
Serving Suggestions for Your Golden Cheese Crisps
These versatile Easy Golden Cheese Crisps are perfect for almost any occasion. Here are some delicious ideas to inspire you.
Perfect Appetizer & Snack Pairings
Serve them as a standalone snack with your favorite dips like fresh salsa, creamy guacamole, or a vibrant pesto. They are a fantastic addition to a charcuterie board, offering a salty, crunchy counterpoint to meats and fruits.
They also make a delightful, light accompaniment to a soup or salad lunch. They’re a staple for any gathering, much like classic game day buffalo chicken nachos!
Garnish & Topping Ideas
Crush a few crisps and sprinkle them over salads or hearty chili for an unexpected burst of flavor and texture. They’re excellent atop a creamy tomato soup or even as a unique, savory addition to scrambled eggs or an omelet.
Their firm structure means they can even hold a small dollop of cream cheese or a sliver of smoked salmon for elegant canapés.
Your Guilt-Free Crunch: Low-Carb & Gluten-Free Enjoyment
For those seeking healthier snack options, these Easy Golden Cheese Crisps are a dream come true. They are naturally low-carb, keto-friendly, and completely gluten-free.
They offer a satisfying crunch and rich flavor without the need for grains, making them an excellent alternative to crackers or potato chips.
Frequently Asked Questions About Easy Golden Cheese Crisps
Can I Use Different Types of Cheese for This Recipe?
Absolutely! The key is to use hard, shreddable cheeses with lower moisture content. Besides cheddar, Monterey Jack, and Parmesan, good options include Gruyere, Gouda, or even a dry Provolone.
Avoid fresh mozzarella, cottage cheese, or cream cheese, as they contain too much water and won’t crisp properly.
How Do I Store Leftover Cheese Crisps to Keep Them Crispy?
Store your cooled Easy Golden Cheese Crisps in an airtight container at room temperature. Placing parchment paper between layers can help prevent sticking.
They will maintain their crispness for about 2-3 days. For best results, avoid refrigerating them, as the moisture can soften them.
Can I Make These Easy Golden Cheese Crisps Ahead of Time?
Yes, these crisps are a fantastic make-ahead snack or appetizer. Prepare them up to 2-3 days in advance and store them properly to retain their crunch.
This makes them ideal for party prep or having a delicious, guilt-free snack on hand throughout the week.
Are Easy Golden Cheese Crisps Healthy?
These crisps are an excellent choice for low-carb, keto, and gluten-free diets, offering a good source of protein and calcium. They are a much healthier alternative to many processed snacks.
While they are naturally higher in fat, enjoyed in moderation, they can absolutely be part of a balanced and delicious eating plan.
Ready to Impress? Share Your Golden Cheese Crisps Masterpiece!
You now possess the secret to effortlessly creating perfectly crisp, golden-edged Easy Golden Cheese Crisps every single time. It’s a truly satisfying achievement to transform humble cheese into something so remarkably delicious and versatile.
Go ahead, whip up a batch (or two!) and experience that irresistible crunch for yourself. Don’t forget to share your creations and tag us on social media! And if you’re craving more cheesy delights, be sure to explore other fantastic recipes like our cheesy ham and spinach breakfast bites.
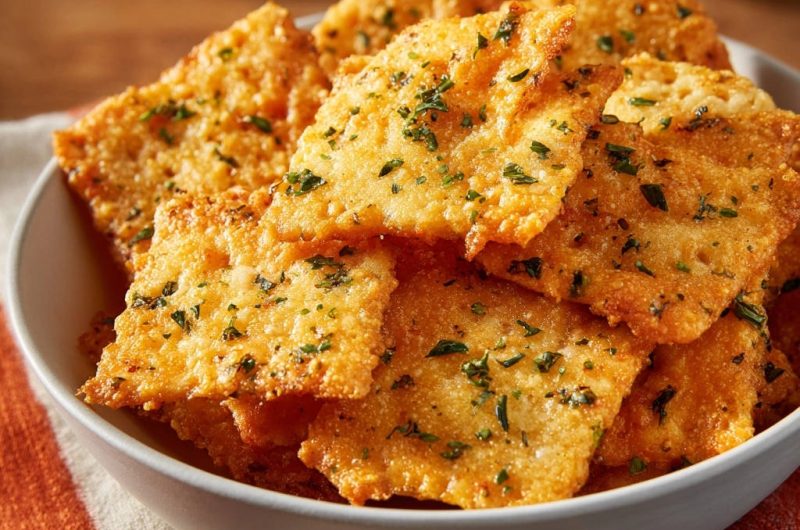
Cheese Crisps
Course: SnacksCuisine: AmericanDifficulty: easy4
(multiple crisps)5
minutes8
minutes240
kcal25
minutesSay goodbye to chewy or burnt cheese crisps! This simple recipe guides you to consistently crisp, golden, and irresistible cheese crisps. Perfect for a quick snack or appetizer, they’re easier to make than you think.
Ingredients
1 cup shredded hard cheese (like cheddar, Monterey Jack, or Parmesan)
1 teaspoon dried parsley flakes
Directions
- Preheat your oven to 375 degrees Fahrenheit. Line a baking sheet with parchment paper; this is a critical step for perfect release and even crisping.
- On the prepared baking sheet, place small, thin mounds of shredded cheese. Ensure each mound is about 2 inches apart to allow for spreading and even baking. The key to crispiness is to not make them too thick, so spread them slightly if needed to create a uniform, thin layer.
- Sprinkle a pinch of dried parsley flakes over each cheese mound.
- Bake for 5 to 8 minutes, or until the edges are golden brown and bubbling. Watch them closely, as they can go from perfectly golden to burnt quickly. The browning of the edges is your signal for ultimate crispness.
- Carefully remove the baking sheet from the oven. Let the cheese crisps cool completely on the parchment paper on the baking sheet. As they cool, they will firm up and become perfectly crunchy. Do not remove them while warm, as they will still be soft.
- Once fully cooled, gently peel the crispy cheese rounds off the parchment paper. Serve immediately and enjoy that satisfying crunch!
Notes
- Ensure complete cooling on parchment paper for ultimate crispness.