Mastering Slow Roasted Pulled Beef with Caramelized Onions
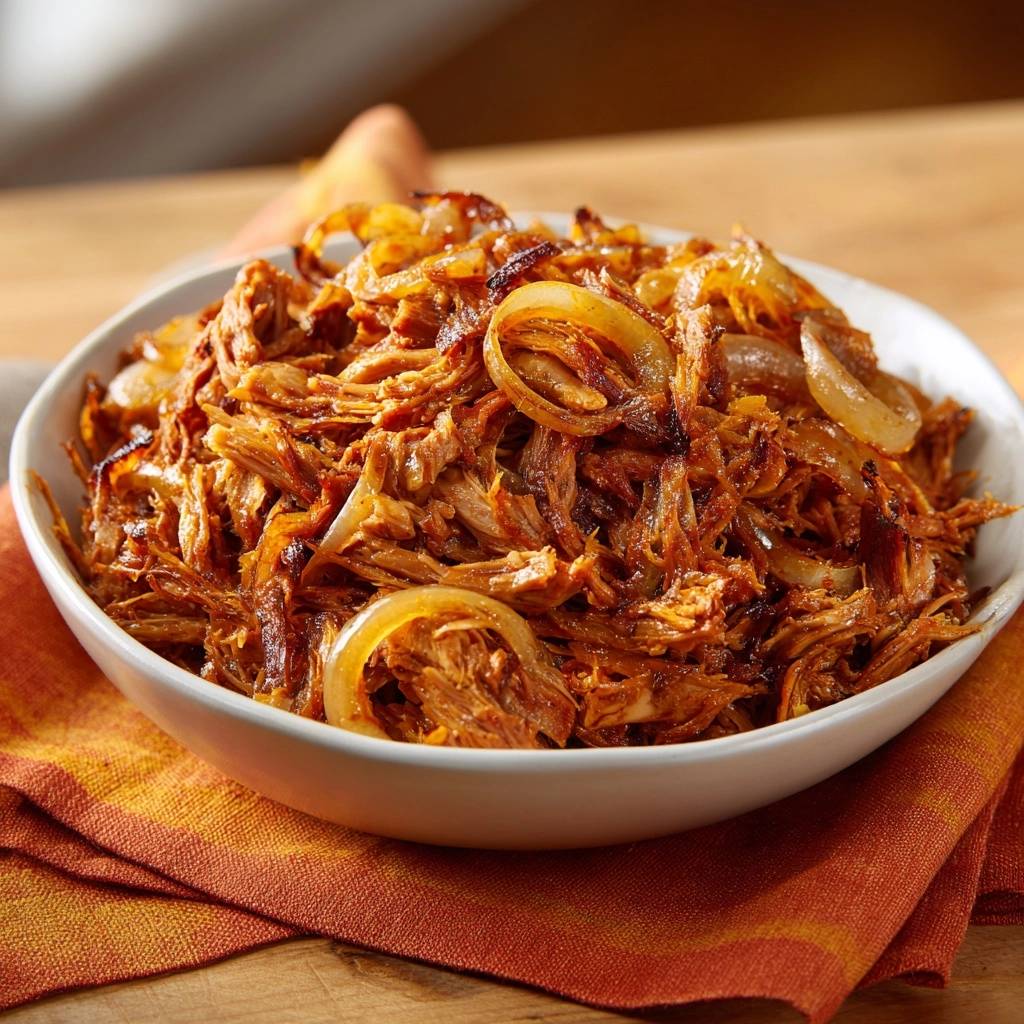
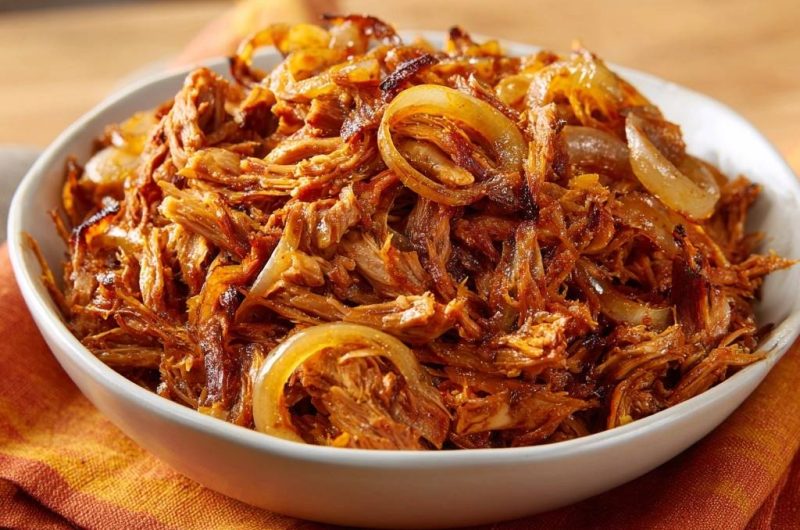
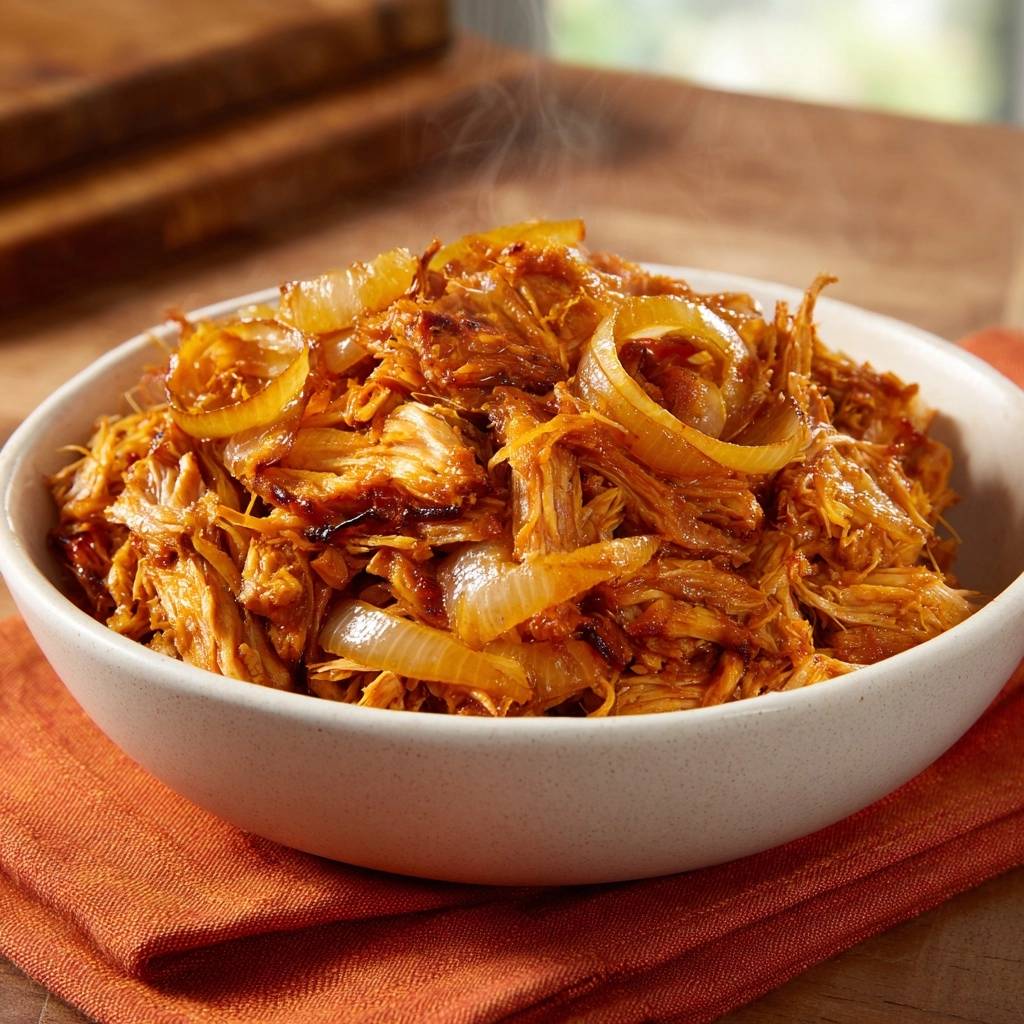
Imagine pulling a heavy pot from the oven and lifting the lid to reveal beef so tender it practically falls apart at the mere suggestion of a fork. This isn’t just standard pot roast; it’s a masterclass in texture, featuring deeply glazed, mahogany-colored strands of beef with those coveted crispy, caramelized edges. The contrast between the melt-in-your-mouth interior and the sweet, savory crust is what sets this dish apart from the average Sunday dinner.
Many home cooks struggle with pulled beef that ends up stringy, dry, or swimming in a thin, flavorless gray liquid. We solve that problem by moving away from simple boiling and embracing a two-stage roasting and glazing process. By controlling the moisture during the long braise and then finishing the shredded meat in its own concentrated sugars and fats, you create a rich, sticky coating that clings to every fiber.
The secret to this success lies in the “cartouche” method, a professional technique that uses a parchment paper barrier to trap steam directly against the meat. This prevents the top layer of the beef from drying out into a leathery texture during the four-hour roast. When you combine this moisture control with a final stovetop reduction, you bridge the gap between a traditional braise and a high-end roast, resulting in the most succulent beef you’ve ever tasted.
The Science of Succulent Chuck Roast
When it comes to pulled beef, the chuck roast is your only real option. This cut comes from the shoulder of the animal, a hard-working muscle group loaded with connective tissue and intramuscular fat, often called marbling. While a lean cut like a round roast would turn into dry, chewy wood fibers in the oven, the chuck roast thrives under long exposure to heat.
The magic happens when the internal temperature of the meat stays between 190°F and 200°F for an extended period. At this stage, the tough collagen—the protein that makes the meat feel “rubbery”—undergoes a chemical transformation and melts into gelatin. This gelatin coats the individual muscle fibers, providing that silky, lip-smacking mouthfeel that defines great barbecue or slow-cooked meats.
Without this transformation, the meat will remain “tough” even if it is technically cooked through. You need that specific ratio of fat and connective tissue found in the chuck to ensure the meat stays lubricated as the water evaporates. As the collagen dissolves, it creates a natural sauce within the meat itself, ensuring every bite is juicy rather than stringy.
Why Low and Slow Beats High Heat
It’s tempting to crank the oven to 400°F to save time, but high heat is the enemy of tenderness. Rapid cooking causes muscle fibers to contract violently, squeezing out all their moisture before the collagen has a chance to melt. This results in the “dry but cooked” paradox, where the meat is falling apart but feels like sawdust in your mouth. A steady 300°F environment allows the fibers to relax while the slow breakdown of tissue occurs.
Essential Components for Deep Umami Flavor
Building a complex flavor profile starts with high-quality ingredients that contribute to the “umami” or savory depth of the dish. Using beef bone broth instead of standard boxed stock is a game-changer here. Bone broth contains natural gelatin which adds a luxurious body to the final glaze, making it feel thick and velvety on the tongue rather than watery.
Smoked paprika is another heavy hitter in this recipe. While some use it for heat, we use it primarily for its earthy aroma and the deep reddish-brown color it lends to the beef’s crust. It mimics the “smoke ring” flavor of a professional smoker without requiring you to step foot outside. When paired with the tomato paste, it creates a base that looks as rich as it tastes.
Don’t underestimate the importance of how you prep your vegetables. Slicing the yellow onions into thick 1/2-inch rings is vital. If you slice them too thin, they will completely dissolve into the sauce during the four-hour cook. At a half-inch thickness, they soften into a jam-like consistency that still has enough structure to be tangled up with the shredded beef in every bite.
The Role of Acidity and Sugar
Balance is everything in a heavy, fatty dish like beef chuck. Apple cider vinegar acts as a brightener, cutting through the rich lipids and preventing the dish from feeling too “heavy” on the palate. Meanwhile, the tablespoon of brown sugar isn’t there to make the beef sweet; it’s there to fuel the Maillard reaction during the final glazing stage, helping the meat achieve that dark, crystallized exterior.
Phase One: Achieving the Perfect Maillard Sear
The foundation of your flavor is built in the first ten minutes. Before the beef ever touches the pan, you must pat it completely dry with paper towels. If the surface is wet, the meat will steam instead of sear, and you’ll miss out on the complex flavors created by the Maillard reaction. You want a dark, mahogany crust on all sides of the beef chunks.
As you sear the meat in the Dutch oven, you’ll notice brown bits sticking to the bottom of the pot. This is called the “fond,” and it is concentrated flavor gold. Do not let it burn, but do not be afraid of it. This caramelized protein will eventually be lifted by the liquids to create the base of your sauce. Work in batches if necessary to avoid overcrowding the pan, which drops the temperature and prevents a good crust.
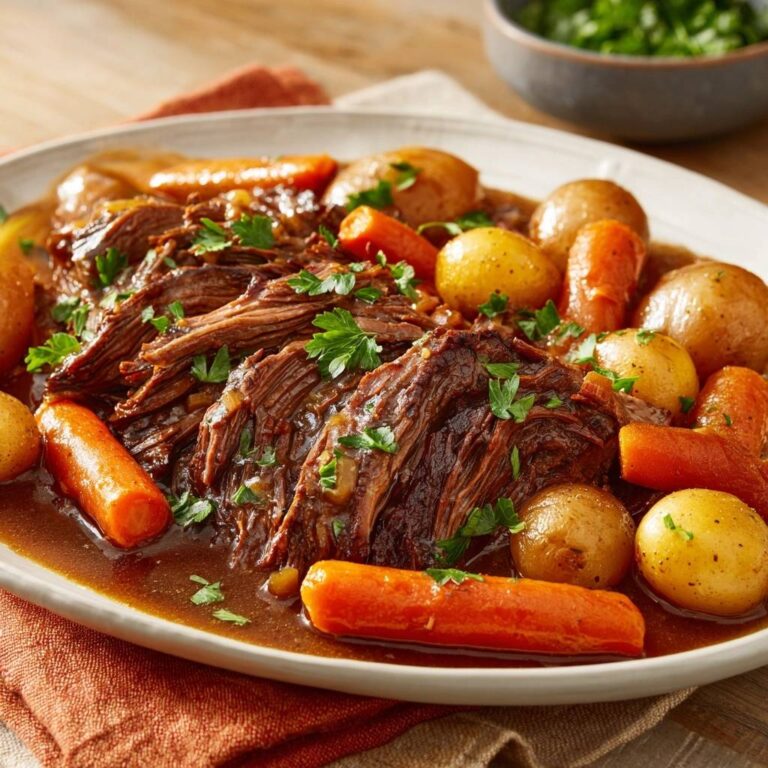
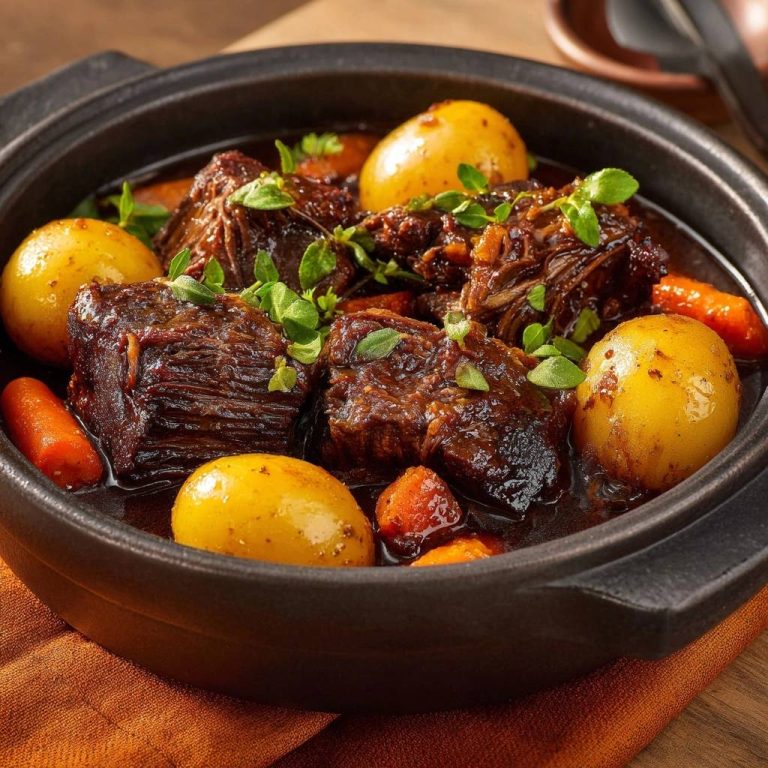
Those browned bits are the foundation of a rich broth, much like those in a classic pot roast.
Phase Two: Building the Caramelized Onion Base
Once the meat is seared and set aside, the onions go into the pot to pick up all that leftover flavor. As they sauté, they release moisture that helps loosen the fond from the bottom. You aren’t looking for a full French onion soup caramelization here, just a softening of the fibers and a light golden hue that signals the sugars are starting to release.
The next critical step is “cooking out” the tomato paste. When you add the paste and garlic, stir them constantly for about two minutes until the paste shifts from a bright red to a dark, brick-red color. This removes the raw, metallic taste of the tomato and develops a mellow, savory background. Deglazing with the vinegar and broth at this point ensures every bit of flavor is incorporated into the liquid.
The Cartouche Method: Solving the Dryness Issue
The biggest mistake people make in slow roasting is relying solely on the heavy lid of a Dutch oven. Even the best lids allow some steam to escape, and the air gap between the lid and the meat can cause the top of the beef to become dry and “jerky-like.” To solve this, we use a French technique called a cartouche.
By placing a piece of parchment paper directly on top of the meat and onions before sealing the pot with foil and the lid, you create a micro-environment. This parchment circle acts as a secondary, flexible lid that keeps the moisture in direct contact with the beef. It essentially bastes the meat in its own juices for the entire four hours, ensuring the top is just as tender as the bottom.
Phase Three: The Four-Hour Transformation
Inside the 300°F oven, the beef undergoes a total transformation. For the first two hours, the meat will actually feel quite tight and tough. However, as you cross the three-hour mark, the connective tissues finally give up their hold. The meat begins to relax into the surrounding liquid and onions.
You’ll know it’s ready when you can press a fork into the center of a beef chunk and it offers zero resistance. The meat should “collapse” rather than spring back. If you feel any “bounce” or toughness when you poke it, it needs another 30 minutes. True fork-tenderness is unmistakable; the fibers should slide apart with almost no effort.
If you enjoy the rich, tender beef, you’ll find the same comforting satisfaction in this cheesy ground beef and rice skillet.
The Finishing Step: Reducing the Glaze
Never serve your pulled beef straight out of the braising liquid if it looks like a thin soup. To get that professional, glossy finish, you must reduce the liquid. After shredding the beef into a separate bowl, place the Dutch oven back on the stovetop over medium-high heat. Boil the remaining liquid and onions for about five to eight minutes.
Watch for the bubbles to change; they will go from thin and watery to large, slow-popping bubbles that look syrupy. Once the liquid has reduced by half and coats the back of a spoon, it has become a glaze. Tossing the shredded beef back into this concentrated essence is what provides the deep mahogany color and intense flavor that makes this recipe famous.
Optional: Broiling for Crispy Edges
If you love the texture of carnitas, you can take this one step further. Spread the glazed, shredded beef onto a large sheet pan in a single layer. Pop it under the broiler for just 3 or 4 minutes. The high heat will crystallize the sugars in the glaze on the tips of the beef, creating tiny, crispy “burnt ends” that provide a fantastic crunch against the tender meat.
Troubleshooting Common Texture Problems
If your meat is still tough after four hours, the most likely culprit is that it simply hasn’t cooked long enough to melt the collagen. Every piece of meat is different; just put the lid back on and give it another 30 minutes. On the other hand, if the sauce feels too greasy, it’s because the chuck roast was exceptionally well-marbled. You can easily skim the excess fat off the top of the liquid with a wide spoon before you start the reduction process.
For flavor issues, remember that the glaze concentrates as it boils. If it tastes too salty, add a splash of water or a little more bone broth to thin it back out. If it feels too heavy or “flat,” a tiny squeeze of fresh lemon juice or another teaspoon of apple cider vinegar at the very end can wake up all the other flavors instantly.
What to Serve With Slow-Roasted Pulled Beef
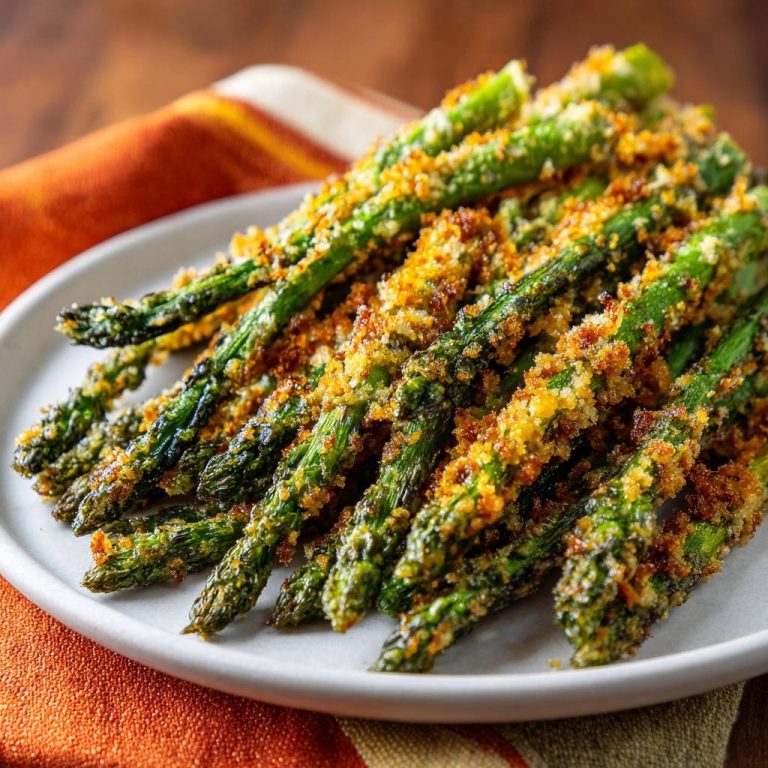
That tender, oniony shredded beef works well with a saucy side and a crisp, cool counterpoint. Here are two options that fill the plate without stealing attention.
- Let the Hearty Mixed Bean Bake with Thick, Glossy Sauce soak up the beef’s juices –
Optimal Pairings for Slow Roasted Pulled Beef
This beef is incredibly rich, so you want pairings that offer a contrast in texture or acidity. Creamy garlic mashed potatoes or a soft, buttery polenta are classic choices because they soak up the extra glaze beautifully. The smooth texture of the potatoes provides a perfect backdrop for the chunky, shredded beef.
To balance the heaviness of the fats, I always recommend something bright and crunchy on the side. A simple slaw made with cabbage and a vinegar-based dressing works wonders. Alternatively, a quick pile of pickled red onions adds a pop of color and a sharp acidic bite that cleanses the palate between mouthfuls of the savory, caramelized beef.
Storage, Reheating, and Batch Cooking
This is one of those rare dishes that actually tastes better the next day. As the beef sits in the fridge, the flavors in the glaze continue to penetrate the meat fibers. It will stay fresh in an airtight container for up to four days. You can also freeze this beef for up to three months; just make sure it is completely cooled before sealing it in a freezer-safe bag with as much air removed as possible.
When reheating, avoid the microwave if you can, as it tends to make the protein fibers rubbery. Instead, place the beef in a skillet over medium heat with a splash of beef broth or water. Cover it for a few minutes to let the steam loosen the glaze, then toss it until it’s hot and glossy again. This preserves the texture and keeps the meat from drying out.
Expert Tips for Success
First, never use pre-cut “stew meat” for this recipe. Those cubes often come from various parts of the cow and will cook at different rates, leaving you with some mushy pieces and some tough ones. Always buy a whole chuck roast and cut it into large chunks yourself to ensure uniform tenderness.
Second, let the meat rest for about 15 minutes after taking it out of the oven but before shredding. This allows the juices to redistribute so they don’t all run out onto the cutting board. If you have leftover onions and glaze but no meat, save that “onion jam” to use as a spread for sandwiches or a topping for burgers the next day.
Finally, if you are cooking for a large crowd, you can easily double this recipe. Just be sure to sear the meat in several batches. If you crowd the pot, the temperature will drop, the meat will release its juices, and you’ll end up boiling the beef instead of getting that essential dark crust that provides the base for the entire dish.
How do I store leftovers and does this freeze well?
Store any leftover beef in an airtight container in the refrigerator for up to 4 days. This dish freezes exceptionally well because the high fat and gelatin content protect the meat from freezer burn. Place the cooled beef and its glaze in a heavy-duty freezer bag, squeeze out the air, and freeze for up to 3 months. Thaw in the fridge overnight before reheating in a skillet with a splash of broth.
Why is my beef still tough after the recommended cooking time?
If the beef is tough, it is almost always undercooked, not overcooked. Chuck roast contains a lot of connective tissue that only breaks down once the internal temperature reaches about 190°F to 200°F. If your fork doesn’t slide in easily, simply put the lid back on and continue cooking in 30-minute increments. Even an extra hour won’t hurt it as long as there is liquid in the pot.
Can I use a different cut of meat if I can’t find chuck roast?
The best substitutes are brisket or beef short ribs, as they both have the necessary fat and collagen to stay moist during a long roast. Avoid lean cuts like top round, eye of round, or sirloin. These lean cuts lack the internal marbling required for “pulling” and will become extremely dry and stringy if cooked for four hours.
What should I do if my sauce is too salty?
Since we reduce the liquid at the end to create a glaze, the saltiness becomes more concentrated. If it tastes too salty, do not keep reducing it. Instead, add a splash of water or unsalted beef broth to dilute the salt. You can also add a little extra brown sugar or a squeeze of lime juice to help mask the saltiness and balance the flavor profile.
Can I make this in a slow cooker instead of an oven?
Yes, you can use a slow cooker on the “low” setting for 8 to 10 hours. However, you must still perform the searing step in a skillet first to develop the flavor. Additionally, because slow cookers don’t allow for evaporation, you will need to transfer the liquid to a saucepan at the end to reduce it into a thick glaze on the stovetop, otherwise, the meat will be watery.
Slow Roasted Pulled Beef
Course: Main CourseCuisine: AmericanDifficulty: mediumYields6
servingsPrep Time15
minutesCook Time4
hoursCalories345
kcalTotal Time255
MinutesA specialized slow-roasting method for beef chuck roast that utilizes a cartouche seal and a final glazing step to ensure tender, juicy meat with crispy, flavorful edges.
Ingredients
3 pounds beef chuck roast, trimmed of excess fat and cut into 3 large chunks
3 large yellow onions, sliced into 1/2-inch thick rings
4 cloves garlic, minced
1/2 cup beef bone broth (reduced amount to ensure a glaze, not a soup)
2 tablespoons tomato paste
1 tablespoon brown sugar
1 tablespoon smoked paprika
1 teaspoon salt
1 teaspoon black pepper
2 tablespoons vegetable oil
1 tablespoon apple cider vinegar (to brighten the heavy fats)
Directions
- Pat the beef chunks completely dry with paper towels. Season all sides generously with salt, pepper, and smoked paprika.
- Heat the vegetable oil in a large heavy Dutch oven over medium-high heat. Sear the beef for 5 to 6 minutes per side until a very deep, dark brown crust forms. Remove the meat and set aside.
- In the same pot, add the sliced onions. Sauté for 5-8 minutes until they begin to soften and pick up the browned bits (fond) from the beef.
- Stir in the tomato paste, garlic, and brown sugar. Cook for 2 minutes until the paste turns a brick-red color. Stir in the apple cider vinegar, scraping the bottom of the pan.
- Pour in the 1/2 cup of beef broth. Place the seared beef back into the pot, piling the onions on top of the meat to act as a moisture barrier.
- To solve the dryness issue, place a piece of parchment paper directly on top of the meat and onions, then cover the pot with a double layer of heavy-duty aluminum foil before pressing the lid on. This “cartouche” method prevents steam from escaping and drying out the top of the meat.
- Cook in a low oven at 300°F (150°C) for 3.5 to 4 hours, or until the meat collapses when pressed with a fork.
- Remove the beef to a large bowl and shred it into bite-sized chunks using two forks.
- The Finishing Step: If there is excess liquid in the pot, boil it down on the stovetop for 5 minutes until it becomes a thick, syrupy glaze. Toss the shredded meat and the softened onions back into this glaze.
- For the visual “crispy edge” look, spread the coated meat on a sheet pan and broil for 3-4 minutes, or simply sauté in the Dutch oven over medium-high heat for 5 minutes until the juices are absorbed and the beef looks glossy and caramelized.
Notes
- The cartouche method using parchment paper prevents steam from escaping. For the best texture, ensure the final liquid is reduced to a syrupy glaze before tossing with the shredded meat.