Festive Pink White Chocolate Popcorn Recipe
Why This Crunchy Holiday Treat Shines
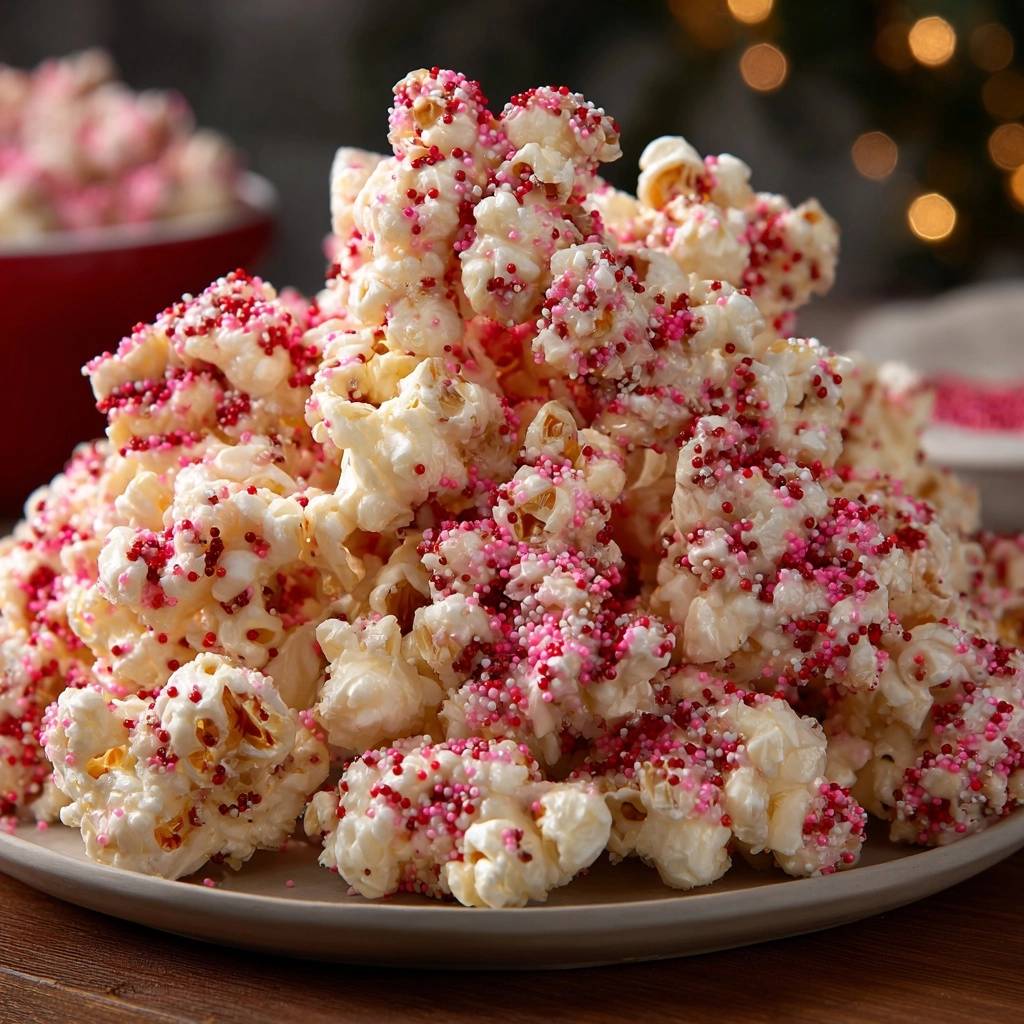
Picture this: you bite into popcorn coated in white chocolate, and instead of that dreaded chewiness, you get pure, shattering crunch. Most chocolate-covered popcorn turns soggy fast because folks skip the cooling steps. This Festive Pink White Chocolate Popcorn stays crisp for days, thanks to a foolproof single-layer method.
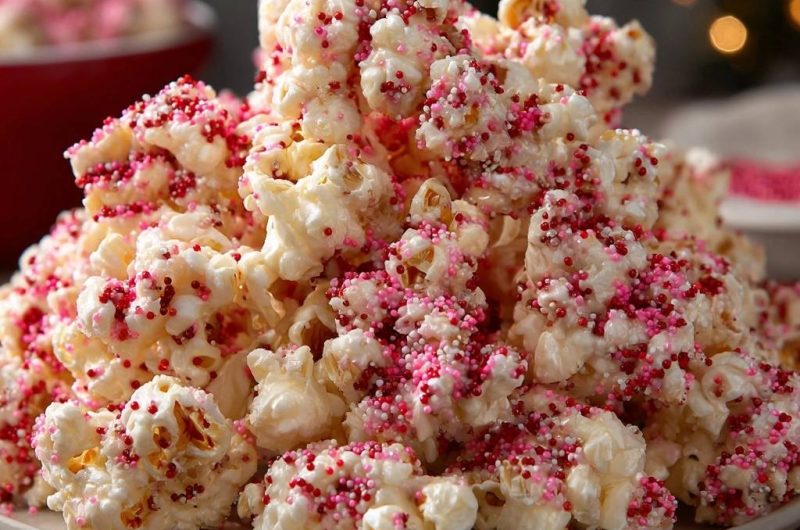
Therefore, it’s perfect for holiday parties where you want treats that wow without the mess. The pink and red sprinkles pop against the creamy white chocolate, creating a festive explosion of color. You’ll crave that sweet, salty snap every time.
If you love working with white chocolate in this popcorn, you’ll want to try these salted caramel white chocolate cookies next.
Oh man, I’ve dealt with enough sad, chewy batches to know the secret: always cool the plain popcorn bone-dry before coating. That one tip locks in the crunch forever. Get ready for a treat that vanishes at gatherings.
Perfect for Holiday Gatherings
This popcorn shines on party trays or as DIY gift bags. Kids go wild for the colorful crunch, and it beats store-bought versions that wilt quick. In addition, package it in cellophane for easy gifting. Everyone raves about the fresh, crisp bite.
No-Soggy Promise Explained
The magic happens with single-layer cooling on parchment. Airflow evaporates moisture while chocolate sets firm. However, skip this, and sogginess wins. Follow the steps ahead, and you’ll nail ultra-crisp Festive Pink White Chocolate Popcorn every time.
Key Ingredients for Festive Pink White Chocolate Popcorn
You need just three stars: 10 cups plain popped popcorn, 12 ounces white chocolate chips or candy melts, and 1/2 cup pink and red sprinkles. Plain popcorn keeps it crisp since butter adds moisture that ruins the crunch. Therefore, air-popped works best for max volume without oil.
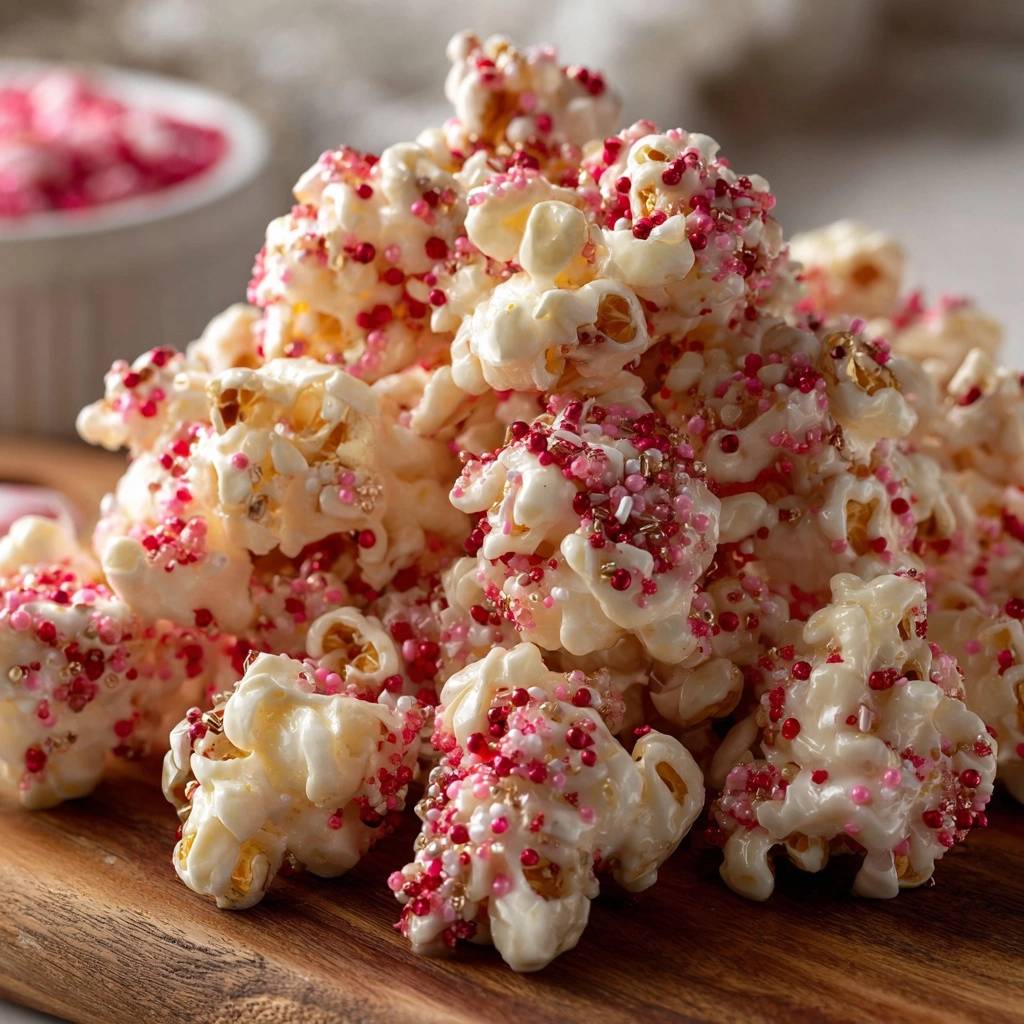
White chocolate melts smooth and sets hard, coating kernels lightly. Candy melts offer easier handling if you’re new to melting. Pink and red sprinkles stick perfectly when tacky, adding festive flair without extra sugar overload.
Grab quality chips from the baking aisle; they’re cheap at about $3 per bag. Sub microwave popcorn if needed, but pick out kernels. This combo costs under $10 and serves a crowd.
Popcorn Selection Guide
Air-popped beats microwave for superior crispness retention since it skips added fats. Stovetop works too, but sift out unpopped kernels to avoid tooth-cracking surprises. Always choose plain; buttered versions sog quick.
Chocolate and Sprinkles Breakdown
White chocolate chips melt creamy but need gentle heat; candy melts resist seizing better. Pick jimmies over nonpareils for sprinkles; they adhere without rolling off. Balance pink and red for that holiday pop.
Crisp Popcorn Prep Foundation
Start by popping 10 cups plain popcorn. Spread it in a single layer on parchment-lined baking sheets right away. Pick out unpopped kernels; they ruin the fun.
Let it cool completely for 10 minutes. You’re aiming for bone-dry kernels; feel them, they shouldn’t feel warm or damp. This step evaporates steam, so chocolate won’t seize later. Skip it, and sogginess starts here.
Best Popping Techniques
Air poppers yield the most volume and crispness. Microwave bags save time but check for plain labels. Stovetop gives control; shake often for even pops without burning.
Gentle Melting for Smooth Coating
Melt 12 ounces white chocolate in a microwave-safe bowl. Heat in 30-second bursts, stirring well after each. Total time hits about 2 minutes until silky smooth.
This method prevents scorching since white chocolate burns at low temps. Use a big bowl for easy stirring, and grab a silicone spatula. If microwaves scare you, try a double boiler for steady heat.
Pro tip: if it thickens, add a teaspoon of coconut oil to loosen without graininess.
Avoiding Grainy Chocolate Texture
Bursts and constant stirring distribute heat evenly, avoiding hot spots. Overheat shows as lumps; stir in warm water drops to fix. Candy melts forgive small errors better than chips.
Even Coating Without Sogginess
Pour melted chocolate over cooled popcorn in a huge bowl. Gently toss with a spatula or gloved hands until kernels look lightly coated. Don’t drown them; aim for a thin veil that lets crunch shine.
Work fast to keep chocolate fluid. You’ll see it clinging just right, transforming plain popcorn into something magical. Overcoating traps moisture, so less is more here.
Sprinkle Adhesion While Tacky
While chocolate’s still tacky, sprinkle on 1/2 cup pink and red mix evenly. Toss lightly so they stick without sinking. This timing ensures vibrant color pops everywhere.
Go heavy on pink for that festive vibe, but balance reds too. Shake the bowl gently; sprinkles grip the warm coating perfectly. Prevent clumping by distributing quick.
Single-Layer Set for Ultra-Crisp Results
Spread coated popcorn in a thin single layer back on parchment-lined sheets. No piling or crowding; space lets air circulate. Let it set at room temp for 20-30 minutes until firm.
Chocolate hardens without fridge moisture, locking crunch in. Break apart clusters once cool; they snap satisfyingly. This step’s the hero against sogginess.
Humidity can slow it, so fan nearby if needed. Patience pays off big.
Science of Chocolate Hardening
Room temp triggers crystallization for a snappy set; cold traps moisture, softening kernels. Airflow speeds even hardening. High humidity? Use dehumidifier for best results.
Storage Secrets for Lasting Crunch
Store in an airtight container at room temp; it stays crisp up to a week. Portion into small batches to avoid digging in humid air. Keep away from fridge vibes.
Re-crisp any soft bits in a 250°F oven for 5 minutes. Pro tip: layer with paper towels inside the container to absorb stray moisture.
Avoiding Common Popcorn Pitfalls
Soggy results come from warm popcorn or thick chocolate layers. Grainy melts happen with overheated bursts; stir more. Uneven sprinkles? Add them too late or toss too hard.
Spot sogginess by limp kernels; re-spread and cool longer next time. For clumps, break early before full set. These fixes keep your Festive Pink White Chocolate Popcorn flawless.
Overcoating and Moisture Traps
Stick to light coating; excess weighs down crunch. Signs include heavy, sticky feel. Prevent by tossing in batches if needed.
Festive Pink White Chocolate Popcorn Variations
Stir in peppermint extract for minty holidays. Swap sprinkles for green/red Christmas mix or pastels at Easter. Add roasted nuts post-coating for crunch boost.
Try dairy-free white chocolate for vegan twists. Dark chocolate works but sets softer; stick to the cooling method. Customize endlessly while keeping that crisp core.
Holiday Theme Adaptations
Red and green jimmies scream Christmas cheer. Pastel pinks and blues fit Easter baskets. Metallic sprinkles add glam for New Year’s.
Pairing Ideas for Festive Popcorn
Serve with hot cocoa for cozy movie nights. It elevates fruit platters or cheese boards too. Pair with sparkling cranberry juice; the tartness cuts the sweet.
Portion 2 cups per guest for parties. Mix with plain nuts for a snack tray that lasts. Kids love it solo as a treat.
Frequently Asked Questions
Can I Use Regular Chocolate?
Stick to white chocolate; dark or milk won’t set crisp and seize on popcorn moisture. White’s low cocoa butter mimics candy coating best for crunch lock-in.
How Long Does It Stay Crisp?
In an airtight container, it holds crunch up to 7 days at room temp. Avoid fridge humidity; paper towel lining extends freshness further.
Make It Vegan Friendly?
Yes, swap for dairy-free white chocolate chips or vegan candy melts. Ensure sprinkles are vegan too; most are. Method stays the same for perfect results.
Scale for Larger Batches?
Double ingredients, but use multiple sheets for single-layer space. Melt chocolate in two bowls to avoid thickening. Yields 20 cups easy.
Fix Soggy Finished Popcorn?
Spread on a sheet and bake at 250°F for 5-10 minutes, stirring halfway. Cools back to crisp. Prevent by following cooling steps strictly.
White Chocolate Popcorn
Course: SnackCuisine: AmericanDifficulty: easy10
cups15
minutes2
minutes240
kcal45
MinutesTired of chocolate-covered popcorn turning chewy? This foolproof method keeps every kernel ultra-crisp with a single-layer cool-down trick. Perfect for holiday snacking!
Ingredients
10 cups plain popped popcorn (air-popped or plain microwave, kernels removed)
12 ounces white chocolate chips or candy melts
1/2 cup pink and red sprinkles
Directions
- Pop the popcorn and spread it in a single layer on parchment-lined baking sheets. Pick out any unpopped kernels. Let cool completely (about 10 minutes) to ensure its bone-dry, the first key to no sogginess.
- Melt white chocolate chips or candy melts in a microwave-safe bowl: heat in 30-second bursts, stirring smooth after each, until fully melted (about 2 minutes total). This gentle melt prevents graininess.
- Working quickly in a huge bowl, pour melted chocolate over cooled popcorn. Gently toss with a spatula or gloved hands until evenly coated but not drowned, the light coating secret for staying crunchy.
- Immediately sprinkle pink and red sprinkles over the coated popcorn while chocolate is tacky, tossing lightly to stick them everywhere.
- Heres the game-changer for zero sogginess: Spread coated popcorn in a thin single layer back on parchment-lined baking sheets. Do not pile or crowd. Let cool at room temperature for 20-30 minutes until chocolate sets firm (no fridge needed, avoids moisture). Break apart clusters once hardened.
- Store in an airtight container it stays crisp for days!
Notes
- Store in an airtight container; stays crisp for days! No fridge needed to avoid moisture.