Salted Caramel White Chocolate Cookies: Unlocking Chewy Perfection
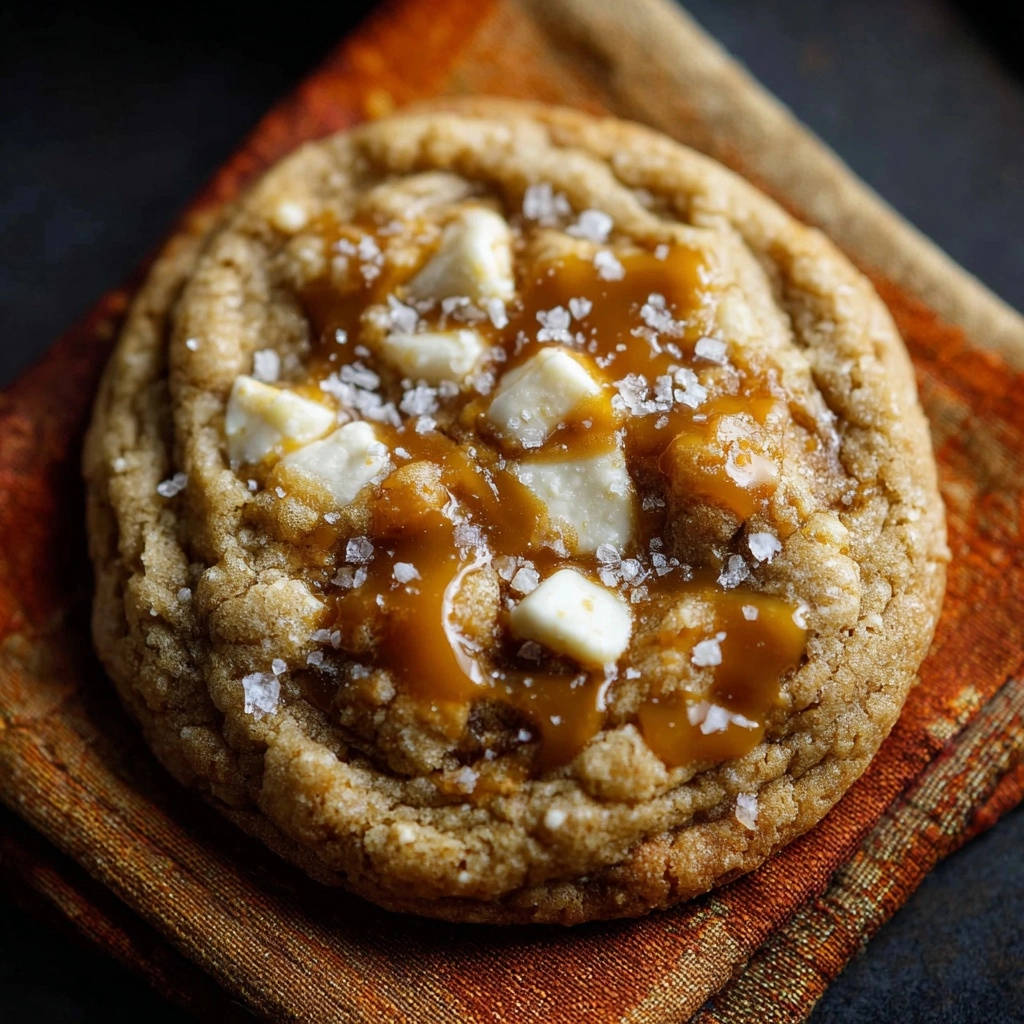
Flat, dry, or simply underwhelming cookies used to be my nemesis, despite my best efforts. But after countless baking experiments, I discovered a game-changing technique that consistently delivers the most incredible, chewy Salted Caramel White Chocolate Cookies imaginable.
This recipe isn’t just another cookie; it’s a revelation, transforming simple ingredients into a deeply flavorful, perfectly textured treat that will vanish from your cookie jar in record time.
The Magic Behind These Salted Caramel White Chocolate Cookies
What sets these Salted Caramel White Chocolate Cookies apart is a deceptively simple yet profoundly impactful technique: browning the butter. This isn’t just a step; it’s the secret to an incredible depth of flavor.
If you enjoy the nutty crunch here, you’ll also love these loaded almond chocolate chunk cookies.
The browned butter introduces rich, nutty notes that elevate the entire cookie experience, preventing them from being flat or dry. It’s the cornerstone for achieving that coveted chewy texture every single time, making common baking struggles a thing of the past.
Gather Your Culinary Arsenal: Ingredients List
- 2 cups all-purpose flour
- 1 teaspoon baking soda
- 1/2 teaspoon salt
- 1 cup (2 sticks) unsalted butter
- 3/4 cup packed light brown sugar
- 1/4 cup granulated sugar
- 2 large eggs
- 1 teaspoon vanilla extract
- 1 cup white chocolate chunks or chips
- 1/4 cup caramel sauce, for drizzling
- 1/2 teaspoon flaky sea salt, for topping
Understanding Your Key Ingredients (And Why They Matter!)
The Foundation: Flour, Baking Soda & Salt
All-purpose flour provides the essential structure for your cookies. Baking soda acts as a leavening agent, creating a softer, chewier interior.
Salt balances the sweetness and enhances all the other flavors, making each bite more complex and satisfying.
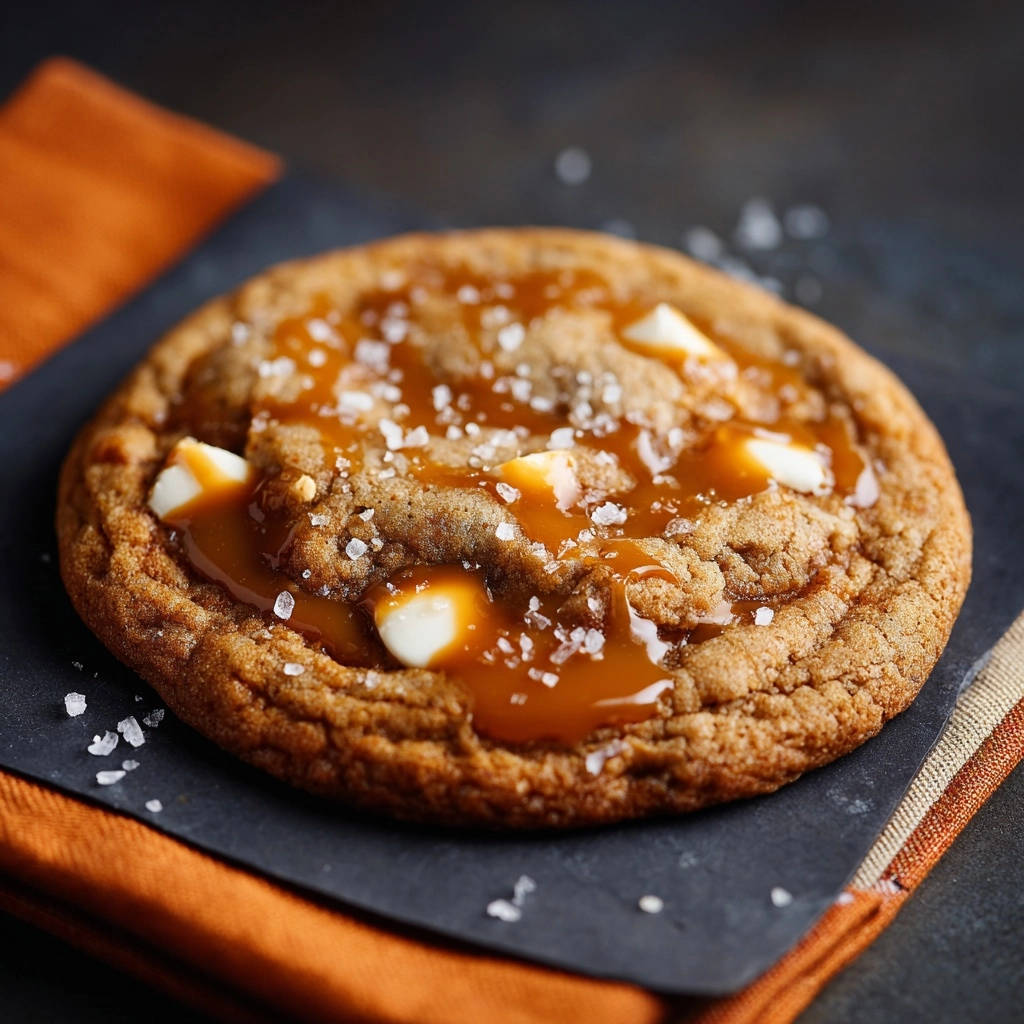
Browned Butter: The Game Changer for Flavor & Texture
Browning unsalted butter introduces a deep, nutty, caramelized flavor that cannot be replicated. It transforms the cookie’s aroma and taste profile entirely.
This process also impacts the cookie’s moisture content, contributing significantly to that amazing chewy texture we’re aiming for.
Sugars & Eggs: The Science of Chewiness and Richness
Light brown sugar adds moisture, chewiness, and a subtle molasses flavor to the cookies. Granulated sugar contributes to crisp edges and aids in spread.
Large eggs bind the ingredients, add richness, and further enhance the chewy texture by emulsifying fats and liquids in the dough.
White Chocolate & Caramel: The Irresistible Duo
Creamy white chocolate chunks melt into sweet pockets, offering a delightful contrast to the nutty butter notes. The caramel sauce adds a luxurious, gooey sweetness.
A sprinkle of flaky sea salt on top provides a crucial counterpoint, highlighting the caramel and cutting through the richness for a perfectly balanced bite.
Essential Tools for Your Cookie Baking Journey
Having the right tools ensures a smooth baking process and optimal results for your Salted Caramel White Chocolate Cookies.
Medium Saucepan: Crucial for evenly browning the butter and achieving that signature nutty flavor.
Heatproof Bowl: Immediately pouring browned butter into this stops the cooking process, preventing it from burning.
Electric Mixer (Stand or Handheld): Essential for creaming butter and sugars, ensuring a light, airy dough foundation.
Parchment Paper: Lines baking sheets for easy cleanup and prevents cookies from sticking, promoting even baking and perfect bottoms.
Cookie Scoop: Ensures uniform cookie size for consistent baking and a professional appearance.
Crafting Your Salted Caramel White Chocolate Cookies: Step-by-Step Guide
- Mastering the Browned Butter:
In a medium saucepan, melt the unsalted butter over medium heat. Continue cooking, stirring occasionally, until the butter turns a rich golden amber color.
You’ll notice fragrant, nutty brown bits forming at the bottom, indicating perfect caramelization. Immediately pour the browned butter into a heatproof bowl to halt the cooking and let it cool for about 10 minutes.
This browning process is absolutely key to unlocking a rich, deep flavor and contributes significantly to the amazing chewy texture in your finished cookies.
- Whisking Dry Ingredients:
In a separate medium bowl, whisk together the all-purpose flour, baking soda, and 1/2 teaspoon of salt.
This ensures all leavening and seasoning agents are evenly distributed throughout the dough, preventing pockets of unmixed ingredients.
- Creaming Butter and Sugars:
Once the browned butter has cooled slightly (it should still be liquid but no longer scalding hot), combine it in a large bowl with the light brown sugar and granulated sugar.
Beat with an electric mixer on medium speed for about 2 minutes, until the mixture is creamy and well combined. This aeration creates pockets that contribute to a softer cookie.
- Adding Eggs and Vanilla:
Add the large eggs one at a time to the butter-sugar mixture, beating thoroughly after each addition until fully incorporated. This builds structure and emulsifies the ingredients.
Stir in the vanilla extract, ensuring its warm notes are evenly distributed throughout the dough.
- Gently Combining Wet and Dry:
Gradually add the whisked dry ingredient mixture to the wet ingredients, mixing on low speed until just combined. Be careful not to overmix the dough.
Overmixing develops gluten, which can lead to tough, dense cookies instead of the desired chewy texture.
- Folding in White Chocolate:
Gently fold in the white chocolate chunks or chips using a spatula. Distribute them evenly throughout the dough without crushing them.
- The Secret to Texture: Chilling the Dough:
Cover the dough tightly with plastic wrap and chill it in the refrigerator for at least 30 minutes, or up to 2 hours.
This crucial step allows the flavors to meld beautifully and significantly improves the cookie’s texture by preventing excessive spreading during baking.
- Preheating and Preparing:
Preheat your oven to 375 degrees Fahrenheit (190 degrees Celsius). Line baking sheets with parchment paper.
Parchment paper prevents sticking and promotes even browning on the cookie bottoms.
- Scooping Your Dough:
Scoop rounded tablespoons of the chilled dough onto the prepared baking sheets. Ensure you leave about 2 inches between each cookie to allow for proper spreading.
- Baking to Golden Perfection:
Bake for 9-11 minutes, or until the edges are golden brown and the centers still appear slightly soft and underbaked. This ensures a perfectly chewy interior.
Remember, the cookies will continue to set and firm up as they cool, leading to that ideal soft, gooey center.
- Cooling Gracefully:
Let the cookies cool on the baking sheet for 5 minutes after removing them from the oven. They are delicate when hot and need this time to firm up.
After 5 minutes, carefully transfer them to a wire rack to cool completely, preventing them from becoming soggy on the bottom.
- The Final Flourish: Drizzle & Sprinkle:
Once the cookies have cooled completely, drizzle generously with caramel sauce. This allows the caramel to set slightly without immediately melting into the warm cookie.
Finish with a delicate sprinkle of flaky sea salt, enhancing both the flavor and visual appeal of your indulgent Salted Caramel White Chocolate Cookies.
Expert Tips for Unforgettable Salted Caramel White Chocolate Cookies
Perfecting Your Brown Butter: Keep a close eye on your butter as it browns. The color should be a rich, golden amber, and a distinct nutty aroma will emerge.
Immediately transfer it to a cool bowl once it reaches this stage to prevent it from burning, which can introduce a bitter taste.
The Dough Chill: Don’t Skip It! Chilling the dough is critical for flavor development and texture. It solidifies the fats, resulting in less spread and a thicker, chewier cookie.
For quicker chilling, flatten the dough into a disc before refrigerating, or even flash freeze for 15-20 minutes.
Avoid Overmixing at All Costs: Once you add the dry ingredients, mix only until just combined. Overmixing develops the gluten in the flour, leading to tough, cakey cookies.
A few streaks of flour are acceptable; they will disappear during baking.
Achieving That Perfect Chewy Center: Watch for golden brown edges and centers that still look slightly underdone and soft when baking. This indicates they are perfectly baked for chewiness.
Cookies continue to cook with residual heat after leaving the oven, a process called carryover cooking, which will finish setting the centers.
The Power of Flaky Sea Salt: A generous sprinkle of flaky sea salt is not just for decoration. It provides a crucial burst of salinity that enhances the sweetness of the caramel and white chocolate.
This contrast creates a more complex and satisfying flavor profile in your Salted Caramel White Chocolate Cookies.
Troubleshooting Common Cookie Conundrums
Why Are My Salted Caramel White Chocolate Cookies Flat and Spreading Too Much?
Flat cookies often result from butter being too warm when mixed, or insufficient chilling time for the dough. Ensure your browned butter cools sufficiently before mixing, and always chill the dough for at least 30 minutes.
An oven that isn’t preheated properly or an incorrect amount of baking soda can also contribute to excessive spreading. Verify your oven temperature with an oven thermometer.
My Cookies Are Dry and Crumbly: What Went Wrong?
Dry, crumbly cookies are typically a sign of overmixing the dough or overbaking. Mix the dry ingredients in until just combined, stopping as soon as no dry streaks remain.
Keep a close eye on the baking time; remove cookies when the edges are golden and the centers are still slightly soft.
The Caramel Topping is Too Sticky/Hard, Or It Runs Off!
If caramel is too hard, it might be too cold; gently warm it for a few seconds. If it’s running off, it might be too hot or too thin.
Always drizzle caramel onto completely cooled cookies for the best adhesion and a neat finish. Use a good quality, thicker caramel sauce for optimal results.
Serving, Storing, and Enjoying Your Caramel White Chocolate Cookies
Creative Serving Suggestions
These delightful Salted Caramel White Chocolate Cookies are perfect on their own, but consider serving them warm with a scoop of vanilla bean ice cream for an extra indulgent dessert.
For a perfect pairing, try our Mastering Sea Salt Dark Chocolate Chunk Cookies.
They also pair wonderfully with a hot cup of coffee or a cold glass of milk, making them an ideal afternoon treat. Package them beautifully for a thoughtful homemade gift.
Proper Storage for Maximum Freshness
Store your freshly baked cookies in an airtight container at room temperature for up to 3-4 days. To maintain chewiness, you can add a slice of plain white bread to the container; the cookies will absorb its moisture.
For longer storage, freeze baked cookies in an airtight container or freezer bag for up to 3 months. Thaw at room temperature or gently warm for a fresh-baked experience.
Make-Ahead Tips for Easy Baking
The cookie dough can be prepared up to 3 days in advance and stored, covered, in the refrigerator. This allows flavors to deepen even further.
You can also scoop the dough into balls and freeze them on a baking sheet, then transfer to a freezer bag once solid. Bake directly from frozen, adding 2-3 minutes to the baking time.
Frequently Asked Questions About Salted Caramel White Chocolate Cookies
Can I use store-bought caramel sauce, or do I need to make my own?
Absolutely, store-bought caramel sauce works perfectly for these cookies! Choose a high-quality, thicker caramel sauce for the best texture and flavor, ensuring it drizzles well without being too runny.
What if I don’t have white chocolate chunks, can I use chips?
Yes, white chocolate chips can be used as a substitute for chunks. Chunks tend to melt into more prominent, gooey pockets, while chips hold their shape a bit more.
Either option will deliver delicious results in your Salted Caramel White Chocolate Cookies.
Can I freeze the cookie dough or baked Salted Caramel White Chocolate Cookies?
Yes to both! You can scoop raw dough onto a baking sheet, freeze until solid, then transfer to a freezer bag for up to 3 months. Bake from frozen, adding a few minutes to the bake time.
Baked cookies also freeze beautifully; once completely cooled, store them in an airtight container or freezer bag for up to 3 months. Thaw at room temperature.
Is chilling the dough really necessary for these cookies?
Yes, chilling the dough is highly recommended and truly transforms these cookies. It allows the flour to fully hydrate and the butter to firm up, preventing excessive spreading.
This critical step also deepens the flavors, resulting in a richer, chewier, and more flavorful cookie overall.
Your Irresistible Batch Awaits!
Now that you’re equipped with all the secrets and techniques, it’s time to create your own batch of these truly exceptional Salted Caramel White Chocolate Cookies.
What to Serve Next
If you are baking these salted caramel white chocolate cookies, you might also want a warm, soft treat to round out the afternoon.
- For a savory, rich breakfast twist, these Southern Biscuits and Mushroom Gravy offer a creamy, peppery contrast to the sweet cookies.
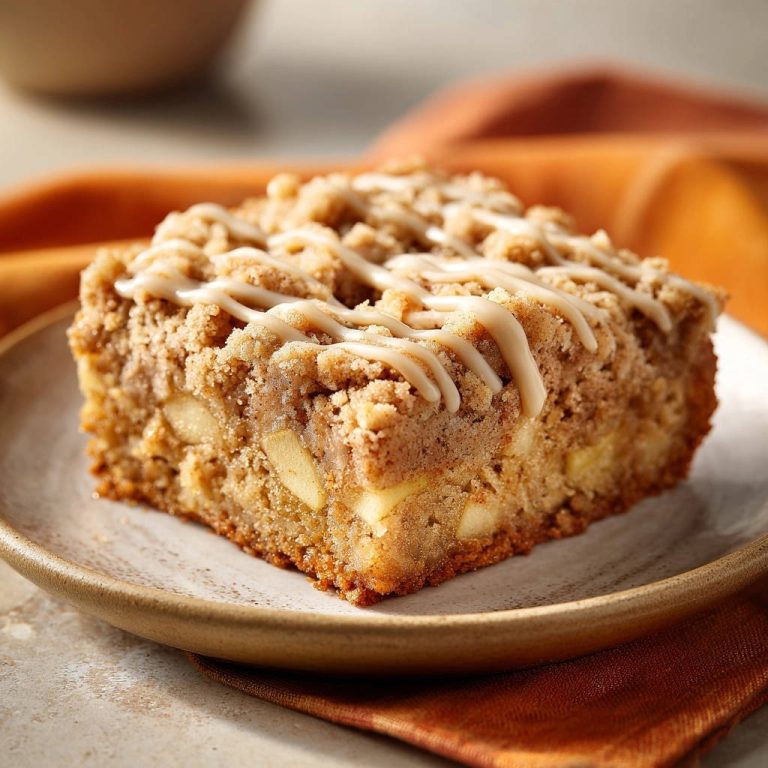
- Pair the cookies with a slice of Cinnamon Streusel Coffee Cake for a double dose of buttery, spiced sweetness that works for brunch or dessert.
The perfect blend of nutty browned butter, sweet white chocolate, and salty caramel is an experience you won’t want to miss. Bake them, share them, and savor every single chewy, delicious bite!
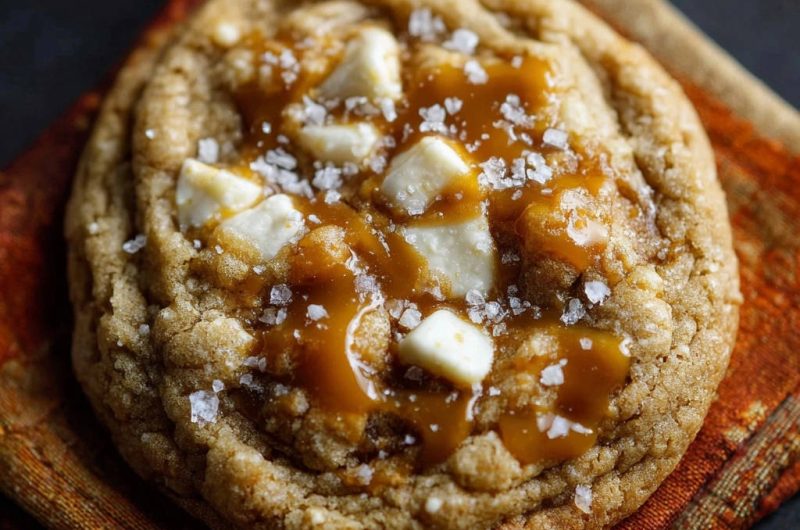
Salted Caramel White Chocolate Cookies
Course: DessertCuisine: AmericanDifficulty: medium24
cookies30
minutes9
minutes80
kcal60
minutesDiscover the secret to perfectly chewy Salted Caramel White Chocolate Cookies with incredible depth of flavor. This recipe uses a simple browned butter technique that transforms ordinary cookies into an extraordinary treat. Say goodbye to flat, dry cookies and hello to rich, delightful bites every time.
Ingredients
2 cups all-purpose flour
1 teaspoon baking soda
1/2 teaspoon salt
1 cup (2 sticks) unsalted butter
3/4 cup packed light brown sugar
1/4 cup granulated sugar
2 large eggs
1 teaspoon vanilla extract
1 cup white chocolate chunks or chips
1/4 cup caramel sauce, for drizzling
1/2 teaspoon flaky sea salt, for topping
Directions
- In a medium saucepan, melt the unsalted butter over medium heat. Continue cooking, stirring occasionally, until the butter turns a golden amber color and fragrant, nutty brown bits appear at the bottom of the pan. This usually takes about 5-7 minutes. Immediately pour the browned butter into a heatproof bowl to stop the cooking and let it cool for about 10 minutes. This browning process is key to unlocking a rich, deep flavor and contributing to an amazing chewy texture in your finished cookies.
- In a separate bowl, whisk together the flour, baking soda, and 1/2 teaspoon salt. Set aside.
- Once the browned butter has cooled slightly (it should still be liquid but not scalding hot), combine it in a large bowl with the light brown sugar and granulated sugar. Beat with an electric mixer on medium speed until creamy and well combined, about 2 minutes.
- Add the eggs one at a time, beating well after each addition. Stir in the vanilla extract.
- Gradually add the dry ingredient mixture to the wet ingredients, mixing on low speed until just combined. Be careful not to overmix the dough.
- Fold in the white chocolate chunks.
- Cover the dough and chill in the refrigerator for at least 30 minutes, or up to 2 hours. This step also helps the flavors meld and improves the cookie’s texture.
- Preheat your oven to 375 degrees Fahrenheit (190 degrees Celsius). Line baking sheets with parchment paper.
- Scoop rounded tablespoons of dough onto the prepared baking sheets, leaving about 2 inches between each cookie.
- Bake for 9-11 minutes, or until the edges are golden brown and the centers are still slightly soft. The cookies will continue to set as they cool, ensuring that perfect chewy center.
- Let the cookies cool on the baking sheet for 5 minutes before transferring them to a wire rack to cool completely.
- Once cooled, drizzle with caramel sauce and sprinkle with flaky sea salt before serving. Enjoy your perfectly flavored and chewy cookies!
Notes
- Chilling the dough for at least 30 minutes is crucial for optimal flavor and texture. Don’t skip browning the butter for a richer taste!