Mastering Pan-Seared White Fish and Roasted Potatoes
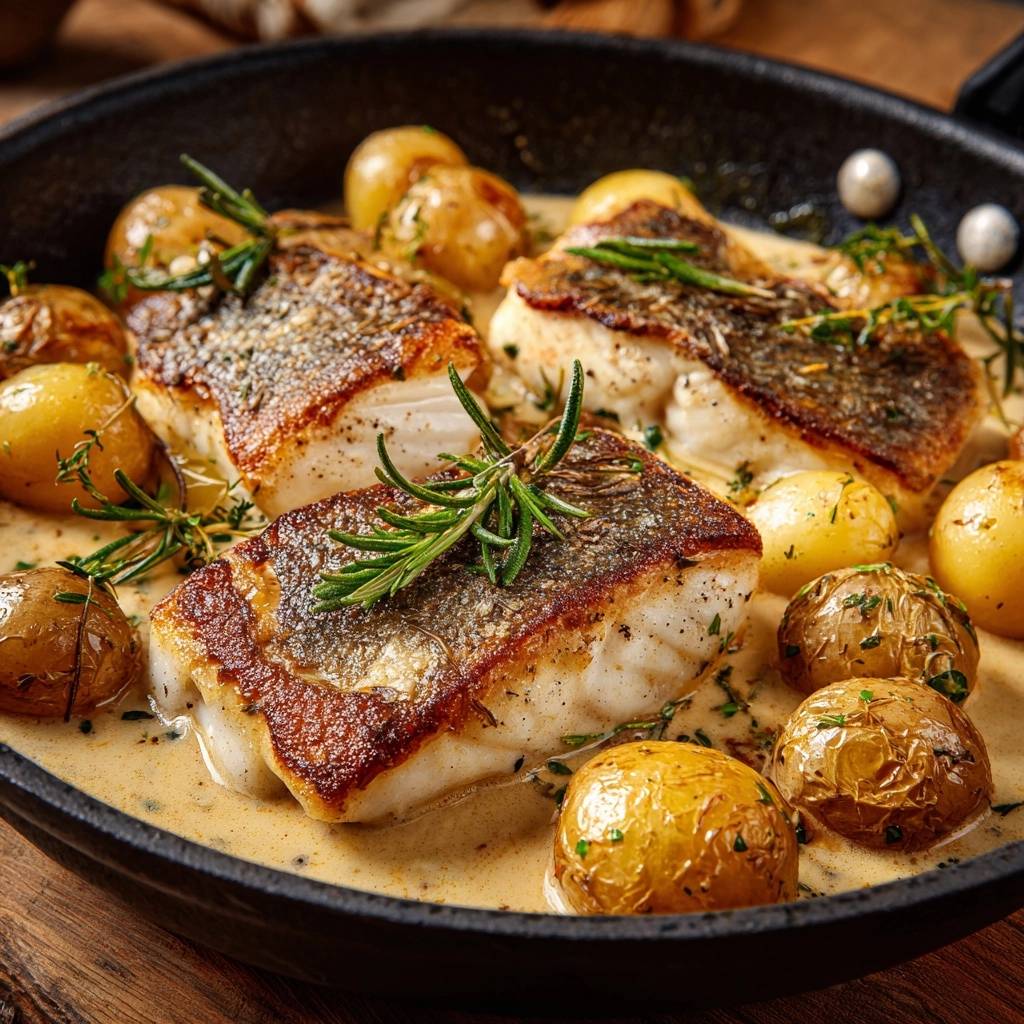
Achieving a glass-like crunch on fish skin while keeping the meat tender requires two things: absolute dryness and a controlled render. Most home cooks struggle with fish sticking to the pan or skin that turns rubbery instead of crisp. This usually happens because the fish hits a screaming-hot pan, causing the proteins to contract instantly and trap moisture against the metal.
The secret to professional-grade Pan-Seared White Fish and Roasted Potatoes lies in the “cold-start” method. By placing the fish in a cold skillet and gradually raising the heat, you allow the fat in the skin to render out slowly. This process transforms the skin into a rigid, golden crust that naturally releases from the pan without tearing the delicate flesh underneath.
I’ve found that the most critical step is the mechanical removal of moisture. Even after patting the fish with paper towels, you must use the back of a knife to scrape the skin. You’ll see a milky liquid emerge; that’s the hidden moisture that usually steams the fish. Removing it is the only way to ensure that coveted, shatter-crisp texture every single time.
Essential Components for Pan-Seared White Fish and Roasted Potatoes
Success starts with the right bird’s-eye view of your ingredients. For the fish, you need a variety that offers a sturdy skin and a high enough fat content to withstand the rendering process. Sea Bass, Barramundi, and Snapper are the gold standards here because their skins are thick enough to become structural once fried, yet the meat remains buttery and moist.
When it comes to the potatoes, reach for baby golds rather than starchy Russets. Baby golds have a waxy texture and a thin skin that blisters beautifully in the leftover fish fats. Because they hold their shape after boiling, they won’t turn into mashed potatoes when you toss them in the skillet to get that final sear. They provide a creamy interior that contrasts perfectly with the crunch of the fish.
Finally, pay attention to your fats. You’ll start the sear with a neutral oil like grapeseed or vegetable oil because they have high smoke points. Save the unsalted butter for the very end. Butter contains milk solids that burn quickly, so we only add it during the “basting” phase to coat the fish in a nutty, aromatic foam without scorching the pan.
Selecting the Right White Fish Fillets
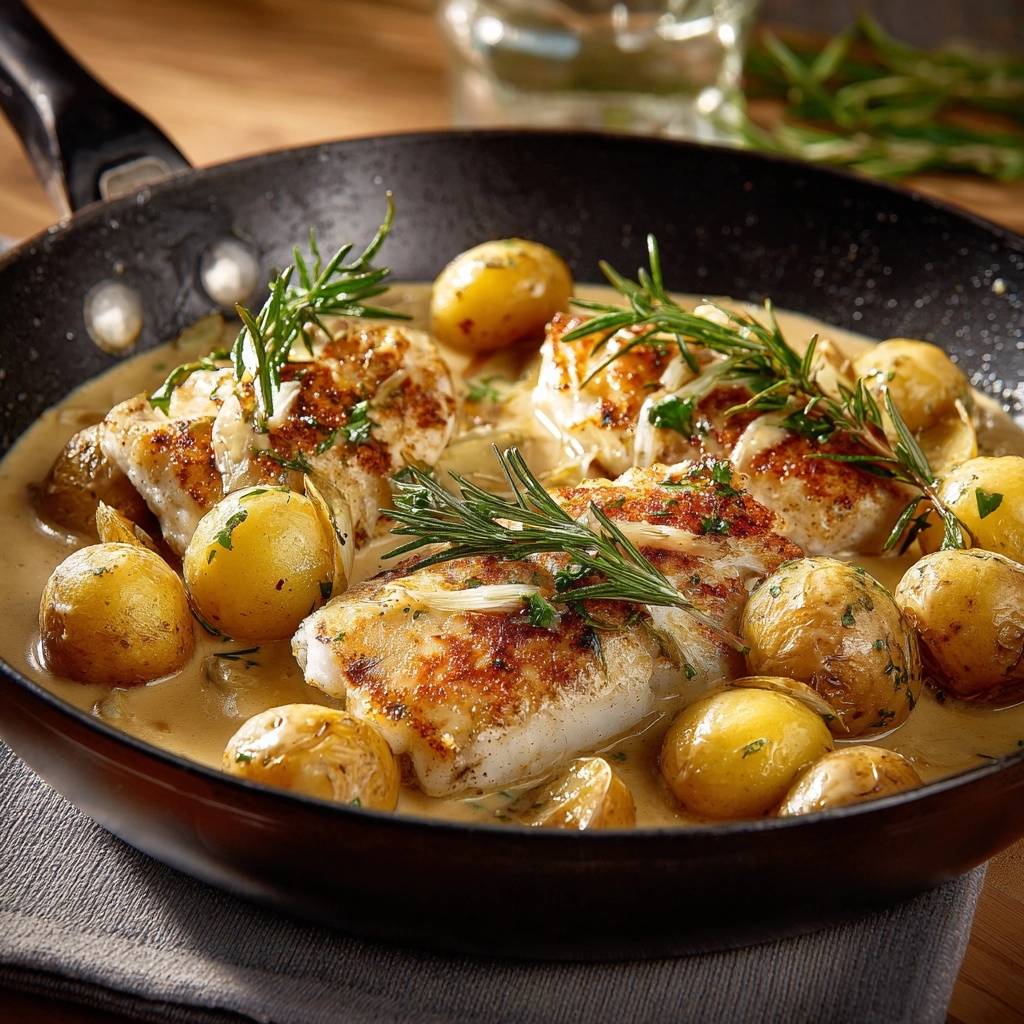
Thickness is your best friend when pan-searing. A thick fillet of Sea Bass or Snapper gives you a wider window of time to crisp the skin without overcooking the center. If the fillet is too thin, the meat will dry out before the skin reaches that “glass-like” state. Always ensure the skin is left on; it acts as a thermal barrier that protects the delicate protein from the direct heat of the pan.
The Role of Aromatics and Sauce Stabilizers
We use woody herbs like rosemary and thyme because they can handle the high heat of the searing pan without turning bitter. Smashed garlic cloves infuse the butter with a mellow sweetness that permeates the fish during the baste. To keep the pan sauce silky, a teaspoon of Dijon mustard acts as a natural emulsifier. It binds the heavy cream and chicken stock together, preventing the sauce from breaking into an oily mess.
The Science of the Cold-Pan Render
When protein hits a hot surface, it undergoes a rapid contraction. In fish, this causes the skin to curl upward, lifting the center of the fillet away from the heat. This results in uneven cooking and soggy skin. By starting in a cold pan, the collagen in the skin breaks down gradually. This allows the fillet to remain flat and maintains constant contact with the cooking surface for a uniform golden color.
Moisture is the ultimate enemy of a good sear. If there is water on the surface of the fish, the energy from the pan goes into evaporating that water (steaming) rather than browning the protein (the Maillard reaction). This is why the knife-scraping technique is mandatory. It pulls water out from the microscopic pores of the skin that a paper towel simply cannot reach. If the skin isn’t bone-dry, it will never achieve that signature “shatter” when you bite into it.
As the pan heats up from room temperature, the oil thins out and moves under the skin. This creates a shallow “fry” environment. Because the heat rises slowly, the fat renders out of the skin and replaces the moisture. By the time the pan reaches medium heat, the skin is already beginning to dehydrate and crisp, ensuring it won’t stick to the metal surface when you finally go to flip it.
Preparing Potatoes for Maximum Surface Area Crunch
To get potatoes that are fluffy inside and crispy outside, you must use the “parboil and air-dry” method. Starting the potatoes in cold salted water ensures they cook evenly from the edge to the center. If you drop them into boiling water, the outsides will turn to mush before the insides are tender. You want them just fork-tender so they stay intact during the high-heat sear later on.
The five-minute air-drying phase is where the real magic happens. This allows for “retrogradation,” a process where the starches on the surface of the potato firm up and dry out. When these dry, starchy surfaces hit the hot herb butter in the skillet, they blister and crackle. If you skip the drying step, the residual water will steam the potatoes in the pan, leaving them soft and pale instead of browned and crunchy.
Step-by-Step: Executing the Perfect Sear and Sauce
Cooking this dish is all about timing and sensory cues. You aren’t just following a clock; you’re listening to the sizzle and watching the color change. Once the fish is in the pan, your primary job is to manage the heat and ensure the skin stays in contact with the skillet surface.
For a perfect pairing, try our Skillet-Seared Cod with Creamy Mushrooms & Baby Potatoes.
Phase 1: Achieving the Glass-Like Skin
After placing the fish in the cold pan and turning the heat to medium, listen for the first gentle sizzle. Use a flexible spatula to press firmly on each fillet for about 30 seconds. This prevents the edges from curling. You’ll notice the fish looks like it’s “stuck” at first. Don’t panic and don’t force it. As the skin dehydrates and crisps, it will naturally release from the pan. When you see a golden-brown rim around the base of the fillet, it’s ready to flip.
Phase 2: The Butter Baste and Aromatics
Once you flip the fish, the hard work is done. Drop in the butter, garlic, and herbs immediately. As the butter melts and begins to foam, tilt the pan slightly so the fat pools at the bottom. Use a large spoon to continuously pour that hot, flavored butter over the fish. This technique, known as “Arrosé,” cooks the top of the fish gently and adds a deep, savory richness that complements the clean flavor of the white fish.
Phase 3: Deglazing and Emulsifying the Pan Sauce
After removing the fish and crisping the potatoes, it’s time to build the sauce. Pour in your chicken stock to deglaze the pan. Use your spatula to scrape up the “fond”—those little browned bits of fish and potato stuck to the bottom. These bits are concentrated flavor. Once the liquid has reduced by half, whisk in the cream and Dijon mustard. Simmer until the sauce reaches a “nappe” consistency, meaning it’s thick enough to coat the back of a spoon without running off.
Avoiding Common Pitfalls with Pan-Seared White Fish
The most common mistake is flipping the fish too early. If the skin is sticking, it’s usually because the proteins haven’t finished browning or the moisture hasn’t fully evaporated. Give it another minute; the fish will tell you when it’s ready by sliding easily across the pan. If your sauce reduces too much and looks greasy, simply whisk in a tablespoon of water or stock to bring the emulsion back together.
Another critical rule is the “Skin-Up” plating method. Never pour the sauce over the top of the fish. If that beautiful, crispy skin sits in liquid for even a minute, it will turn soggy. Always nestle the fish into the sauce so the bottom stays warm while the top remains perfectly crunchy. This preserves the hard work you put into the rendering process.
Flavor Variations and Regional Swaps
While this recipe uses a classic herb and cream profile, you can easily adapt it. If you want a brighter finish, swap the chicken stock for a splash of verjuice or a squeeze of fresh lemon juice. This adds acidity that cuts through the richness of the heavy cream. For those who want an even nuttier flavor, try using ghee (clarified butter) for the basting phase. Ghee has a much higher smoke point than regular butter, allowing you to get a deeper sear on the potatoes without any risk of burning the milk solids.
Troubleshooting and Technical FAQ
Can I use frozen fish fillets for this method?
Yes, but you must thaw them completely in the refrigerator first. Frozen fish releases significantly more moisture than fresh fish. You will need to be extra diligent with the paper towel and knife-scraping steps. If the fish is still “leaking” water, the cold-start method will take longer as the pan has to evaporate that extra liquid before the browning can begin.
Why did my cream sauce curdle?
Cream usually curdles due to high heat or excessive acidity. Ensure you reduce your heat to a simmer before adding the heavy cream. The Dijon mustard in this recipe acts as a stabilizer to help prevent this, but if the sauce boils violently, the proteins in the cream will still clump. Always stir constantly while adding the cream to create a smooth emulsion.
How do I prevent the rosemary from burning in the butter?
The key is timing. Only add the aromatics during the basting phase, which should only last 2 to 3 minutes. If you add them at the very beginning with the fish, they will turn black and bitter. By adding them to the foaming butter at the end, you extract their essential oils without scorching the leaves.
What is the best way to reheat leftovers without losing the skin texture?
Avoid the microwave at all costs, as it will make the fish rubbery and the skin soft. The best way to reheat is in a toaster oven or a regular oven at 350°F. Place the fish on a wire rack so air can circulate around the skin. Heat for about 5-8 minutes until the skin crisps back up and the interior is warm.
Optimal Equipment for Heat Retention
For this recipe, a heavy-bottomed skillet is non-negotiable. Cast iron is the preferred choice because it holds heat exceptionally well, which is vital for getting the potatoes to blister quickly after the fish is removed. A heavy stainless steel pan also works well. Avoid thin, cheap non-stick pans; they don’t distribute heat evenly and often can’t handle the temperatures needed to get a truly “glass-like” crust on the fish.
A flexible fish spatula, also known as a slotted turner, is another essential tool. Its thin, offset edge allows you to slide under the delicate fish skin without breaking it. Standard plastic spatulas are often too thick and can tear the skin or cause the fillet to flake apart when you try to flip it. Having the right tools makes the technical steps of this recipe much easier to execute.
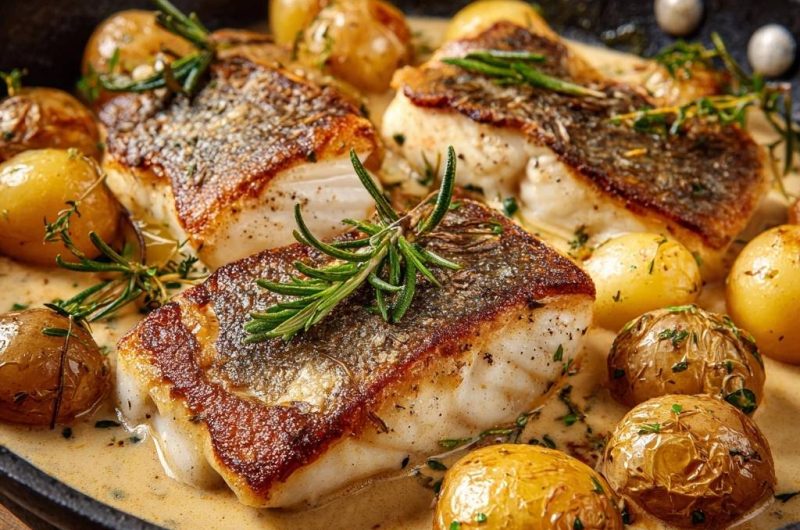
White Fish and Potatoes
Course: Main CourseCuisine: AmericanDifficulty: medium4
servings15
minutes25
minutes750
kcal40
MinutesA sophisticated yet accessible seafood dish featuring skin-on white fish fillets. The recipe uses a cold-start cooking method to ensure perfectly crispy skin, paired with par-boiled and seared baby gold potatoes in a rich garlic and herb cream sauce.
Ingredients
4 thick white fish fillets (such as Sea Bass, Barramundi, or Snapper), skin-on
1 pound baby gold potatoes
2 tablespoons neutral oil (like grapeseed or vegetable oil)
3 tablespoons unsalted butter
4 cloves garlic, smashed
4 sprigs fresh rosemary
6 sprigs fresh thyme
1 cup heavy cream
1/2 cup chicken stock
1 teaspoon Dijon mustard (optional, for sauce stability)
Salt and black pepper to taste
Directions
- Prep the Potatoes: Place baby potatoes in a pot of cold salted water. Bring to a boil and cook for 10-12 minutes until fork-tender. Drain and let them air dry for 5 minutes. This ensures they crisp up later rather than steaming.
- Dry the Fish: Use paper towels to pat the fish fillets extremely dry on both sides. Use a sharp knife to gently scrape the skin side to remove any hidden moisture, then pat dry again. Season only the flesh side with salt and pepper.
- The Cold Start: Place the fish fillets skin-side down into a cold, dry cast iron or non-stick skillet. Drizzle the 2 tablespoons of oil over the fish so it runs down to the skin. Turn the heat to medium.
- The Render: As the pan heats up, the skin will begin to sizzle. Use a flexible spatula to press firmly on each fillet for 30-60 seconds to prevent the skin from curling. Cook undisturbed for 6-8 minutes. Do not flip until the skin is golden brown and the fish naturally releases from the pan.
- The Flip and Baste: Flip the fillets. Immediately add the butter, smashed garlic, 2 sprigs of rosemary, and 3 sprigs of thyme to the pan. Once the butter foams, spoon it over the fish for 1-2 minutes until the fish is just opaque. Remove the fish from the pan and set aside on a warm plate, skin-side up.
- Crisp the Potatoes: In the same pan with the herb butter, add the boiled potatoes. Increase heat to medium-high and sear, tossing occasionally, until the potato skins are browned and blistered (about 4-5 minutes).
- Build the Sauce: Pour in the chicken stock to deglaze the pan, scraping up any browned bits. Let the liquid reduce by half. Stir in the heavy cream and Dijon mustard. Strip the leaves from the remaining thyme and rosemary and add them to the sauce. Simmer for 2-3 minutes until the sauce coats the back of a spoon.
- Assemble: Season the sauce with salt and pepper to taste. Carefully place the fish fillets back into the pan, nestled among the potatoes. Ensure the sauce stays below the level of the fish skin to maintain the “glass-like” crunch. Garnish with fresh rosemary sprigs and serve immediately from the skillet.
Notes
- Ensure the fish skin is extremely dry before starting. When plating, keep the sauce below the skin line to maintain the crunch. Use a flexible spatula to press the fish down during the initial heating phase to prevent curling.