Mastering the Creamy New York Cheesecake
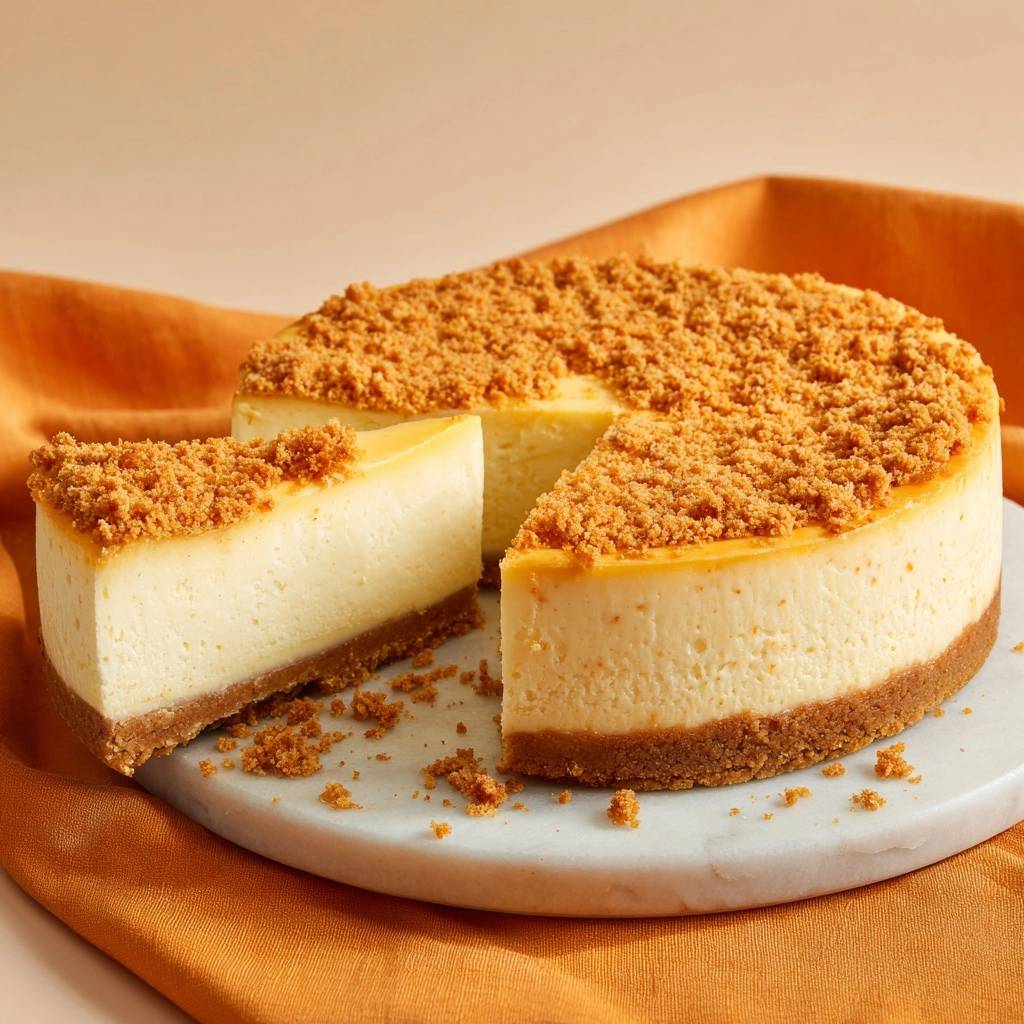
Imagine sinking your fork into a slice of cheesecake that offers actual resistance before melting into a velvety, rich puddle on your tongue. That dense, heavy texture is the hallmark of a true New York masterpiece, standing in stark contrast to the airy, mousse-like versions often found at grocery stores. It’s a dessert that feels substantial, decadent, and unapologetically indulgent.
However, many home bakers shy away from this classic because of the dreaded surface crack or a rubbery, overcooked interior. The “Zero-Crack” philosophy isn’t about luck; it’s about controlling the physics of heat. By using a specific gradual cooling method, we manage the way the proteins in the eggs and cream cheese contract, ensuring a surface as smooth as glass every single time.
The secret to this professional-grade result lies in the cooling process rather than the baking itself. Most people pull their cake out into the cold kitchen air immediately, which shocks the delicate structure. Instead, we use the residual heat of the oven to gently transition the cake from hot to room temperature, preserving that pristine, crack-free top you crave.
The Anatomy of a Dense New York Crumb
Authentic New York cheesecake is defined by its weight. While Italian cheesecakes rely on ricotta for a grainy, lighter finish, and no-bake versions use gelatin to set, the New York style is all about high-fat dairy. We use a massive amount of cream cheese and sour cream to create a custard that is thick enough to stand tall on a plate without sagging.
The graham cracker base serves as the essential structural and flavor anchor. It provides a salty, toasted contrast to the sweet and tangy filling. Without that buttery, compressed crust, the richness of the cake would be overwhelming; the crunch is what keeps you coming back for a second bite.
Essential Components for the Filling and Topping
Using 32 ounces of cream cheese is the golden ratio for a standard 9-inch springform pan. This volume ensures the cake has enough height to look impressive while maintaining the internal pressure needed for a dense crumb. We also include full-fat sour cream, which adds a necessary hit of acidity to cut through the fat and provides moisture that prevents the cake from becoming dry or chalky.
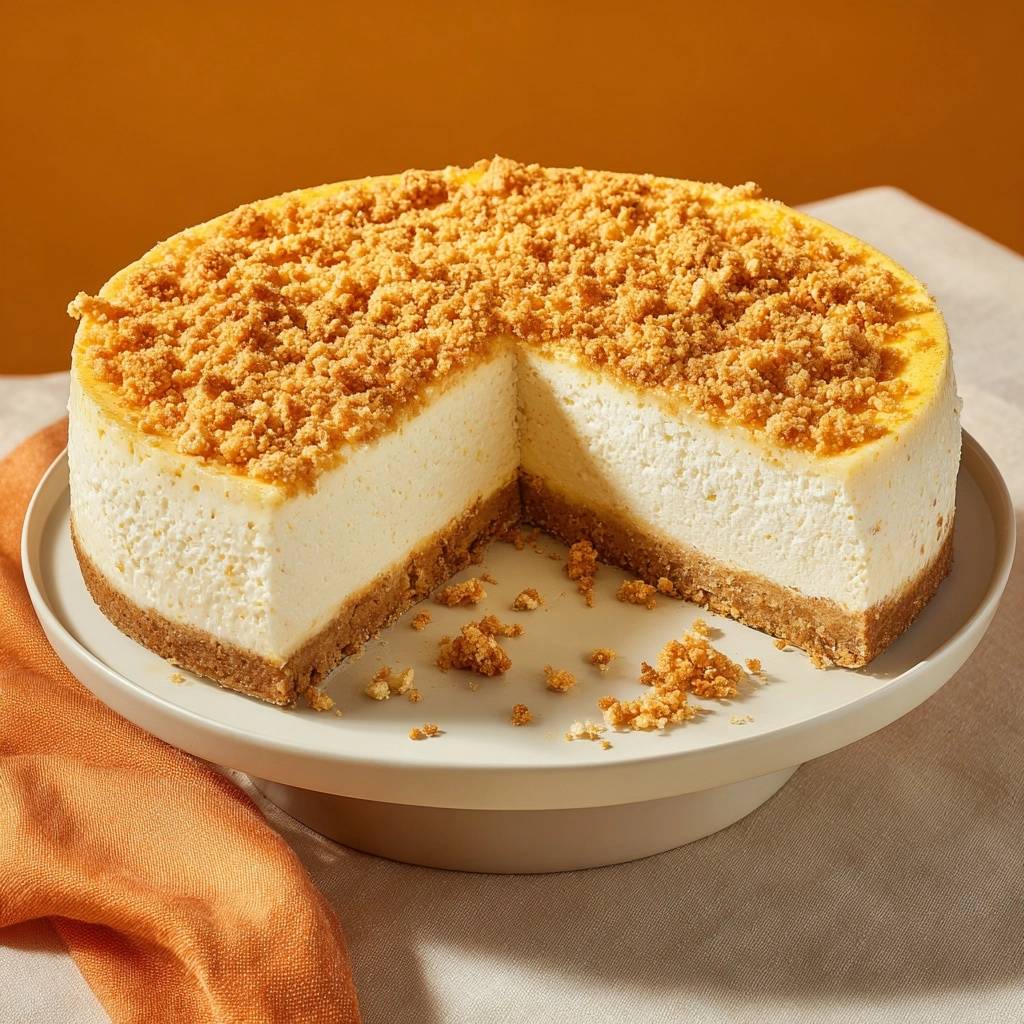
This recipe features a unique double-dose of graham crackers. While most cakes only have a bottom crust, we reserve a portion of the buttery crumbs for a toasted topping. This adds an extra layer of texture and hides any minor surface imperfections, though with our cooling method, you likely won’t have any to hide!
Why Room Temperature Ingredients are Non-Negotiable
If you try to beat cold cream cheese, you’ll end up with tiny white lumps that are impossible to smooth out later. At a molecular level, room temperature fats emulsify much more easily with sugar and eggs. When ingredients are at the same temperature, they bond together into a uniform, silky liquid that bakes evenly.
Cold eggs are particularly troublesome because they can “seize” the fats in the softened cream cheese upon contact. This creates a curdled appearance in your batter. Therefore, you should set your ingredients on the counter at least two hours before you plan to start. If the batter is smooth before it hits the oven, the finished cake will be smooth when it comes out.
The Science of the Zero-Crack Cooling Method
Cheesecake is technically a baked custard, and custards are notoriously sensitive to thermal shock. As the cake bakes, the proteins in the eggs expand. If you remove the cake from the oven abruptly, the sudden drop in temperature causes those proteins to shrink faster than the structure can handle, resulting in a deep fissure right down the middle.
The one-inch oven door crack is the most vital step in this entire process. By propping the door open with a wooden spoon, you allow the heat to escape slowly. This facilitates “carry-over cooking,” where the center finishes setting in a gentle, declining heat environment. This patience is what separates a hobbyist baker from a pro.
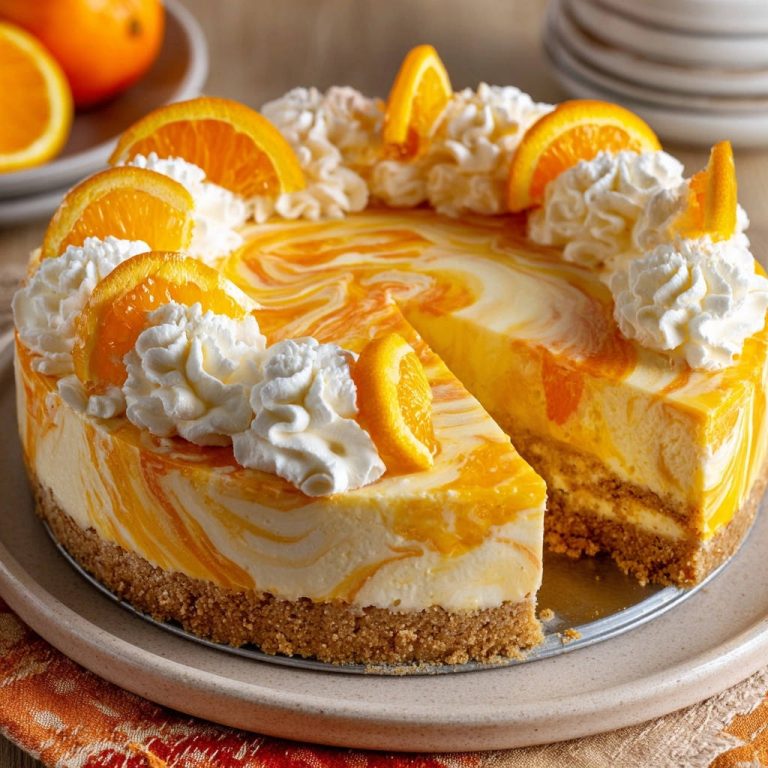
The same gentle touch with the oven door applies to this cinnamon swirl cheesecake for avoiding surface cracks.
Springform Pans and Foil: The Leak-Proof Setup
A 9-inch springform pan is mandatory because you cannot flip a cheesecake upside down to remove it. However, these pans are notorious for leaking. To protect your oven and your crust, you must wrap the exterior of the pan in at least two layers of heavy-duty aluminum foil. This creates a barrier against any escaping butter or potential moisture.
While many recipes insist on a water bath, this recipe’s dry-heat method combined with the gradual cooling door-crack achieves the same silky results without the risk of a soggy crust. The foil still plays a role here by insulating the sides of the pan, ensuring the edges don’t bake significantly faster than the center.
Step-by-Step: Constructing the Graham Cracker Foundation
When mixing your crumbs, butter, and sugar, you are looking for the consistency of wet sand. It should hold its shape when you squeeze a handful in your palm. If it’s too dry, the crust will crumble when sliced; if it’s too oily, it will become greasy and hard after baking.
To get a perfectly flat, professional-looking base, use the flat bottom of a measuring cup to press the crumbs into the pan. Start from the center and work your way out to the edges. Par-baking the crust for 10 minutes is a crucial step because it “sets” the butter and sugar, creating a crisp barrier that won’t get soggy once the heavy batter is poured on top.
Mixing Technique: Avoiding Aeration for Maximum Density
Air is the enemy of a New York cheesecake. When you whip a batter at high speed, you incorporate thousands of tiny bubbles. In the oven, these bubbles expand like little balloons, causing the cake to rise like a souffle. When it cools, those bubbles pop and the cake collapses, leading to a wrinkled surface and cracks.
Always keep your mixer on the lowest setting. You want to stir the ingredients together rather than beat them. You’ll know the sugar is fully dissolved when the batter looks glossy and you can no longer feel any grit when you rub a small amount between your fingers. Stop mixing the moment the last egg disappears into the batter.
The Baking Timeline: Identifying the Perfect Jiggle
Knowing when to stop baking is the hardest part of the process. You cannot use a toothpick test here; if a toothpick comes out clean, the cheesecake is already overbaked and will likely be grainy. Instead, look for the “jiggle.” The edges should be slightly puffed and firm to the touch, but the center two inches should still wobble like set Jell-O.
This jiggle is essential because the cake will continue to firm up during the hour-long cooling period inside the oven. If the center is solid when you turn the oven off, it will be dry by the time it reaches room temperature. Trust the timer and the wobble!
Applying the Toasted Crumb Topping
The timing of the topping is a delicate balance. You want to apply the reserved graham cracker mixture while the cake is still slightly warm from its hour in the oven. This residual warmth helps the buttery crumbs adhere to the surface of the cake without sinking into the batter.
Use your fingers to sprinkle the crumbs evenly, then use the very tips of your fingers to press down with the lightest pressure imaginable. This ensures that when you slice the cake later, the topping stays on the slice rather than cascading all over the plate. It adds a beautiful, rustic finish that hints at the crunch below.
The Cold Cure: Why Six Hours is Mandatory
A cheesecake is not truly finished until it has spent significant time in the refrigerator. During these six to twenty-four hours, the fats in the cream cheese and butter re-solidify, creating that signature dense mouthfeel. The flavors also need this time to marry; the vanilla and sour cream become much more pronounced after a cold rest.
Resist the urge to release the springform sides too early. The cold cure strengthens the “walls” of the cake. If you try to cut it while it’s still room temperature, the center will be gooey and the slices will look messy. Patience in the fridge is just as important as patience in the oven.
Troubleshooting Common Cheesecake Failures
If your cake sinks in the middle, you likely over-mixed the batter. Those incorporated air bubbles escaped, leaving a valley behind. To fix this next time, keep the mixer on low and stop as soon as the eggs are incorporated. If the crust is soggy, it usually means the butter wasn’t fully mixed with the crumbs or the par-baking step was skipped.
A grainy texture is almost always a sign of over-baked eggs. If the oven temperature is too high or the cake stays in too long, the egg proteins tighten up and squeeze out the moisture, leaving a curd-like feel. Finally, if the top browns too quickly, move your oven rack to the lower-middle position to keep the cake further away from the top heating element.
Storage and Make-Ahead Logistics
Cheesecake is the ultimate make-ahead dessert because it actually tastes better on day two. To store it, keep it in the springform base and wrap the entire thing tightly in plastic wrap. This prevents the cake from absorbing “fridge smells” like onions or leftovers, which high-fat dairy picks up very easily.
You can also freeze this cheesecake beautifully. Flash-freeze the whole cake (or individual slices) on a baking sheet for an hour until firm, then wrap tightly in plastic wrap followed by a layer of aluminum foil. It will stay fresh for up to three months. When you’re ready to eat, thaw it slowly in the refrigerator overnight to maintain that creamy consistency.
Expert Tips for the Perfect Slice
To get those clean, sharp edges seen in professional photos, use the “Hot Knife Method.” Run your chef’s knife under hot tap water for a few seconds, wipe it completely dry with a clean towel, and then make one decisive cut. The heat from the blade will glide through the cold fats like butter.
Crucially, you must wipe the knife clean and re-heat it between every single slice. If you don’t, the bits of cheesecake from the previous cut will smear across the face of the next slice, ruining the pristine look. Never use a serrated blade, as the “sawing” motion will tear the delicate crumb and create a jagged mess.
Frequently Asked Questions
Can I use low-fat cream cheese or Neufchâtel?
I strongly recommend against using low-fat or “light” cream cheese for this specific recipe. New York cheesecake relies on a high fat content to achieve its dense, velvety structure. Low-fat versions contain more water and fillers, which will result in a watery, soft cake that may not set properly or could become rubbery after baking.
Why did my crust crumble into a mess when I sliced it?
A crumbling crust usually happens for two reasons: either the crumbs weren’t pressed down firmly enough or the ratio of butter was slightly off. When preparing the base, use the bottom of a heavy glass or measuring cup to really pack those crumbs into a solid layer. Also, ensure your butter is fully melted and evenly distributed so it can act as the “glue” once it chills.
Can I add fruit swirls or chocolate to this specific batter?
Yes, you can add a fruit puree or chocolate swirl, but you must be careful with the moisture content. If using a fruit sauce, reduce it on the stove until it is very thick so it doesn’t add too much liquid to the batter. Drop small spoonfuls on top of the raw batter and use a toothpick to swirl them in gently before baking.
What if I forgot to take my eggs and cream cheese out of the fridge?
Don’t panic! You can use a quick warm water bath. Place the cold, uncracked eggs in a bowl of warm (not hot) water for about 10 minutes. For the cream cheese, take it out of the foil wrappers, cut it into small cubes, and spread them out on a plate. They will reach room temperature in about 20 minutes compared to several hours for a solid block.
How do I know if my oven temperature is accurate?
Cheesecakes are very sensitive to heat spikes. If your cake is browning too fast or cracking despite the cooling method, your oven might be running hot. I always suggest using an inexpensive oven thermometer that hangs on the rack. This gives you the true internal temperature, which is often 25 degrees different from what the digital display says.
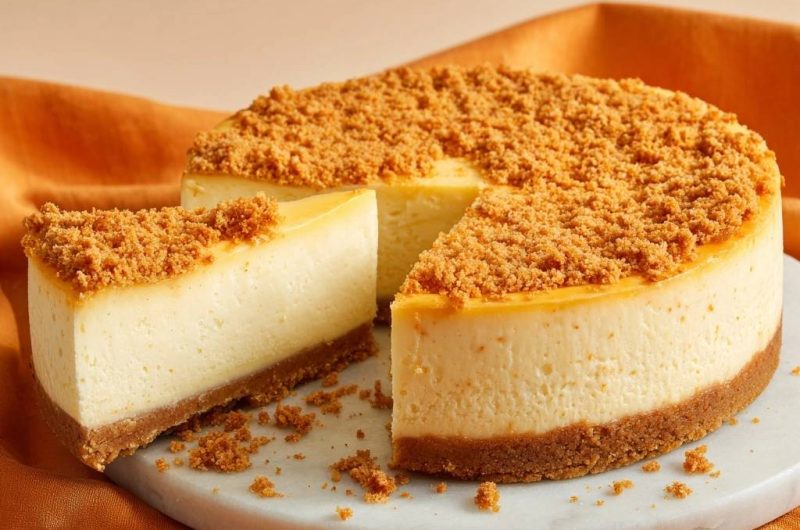
New York Cheesecake
Course: DessertCuisine: AmericanDifficulty: medium12
servings20
minutes1
hour15
minutes480
kcal155
MinutesA dense and velvety New York style cheesecake that avoids common cracking and texture issues through a specific gradual cooling technique and room temperature ingredients.
Ingredients
Crust & Topping:
2 1/2 cups graham cracker crumbs (divided: 1 1/2 cups for crust, 1 cup for topping)
3/4 cup unsalted butter, melted (divided: 1/2 cup for crust, 1/4 cup for topping)
3 tablespoons granulated sugar (divided)
Cheesecake Filling:
32 oz cream cheese, softened to room temperature
1 cup granulated sugar
1 cup full-fat sour cream, room temperature
1 tablespoon vanilla extract
4 large eggs, room temperature
Directions
- Preheat your oven to 325°F (163°C). Grease a 9-inch springform pan. Wrap the outside of the pan in two layers of heavy-duty aluminum foil to prevent any leaks.
- Prepare the crust: Combine 1 1/2 cups graham cracker crumbs with 1/2 cup melted butter and 2 tablespoons of sugar. Press firmly into the bottom of the pan. Bake for 10 minutes, then set aside to cool completely.
- Prepare the topping: In a small bowl, mix the remaining 1 cup of graham cracker crumbs with 1/4 cup melted butter and 1 tablespoon of sugar until it resembles wet sand. Set aside.
- Make the filling: In a large bowl, beat the softened cream cheese and 1 cup of sugar until completely smooth and creamy. To avoid air bubbles that cause cracking, use a low speed and do not over-mix.
- Add sour cream and vanilla, mixing on low until just combined.
- Add eggs one at a time, mixing on the lowest speed just until the yellow disappears. Do not whip the batter.
- Pour the batter over the cooled crust. Smooth the top with a spatula.
- Bake for 65 to 75 minutes. The edges should be slightly puffed and set, but the center 2 inches should still have a slight jiggle.
- THE CRITICAL STEP: Turn off the oven and crack the door open only one inch (use a wooden spoon to prop it if necessary). Let the cheesecake sit in the cooling oven for exactly 60 minutes. This gradual temperature drop prevents the cake from shrinking too fast and cracking.
- Remove from the oven. While the cake is still slightly warm, evenly distribute the prepared crumb topping over the surface, pressing very gently so it adheres to the top.
- Let the cake cool to room temperature on a wire rack, then refrigerate for at least 6 hours or overnight before releasing from the springform pan. This sets the structure for that perfect, clean slice shown in the image.
Notes
- The critical step for a crack-free surface is to let the cake cool in the oven with the door cracked for 60 minutes. Ensure all dairy ingredients are at room temperature to prevent lumps and over-mixing.