Mastering the Crusty Homemade Soda Bread Technique
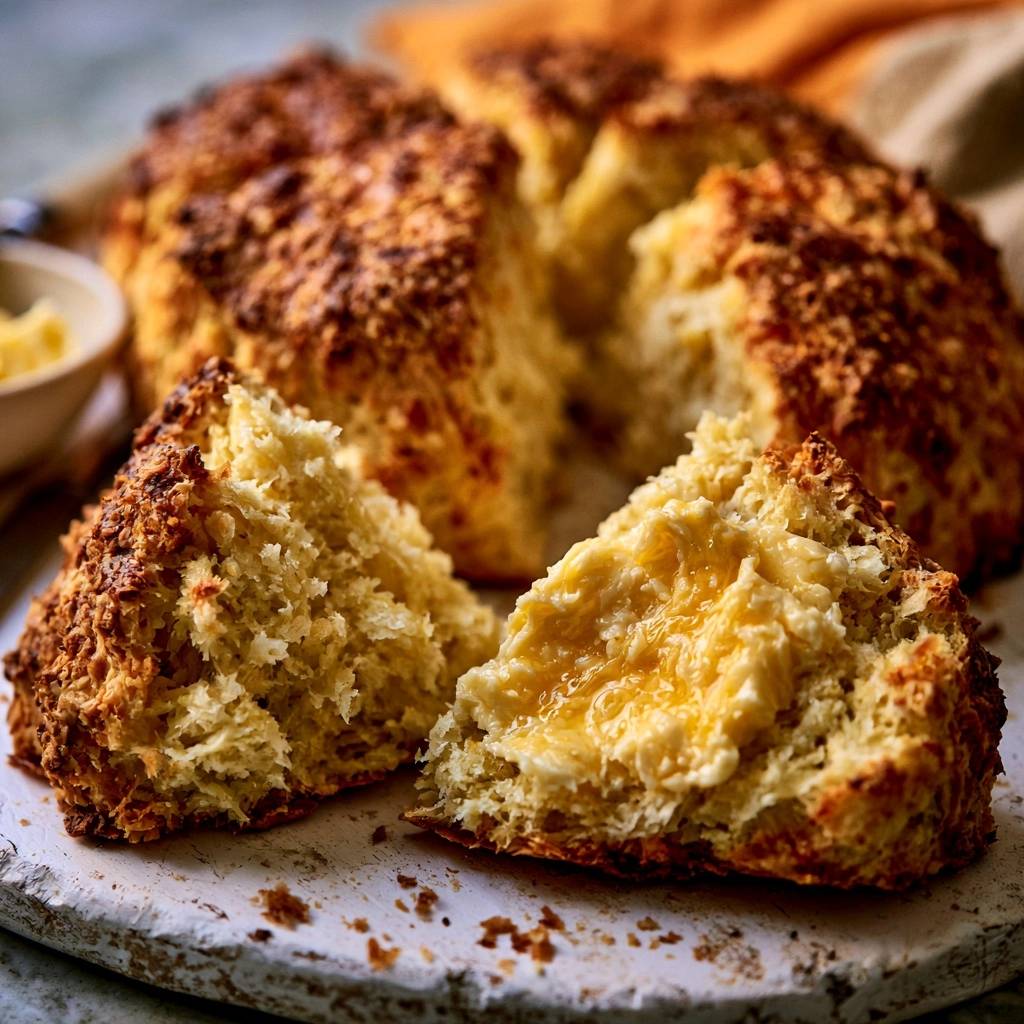
There is a specific, soul-warming sound that happens when you tap the bottom of a freshly baked loaf of soda bread. It should sound hollow, like a drum, promising a shatteringly crisp exterior that gives way to a steaming, tender center. However, many home bakers end up with something closer to a heavy garden stone than a bakery-style loaf.
The secret to avoiding that dreaded “brick” texture lies in the shaggy mass philosophy. Instead of the vigorous kneading required for yeast breads, this recipe thrives on a gentle, almost hands-off approach. By keeping the dough rough and uneven, you create more surface area for the oven’s heat to transform into a craggy, golden crust.
I’ve found that the real trick to a non-dense crumb is the size of your butter. You want to leave pea-sized chunks of cold butter throughout the flour. As the bread hits the high heat of the oven, those bits of fat melt and create tiny steam pockets, which provide the internal lift that baking soda alone can’t achieve.
The Chemistry of No-Yeast Leavening
Soda bread relies on a fast-acting chemical reaction rather than the slow fermentation of yeast. When the alkaline baking soda meets the acidic buttermilk, it immediately begins producing carbon dioxide bubbles. Therefore, you have to work quickly to get the loaf into the oven before that “fizz” dissipates and the dough loses its potential for height.
In addition to the soda, this recipe uses a teaspoon of baking powder for a secondary lift. This “double-acting” insurance policy ensures that even if you take an extra minute to shape the loaf, the bread will still rise beautifully. The result is a crumb that feels airy and light rather than tight and crumbly.
Why Cold Buttermilk is Non-Negotiable
Temperature plays a massive role in how your leavening agents behave. Cold buttermilk is essential because it slows down the initial chemical reaction just enough to give you time to handle the dough. If the liquid is too warm, the baking soda will react too violently in the bowl, leaving nothing left for the “oven spring” phase.
Essential Components for a Shaggy Dough
Choosing the right flour is the first step toward success. While you might be tempted to use bread flour for its strength, all-purpose flour is actually superior here. Its lower protein content ensures the bread stays tender and cake-like on the inside rather than becoming chewy or tough.
Quality honey is another key player in this recipe. Beyond adding a subtle, floral sweetness, honey is a humectant, which means it helps the bread retain moisture. Since soda bread lacks the oils found in many commercial loaves, that tablespoon of honey keeps your slices from drying out by the next morning.
The Role of Fat in Crusty Homemade Soda Bread
Traditional Irish soda bread is often fat-free, but we are using six tablespoons of cold, unsalted butter to elevate the texture. These cold fat deposits are the primary reason this version isn’t dense. As the butter melts, it fries the surrounding flour slightly, creating a rich flavor and a flaky interior that mimics a high-end biscuit.
Step-by-Step: Achieving the Perfect Rise
Success with this loaf is all about the transition from dry ingredients to a formed loaf. You want to move with purpose but without aggression. If you treat this dough like pizza dough, you will end up with a very tough result.
Phase 1: Aerating the Dry Base
Start by whisking your flour, baking soda, baking powder, and salt with vigor. You aren’t just mixing; you are aerating the flour and ensuring the leavening agents are perfectly distributed. If you leave a clump of baking soda behind, you’ll end up with a bitter, metallic-tasting green spot in your finished bread.
When you rub the butter in, use your fingertips to “snap” the cubes into the flour. You are looking for a texture that resembles coarse meal, but don’t overdo it. Seeing those little chunks of butter is exactly what you want for a non-dense crumb.
Phase 2: Forming the Shaggy Mass
Once you pour in the buttermilk and honey, use a wooden spoon to bring it together. Stop the moment the flour is mostly hydrated. The dough should look “ugly,” sticky, and completely unfinished. If it looks smooth and uniform, you have already stirred it too much.
Phase 3: The Minimalist Folding Technique
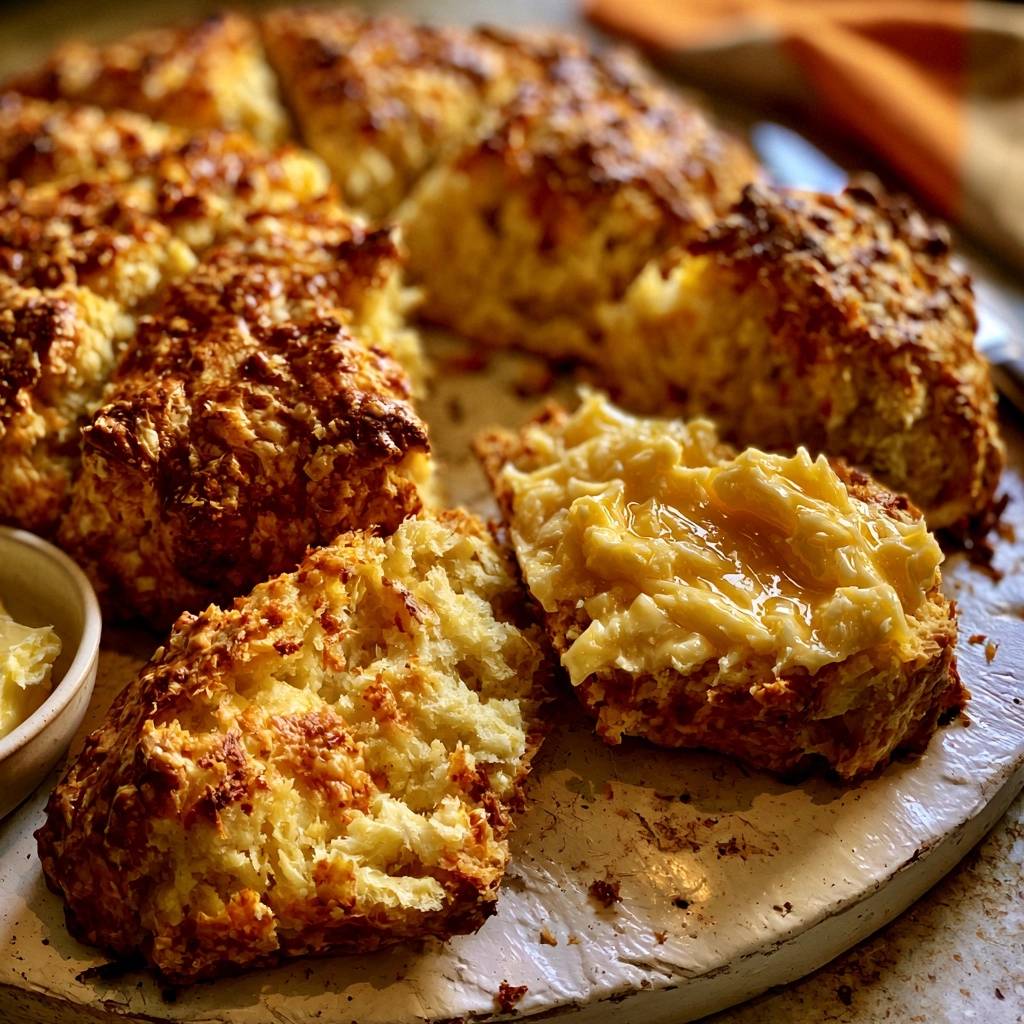
Turn that sticky mess onto a well-floured surface. Instead of kneading, simply fold the dough over itself two or three times. This is just enough to help it hold a loose round shape. You should still see cracks and crags on the surface; these are the “shatteringly crisp” bits that make the crust so addictive.
Sculpting the Signature Craggy Crust
The aesthetics of soda bread are directly tied to its texture. A smooth, perfectly rounded loaf will have a boring, soft crust. A rough, craggy loaf has more surface area, which allows for more Maillard browning—the chemical reaction that creates those deep, savory flavors on the exterior.
The Deep Cross: More Than Symbolism
Cutting a deep “X” into the top of your loaf is a functional necessity. This cut should be about an inch and a half deep. It allows the heat to penetrate the thickest part of the bread quickly, ensuring the center cooks through at the same rate as the edges. It also gives the bread a place to expand so it doesn’t burst at the bottom.
The Egg Wash for Mahogany Color
To get that professional, high-gloss finish, whisk one egg with a splash of water and brush it over the top. Avoid getting the wash inside the deep cuts, as you want the “bloom” of the bread to remain pale and rustic. The protein in the egg browns beautifully at 425 degrees, giving you a deep mahogany color.
Thermal Mass: Using Cast Iron for Better Crust
Preheating a cast iron skillet or a heavy baking sheet is a total game-changer for this recipe. When the cold dough hits that screaming hot metal, the bottom crust sets instantly. This “bottom-up” heat blast provides an immediate boost in height, helping the bread expand upward rather than spreading out flat.
Troubleshooting Common Soda Bread Failures
If your bread turns out like a leaden brick, the most likely culprit is over-handling. Every second you spend touching the dough develops gluten, which makes the bread tough. Another common issue is expired baking soda; if your soda is more than six months old, it might not have the strength to lift this heavy dough.
Identifying and Fixing a Gummy Interior
A gummy center usually happens when the bread is sliced too soon. As the bread cools on a wire rack, the internal steam is still “setting” the crumb. If you cut into it while it’s piping hot, that steam escapes, and the starch collapses into a sticky mess. Wait at least 20 minutes before diving in.
Flavor Variations and Savory Additions
Once you master the base, you can get creative with additions. A sharp cheddar and chive version is incredible with soup. Alternatively, try adding rosemary and a sprinkle of flaky sea salt to the top for a more Mediterranean vibe. Just make sure any additions are dry so you don’t mess with the moisture levels of the dough.
Serving Suggestions and Storage Logistics
This bread is best served warm with a generous slab of salted butter. It also pairs perfectly with thick beef stews or a drizzle of extra honey. Because it lacks preservatives, it will start to firm up after 24 hours. If you have leftovers, the best way to revive them is in a toaster oven, which restores the crunch of the crust.
Freezing the Loaf for Future Use
You can freeze this bread quite successfully. Wrap the cooled loaf tightly in a double layer of foil, then place it in a freezer bag. It will stay fresh for up to two months. To serve, thaw it at room temperature and then pop it into a 350-degree oven for ten minutes to crisp the crust back up.
Expert Baking FAQ
Can I use a buttermilk substitute like milk and lemon juice?
In a pinch, you can mix one tablespoon of lemon juice or white vinegar into a cup of milk and let it sit for five minutes. However, real buttermilk is thicker and more acidic, which provides a better rise and a more tender crumb. If you use a substitute, your dough might be slightly wetter, so you may need a touch more flour.
Why did my bread turn green or have yellow spots?
This is a classic chemical reaction that happens when baking soda isn’t fully incorporated. If a pocket of soda doesn’t find enough acid (buttermilk) to react with, it remains alkaline. This can cause a greenish tint or yellow spots and a bitter, soapy taste. Whisking your dry ingredients thoroughly is the best way to prevent this.
Can I bake this in a Dutch Oven?
Yes, a Dutch oven works beautifully for soda bread. Preheating the pot with the lid on creates a steamy environment that helps the bread rise even more before the crust sets. Just be careful when dropping the dough into the hot pot, and remove the lid for the last 15 minutes of baking to ensure the crust gets dark and crispy.
Is it possible to use whole wheat flour?
You can substitute up to half of the all-purpose flour with whole wheat flour. Keep in mind that whole wheat flour absorbs more liquid, so you might need an extra tablespoon or two of buttermilk. The resulting loaf will be much heartier and nuttier, though it will also be slightly denser than the all-white version.
How do I get a softer crust if I prefer it less crunchy?
If you find the “shatteringly crisp” crust too hard, you can wrap the hot loaf in a clean kitchen towel immediately after taking it out of the oven. The towel traps the escaping steam, which softens the exterior as the bread cools. This will give you a much more pliable, soft-sided loaf similar to store-bought versions.
Crusty Homemade Soda Bread
Course: Breads and Baked GoodsCuisine: IrishDifficulty: easy8
servings15
minutes40
minutes55
Minutes265
kcalIrish
Ingredients
4 cups all-purpose flour (plus extra for dusting)
1.5 teaspoons baking soda
1 teaspoon baking powder (for extra lift)
1.5 teaspoons salt
1.75 cups cold buttermilk
6 tablespoons cold unsalted butter, cubed (increased for the visual flaky texture)
1 tablespoon honey
1 egg (for the egg wash to achieve the deep golden crust)
Directions
- Preheat your oven to 425 degrees F. Place a cast iron skillet or a heavy baking sheet inside the oven to preheat.
- In a large bowl, whisk together the flour, baking soda, baking powder, and salt. Ensure the leavening agents are evenly distributed to prevent bitter pockets.
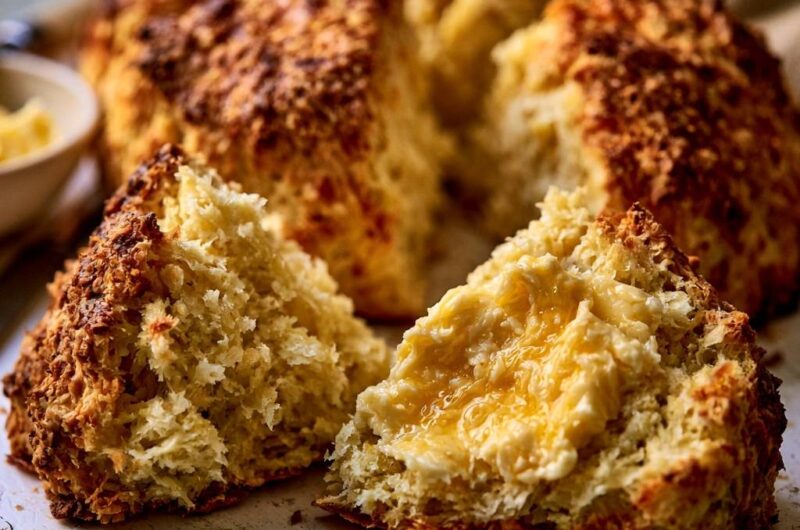
- Add the cold cubed butter. Use your fingers or a pastry cutter to work the butter into the flour until it resembles coarse crumbs with some pea-sized chunks remaining. These larger bits of butter create the steam pockets visible in the airy crumb of the image.
- Make a well in the center and pour in the buttermilk and honey. Use a wooden spoon to stir just until a “shaggy mass” forms. The dough should be sticky and uneven.
- To solve the density issue, do not knead the dough. Turn the shaggy dough onto a heavily floured surface. Gently fold it over itself only 2 to 3 times-just enough so it holds a loose round shape. Overworking the dough develops gluten, which is the primary cause of a tough, dense loaf.
- Form the dough into a tall round loaf (about 2.5 to 3 inches thick). Do not smooth the surface; the craggy, rough bits of dough create the “shatteringly crisp” crust shown in the photo.
- Use a sharp knife to cut a deep “X” into the top of the loaf, about 1.5 inches deep. Whisk the egg with a splash of water and lightly brush the top of the dough (avoiding the deep cuts) to achieve the high-gloss golden finish.
- Carefully place the dough into the preheated skillet or onto the hot baking sheet. Bake for 35 to 40 minutes. If the top browns too quickly, tent loosely with foil. The bread is done when the crust is deep mahogany brown and the bottom sounds hollow when tapped.
- Transfer to a wire rack and let cool for at least 20 minutes. This allows the steam to set the crumb so it isn’t gummy. Tear or slice and serve warm with plenty of salted butter.
Notes
- Do not overwork the dough as this develops gluten and leads to a tough, dense loaf. Tenting with foil can prevent over-browning if needed.