Brazilian Coconut Balls: Mess-Free Perfection Recipe
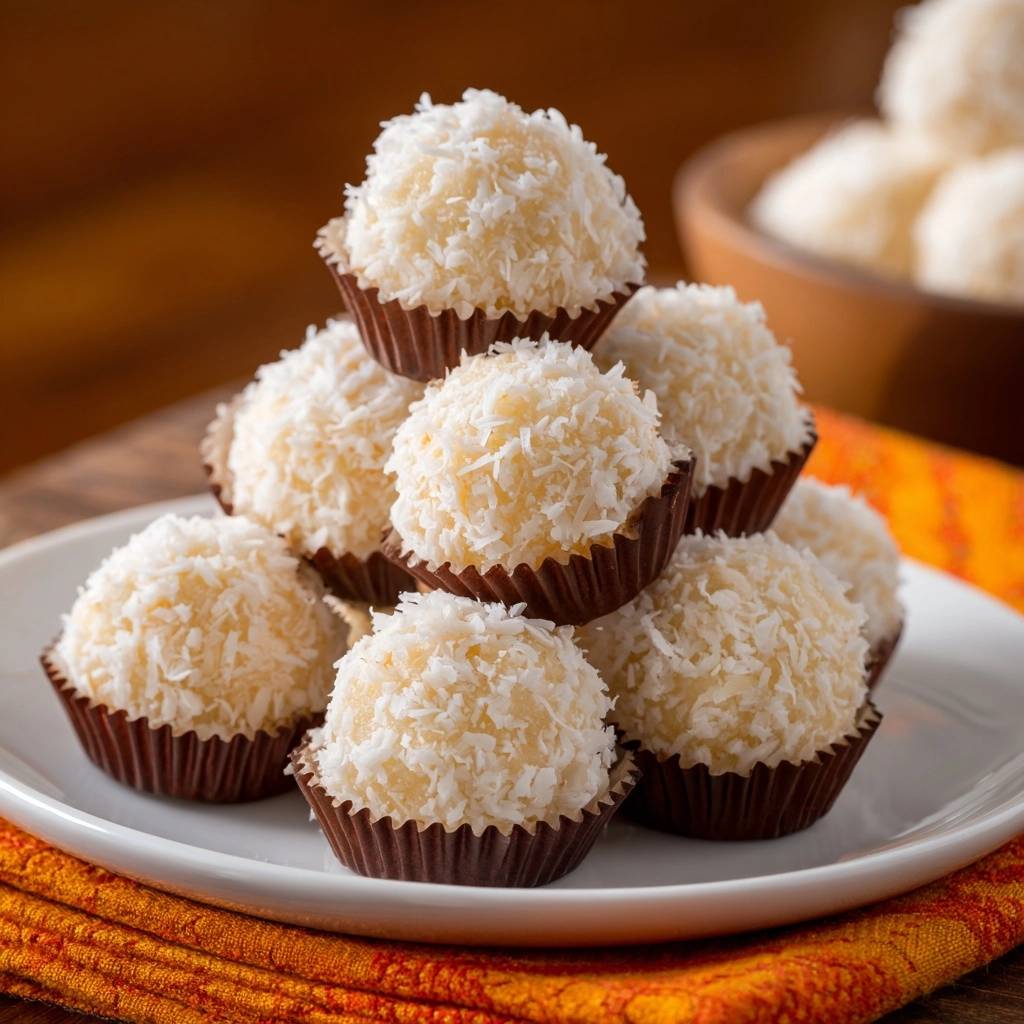
Ever rolled Brazilian Coconut Balls only to end up with sticky fingers and crumbling messes? Most recipes skip a crucial step, leaving you frustrated. This version fixes that with a simple cook-and-chill method. You’ll get firm, smooth balls that hold shape perfectly every time.
That’s why this recipe stands out. It draws from Brazilian brigadeiro roots but swaps chocolate for coconut bliss. You control the texture, so no more gluey disasters. Plus, it takes under 45 minutes total.
For a similar approach to achieving that silky texture, try these creamy coconut brigadeiros.
Here’s the pro tip that seals it: chill the cooked mixture for exactly 30 minutes with plastic wrap touching the surface. This prevents a skin from forming and sets it just right for rolling. Your hands stay clean, and the Brazilian Coconut Balls roll like a dream.
Core Ingredients for Brazilian Coconut Balls
You need just three basics for Brazilian Coconut Balls: one 14-ounce can sweetened condensed milk, 4 tablespoons unsalted butter divided, and 2 cups sweetened shredded coconut divided. These make 20-24 bite-sized treats. They’re pantry staples, so you’re set.
Grab sweetened condensed milk for its thick, caramelizing power. Unsalted butter keeps things smooth without extra salt clashing with the sweetness. Sweetened shredded coconut adds that chewy texture and balances moisture perfectly.
Freshly opened coconut shreds better than bagged that’s gone stale. Source quality brands at any grocery store. These ingredients ensure your Brazilian Coconut Balls stay firm, not soggy.
Why Sweetened Condensed Milk Works Best
Sweetened condensed milk thickens into a dough-like consistency without flour or eggs. Its high sugar content caramelizes during cooking and prevents burning. In Brazil, it’s a pantry hero for treats like these.
Butter Division Prevents Sticking Issues
Use 2 tablespoons first to cook the base smoothly. Stir in the rest off-heat for extra creaminess. Divided like this, unsalted butter emulsifies fats perfectly, dodging sticky problems later.
Shredded Coconut: Sweetened vs Unsweetened Debate
Sweetened shreds amp up the flavor and stick better for coating. Go for medium-fine texture; it rolls smoothly without falling off. Unsweetened works but tastes flatter.
History and Origins of Brazilian Coconut Balls
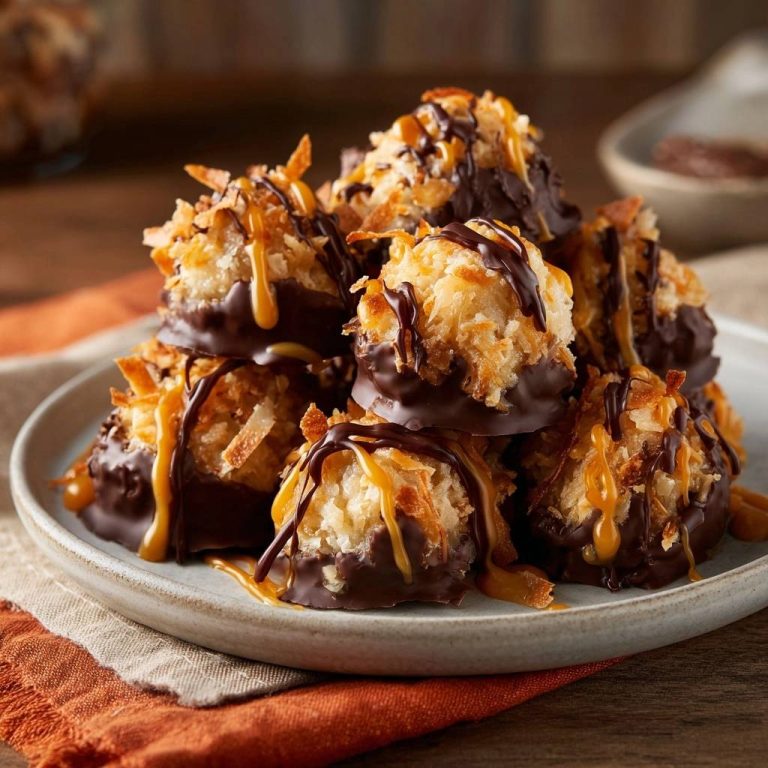
Brazilian Coconut Balls evolved from brigadeiros, born during World War II when chocolate was scarce. Cooks used sweetened condensed milk for chocolate-like fudge balls. Coconut versions, called beijinhos, brought “little kisses” of tropical sweetness.
These treats shine at Brazilian parties. Families roll them for birthdays and festas. Modern twists like this no-stick method keep the tradition alive without the mess.
Beijinhos symbolize joy and sweetness in celebrations. They’re bite-sized, shareable, and always vanish fast. Your Brazilian Coconut Balls fit right into that festive vibe.
From Brigadeiro to Coconut Beijinhos
Brigadeiros started as wartime fundraisers with condensed milk and cocoa. Coconut beijinhos adapted that base for lighter, nuttier flavor. Key ties to Brazil’s love for milky sweets endure.
Cultural Role in Brazilian Celebrations
At festas and birthdays, beijinhos line platters in colorful liners. They represent affection, like little hugs. Everyone grabs seconds for that pure coconut joy.
Step-by-Step: Cooking Brazilian Coconut Balls Base
Start in a medium nonstick saucepan over medium heat. Combine sweetened condensed milk, 2 tablespoons butter, and 1 cup shredded coconut. Stir constantly for 8 to 10 minutes. Watch for thickening; it pulls from pan sides and forms a soft dough ball.
Don’t let it burn, so remove from heat right away. Stir in remaining 2 tablespoons butter until melted smooth. This creates silky Brazilian Coconut Balls base.
Transfer to a greased plate. Cover with plastic wrap touching the surface, then chill 30 minutes. It firms up just enough to handle without crumbling. Skip this, and you’ll fight sticky chaos.
Medium Heat Thickening Technique
Constant stirring on medium heat triggers Maillard reactions for flavor without scorching. Use a heatproof spatula; it scrapes sides clean. You’ll smell sweet coconut as it thickens.
Chill Phase for Firm Dough
Fridge for 30 minutes hits the sweet spot; it’s pliable, not rock-hard. Plastic wrap stops a dry skin. Test by pressing; it should hold shape gently.
Shaping and Coating Mess-Free Brazilian Coconut Balls
Place remaining 1 cup coconut in a shallow bowl. Grease palms generously with butter; reapply often. Scoop 1 tablespoon chilled mixture, roll quickly into balls, then coat evenly.
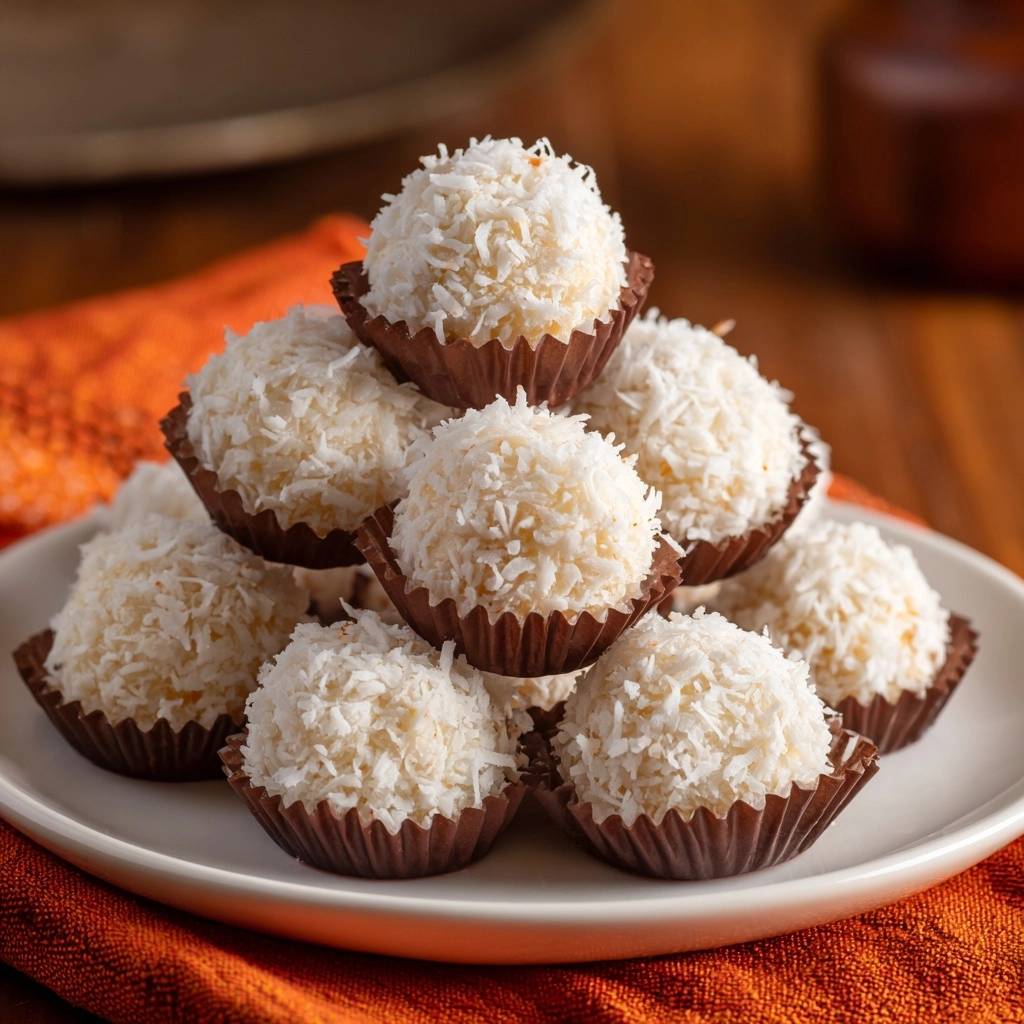
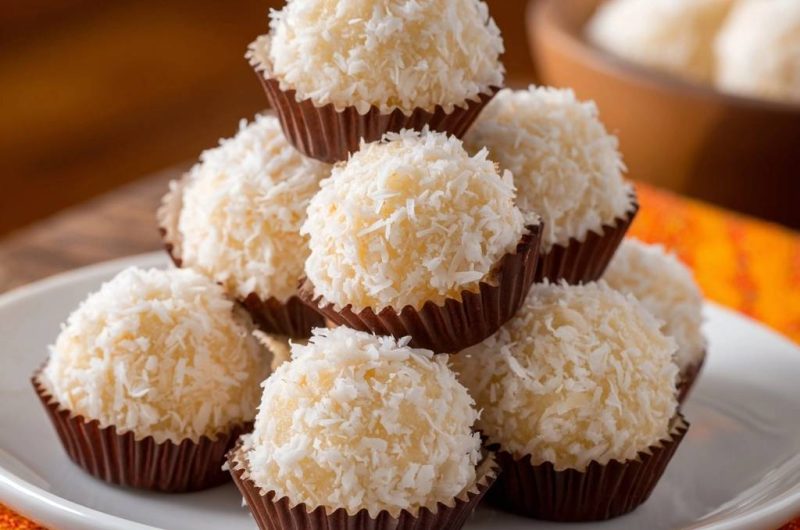
Drop into coconut and press lightly. Place in mini paper liners. Your Brazilian Coconut Balls are ready to serve or chill up to 3 days. Yields 20-24 treats, around 80 calories each.
Pro tip: work fast during rolling to avoid warming the dough. This mess-free method beats traditional sticky versions hands down.
Buttered Hands No-Stick Method
Butter on palms repels the dough better than oil. Roll in one swift motion. Reapply as you go for flawless Brazilian Coconut Balls.
Even Coconut Coating Tips
Press gently to adhere coconut. Shake off excess in the bowl. Perfect coverage every time.
The Science of Perfect Brazilian Coconut Balls Texture
Butter fats emulsify with condensed milk sugars and coconut fibers during cooking. Heat reduces moisture for that pull-away dough. Chilling then gelatinizes starches, making Brazilian Coconut Balls moldable and firm.
Proteins denature from heat, creating structure. Cooling crystallizes fats for non-crumble hold. High humidity? Chill longer to compensate.
This balance delivers chewy centers with crisp exteriors. No guesswork; science guarantees success.
Thickening Reactions Explained
Condensed milk’s sugars and proteins reduce via evaporation. Medium heat evaporates water steadily. Result: thick, fudgy base for Brazilian Coconut Balls.
Chilling Sets Non-Crumble Structure
Fats solidify into crystals during chill. This locks shape without brittleness. Perfect for rolling.
Avoiding Common Mistakes with Brazilian Coconut Balls
Overcook and it burns bitter; undercook leaves it sticky. Always use nonstick pan to prevent sticking. High humidity softens dough, so adjust with extra chill.
Skip stirring constantly? Uneven thickening happens. Watch visual cues over timer for foolproof Brazilian Coconut Balls.
Pro tip: if humid, add a teaspoon more coconut to the base. Keeps everything rolling smooth.
Overcooking Burn Prevention
Set a 10-minute timer but trust visuals: dough pulls away clean. Yank off heat fast. Saves your batch.
Humidity Adjustments for Smooth Rolling
Extra 10-minute chill or more palm butter fixes soft dough. Works every time in muggy weather.
Flavor Variations for Brazilian Coconut Balls
Add lime zest to the cooking base for zesty tang. Stir in chocolate chips post-chill for melty surprises. Coffee essence deepens flavor subtly.
For vegan swaps, use coconut cream thickened with cornstarch. Keeps nut-free too. Twist your Brazilian Coconut Balls endlessly.
These boost the classic without complicating the no-stick method. Experiment once mastered.
Citrus Zest Infusions
Grate 1 teaspoon lime or lemon zest into hot mixture. Cooks in bright flavor. Refreshing lift.
Chocolate or Coffee Twists
Mix 1/4 cup mini chips after chilling, or 1 teaspoon coffee essence in cooking. Melts smooth on rolling.
Storage and Make-Ahead Brazilian Coconut Balls Guide
Store in airtight container in fridge up to 3 days. They firm up nicely chilled. Room temp maxes at 4 hours before softening.
Freeze up to 1 month in lined bags. Thaw overnight in fridge. Revive stale ones by rolling in fresh coconut.
Make-ahead shines for parties. Your Brazilian Coconut Balls stay fresh-tasting.
Freezing Without Texture Loss
Flash-freeze on lined tray first, then bag. Thaw chilled slowly. No sogginess.
Pairing Brazilian Coconut Balls with Drinks and Desserts
Brazilian Coconut Balls pair with bold roast coffee; its bitterness cuts the sweet. Herbal teas like chamomile soften the richness. Sparkling cranberry juice adds fizz contrast.
On dessert boards, nestle with fresh berries and nuts. They shine as sweet bites. Perfect for gatherings.
Ideal Beverage Matches
Bold coffee balances coconut sweetness perfectly. Try strong black brew. Elevates every bite.
Dessert Board Companions
Pair with sliced strawberries, almonds. Colors pop, flavors mingle. Crowd favorite.
Troubleshooting Brazilian Coconut Balls Issues
Too soft? Recook 2 minutes more. Crumbly? Stir in extra butter. Won’t coat? Dampen hands lightly before butter.
Sticky mix means undercooked; chill longer. These fixes save Brazilian Coconut Balls every time. No waste.
Mixture Too Sticky Solutions
Recook briefly or add 2 tablespoons coconut. Chill extra 15 minutes. Rolls perfect.
Cracking During Rolling Fixes
Warm dough slightly in hands first. Less pressure. Smooth spheres result.
Frequently Asked Questions About Brazilian Coconut Balls
Are Brazilian Coconut Balls Gluten-Free?
Yes, naturally gluten-free with just condensed milk, butter, and coconut. No flours or binders needed. Safe for everyone.
Can You Bake Instead of Stovetop?
No, baking dries them out and skips thickening magic. Stovetop controls texture precisely for fudgy Brazilian Coconut Balls.
Vegan Substitutions for Condensed Milk?
Use full-fat coconut cream plus 1/4 cup sugar, simmered thick. Matches creaminess. Vegan Brazilian Coconut Balls hold shape well.
Calories Per Brazilian Coconut Ball?
About 80-100 calories each. Breakdown: condensed milk drives sugar (15g), coconut adds fat (5g). One-inch balls keep portions light.
Scaling Recipe for Larger Batches?
Double safely in larger nonstick pan; cook 12-15 minutes. Stir vigorously. Yields 40-48 Brazilian Coconut Balls without issues.
Coconut Balls
Course: DessertCuisine: BrazilianDifficulty: easy20
balls15
minutes10
minutes50
kcal55
MinutesTired of coconut balls that glue to your fingers and fall apart? This recipe nails the perfect cook-and-chill method so your hands stay clean, shapes hold firm, and every ball rolls smooth.
Ingredients
1 (14-ounce) can sweetened condensed milk
4 tablespoons unsalted butter, divided
2 cups sweetened shredded coconut, divided
Directions
- In a medium nonstick saucepan over medium heat, combine sweetened condensed milk, 2 tablespoons butter, and 1 cup shredded coconut. Stir constantly with a heatproof spatula for 8 to 10 minutes until the mixture thickens, pulls away from the sides of the pan, and forms a soft dough-like ball that holds its shape when scooped. Do not let it burn; remove from heat immediately.
- Stir in remaining 2 tablespoons butter until fully melted and smooth. Transfer to a greased plate, cover with plastic wrap touching the surface, and chill in the fridge for 30 minutes until firm enough to handle but not hard. This chill step is key: it sets the mixture perfectly so it won’t stick or crumble.
- Place remaining 1 cup shredded coconut in a shallow bowl. Grease your palms generously with a bit of butter (this is the no-stick secret; reapply as needed). Scoop 1 tablespoon of chilled mixture, roll quickly into a smooth ball between your buttered hands, then drop into coconut and coat evenly.
- Place balls in mini paper liners. Serve immediately or chill up to 3 days. Enjoy mess-free perfection!
Notes
- The chill step is key: it sets the mixture perfectly so it won’t stick or crumble. Grease palms with butter for no-stick rolling.