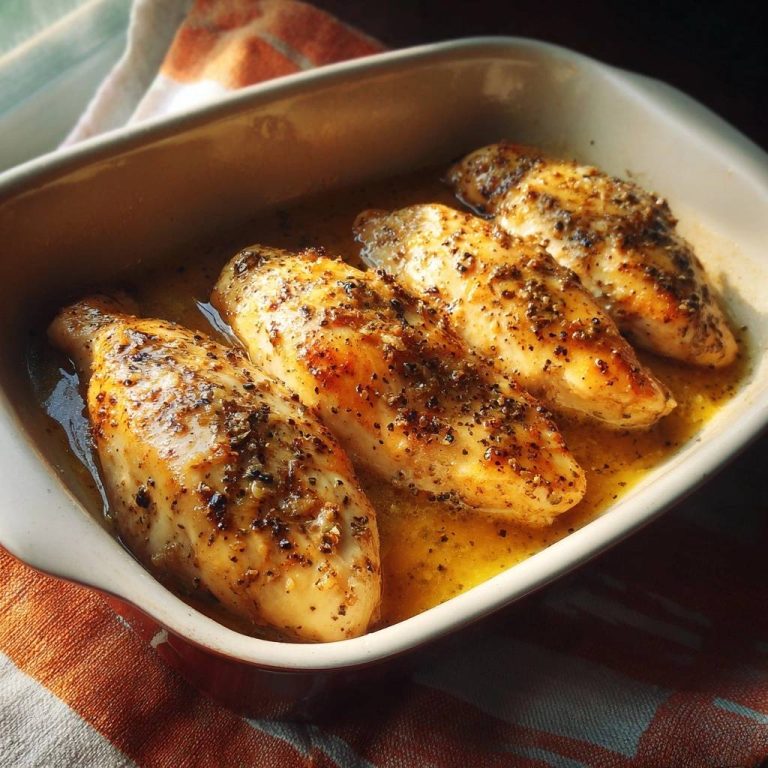
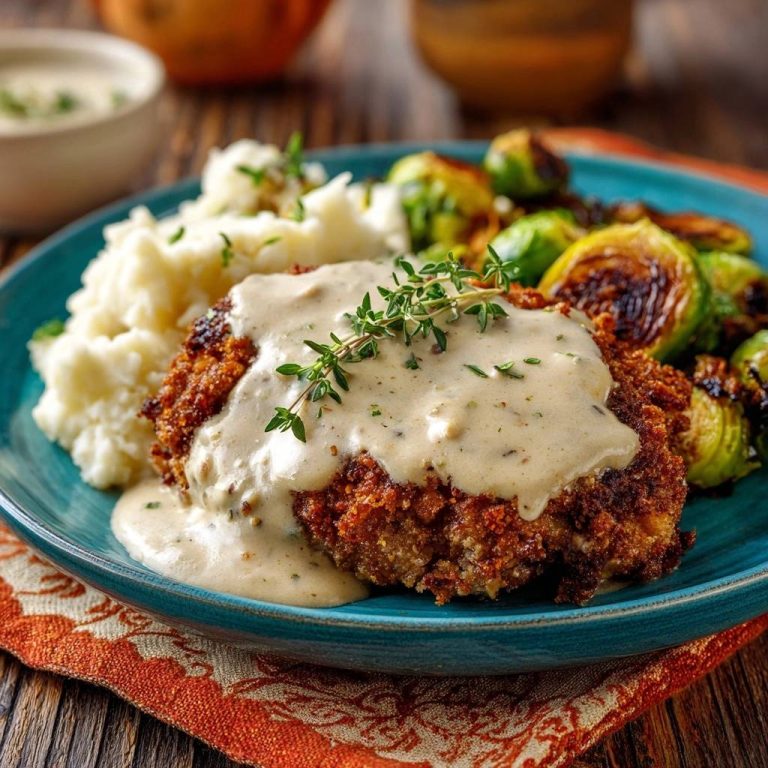
Cast Iron Thyme Chicken Thighs: Crispy Skin Mastery
Why Cast Iron Thyme Chicken Thighs Transform Weeknights
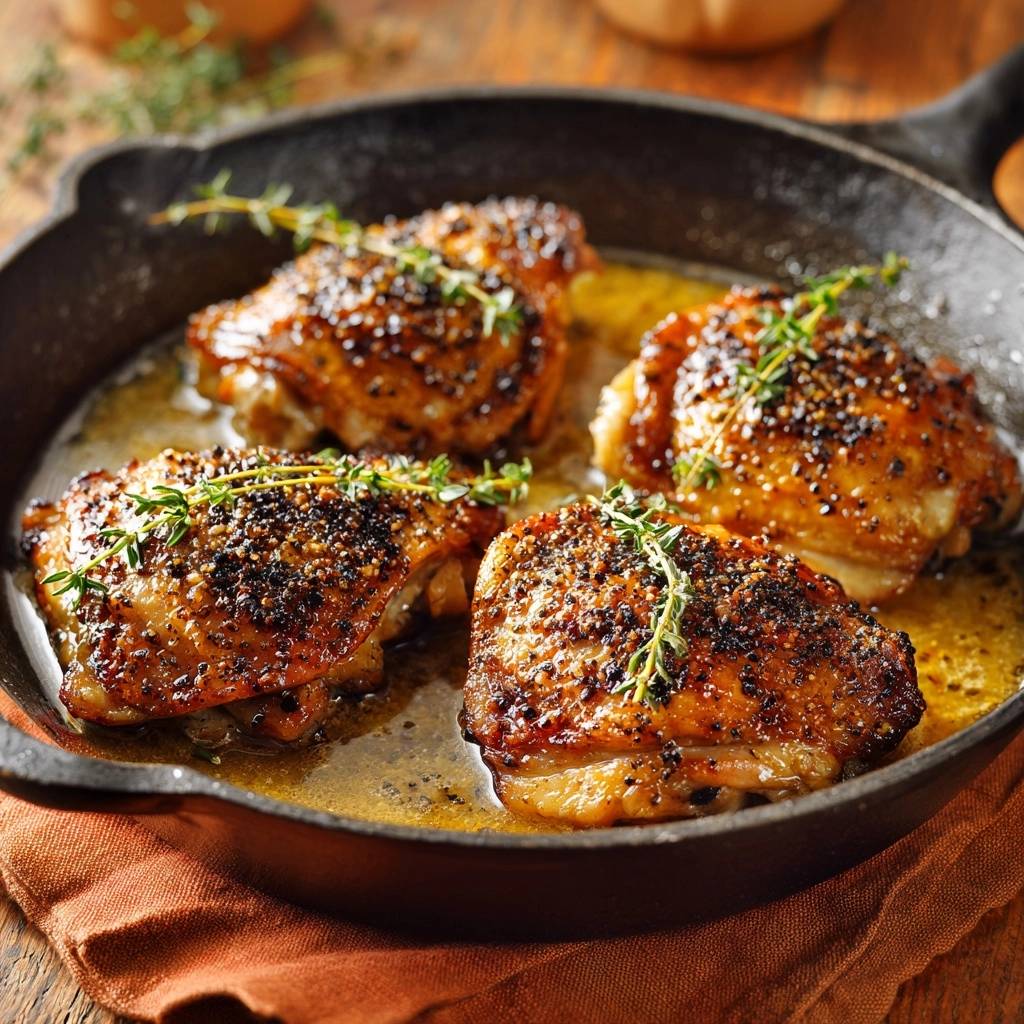
Tired of chicken skin that’s rubbery and pale, sticking to the pan like a bad memory? This cast iron thyme chicken thighs recipe fixes that with a high-heat sear that renders fat perfectly. You’ll get shatteringly crisp skin while the meat stays juicy every time.
Here’s why it works so well. The cast iron holds heat like a champ, creating the Maillard reaction for deep golden color. Plus, basting with butter, thyme, and garlic infuses flavor without sogginess. In addition, you control every step for restaurant-quality results at home.
The real secret? Pat the thighs bone-dry first. That moisture removal lets the skin crisp up fast. Oh man, the first bite cracks like potato chips, and the juices burst out just right.
If you enjoy the crispy skin technique here, you’ll love the same approach in this creamy roasted mushroom chicken.
Key Ingredients for Cast Iron Thyme Chicken Thighs
Bone-in, skin-on chicken thighs form the base of cast iron thyme chicken thighs. They render fat slowly, keeping meat moist thanks to the bone’s insulation. Therefore, skip boneless, or you’ll miss that juicy center.
Kosher salt seasons evenly with its coarse grains, drawing out moisture for crispier skin. Freshly ground black pepper adds a sharp bite that blooms in the heat. Use unsalted butter to control richness, as it melts smoothly for basting.
Fresh thyme sprigs release earthy aroma when heated, pairing with smashed garlic’s mellow sweetness. Olive oil’s high smoke point handles the initial sear without burning. Source quality chicken from a butcher for better fat marbling.
Bone-In Thighs: Fat Rendering Secrets
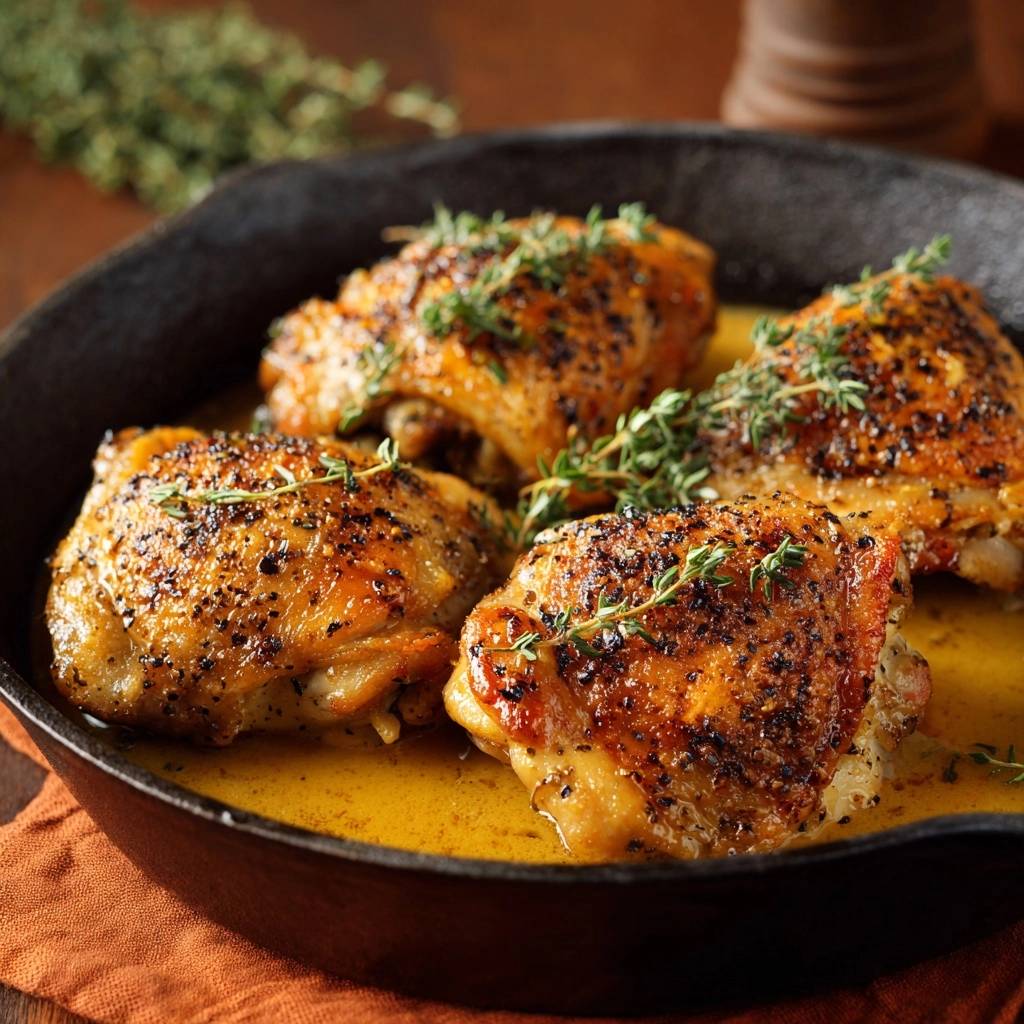
Bone-in thighs outperform boneless in cast iron thyme chicken thighs because the bone retains moisture during searing. Skin-on versions crisp up as fat renders, unlike skinless which steams and stays soft. You’ll notice the difference in every juicy bite.
Fresh Thyme and Garlic Pairing
Thyme’s earthiness cuts through chicken fat in cast iron thyme chicken thighs, creating balance. Smashing garlic releases oils gently, infusing without bitterness. However, use fresh sprigs, as dried lacks the punch.
Equipment Essentials for Cast Iron Thyme Chicken Thighs
A 12-inch cast iron skillet shines for cast iron thyme chicken thighs with its heat retention and even distribution. It self-bastes as fat renders, unlike nonstick which can’t take the high heat. In addition, grab a meat thermometer for 165°F precision and a sturdy spatula.
Nonstick pans fail here, scorching or warping. Cast iron builds flavor over time too. Therefore, preheat properly for success.
Preheating Your Cast Iron Skillet
Heat your cast iron over medium-high for 4 minutes until it smokes lightly. This prevents sticking by creating a non-stick surface via polymerization. Watch for wisps of smoke, and use oven mitts for safety.
Science of Crispy Skin in Cast Iron Thyme Chicken Thighs
The Maillard reaction kicks in during the high-heat sear of cast iron thyme chicken thighs, browning proteins for flavor and crisp texture. Fat renders out, self-basting the pan. Then, butter basting emulsifies juices, locking in moisture.
Internal temp hits 165°F, with carryover cooking adding 5-10 degrees during rest. Therefore, pull early to avoid dryness. This method ensures crisp thyme chicken thighs that shatter on the fork.
Moisture evaporates first, then skin crisps without steaming. It’s physics you can taste.
Moisture Evaporation for Shatter Crisp
Patting dry removes surface water, speeding evaporation in cast iron thyme chicken thighs. Room-temp rest evens cooking, preventing cold spots. Undisturbed searing lets physics work, crisping evenly.
Phase 1: Prepping Cast Iron Thyme Chicken Thighs
Start by patting chicken thighs completely dry with paper towels. Season generously with 2 teaspoons kosher salt and 1 teaspoon pepper on skin and meat. Let sit at room temp for 10 minutes; this draws out moisture for crisp skin.
Press gently for full contact later. You’ll smell the seasoning blooming already. Pro tip: Dry hands prevent slipping.
Drying and Seasoning Technique
Press paper towels firmly into skin crevices for cast iron thyme chicken thighs. Apply salt heavily; it penetrates during rest. Pepper adds pop without overpowering.
Phase 2: High-Heat Sear for Cast Iron Thyme Chicken Thighs
Heat skillet 4 minutes till smoking, add 1 tablespoon olive oil, and swirl. Place thighs skin-side down in a single layer. Sear undisturbed 8-10 minutes; fat renders, skin turns deep golden.
Lift an edge to check: if it releases easily, it’s ready. No flipping yet, or you’ll steam it. The sizzle tells you it’s working.
Press with spatula initially for even contact. Avoid crowding, or heat drops.
Pressing for Even Crisp Contact
Use a spatula to press thighs flat for 30 seconds in cast iron thyme chicken thighs. This ensures full skin contact. Work in batches if needed for single layer.
Phase 3: Basting Cast Iron Thyme Chicken Thighs
Flip when skin lifts easily, cook meat-side down 5 minutes. Reduce heat to medium, add 3 tablespoons butter, 4 smashed garlic cloves, and 6 thyme sprigs. Tilt pan and spoon butter over skin 4-5 minutes.
This infuses thyme and garlic flavors deeply. Aromas fill your kitchen like a pro setup. Check temp at 165°F.
Rest 5 minutes in pan; juices redistribute, skin stays crisp. Serve with pan sauces. Pro tip: Spoon gently to avoid sogginess.
What to Serve with Thyme Chicken Thighs
These chicken thighs with their crispy skin and herb notes pair well with a few simple additions.
- Soak up the pan juices with soft buttery garlic herb dinner rolls for a warm, pull-apart side.
- Balance the richness with garlic charred roasted broccoli, which gets crunchy edges from the same dry-heat method.
Internal Temp and Resting Protocol
Hit 165°F in thickest part for cast iron thyme chicken thighs, avoiding bone. Rest in pan 5 minutes; carryover cooks it perfectly. Skin retains crunch as fats solidify.
Avoiding Pitfalls in Cast Iron Thyme Chicken Thighs
Skipping the dry pat leads to rubbery skin in cast iron thyme chicken thighs. Low heat causes sticking; always preheat fully. Over-basting sogs the crisp, so time it right.
For pale skin, crank heat higher next time. Dry meat? Use thermometer religiously. Patience pays off here.
Pro tip: If garlic browns too fast, add it later. Fresh herbs prevent blandness.
Sticking Skin Troubleshooting
Sticking means insufficient preheat in cast iron thyme chicken thighs. Wait for smoke, and don’t nudge early. Patience lets natural fat release it perfectly.
Flavor Twists on Cast Iron Thyme Chicken Thighs
Swap thyme for rosemary in cast iron thyme chicken thighs for piney notes. Add lemon zest post-sear for brightness. Smoked paprika in seasoning boosts savoriness without heat.
Keep the sear and baste intact. These tweaks elevate without complicating. Try oregano for Mediterranean vibes.
Herb and Citrus Variations
Use 6 sage leaves or oregano sprigs equally in cast iron thyme chicken thighs. Zest 1 lemon, add with butter for acid balance. It cuts richness perfectly.
If you enjoy pairing lemon with sage, try this juicy herb chicken for another bright, flavorful dinner.
Perfect Pairings for Cast Iron Thyme Chicken Thighs
Roast veggies in the same pan after chicken for cast iron thyme chicken thighs. Quinoa salad soaks up juices nicely. Green beans with garlic echo the flavors.
Spoon pan juices over everything. Sparkling cranberry juice balances the richness. Simple and satisfying.
Vegetable Sides That Complement Thyme
Toss carrots or asparagus in pan juices, roast at 425°F 15 minutes for cast iron thyme chicken thighs. Thyme aroma ties it together. Quick and flavorful.
Storage Guide for Cast Iron Thyme Chicken Thighs
Store cast iron thyme chicken thighs in an airtight container in the fridge up to 4 days. Reheat in 375°F oven skin-up 10 minutes to restore crisp. Freezing works whole for 2 months; thaw overnight first.
Shred for meal prep salads. Avoid microwave; it sogs skin. Pro tip: Layer with parchment to prevent sticking.
Troubleshooting Cast Iron Thyme Chicken Thighs
Skin not crispy? You skipped patting dry or used low heat. Pat extra firm next time and preheat fully for cast iron thyme chicken thighs.
Overcooked meat? No thermometer led to guesswork. Always check 165°F precisely. Garlic burnt? Add it after flipping, as high heat scorches fast.
Bland? Use fresh thyme, not dried. It infuses better during baste.
Reheating Without Losing Crisp
Oven at 375°F skin-up for 10-12 minutes revives cast iron thyme chicken thighs. Air fryer at 400°F works too, 5 minutes. Skip microwave entirely.
FAQ
How do I store leftovers of Cast Iron Thyme Chicken Thighs?
Place cooled cast iron thyme chicken thighs in an airtight container and refrigerate for up to 4 days. For freezing, wrap individually in plastic then foil; they keep 2-3 months without quality loss. Thaw in fridge overnight before reheating to maintain juiciness and crisp skin.
Why is my chicken skin not crispy in Cast Iron Thyme Chicken Thighs?
Common issue: moisture on skin or insufficient preheat. Pat thighs extra dry with multiple paper towels, and heat cast iron until smoking (4 full minutes). Don’t flip early; let fat render 8-10 minutes undisturbed for the shatter crisp you’re after.
Can I substitute ingredients in Cast Iron Thyme Chicken Thighs?
No bone-in thighs? Boneless skin-on works but dries faster, so check temp sooner. Swap thyme for rosemary (same amount) or skip garlic if sensitive, using more butter. Olive oil can be avocado oil for higher smoke point; avoid butter initially to prevent burning.
What’s the best way to reheat Cast Iron Thyme Chicken Thighs without soggy skin?
Preheat oven to 375°F, place skin-up on a wire rack over a sheet pan for 10-12 minutes. This circulates air to recrisp. Air fryer at 400°F for 5 minutes is quicker; add a spritz of oil if needed. Never microwave, as steam ruins the texture.
How do I know when to flip during the sear for Cast Iron Thyme Chicken Thighs?
Lift edge with tongs after 8-10 minutes; deep golden color and easy release mean it’s ready. If it sticks, sear 1-2 more minutes. The rendered fat creates natural non-stick, so patience prevents tearing the skin.
Can I make Cast Iron Thyme Chicken Thighs in advance for meal prep?
Yes, prep through searing, cool, and refrigerate up to 2 days before final baste and cook. Or fully cook, store as noted, and portion with sides. Reheats excellently, keeping skin crisp with oven method for busy weeknights.
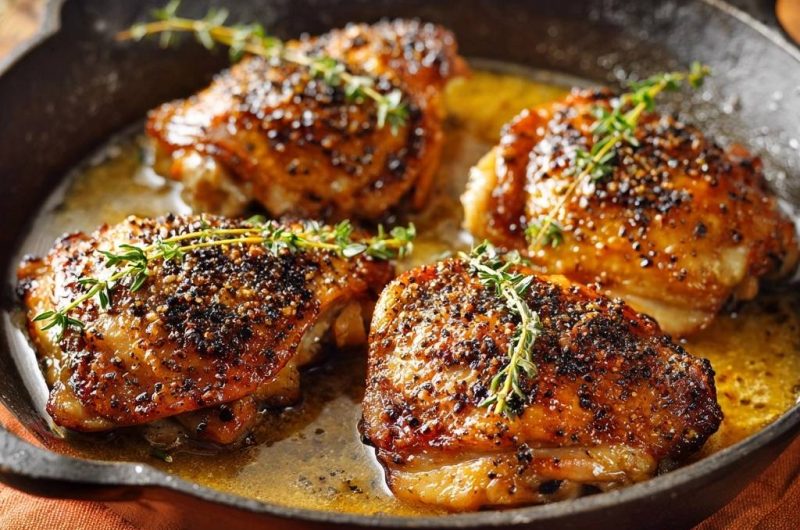
Cast Iron Chicken Thighs
Course: Main CourseCuisine: AmericanDifficulty: easy6
servings15
minutes20
minutes450
kcal35
MinutesTired of rubbery, pale chicken skin? This foolproof cast iron method renders fat perfectly for shatteringly crisp skin while keeping meat juicy, using high-heat sear and basting no-fail technique.
Ingredients
6 bone-in, skin-on chicken thighs
2 teaspoons kosher salt
1 teaspoon freshly ground black pepper
3 tablespoons unsalted butter
6 sprigs fresh thyme
4 garlic cloves, smashed
1 tablespoon olive oil
Directions
- Pat chicken thighs completely dry with paper towels. This removes moisture for ultimate crispiness. Season skin and meat generously with salt and pepper. Let sit at room temperature 10 minutes.
- Heat cast iron skillet over medium-high heat 4 minutes until smoking hot. Add olive oil, swirl to coat. Place chicken skin-side down in single layer. Press down gently with spatula for full contact. Sear undisturbed 8 to 10 minutes. Fat will render, skin will crisp golden without sticking as pan self-bastes. No flipping needed yet.
- Check skin: lift edge, if deep golden and releases easily, flip. Cook meat-side down 5 minutes.
- Reduce heat to medium. Add butter, smashed garlic, and thyme sprigs around chicken. Tilt pan, spoon melted butter over skin repeatedly 4 to 5 minutes. This bastes and infuses flavor while locking in juiciness. Garlic and thyme perfume without burning.
- Chicken is done at 165 degrees F internal temp. Rest 5 minutes in pan. Skin stays crispy, meat stays moist. Serve with pan juices.
- Every time, pro-level crispy skin solved.
Notes
- Pat chicken completely dry for ultimate crispiness. Check skin lifts easily before flipping. Rest 5 minutes in pan to keep skin crispy and meat moist.