Mastering Garlic Charred Roasted Broccoli: The Dry-Heat Method
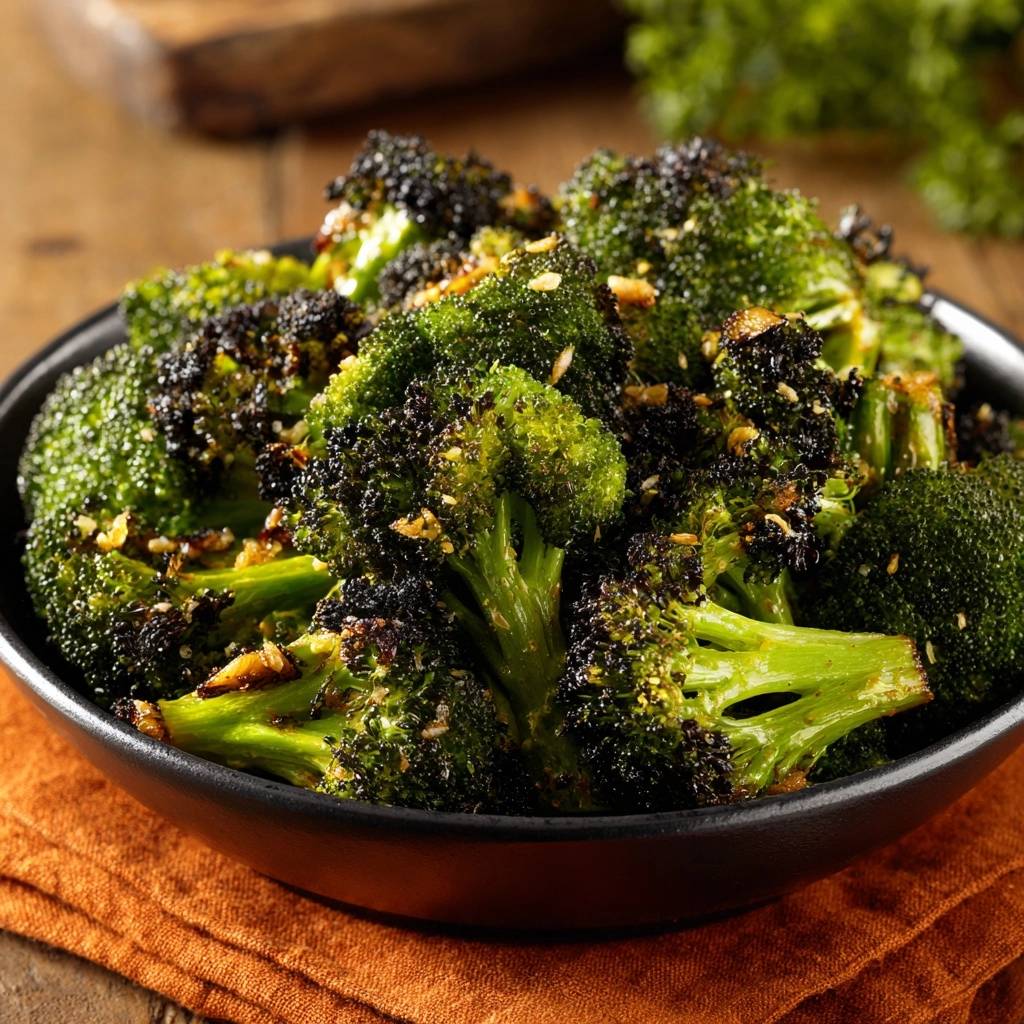
Most of us grew up eating broccoli that was either boiled into a gray mush or steamed until it lost all its personality. It’s a frustrating experience because you know the potential for greatness is there, yet the result often feels like a soggy chore. If you’ve ever wondered why restaurant broccoli has those irresistible crispy, dark edges and a nutty sweetness, the answer isn’t a secret ingredient; it’s a total rejection of moisture.
The magic happens through the Maillard reaction, a chemical process where high heat transforms the natural sugars in the vegetable into something complex and savory. When we talk about “charred” broccoli, we aren’t talking about burnt or ruined food. We’re aiming for a specific state where the tips of the florets become brittle and caramelized, creating a bitter-sweet crunch that contrasts perfectly with a tender, buttery stem.
I’ve found that the biggest mistake home cooks make is treating broccoli like it needs a bath right before it hits the heat. The secret to success is starting with bone-dry vegetables and a screaming hot pan. If there’s even a hint of water on those florets, you’ll end up steaming the broccoli from the inside out, which is exactly how you get that limp, rubbery texture we’re trying to avoid.
The Science of Achieving Crispy Floret Edges
Roasting at 450°F is the absolute sweet spot for brassicas like broccoli. At this temperature, the heat is intense enough to evaporate any residual moisture instantly while simultaneously browning the exterior. If you drop the temperature to 350°F or 400°F, the vegetable cooks through to the center before the outside has a chance to develop a crust, leading to that dreaded mushy interior.
Surface area plays a massive role in how your broccoli roasts. The “trees” or the fuzzy tops of the florets have thousands of tiny surfaces that are prone to burning if they aren’t protected. This is why coating them thoroughly in oil is non-negotiable. The oil acts as a heat conductor, ensuring every little crevice reaches the same high temperature without turning into ash.
You also have to manage the “Steam vs. Sear” conflict. Water molecules on the surface of the vegetable act as a thermal barrier. As long as water is present, the temperature of the broccoli cannot rise above 212°F (the boiling point of water). Since the Maillard reaction requires temperatures closer to 300°F, any surface water effectively halts the charring process until it evaporates, by which time your broccoli is already overcooked.
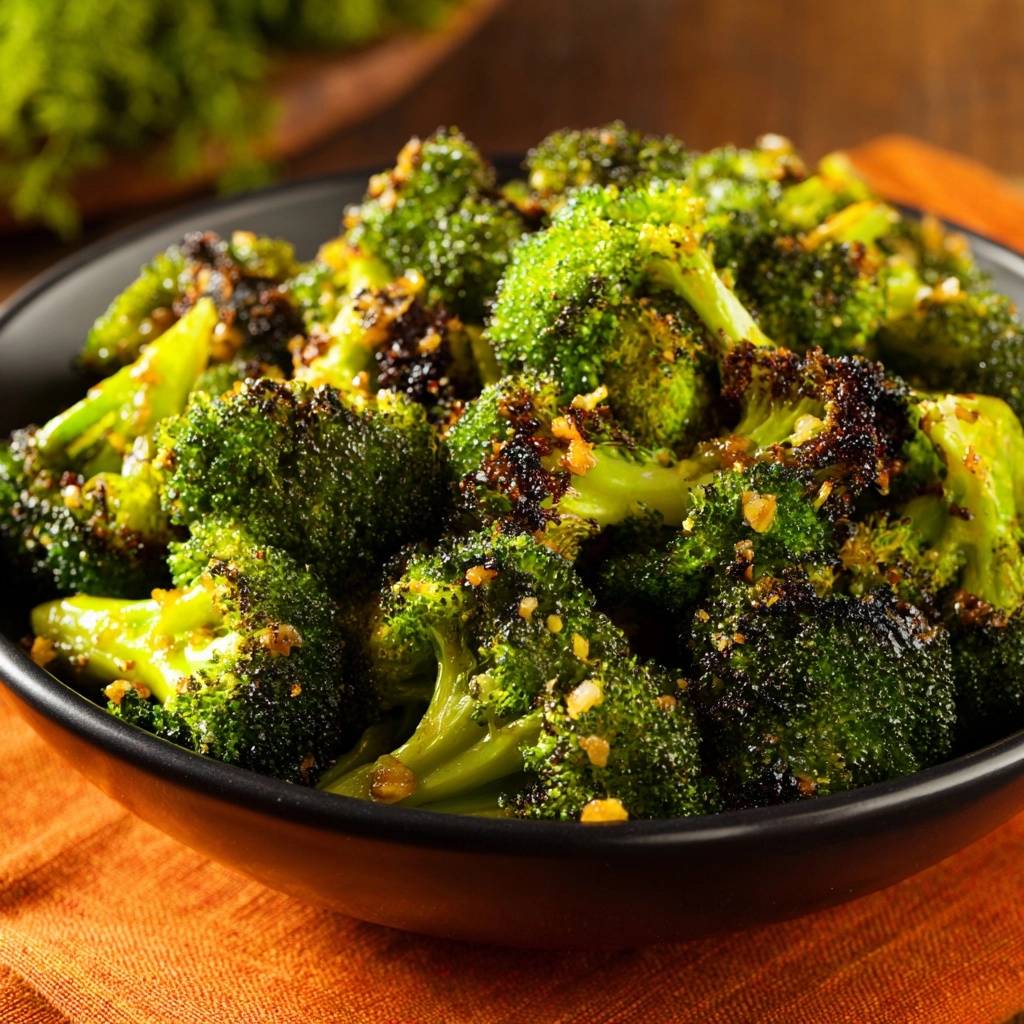
Essential Components for Garlic Charred Roasted Broccoli
When you’re at the grocery store, look for broccoli heads that are tight, heavy, and dark green or even slightly purple. Avoid anything with yellowing florets or thick, woody stems that feel hollow. While we focus on the florets, don’t toss the stems! Just peel the tough outer skin and slice the tender core into coins; they roast beautifully and provide a great structural contrast.
For the fat, extra virgin olive oil is my go-to for its flavor, but avocado oil is a fantastic alternative if you’re worried about smoke points. You need a fat that can stand up to 450°F without breaking down. The oil doesn’t just prevent sticking; it creates a “fry” effect on the baking sheet that crisps up the flat sides of the florets.
I use onion powder as a base seasoning because it provides a savory, umami depth that coats the entire floret. Fresh garlic, however, is a different story. If you toss fresh minced garlic in at the beginning, it will burn into bitter black acrid bits long before the broccoli is done. We save the fresh aromatics for the final few minutes of roasting to keep the flavor sweet and fragrant.
If you enjoy the charred edges this method produces, you’ll love the concentrated sweetness in these golden roasted tomatoes.
Finally, never skip the lemon juice. The charring process creates deep, heavy flavors that can sometimes feel a bit one-note. A quick squeeze of fresh lemon juice right as the pan comes out of the oven provides an acidic “lift.” It cuts through the richness of the oil and makes the charred bits taste bright rather than just smoky.
Why Dryness is Your Most Important Ingredient
I cannot stress this enough: your broccoli must be bone dry. If you feel the need to wash your broccoli, do it at least an hour before you plan to cook. Use a salad spinner to whirl away the bulk of the water, then spread the florets out on a clean kitchen towel to air-dry for a bit.
Think of it this way: even a single teaspoon of residual water can ruin two pounds of broccoli. That water turns into a cloud of steam in the oven, which softens the cell walls of the vegetable. If you want that restaurant-style snap, moisture is your primary enemy.
Phase One: Preparing the High-Heat Environment
The “Hot Pan” technique is a total game-changer for home roasting. Instead of putting your broccoli on a cold sheet, place your heavy-rimmed baking sheet in the oven while it preheats. This turns the pan into a searing surface similar to a cast-iron skillet.
When you eventually dump the oiled broccoli onto that hot metal, you should hear a loud, satisfying sizzle. That sound is the bottom of the florets searing instantly. This immediate contact heat ensures that the side touching the pan starts browning the second it enters the oven, giving you a head start on that perfect char.
Phase Two: Coating and Spacing for Maximum Airflow
When you’re tossing the broccoli in the bowl, don’t be afraid to get your hands in there. You want to literally massage the oil and spices into the florets. The goal is to ensure the oil penetrates the “bushy” part of the broccoli so the salt and onion powder stick to every nook and cranny.
Once you’re ready to roast, the “Single Layer” rule is your law. If you overcrowd the pan, the florets will touch each other and trap moisture in between. This creates “crowd-steaming,” where the broccoli boils in its own juices. Give each piece at least a half-inch of “personal space” so the hot air can circulate freely around every edge.
Phase Three: The Two-Stage Roasting Process
The first 15 minutes of roasting are the “hands-off” phase. It’s tempting to open the oven and move things around, but you must resist. Leaving the broccoli undisturbed allows the side in contact with the hot pan to develop a deep, dark crust. If you flip them too early, you’ll lose that concentrated browning.
If you love the bold char on this broccoli, try these garlic butter egg noodles for a similarly rich, simple side.
After 15 minutes, it’s time for the garlic addition. Garlic contains a lot of natural sugar and very little water, meaning it burns incredibly fast. By adding the minced garlic and optional Parmesan cheese during the last 5 minutes, you hit the “Goldilocks zone.” The garlic softens and turns golden brown without becoming bitter, and the cheese melts into a lacy, crispy crust.
Troubleshooting Common Roasting Obstacles
If your broccoli comes out dark on the outside but still feels tough or “woody” in the center, your florets were likely too large. Try to keep them uniform, about the size of a golf ball. If they are much larger, the outside will burn before the heat can penetrate the thick stem.
Did your garlic burn anyway? This usually happens if the garlic is minced into a fine paste. Try using a slightly coarser mince or even thin “slivered” garlic. Larger pieces are more resilient to the heat and provide a lovely toasted flavor that is much milder and sweeter than a fine mince.
If the florets are still soggy despite the high heat, check your oil-to-vegetable ratio. Too much oil can actually weigh the florets down and make them greasy rather than crispy. You want just enough to make them glisten, not so much that there is a pool of oil at the bottom of your mixing bowl.
Flavor Profiles and Seasonal Adjustments
You can easily adapt this charred base to fit different flavor profiles. For an “Umami Bomb,” toss the finished broccoli with a tablespoon of nutritional yeast or an extra dusting of aged Parmesan. The salty, nutty notes of the cheese pair perfectly with the smoky char of the vegetable.
If you like a spicy kick, don’t just use standard red pepper flakes. Try Aleppo pepper for a milder, fruitier heat, or toss the broccoli with a little chili oil at the very end. The heat intensifies the “roasted” feel of the dish and makes it a great side for heavier meals.
For a bit of texture, add some toasted sliced almonds or pine nuts during the final 3 minutes of roasting. The nuts will toast right alongside the garlic, adding a buttery crunch that complements the tender-crisp broccoli stems beautifully.
Optimal Pairings for Charred Brassicas
This broccoli is bold enough to stand up to heavy proteins. It’s a classic partner for roasted chicken or a seared steak, where the bitterness of the char cuts through the fat of the meat. However, it also works surprisingly well as a vegetarian main when served over a bed of creamy polenta or thick-cut cauliflower steaks.
What to Serve with Roasted Broccoli
This charred, dry-heat broccoli pairs naturally with a quick-cooking protein. Both fish recipes below use a similar high-heat pan technique that complements the broccoli’s smoky edges.
- The bright, herbaceous chimichurri on this Pan-Seared White Fish with Chimichurri and Roasted Wedges cuts through the broccoli’s char for a balanced plate.
- A side of
Get the full recipe in your inbox in seconds – perfect for shopping and cooking.
Garlic Roasted Broccoli
Course: Side DishCuisine: AmericanDifficulty: easy4
servings10
minutes20
minutes125
kcal30
MinutesA high-heat roasting method that eliminates soggy vegetables. By using a preheated pan and ensuring the broccoli is bone dry, this recipe creates deeply caramelized florets seasoned with garlic, lemon, and optional Parmesan.
Ingredients
2 large heads of broccoli, cut into uniform florets (stems trimmed)
3 tablespoons extra virgin olive oil
4 cloves garlic, minced
1/2 teaspoon sea salt
1/4 teaspoon cracked black pepper
1/2 teaspoon onion powder
1/4 teaspoon red pepper flakes (optional, for heat)
1 tablespoon fresh lemon juice
1 tablespoon freshly grated Parmesan cheese (optional, for extra crust)
Directions
- Preheat your oven to 450 degrees Fahrenheit. Place a large, heavy-rimmed baking sheet inside the oven while it preheats. A screaming hot pan is essential to sear the florets on contact and prevent sticking.
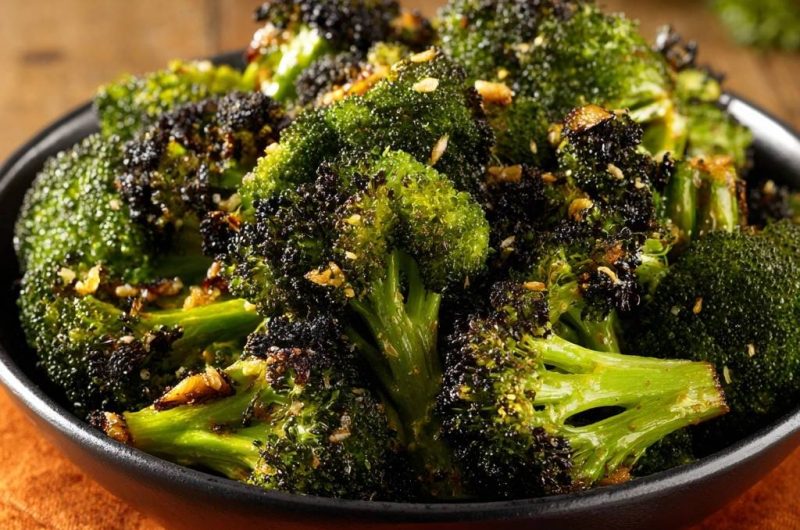
- Ensure your broccoli florets are bone dry. If you washed them, use a salad spinner and then pat them thoroughly with paper towels. Any surface moisture will create steam, which is the enemy of the char shown in the image.
- In a large mixing bowl, toss the dry florets with the olive oil, salt, pepper, and onion powder. Ensure the oil is worked into the “trees” of the florets to facilitate even browning. Do not add the fresh garlic yet.
- Carefully remove the hot baking sheet from the oven. Immediately spread the broccoli in a single layer, flat-side down where possible. You should hear a sizzle. Ensure there is plenty of space between pieces; overcrowding will cause the broccoli to boil in its own juices.
- Roast for 15 minutes without moving them. This allows the bottom and tips to develop that dark, crispy carbonization.
- Remove the pan and quickly scatter the minced garlic (and optional Parmesan) over the broccoli. Toss lightly with a spatula to distribute.
- Return to the oven for a final 3 to 5 minutes. Watch closely; the garlic should turn golden and fragrant, and the floret tips should be dark brown to black.
- Remove from the oven and drizzle with fresh lemon juice immediately. The acid will brighten the charred flavors. Serve hot directly from the pan for maximum crispness.
Notes
- The secret is moisture control; ensure broccoli is completely dry before roasting. Adding garlic in the last 5 minutes prevents it from burning and becoming bitter.