Classic Pot Roast: Fall-Apart Tender, Every Time
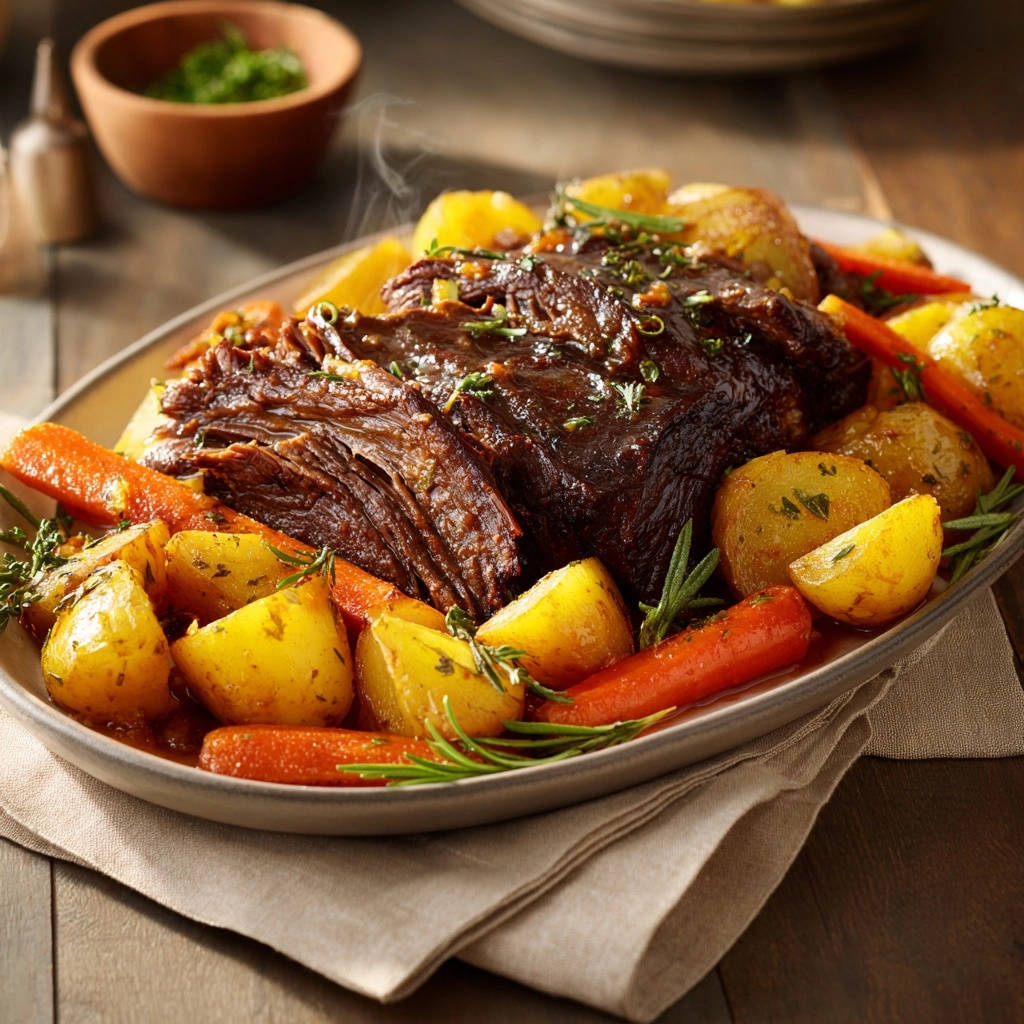
For years, I struggled to achieve that perfect, melt-in-your-mouth texture with my roasts. But once I cracked the code on one simple technique, everything changed, making this Classic Pot Roast recipe guaranteed fall-apart tender every single time.
This method transforms an everyday cut into a deeply flavorful, comforting meal that’s truly special.
Why This Classic Pot Roast Will Be Your New Go-To
Guaranteed Melt-in-Your-Mouth Tenderness, Every Single Time
This recipe focuses on a specific braising technique that ensures your beef breaks down perfectly. It solves the common problem of tough pot roast, delivering an undeniably tender result.
Unlocking Deep, Rich Flavor Effortlessly
Through strategic searing and deglazing, we build profound layers of flavor from the very beginning. These simple steps create a robust sauce without being overly complicated.
A Hearty, Comforting Meal for Any Occasion
This Classic Pot Roast is the ultimate comfort food, perfect for chilly evenings, Sunday family dinners, or special gatherings. It promises warmth and satisfaction in every bite.
The Building Blocks: Key Ingredients for a Perfect Classic Pot Roast
Choosing Your Cut: The Mighty Chuck Roast
Beef chuck roast is ideal for pot roast because its rich marbling and connective tissues break down beautifully during slow cooking.
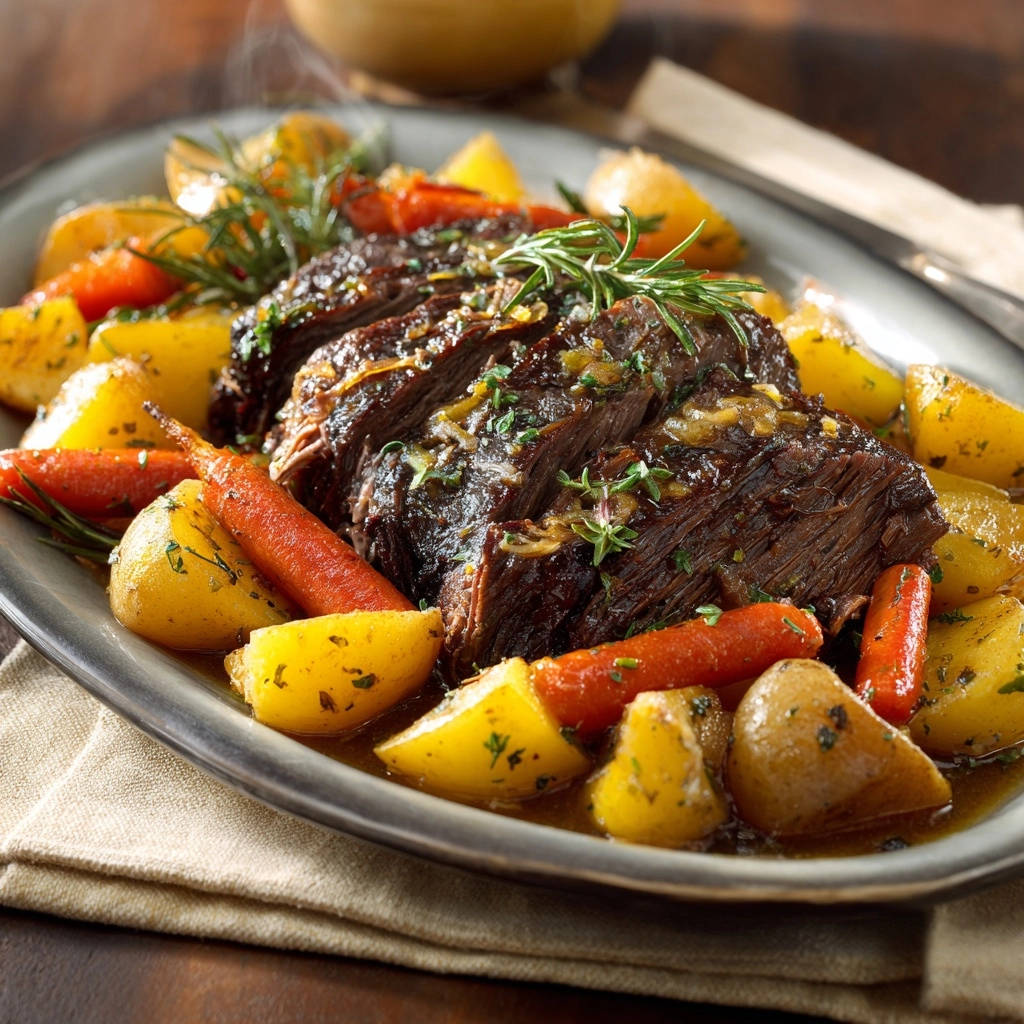
Look for a cut with good marbling, which contributes to flavor and moisture, ensuring ultimate tenderness.
Aromatic Foundation: Onions, Garlic & Tomato Paste
These humble ingredients are crucial for building the foundational layers of savory flavor.
The tomato paste adds a subtle umami depth, helping to create a richer braising liquid.
Herb Harmony: Thyme and Rosemary’s Role
Dried thyme and rosemary are classic partners for beef, imparting earthy, aromatic notes.
These herbs infuse the entire dish with a comforting, traditional flavor profile.
The Braising Liquid: Beef Broth and Worcestershire Magic
Low-sodium beef broth is the lifeblood of the braise, tenderizing the meat and developing the sauce.
Worcestershire sauce adds a tangy, savory complexity that rounds out the overall flavor of this hearty dish.
Hearty Additions: Potatoes and Carrots
Baby gold potatoes and carrots absorb the incredible flavors of the braising liquid, becoming tender and savory.
They transform the dish into a complete, wholesome meal, ready for serving straight from the pot.
Seasoning Essentials: Salt and Freshly Ground Black Pepper
Generous seasoning at key stages is vital for bringing out the best in all the ingredients.
Proper seasoning elevates every component of the Classic Pot Roast, ensuring a well-balanced taste.
Gear Up: Essential Tools for Your Pot Roast Journey
Having the right equipment makes preparing this Classic Pot Roast a smooth and enjoyable process.
The Dutch Oven: Your Braising Best Friend
A heavy-bottomed Dutch oven with a tight-fitting lid is indispensable for even heat distribution and moisture retention.
It allows for searing on the stovetop and then seamlessly transfers to the oven for a perfect slow braise.
Sharp Knife and Cutting Board
These are necessary for safely and efficiently preparing your vegetables and any initial trimming of the beef chuck roast.
Measuring Utensils and Spoons
Accurate measuring tools ensure the correct balance of flavors, while sturdy spoons are essential for stirring and scraping the pot.
Your Path to Pot Roast Perfection: A Detailed Cooking Guide
Preparation: Dry, Season, and Preheat
Preheat your oven to 300°F (150°C). This low, steady temperature is crucial for the long braise.
Pat the beef chuck roast thoroughly dry with paper towels. Season generously all over with salt and black pepper.
This initial drying step is key for a good sear, preventing the meat from steaming instead of browning on the exterior.
The Golden Sear: Building Flavor Depth
Heat the olive oil in a large Dutch oven or oven-safe pot with a heavy lid over medium-high heat. Once the oil is shimmering and hot, carefully place the beef roast into the pot.
Sear on all sides until a deep, golden-brown crust forms, about 3-5 minutes per side. Remove the beef and set aside.
This crucial browning step creates incredible flavor and color, forming the foundation of your pot roast’s rich taste and contributes to a more tender texture later.
Aromatic Base: Sautéing & Deglazing
Add the chopped onion to the same pot, scraping up any browned bits from the bottom. Cook until softened, about 5-7 minutes.
Add the minced garlic, tomato paste, dried thyme, and dried rosemary. Cook for another 2 minutes, stirring constantly, allowing the tomato paste to caramelize slightly and the herbs to become fragrant.
Pour in the beef broth and Worcestershire sauce. Bring the liquid to a simmer, stirring vigorously to ensure all the flavorful browned bits (fond) are scraped from the bottom of the pot. This is vital for a rich, complex sauce.
The Long, Slow Braise Begins
Return the seared beef roast to the Dutch oven. The liquid should come about two-thirds of the way up the sides of the roast. If not, add a little more broth or water.
Cover the pot with its lid and transfer it to the preheated oven.
Braise the roast for 2 1/2 hours without disturbing it.
This long, slow cooking time in a moist, covered environment is the secret to breaking down tough muscle fibers and achieving that guaranteed fall-apart tenderness for your Classic Pot Roast.
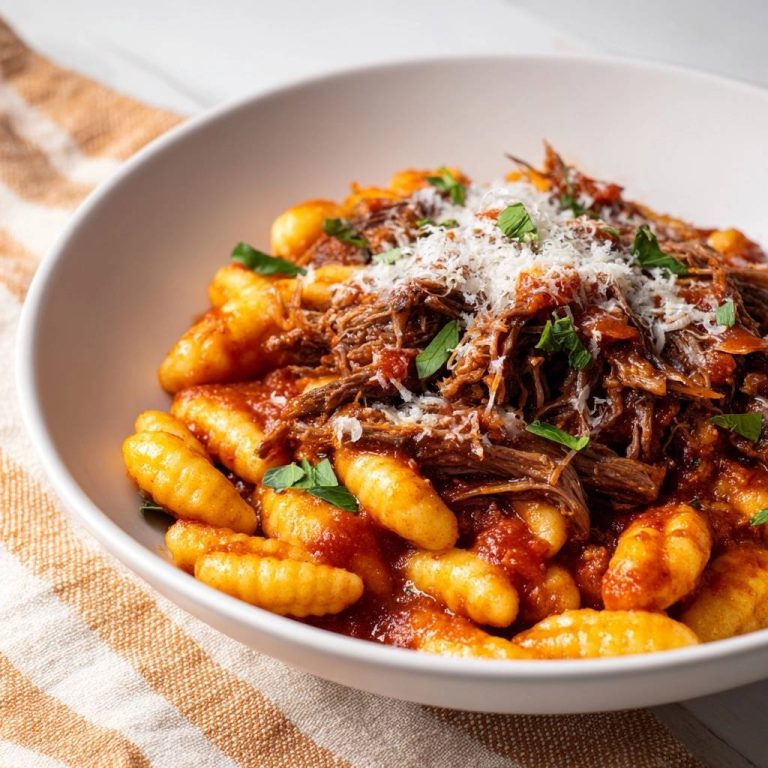
I applied a similar low-and-slow approach to this slow-roasted savory pot roast and got the same fall-apart results.
Adding Vegetables and Finishing the Braise
After 2 1/2 hours, carefully remove the pot from the oven. Add the quartered potatoes and carrot chunks around the beef in the pot, making sure they are partially submerged in the liquid.
If the liquid seems too low, add about a half cup more broth to ensure the vegetables cook evenly.
Cover the pot again and return it to the oven for another 1 1/2 to 2 hours, or until the beef is incredibly tender and easily pulls apart with a fork, and the vegetables are cooked through. The total cooking time will be around 4 to 4 1/2 hours, depending on your roast.
The Crucial Rest and Serving
Once cooked, carefully remove the pot from the oven. Let the pot roast rest in the liquid for about 15-20 minutes before serving.
This allows the juices to redistribute throughout the meat, ensuring maximum tenderness and flavor in every bite of the tender beef.
Serve the Classic Pot Roast with the cooked vegetables and plenty of the rich braising liquid. Garnish with fresh chopped parsley if desired. Enjoy!
Beyond the Recipe: Chef’s Secrets for Ultimate Pot Roast
The Drying and Searing Duo: A Non-Negotiable Step
Patting the beef chuck roast thoroughly dry before searing is paramount. Moisture on the surface prevents browning, leading to steaming instead of caramelization.
A deep, golden-brown sear creates a flavorful crust and initiates the Maillard reaction, developing hundreds of flavor compounds that infuse into the braising liquid.
Mastering the Braise: The Power of Low and Slow
Cooking at a low temperature for an extended period allows collagen and connective tissues in the beef to slowly break down into gelatin.
This transformation is what delivers that incredibly succulent, fall-apart texture characteristic of a perfect Classic Pot Roast.
If the tender texture of this pot roast appeals to you, try the same approach with this slow roasted pulled beef for another great make-ahead option.
The Importance of the Post-Braise Rest
Resting the pot roast in its hot braising liquid allows the muscle fibers to relax and reabsorb juices.
This critical step ensures the beef remains incredibly moist and flavorful when sliced or shredded.
Enhancing Your Braising Liquid: Beyond the Basics
Consider adding a bay leaf or a few sprigs of fresh thyme directly to the pot during the braise for extra aromatic depth.
For an even richer color and subtle sweetness, a tablespoon of balsamic vinegar can be stirred into the liquid before braising begins.
Don’t Crowd the Pot (Especially with Veggies!)
Ensure there’s enough room for all ingredients in your Dutch oven, especially when adding vegetables.
Overcrowding can prevent even cooking and browning, potentially steaming ingredients rather than allowing them to caramelize.
Serving Your Classic Pot Roast: Perfect Pairings
This hearty Classic Pot Roast is a complete meal on its own, but certain accompaniments truly elevate the experience.
Classic Sides for a Comforting Meal
Crusty Bread: Perfect for soaking up every last drop of the savory braising liquid.
Mashed Potatoes: If you prefer extra mashed potatoes, they are a creamy complement to the rich gravy.
Simple Green Salad: A light, fresh salad with a vinaigrette can cut through the richness of the dish.
Steamed Green Beans: Offer a vibrant color and a gentle crunch to balance the tender meat and vegetables.
Creative Twists for Leftovers
Leftover pot roast is a treasure, offering endless possibilities for delicious meals.
Pot Roast Sandwiches: Shred the leftover beef and serve on crusty rolls with a spoonful of the gravy.
Pot Roast Tacos: Use the shredded beef as a flavorful filling for tacos, topped with your favorite fixings.
Shepherd’s Pie: Transform the pot roast and vegetables into the base for a comforting shepherd’s pie, topped with mashed potatoes.
Planning Ahead: Make-Ahead & Storage Tips
A Classic Pot Roast often tastes even better the next day, making it an excellent make-ahead meal.
Can You Make Classic Pot Roast Ahead of Time?
Absolutely! Preparing your pot roast a day in advance allows the flavors to meld and deepen further.
Gently reheat the entire pot on the stovetop over low heat or in the oven, adding a splash of broth if needed.
Proper Storage for Leftovers
Once cooled, transfer any remaining pot roast, vegetables, and braising liquid to an airtight container.
It can be safely stored in the refrigerator for 3-4 days, or in the freezer for up to 3 months.
Reheating Your Pot Roast for Best Results
To reheat from the refrigerator, place the pot roast back in a Dutch oven with a little extra beef broth.
Gently warm it covered on the stovetop over low heat or in a 300°F (150°C) oven until heated through, maintaining its tenderness.
Troubleshooting Your Pot Roast: Common Issues Solved
Why is My Pot Roast Still Tough?
The most common reason for tough pot roast is insufficient cooking time. The connective tissue in chuck roast requires a long, slow braise to break down completely.
If your roast is tough, simply return it to the oven, covered, and continue braising for another 30-60 minutes, or until it pulls apart easily with a fork.
My Sauce is Too Thin/Thick. What Do I Do?
If your braising liquid is too thin, remove the roast and vegetables, then simmer the liquid on the stovetop until it reduces to your desired consistency. You can also thicken it with a cornstarch slurry.
If the sauce is too thick, simply thin it with a little more beef broth or water until it reaches the perfect consistency.
My Vegetables Are Mushy. How Can I Prevent This?
Adding the vegetables too early in the cooking process can lead to mushy results. This recipe adds them during the last 1.5-2 hours of cooking, ensuring they are tender but not overcooked.
Using hearty root vegetables like potatoes and carrots, cut into substantial 2-inch chunks, also helps them hold their shape better during the long braise.
Your Classic Pot Roast Questions Answered
What’s the best cut of beef for pot roast?
Beef chuck roast is unequivocally the best cut for pot roast. Its generous marbling and rich connective tissue are perfect for slow braising.
When cooked slowly, these elements break down to create incredibly flavorful and fall-apart tender meat.
Can I cook this Classic Pot Roast in a slow cooker or instant pot?
Yes, this recipe can be adapted. For a slow cooker, sear the beef and sauté aromatics on the stovetop first, then combine all ingredients in the slow cooker and cook on low for 6-8 hours or high for 3-4 hours.
For an Instant Pot, use the sauté function for searing and aromatics, then pressure cook for 60-90 minutes, followed by a natural pressure release. Adjust liquid amounts as needed for different appliances.
How do I know when my pot roast is truly done?
Your pot roast is perfectly done when the beef can be easily shredded or pulled apart with a fork with very little resistance.
The meat should be incredibly tender, almost melting, rather than slicing cleanly like a steak. Visual inspection and fork-tenderness are your best guides.
What’s the difference between pot roast and stew?
While both involve slow-cooked beef in liquid, pot roast typically uses a larger cut of beef (like a chuck roast) that’s braised whole or in large pieces.
Stew, on the other hand, usually features smaller, uniformly cut pieces of beef that are fully submerged in the liquid, often resulting in a thicker, spoonable consistency throughout.
Ready to Create Your Own Classic Pot Roast Masterpiece?
You now have all the tools and secrets to prepare a Classic Pot Roast that truly lives up to its name: incredibly tender, bursting with flavor, and guaranteed to become a family favorite. No more tough roasts or guesswork – just pure, comforting perfection from your kitchen.
Don’t wait to bring this culinary tradition to your table. Try our Classic Pot Roast recipe today and taste the difference that simple, powerful techniques make. We’d love to hear about your experience in the comments below!
What’s Next?
Try these delicious pairings:
- Velvety Sweet Potato Carrot Soup: Perfectly Thick & Deliciously Smooth
- Hearty Vegetable Soup: Perfectly Tender Veggies Every Time
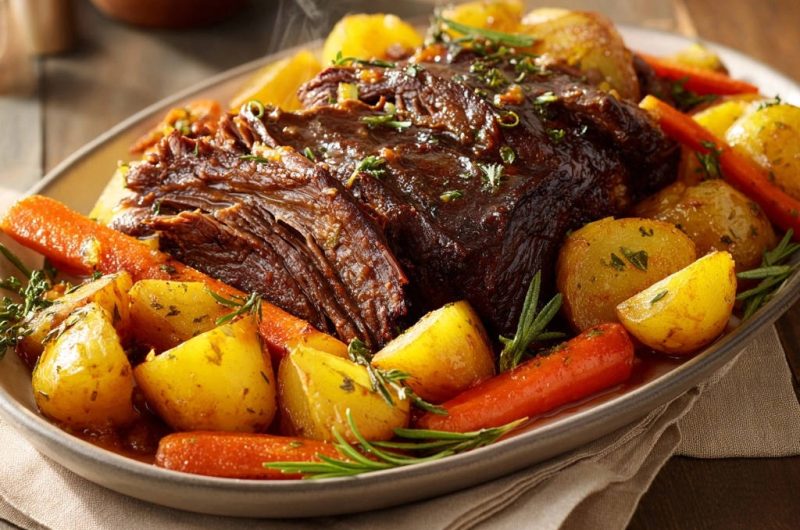
Pot Roast
Course: Main CourseCuisine: AmericanDifficulty: medium6
servings30
minutes4
hours550
kcal300
minutesDiscover the ultimate secret to a consistently fall-apart tender Classic Pot Roast. This recipe guides you through a crucial searing technique and slow braising to achieve a deeply flavorful, melt-in-your-mouth beef dish with tender vegetables.
Ingredients
3-4 pounds beef chuck roast
2 tablespoons olive oil
1 large yellow onion, chopped
4 cloves garlic, minced
2 tablespoons tomato paste
1 teaspoon dried thyme (or 1 tablespoon fresh)
1 teaspoon dried rosemary (or 1 tablespoon fresh)
4 cups beef broth, low sodium
1 tablespoon Worcestershire sauce
1 1/2 pounds baby gold potatoes, quartered
1 pound carrots, peeled and cut into 2-inch chunks
Salt and freshly ground black pepper to taste
Fresh parsley, chopped, for garnish (optional)
Directions
- Preheat your oven to 300°F (150°C). Pat the beef chuck roast thoroughly dry with paper towels. Season generously all over with salt and black pepper. This initial drying step is key for a good sear.
- Heat the olive oil in a large Dutch oven or oven-safe pot with a heavy lid over medium-high heat. Once the oil is shimmering and hot, carefully place the beef roast into the pot. Sear on all sides until a deep, golden-brown crust forms, about 3-5 minutes per side. This crucial browning step creates incredible flavor and color, and helps develop the tender texture later. Remove the beef and set aside.
- Add the chopped onion to the same pot, scraping up any browned bits from the bottom. Cook until softened, about 5-7 minutes. Add the minced garlic, tomato paste, dried thyme, and dried rosemary. Cook for another 2 minutes, stirring constantly, until fragrant.
- Pour in the beef broth and Worcestershire sauce. Bring the liquid to a simmer, stirring to ensure all the flavorful browned bits are scraped from the bottom of the pot.
- Return the seared beef roast to the Dutch oven. The liquid should come about two-thirds of the way up the sides of the roast. If not, add a little more broth or water. Cover the pot with its lid and transfer it to the preheated oven.
- Braise the roast for 2 1/2 hours without disturbing it. This long, slow cooking time in a moist environment is the secret to breaking down tough fibers and achieving that guaranteed fall-apart tenderness.
- After 2 1/2 hours, carefully remove the pot from the oven. Add the quartered potatoes and carrot chunks around the beef in the pot, making sure they are partially submerged in the liquid. If the liquid seems too low, add about a half cup more broth.
- Cover the pot again and return it to the oven for another 1 1/2 to 2 hours, or until the beef is incredibly tender and easily pulls apart with a fork, and the vegetables are cooked through. The total cooking time will be around 4 to 4 1/2 hours, depending on your roast.
- Once cooked, carefully remove the pot from the oven. Let the pot roast rest in the liquid for about 15-20 minutes before serving. This allows the juices to redistribute, ensuring maximum tenderness and flavor.
- Serve the pot roast with the cooked vegetables and plenty of the rich braising liquid. Garnish with fresh chopped parsley if desired. Enjoy!
Notes
- Long, slow braising ensures fall-apart tender beef every time.