Creamy Baked Mac and Cheese: Perfectly Smooth & Satisfying
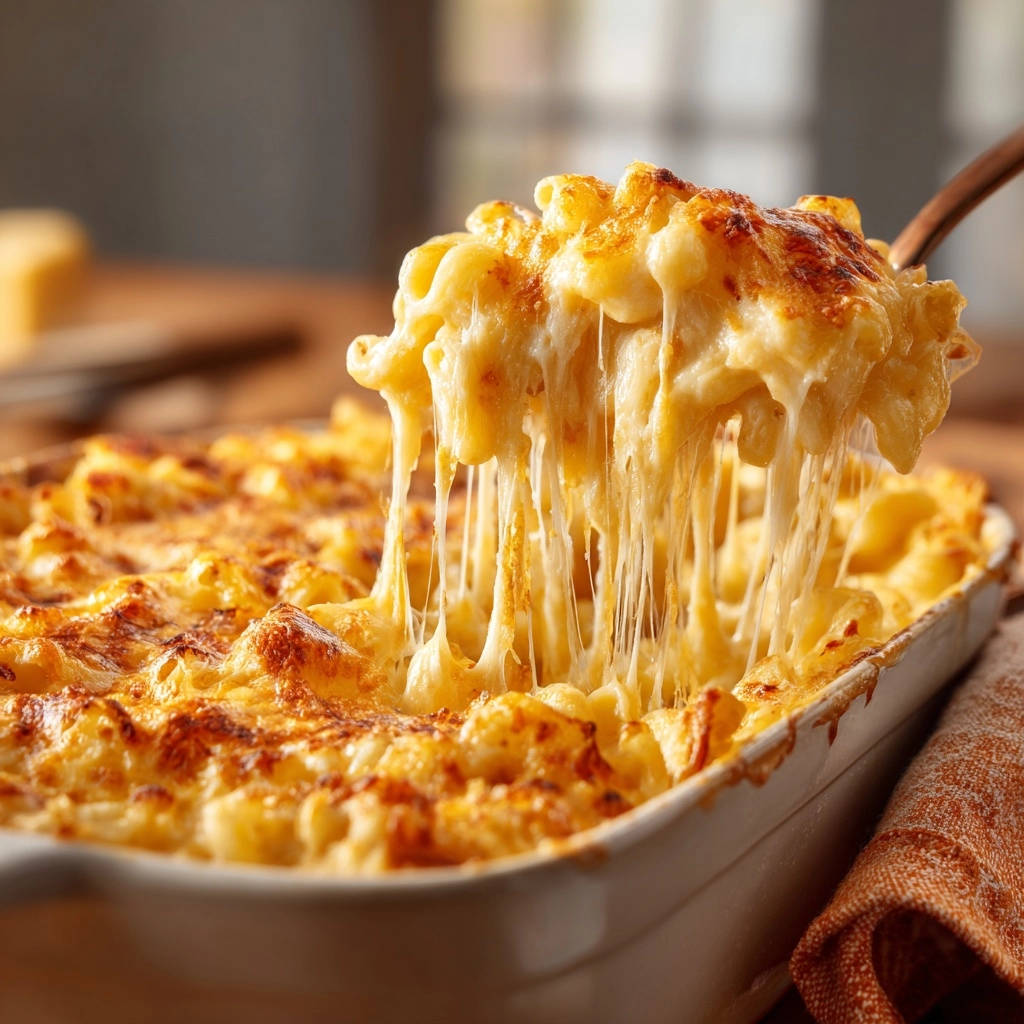
I remember countless attempts at homemade mac and cheese, often ending in disappointment with a thin, watery sauce that just didn’t hit the spot. That frustration led me to perfect this recipe for the ultimate Creamy Baked Mac and Cheese, guaranteed to be rich, smooth, and never watery.
This isn’t just another comfort food recipe; it’s a meticulously crafted method that consistently delivers that dreamy, velvety texture and deep cheesy flavor everyone craves.
Why THIS Creamy Baked Mac and Cheese Recipe is a Game-Changer
This recipe stands apart, transforming a classic into an unforgettable culinary experience. It addresses common pitfalls, ensuring a consistently delightful outcome for every cook.
Bidding Farewell to Watery Sauce Woes
Our method directly tackles the issue of watery mac and cheese, a common kitchen frustration. By focusing on a stable roux and precise milk incorporation, we build a foundation that actively resists separation.
This results in a thick, luxurious sauce that clings beautifully to every noodle, delivering unparalleled richness in every bite.
The Secret to Unrivaled Creaminess, Every Time
The secret lies in a careful balance of technique and ingredient quality, particularly the “off-heat” cheese melt. This step ensures your cheese sauce is incredibly smooth, without any graininess or oil separation.
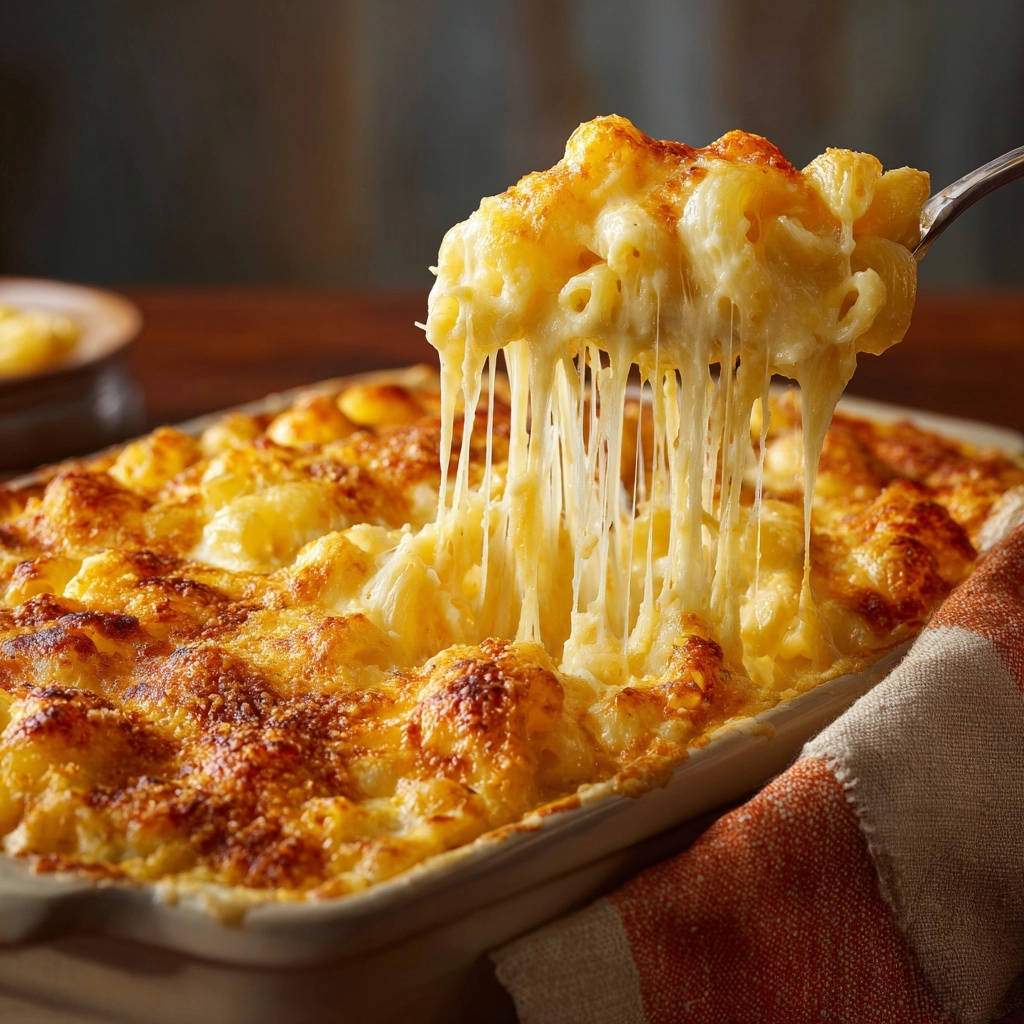
You’ll achieve a consistent, velvety texture that truly defines exceptional Creamy Baked Mac and Cheese.
Effortless Comfort: Why It’s Perfect for Any Occasion
Despite its gourmet results, this recipe is surprisingly straightforward, making it perfect for busy weeknights or special gatherings. It’s an instant crowd-pleaser, evoking warmth and satisfaction for any meal.
From casual family dinners to festive holiday spreads, this decadent dish fits seamlessly into any menu, promising universal appeal.
If creamy comfort food is your thing, you’ll love these cheesy beef stuffed peppers for a hearty twist.
The Building Blocks: Essential Ingredients for Your Best Mac and Cheese
Quality ingredients are the foundation of any great dish, and this creamy baked mac and cheese is no exception. Each component plays a vital role in achieving that perfect taste and texture.
Pasta Perfection: Choosing Your Macaroni
Elbow macaroni is the traditional choice, and for good reason. Its small, curved shape perfectly cradles the rich cheese sauce.
Feel free to use other small pasta shapes like cavatappi or medium shells if you prefer, as they also capture the sauce beautifully.
Dairy Delights: Milk and Butter Choices
Whole milk is crucial for achieving the desired richness and body in our cheese sauce. Its higher fat content contributes significantly to the sauce’s luxurious texture.
Unsalted butter allows you to control the overall saltiness of the dish, creating a balanced flavor profile. It’s the fat base for our essential roux.
The Cheese Dream Team: Sharp Cheddar and Gruyère
This recipe calls for a powerful duo: sharp cheddar cheese for its bold, classic mac and cheese flavor, and Gruyère for its nutty undertones and superior melting qualities.
Gruyère provides that desirable stretch and silkiness, preventing a rubbery texture. If unavailable, mild cheddar, white cheddar, or even mozzarella can be substituted for Gruyère, though the flavor profile will shift slightly.
Flavor Foundations: Seasonings and Spices
Salt and black pepper are fundamental, enhancing all the other flavors without overpowering them. Don’t underestimate their role in balancing the richness.
If you enjoy a creamy, cheesy base like this, you’ll also love the bold flavors in this jalapeno popper stuffed meatloaf.
Ground mustard is optional but highly recommended. It doesn’t make the dish taste like mustard; instead, it subtly amplifies the cheesy notes, making them taste even more pronounced and savory.
Essential Kitchen Tools for Silky Smooth Mac and Cheese
Having the right tools simplifies the cooking process and contributes significantly to the success of your creamy baked mac and cheese. These items are kitchen workhorses.
Must-Have Cookware: Saucepan & Baking Dish
A large, heavy-bottomed saucepan or Dutch oven is essential for making the roux and cheese sauce. Its even heat distribution prevents scorching and ensures a smooth consistency.
A 9×13 inch baking dish provides the ideal surface area for baking, allowing for even heating and that beautiful golden crust.
Whisking Wonders: Your Key to a Lump-Free Sauce
A good quality whisk is your best friend when making the cheese sauce. It’s indispensable for creating a smooth roux and for incorporating the milk without any lumps.
Continuous whisking is the secret weapon for a truly velvety, lump-free sauce, preventing frustrating textural issues.
Crafting Your Masterpiece: A Step-by-Step Guide to Creamy Baked Mac and Cheese
Let’s transform simple ingredients into an extraordinary dish. Following these steps carefully will ensure your creamy baked mac and cheese is nothing short of perfection.
Prep Work: Oven, Dish, and Pasta Done Right
Preheat your oven to 375 degrees F (190 degrees C) to ensure it’s ready when your dish is assembled. Lightly grease a 9×13 inch baking dish to prevent sticking and aid in serving.
Cook the elbow macaroni according to package directions until it’s just al dente-still firm to the bite. Drain it thoroughly and set it aside; do not rinse the pasta. The residual starch is essential for the sauce to cling properly.
The Roux Revolution: Building Your Sauce Foundation
In your large saucepan, melt the butter over medium heat. Once it’s fully melted, gradually whisk in the all-purpose flour, creating a smooth paste known as a roux.
Cook this roux, stirring constantly, for 1-2 minutes until it becomes slightly golden. This initial thickening step is absolutely crucial, forming the stable base that prevents a watery sauce.
The Golden Whisk: Achieving Lumps-Free Creaminess
Slowly pour in the warmed whole milk, whisking continuously and vigorously to prevent any lumps from forming. The warmth of the milk helps it integrate smoothly and prevents temperature shock.
Continue whisking as the sauce gently thickens over medium heat for about 5-7 minutes. It should reach a creamy consistency that visibly coats the back of a spoon, indicating it’s perfectly emulsified and rich.
Seasoning and The “Off-Heat” Cheese Melt
Remove the saucepan from the heat immediately after the sauce has thickened. Stir in the salt, black pepper, and the optional ground mustard to season the base.
Now, add the shredded cheeses a handful at a time, stirring until each addition is fully melted and smoothly incorporated before adding more. Stirring the cheese in off the heat is critical; it prevents the cheese from separating or becoming oily, ensuring an incredibly smooth, velvety sauce.
Combining and Baking for Golden Perfection
Add the drained macaroni to the prepared cheese sauce and stir until every piece is evenly coated in the luxurious mixture. Ensure a thorough mix for consistent flavor.
Pour the entire macaroni and cheese mixture into your greased baking dish. Bake for 20-25 minutes, or until the top is beautifully golden brown and the edges are bubbly. For an extra golden and slightly crispier top, you can broil for the last 2-3 minutes, but watch it very carefully to prevent burning.
The Patience Pays Off: Resting Before Serving
Once out of the oven, let your creamy baked mac and cheese stand for 5-10 minutes before serving. This brief resting period allows the sauce to set slightly, achieving its optimal texture.
It also prevents the sauce from being too runny upon serving, making for a cleaner and more enjoyable scoop.
Chef’s Secrets: Elevating Your Creamy Baked Mac and Cheese
Achieve truly exceptional results with these expert tips, transforming your homemade mac and cheese into a culinary triumph.
Don’t Rinse Your Pasta: Why Starch is Your Friend
Never rinse your cooked pasta for mac and cheese. The starchy film left on the noodles is essential; it acts as a binder, helping the cheese sauce cling beautifully and preventing a watery consistency.
The Power of Warmed Milk: Preventing Lumps and Ensuring Smoothness
Using warmed milk is a simple yet incredibly effective technique. It helps prevent lumps when added to the roux, as it gradually incorporates without creating a temperature shock.
Mastering the “Off-Heat” Cheese Method for Separation-Free Sauce
Adding your shredded cheese off the heat is a game-changer. High heat can cause cheese to seize, separate, and become oily or stringy. Incorporating it gradually into a warm, but not boiling, sauce ensures a perfectly emulsified and silky-smooth texture.
Broiling for a Beautiful Golden Crust
For that irresistible golden-brown crust, a quick broil at the end is key. Position the dish a few inches from the broiler element and watch it continuously; it can go from perfect to burnt in seconds.
Flavor Boosters: Beyond the Basic Seasonings
To deepen the flavor profile, consider adding a pinch of cayenne pepper for a subtle warmth, or a touch of garlic powder for savory depth. A dash of your favorite hot sauce can also add complexity without making it spicy.
Troubleshooting Your Creamy Baked Mac and Cheese
Even expert cooks encounter challenges. Here’s how to diagnose and fix common issues, ensuring your mac and cheese is always perfect.
Why Is My Sauce Lumpy?
Lumps typically occur if the flour and butter roux isn’t cooked smoothly, or if cold milk is added too quickly. Ensure your roux is well-whisked and smooth, and always add warmed milk gradually while continuously whisking.
My Mac and Cheese is Oily/Greasy!
An oily sauce often results from adding cheese over high heat or overcooking it. The fat separates from the solids. Always add cheese off the heat, a handful at a time, stirring until melted before adding more.
The Pasta is Too Mushy
Mushy pasta happens when it’s overcooked before baking. Cook your macaroni only until al dente, meaning it still has a slight bite. Remember, it will continue to cook slightly in the oven.
It Tastes Bland – Where’s the Flavor?
Blandness usually comes from insufficient seasoning or too mild cheese. Taste your sauce before adding pasta and adjust salt and pepper as needed. Don’t skip the ground mustard, and ensure your cheddar is sharp for a robust flavor.
Serving Suggestions and Smart Storage Tips
Make your creamy baked mac and cheese a complete meal and enjoy its goodness for days with these practical tips.
What to Serve with Your Decadent Mac and Cheese
This rich dish pairs wonderfully with lighter, contrasting sides. Consider a crisp green salad with a vinaigrette, steamed broccoli, or roasted asparagus to cut through the richness.
More Cheesy Comfort
If you are working through a block of cheddar, these two dishes keep the creamy, cheesy theme going.
- This Cheesy Sausage Soup uses a similar silky roux base and pairs well with a side of crusty bread for dipping.
- For extra richness alongside the mac, try these Loaded Bacon Cheddar Mashed Potatoes with their fluffy, buttery texture.
For a heartier meal, serve it alongside grilled chicken, roasted beef tenderloin, or a simple meatloaf, creating a comforting and balanced spread.
Refrigeration and Reheating: Keeping It Creamy
Store any leftover mac and cheese in an airtight container in the refrigerator for up to 3-4 days. To reheat, gently warm portions in the microwave or oven (covered at 300°F/150°C) with a splash of milk to restore creaminess.
Stir occasionally if microwaving, and avoid overheating, which can make the sauce oily or dry out the pasta.
Can You Make This Recipe Ahead?
Yes, you can certainly prepare this creamy baked mac and cheese ahead of time! Assemble the dish completely but do not bake it.
Cover tightly and refrigerate for up to 24 hours. When ready to bake, let it come closer to room temperature for about 30 minutes, then bake as directed, potentially adding an extra 5-10 minutes to account for its cold start.
Frequently Asked Questions About Creamy Baked Mac and Cheese
What kind of pasta works best for mac and cheese?
Elbow macaroni is traditional due to its size and ability to hold sauce. Other small, tubular, or shell-shaped pastas like cavatappi, ditalini, or medium shells also work very well, providing plenty of nooks and crannies for the rich cheese sauce.
Can I use different cheeses?
Absolutely! While sharp cheddar and Gruyère offer a fantastic balance, feel free to experiment. Good melting cheeses like Fontina, Gouda, Colby, or even a good quality mozzarella can be used. Aim for a blend of flavors and textures for the best result.
Is it possible to make this gluten-free?
Yes, it is! Use your favorite gluten-free elbow macaroni, cooking it to al dente as directed. For the roux, substitute the all-purpose flour with a gluten-free all-purpose flour blend or use cornstarch (slurry with cold milk) as a thickening agent, ensuring a smooth sauce.
How do I prevent the sauce from breaking?
Preventing sauce breakage largely relies on the “off-heat” cheese method. Ensure you remove the sauce from direct heat before incorporating the cheese. Also, avoid extremely high temperatures once the cheese is added, as excessive heat can cause the fat to separate.
Can I freeze baked mac and cheese?
Baked mac and cheese can be frozen, though the texture may change slightly upon thawing. Freeze cooled portions in airtight containers for up to 2-3 months. Thaw overnight in the refrigerator, then reheat gently with a splash of milk or cream to revive its creaminess.
Ready to Indulge? Your Ultimate Creamy Baked Mac and Cheese Awaits!
Now you have all the tools and knowledge to create the most incredible, never-watery, always-creamy Creamy Baked Mac and Cheese. This isn’t just a recipe; it’s a promise of pure comfort and satisfying flavor.
Go ahead, gather your ingredients, and prepare to delight your taste buds and impress everyone at your table. Don’t forget to share your perfectly golden, bubbly creations!
Mac and Cheese
Course: Main CourseCuisine: AmericanDifficulty: medium8
servings25
minutes25
minutes650
kcal60
minutesSay goodbye to watery mac and cheese! This foolproof recipe guarantees a perfectly creamy, rich, and satisfying baked mac and cheese every time. Learn the simple secrets to lock in cheesy goodness for the ultimate comfort food experience.
Ingredients
1 pound elbow macaroni
1/2 cup unsalted butter
1/2 cup all-purpose flour
4 cups whole milk, warmed
1 teaspoon salt
1/2 teaspoon black pepper
1/4 teaspoon ground mustard (optional, but enhances cheese flavor)
4 cups shredded sharp cheddar cheese
2 cups shredded Gruyere cheese (or another good melting cheese like mild cheddar or mozzarella for stretch)
Directions
- Preheat your oven to 375 degrees F (190 degrees C). Lightly grease a 9×13 inch baking dish.
- Cook the elbow macaroni according to package directions until al dente. Drain well and set aside. Do not rinse the pasta.
- In a large saucepan or Dutch oven, melt the butter over medium heat. Once melted, gradually whisk in the flour to create a smooth roux. Cook, stirring constantly, for 1-2 minutes until slightly golden. This initial thickening step is crucial for a stable sauce.
- Slowly pour in the warmed milk, whisking continuously to prevent lumps. Continue to whisk as the sauce thickens over medium heat, about 5-7 minutes, until it reaches a creamy consistency that coats the back of a spoon. Keeping the milk warm helps prevent lumps and ensures a smooth, non-watery base.
- Remove the saucepan from the heat. Stir in the salt, pepper, and ground mustard (if using).
- Add the shredded cheeses, a handful at a time, stirring until each addition is fully melted and incorporated before adding more. Stirring the cheese in off the heat prevents it from separating and ensures a super smooth, creamy sauce that will not become watery or oily.
- Add the drained macaroni to the cheese sauce and stir until evenly coated.
- Pour the macaroni and cheese mixture into the prepared baking dish.
- Bake for 20-25 minutes, or until bubbly and the top is golden brown. For an extra golden top, you can broil for the last 2-3 minutes, watching carefully to prevent burning.
- Let stand for 5-10 minutes before serving to allow the sauce to set slightly.
Notes
- Warming milk and adding cheese off heat are key for a super smooth, non-watery sauce.