Glazed Donut Holes: Perfectly Golden & Fluffy Every Time
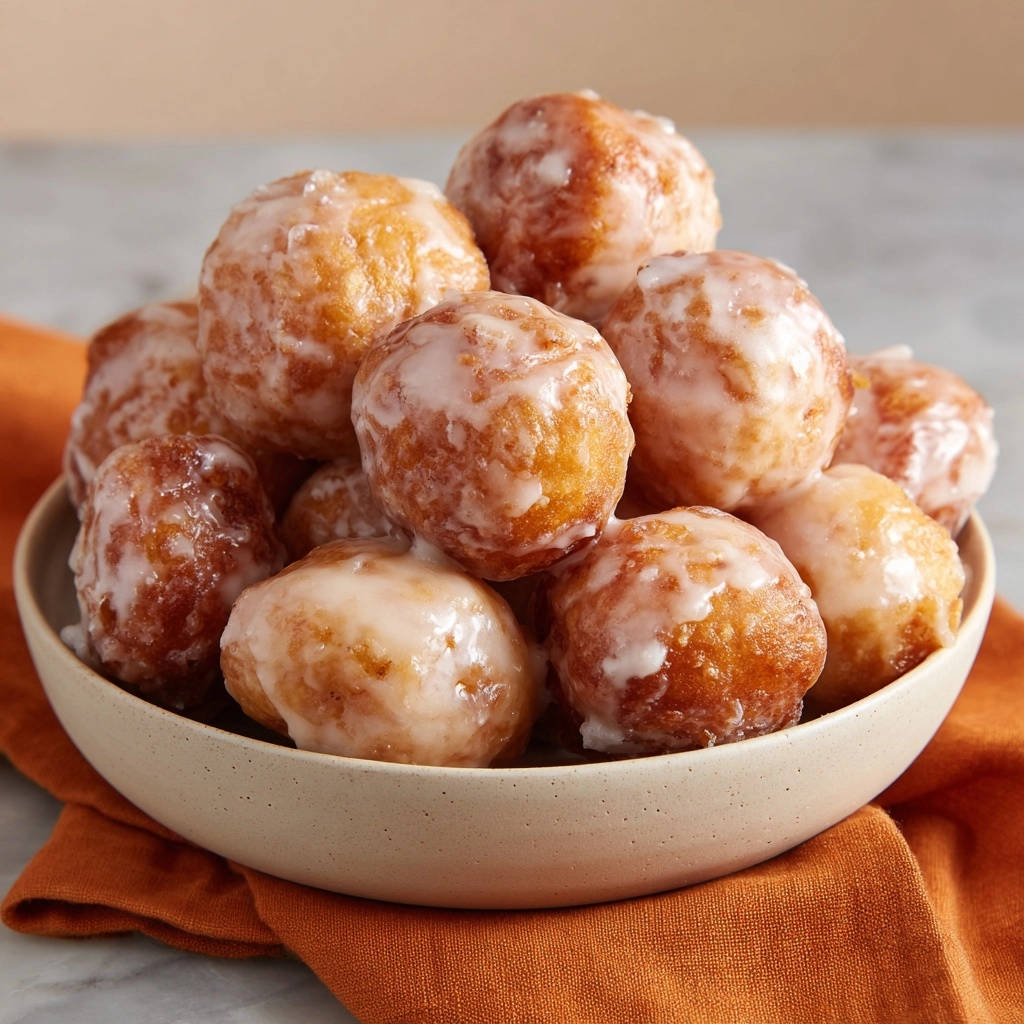
I remember countless attempts at making homemade Glazed Donut Holes, often ending with a frustrating outcome-either burnt on the outside or disappointingly doughy within. It took years of experimenting to crack the code, but I finally perfected a method that guarantees a consistently perfect result. This recipe ensures every bite is golden, tender, and cooked through, solving those common donut dilemmas for good.
Why This Glazed Donut Holes Recipe Solves Your Donut Dilemmas
Many home bakers face the challenge of achieving that ideal balance: a beautifully golden exterior with a thoroughly cooked, fluffy interior. Common frustrations include a greasy texture from oil that’s too cool, or a raw center from oil that’s too hot.
Our approach meticulously controls the critical frying temperature, the ultimate secret to success. This recipe delivers a simple, reliable path to donut hole perfection, making it accessible even for beginners who crave that authentic, bakery-quality treat.
Gathering Your Essentials: Ingredients for Dreamy Donut Holes
The Foundation: Flour, Yeast, and Sugar
All-purpose flour forms the essential structure of our Glazed Donut Holes, providing the necessary gluten for a tender yet resilient crumb. Active dry yeast is crucial for leavening, transforming the dough into a light and airy delight during the rising process.
Granulated sugar not only sweetens the dough but also aids in browning during frying, contributing to that irresistible golden hue.
Enriching Flavors: Milk, Butter, Egg, and Vanilla
Warm milk is vital for activating the yeast, providing the perfect hydration for the dough while contributing to its richness. Melted butter adds a luxurious tenderness and flavor, making each donut hole incredibly decadent.
A large egg enriches the dough, providing structure, moisture, and helping achieve a beautiful golden color. Vanilla extract infuses the donut holes with a warm, comforting aroma that truly elevates the overall flavor.
Crafting the Iconic Glaze: Powdered Sugar & Water
Powdered sugar is the star of our simple yet classic glaze, dissolving easily to create a smooth, sweet coating. Water is the critical ingredient for achieving the perfect pourable consistency, allowing the glaze to beautifully envelop each warm donut hole.
Tools for Donut Hole Triumph: What You’ll Need
A Reliable Deep-Fry Thermometer
This tool is absolutely non-negotiable for achieving perfectly cooked donut holes without a raw center or greasy texture. Precise temperature control (350-375°F) is the single most important factor for success.
Heavy-Bottomed Pot or Dutch Oven
A sturdy, heavy pot ensures even heat distribution, helping to maintain a stable oil temperature throughout the frying process. This prevents hot spots and promotes consistent cooking.
Slotted Spoon or Spider Skimmer
These tools are essential for safely placing and removing the delicate donut holes from hot oil. They allow excess oil to drain quickly, keeping your treats light and crisp.
Wire Rack and Paper Towels
Setting a wire rack over paper towels provides an ideal surface for draining freshly fried donut holes. This allows any residual oil to drip away, preventing sogginess before glazing.
Small Round Cutter (or DIY method)
While a 1-inch round cutter offers uniformity, you can easily pinch off small pieces of dough and roll them between your palms. Both methods yield perfectly shaped donut holes.
The Journey to Perfection: A Detailed Glazed Donut Holes Guide
Activate Your Yeast for a Lively Dough
In a spacious bowl, combine your warm milk (ensure it’s between 105-115°F) with the active dry yeast. Let this mixture rest for about 5 minutes.
A foamy top indicates the yeast is active and ready, promising a successful rise for your dough.
Assemble the Dough: Sweet & Simple
To your activated yeast mixture, add the granulated sugar, perfectly melted butter, the egg, aromatic vanilla extract, and salt. Mix these ingredients thoroughly until well combined.
Gradually incorporate the all-purpose flour, stirring until a soft, shaggy dough begins to form. Avoid overmixing at this stage.
Kneading for Smooth, Elastic Perfection
Transfer the dough to a lightly floured surface. Knead it by hand for 5-7 minutes; this develops the gluten.
You’ll know the dough is ready when it feels smooth, elastic, and springs back gently when pressed, indicating it will yield a beautifully tender texture.
First Rise: Giving Your Dough Time to Grow
Lightly oil a clean bowl, then place your kneaded dough inside, turning it once to coat. Cover the bowl snugly with plastic wrap.
Let the dough rise in a warm, draft-free spot for 1 to 1.5 hours, or until it has visibly doubled in size and feels light and airy.
Shaping Your Signature Donut Holes
Once risen, gently punch down the dough to release the air. Transfer it to a lightly floured surface and roll it out to approximately 1/2 inch thickness.
Use a small 1-inch round cutter, or simply pinch off small pieces and roll them into uniform balls between your palms.
The Crucial Second Rise: Light & Puffy
Arrange your shaped donut holes on a lightly floured baking sheet, ensuring adequate space between each one to prevent sticking. Loosely cover them with plastic wrap.
Allow them to rise again for 20-30 minutes; they should appear noticeably puffy and light, essential for achieving that melt-in-your-mouth texture.
Frying Flawlessly: The Secret to No Raw Centers
Heat 4-6 cups of vegetable oil in a large, heavy-bottomed pot or Dutch oven over medium heat. This is where your deep-fry thermometer becomes indispensable.
Maintain the oil temperature precisely between 350-375°F (175-190°C). This specific temperature range is the absolute key to perfectly cooked Glazed Donut Holes that are golden on the outside and thoroughly cooked without a raw, doughy center.
Carefully place 4-5 donut holes into the hot oil at a time, being vigilant not to overcrowd the pot. Overcrowding dramatically lowers the oil temperature, leading to uneven cooking, greasy results, and undercooked centers.
Fry for 2-3 minutes, turning them occasionally with a slotted spoon, until they are beautifully golden brown on all sides and completely cooked through.
Draining for Delight: Removing Excess Oil
Once golden and cooked, remove the fried Glazed Donut Holes from the oil using a slotted spoon. Immediately transfer them to a wire rack positioned over a few sheets of paper towels.
This allows any excess oil to drain off efficiently, ensuring your donut holes remain light, non-greasy, and ready for glazing.
Whip Up the Wonder Glaze
In a medium bowl, combine the powdered sugar with 3-4 tablespoons of water. Whisk these ingredients together until you achieve a perfectly smooth glaze.
The goal is a pourable consistency that coats the back of a spoon but isn’t overly thin. Add more water, one teaspoon at a time, if a thinner glaze is desired.
The Grand Finale: Glaze & Serve
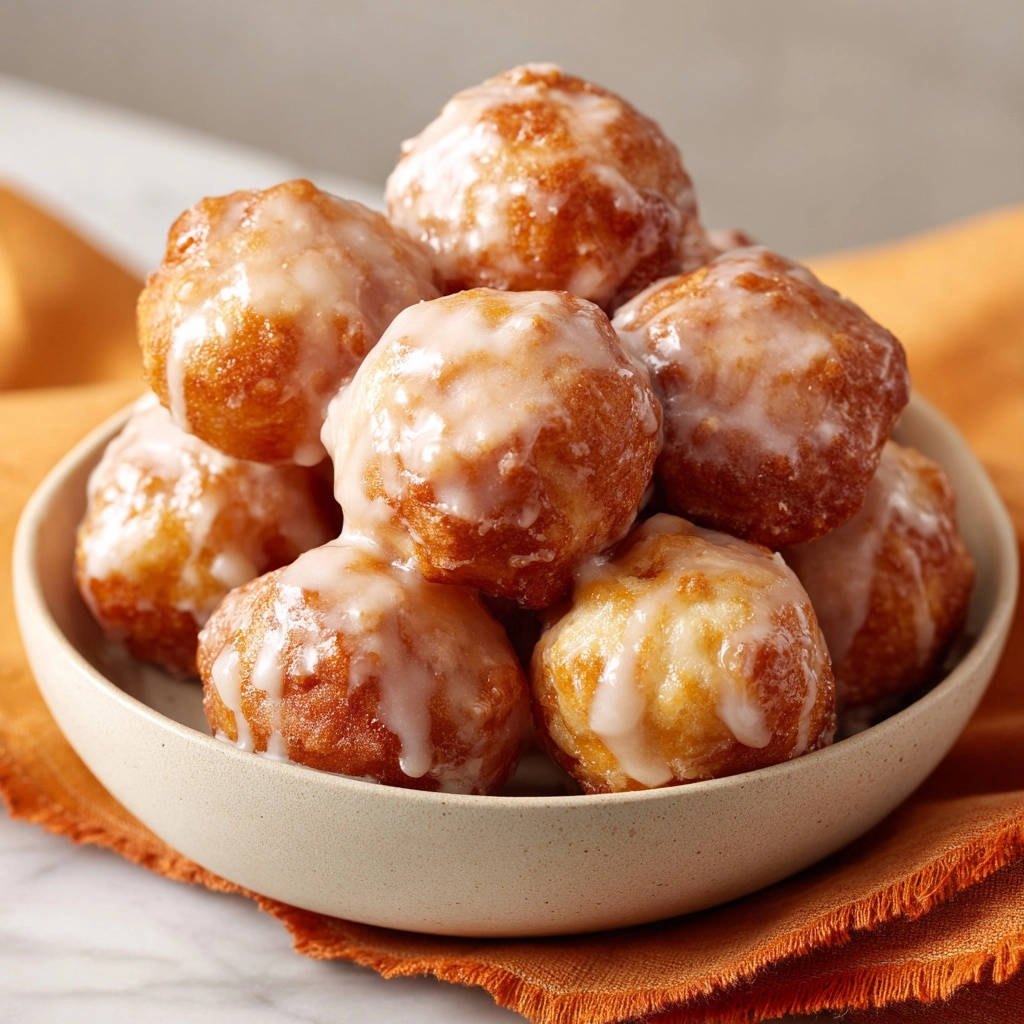
While the donut holes are still warm, gently dip each one into the prepared glaze, turning to coat it completely. Place them back on the wire rack.
Allow any excess glaze to drip off and set for a few moments. For the absolute best taste and texture, serve your homemade Glazed Donut Holes warm.
Unlock Perfection: Expert Tips for Your Glazed Donut Holes
Mastering Oil Temperature: Your Ultimate Key. Always use a deep-fry thermometer to maintain the oil temperature between 350-375°F. Oil that is too hot will burn the outside while leaving the inside raw, while oil that is too cool will result in greasy, heavy donut holes.
Don’t Overcrowd the Pot. Frying in small batches of 4-5 Glazed Donut Holes at a time is crucial. This maintains a consistent oil temperature, allowing each one to cook evenly and achieve that perfect golden finish.
The Art of the Dough: Don’t Overmix. Overworking the dough develops too much gluten, leading to a tough and dense texture. Knead just until the dough is smooth and elastic for the lightest, fluffiest results.
Room Temperature Ingredients. Ensure your milk, egg, and butter are at room temperature. This helps the ingredients combine smoothly and promotes optimal yeast activity, resulting in a more consistent and well-risen dough.
Warm is Best: Serving Suggestions. For an unparalleled experience, serve your Glazed Donut Holes while they are still warm. The warm, tender interior and sweet glaze are truly irresistible.
Solving Common Glazed Donut Holes Woes
My Donut Holes Are Greasy
Greasy donut holes are typically a sign that your frying oil was not hot enough. When the oil temperature drops too low, the dough absorbs more oil rather than frying quickly and forming a sealed, crisp exterior.
Solution: Always use a reliable deep-fry thermometer to maintain the oil between 350-375°F. Fry in small batches to prevent the oil temperature from dropping drastically with each addition.
My Donut Holes Are Dense or Hard
This issue often stems from overworking the dough, not allowing sufficient rise time, or using inactive yeast. Dense donut holes lack the airy texture we strive for.
Solution: Knead the dough only until it is smooth and elastic, avoiding excessive handling. Ensure your yeast is active and both the first and second rises are completed in a warm, draft-free environment. Verify your ingredient measurements, especially for flour and liquid.
The Glaze Isn’t Setting Properly
A glaze that doesn’t set can be due to its consistency being too thin or the donut holes being too hot when dipped. If the glaze is watery, it won’t adhere and harden effectively.
Solution: Adjust your glaze consistency by adding powdered sugar for thickness or tiny amounts of water for thinning until it’s pourable but coats a spoon well. Dip donut holes when they are warm, not piping hot, and allow them to rest on a wire rack for proper setting.
Beyond the Fryer: Serving, Storage, and Make-Ahead Tips
Perfect Pairings: How to Serve Your Donut Holes
These delightful Glazed Donut Holes are perfect on their own, but they also shine alongside a freshly brewed cup of coffee or a glass of cold milk. For an extra touch, consider serving them with fresh berries or a light dusting of cinnamon post-glaze.
They make an exceptional addition to any brunch spread, complementing other sweet treats like fluffy oatmeal pancakes or even savory breakfast bites.
Keeping Them Fresh: Storage Guidelines
For the best quality, Glazed Donut Holes are truly meant to be enjoyed fresh and warm. If you have any leftovers, store them in an airtight container at room temperature for up to 1-2 days.
Reheating them briefly in the microwave for 10-15 seconds can bring back some of their fresh-baked tenderness.
Can I Make Glazed Donut Holes Ahead of Time?
Yes, you can prepare the dough in advance! After the first rise, punch down the dough, place it in an oiled bowl, cover tightly, and refrigerate overnight. Allow it to come to room temperature for about 30-60 minutes before proceeding with shaping and the second rise.
Alternatively, you can fry the donut holes and prepare the glaze. Store the unglazed donut holes in an airtight container once cooled, then gently warm and glaze them closer to serving time for optimal freshness.
Your Glazed Donut Holes Questions Answered
Can I use different types of flour?
While all-purpose flour is specifically recommended for this Glazed Donut Holes recipe due to its balanced protein content, other flours can be used with potential texture changes. Whole wheat flour would result in a denser product, and gluten-free flours would require specific adjustments to liquids and binding agents.
For consistent, reliable results, especially if you’re new to making donuts, it’s best to stick with all-purpose flour.
What if I don’t have a donut hole cutter?
No special cutter? No problem! As mentioned, you can easily pinch off small, uniform pieces of dough and roll them into 1-inch balls between your palms. This gives them a charming, rustic look.
Alternatively, a clean, small bottle cap or even the wider end of a piping tip can be used to cut out circles from the rolled dough.
Can I add other flavorings to the donut dough?
Absolutely! Feel free to experiment with a pinch of nutmeg or cardamom added with the dry ingredients for a subtle, warming spice note. Lemon or orange zest can also add a bright, fresh dimension to your Glazed Donut Holes.
Remember to measure carefully to avoid altering the dough’s consistency too much.
Can I bake these instead of frying?
This specific recipe for Glazed Donut Holes is expertly developed for frying, which is essential for achieving its characteristic light, fluffy interior and delicate, golden crust. Baking these would result in a very different texture, more akin to a dense muffin or scone.
If you prefer a baked donut, we recommend seeking out a recipe specifically formulated for baking, such as our delightful cinnamon sugar pull-apart rolls, to ensure delicious results.
Your Donut Hole Masterpiece Awaits!
Now you have all the knowledge and expert tips to confidently create the most irresistible Glazed Donut Holes right in your own kitchen. There’s immense joy and satisfaction in sharing these warm, tender treats with loved ones.
Dive in, follow these steps with confidence, and prepare to impress! We can’t wait to see your delightful creations, so please share your experiences and comments. And for more sweet baking adventures, why not explore our recipe for stuffed French toast rolls next?
Donut Holes
Course: PastryCuisine: AmericanDifficulty: medium24
donut holes45
minutes25
minutes60
kcal180
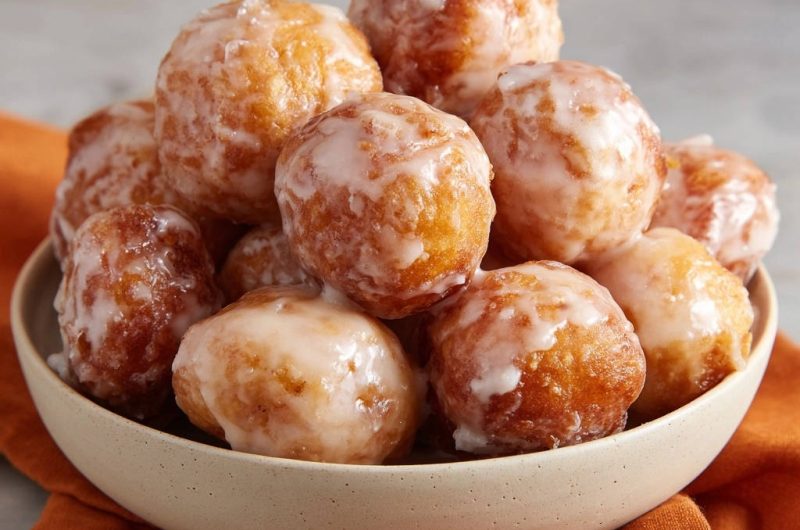
minutesDiscover the secret to perfectly cooked, golden brown donut holes with tender centers. This simple method ensures every bite is a delicious, glazed delight, free from common pitfalls like overcooked outsides or raw interiors. A guaranteed hit for any sweet craving!
Ingredients
2 cups all-purpose flour
1/4 cup granulated sugar
1 packet (2 1/4 teaspoons) active dry yeast
1/2 cup warm milk (about 105-115°F)
2 tablespoons melted butter
1 large egg
1 teaspoon vanilla extract
1/2 teaspoon salt
4-6 cups vegetable oil (for frying)
2 cups powdered sugar
3-4 tablespoons water (for glaze)
Directions
- Activate yeast: In a large bowl, combine the warm milk and yeast. Let stand for 5 minutes until the mixture becomes foamy.
- Prepare dough: To the yeast mixture, add the granulated sugar, melted butter, egg, vanilla extract, and salt. Mix thoroughly. Gradually add the all-purpose flour, mixing until a soft dough forms.
- Knead: Transfer the dough onto a lightly floured surface and knead for 5-7 minutes until it is smooth and elastic.
- First rise: Lightly oil a clean bowl. Place the dough in the bowl, turning it once to coat, then cover with plastic wrap. Let the dough rise in a warm place for 1 to 1.5 hours, or until it has doubled in size.
- Shape: Gently punch down the risen dough. On a lightly floured surface, roll the dough to approximately 1/2 inch thickness. Using a small round cutter or simply pinching off pieces and rolling them between your palms, form 1-inch balls.
- Second rise: Place the donut holes on a lightly floured baking sheet, ensuring there is space between each one. Cover loosely and let them rise for another 20-30 minutes, or until they appear slightly puffy.
- Fry (The Pain Point Solution): Heat the vegetable oil in a large, heavy-bottomed pot or Dutch oven over medium heat. It is crucial to maintain the oil temperature between 350-375°F (175-190°C) using a candy or deep-fry thermometer. This precise temperature control is the key to perfectly cooked donut holes that are golden on the outside and thoroughly cooked without a raw center. Carefully place 4-5 donut holes into the hot oil at a time, being careful not to overcrowd the pot. Overcrowding will drastically drop the oil temperature, leading to uneven cooking and potentially undercooked centers. Fry for 2-3 minutes, turning them occasionally, until they are golden brown on all sides and completely cooked through.
- Drain: Remove the fried donut holes with a slotted spoon and place them on a wire rack set over paper towels to drain any excess oil.
- Make glaze: In a medium bowl, whisk together the powdered sugar and water until a smooth glaze forms. Add more water if needed, one teaspoon at a time, to achieve a pourable but not overly thin consistency.
- Glaze: Dip the warm donut holes into the glaze, turning to coat them completely. Place them back on the wire rack to allow the excess glaze to drip off and set. Serve warm for the best taste.
Notes
- Maintain oil temperature between 350-375°F (175-190°C) and avoid overcrowding for perfectly cooked, golden donut holes.