Mastering Braised Garlic Herb Chicken Thighs with Crispy Skin
Most home cooks approach braising with a mix of excitement and dread. You want that fall-apart tender meat, but you usually end up sacrificing the skin to a soggy, rubbery fate. It’s a frustrating trade-off that makes many people stick to simple roasting instead.
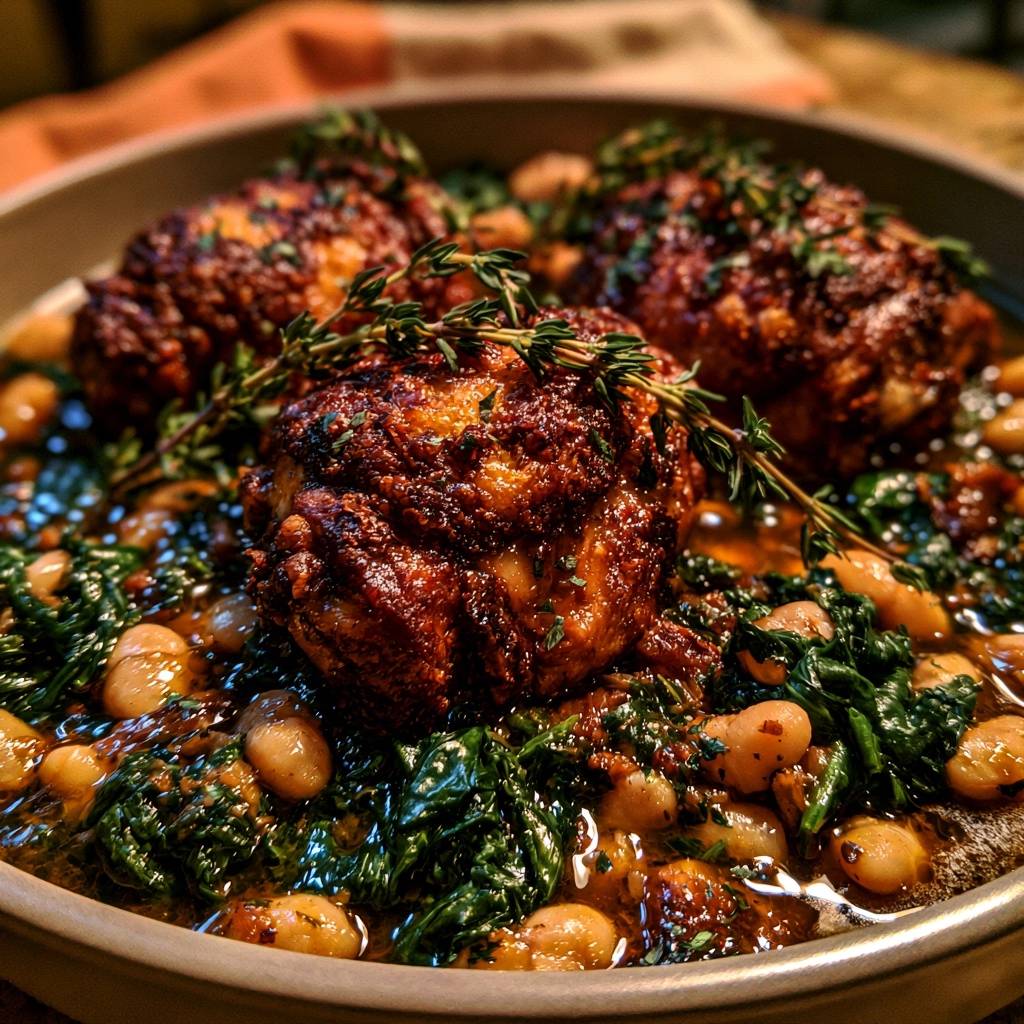
These Braised Garlic Herb Chicken Thighs solve that dilemma once and for all. By using a specific shallow-braise method, we keep the skin elevated and exposed to dry heat while the bottom of the meat simmers in a savory bath of garlic, lemon, and herbs. You get the best of both worlds: a shatteringly crisp crust and meat that melts in your mouth.
The secret lies in the physics of the pan. When you nestle the chicken into the creamy cannellini beans and wilted spinach, you must ensure the liquid only reaches halfway up the thighs. This allows the oven’s circulating air to finish rendering the fat, turning the skin into a golden, mahogany masterpiece that crackles when your fork hits it.
The Mechanics of Achieving Shatter-Crisp Chicken Skin
Achieving that perfect crunch isn’t about luck; it’s about managing moisture and heat. Moisture is the ultimate enemy of the Maillard reaction, which is the chemical process that creates browned, flavorful crusts. If the skin stays wet or gets submerged in broth, it simply boils rather than fries.
Bone-in, skin-on thighs are the ideal candidate for this technique because they possess a high fat content. As the chicken sears, the fat renders out, essentially frying the skin in its own juices. This creates a protective barrier that keeps the interior meat succulent even during a long stint in a hot oven.
Why Bone-In Thighs Outperform Chicken Breasts
Chicken breasts are lean and prone to drying out long before the skin gets crispy. Thighs, however, are loaded with connective tissue and dark meat that thrives under heat. The bone acts as a natural insulator, distributing heat evenly through the center of the meat.
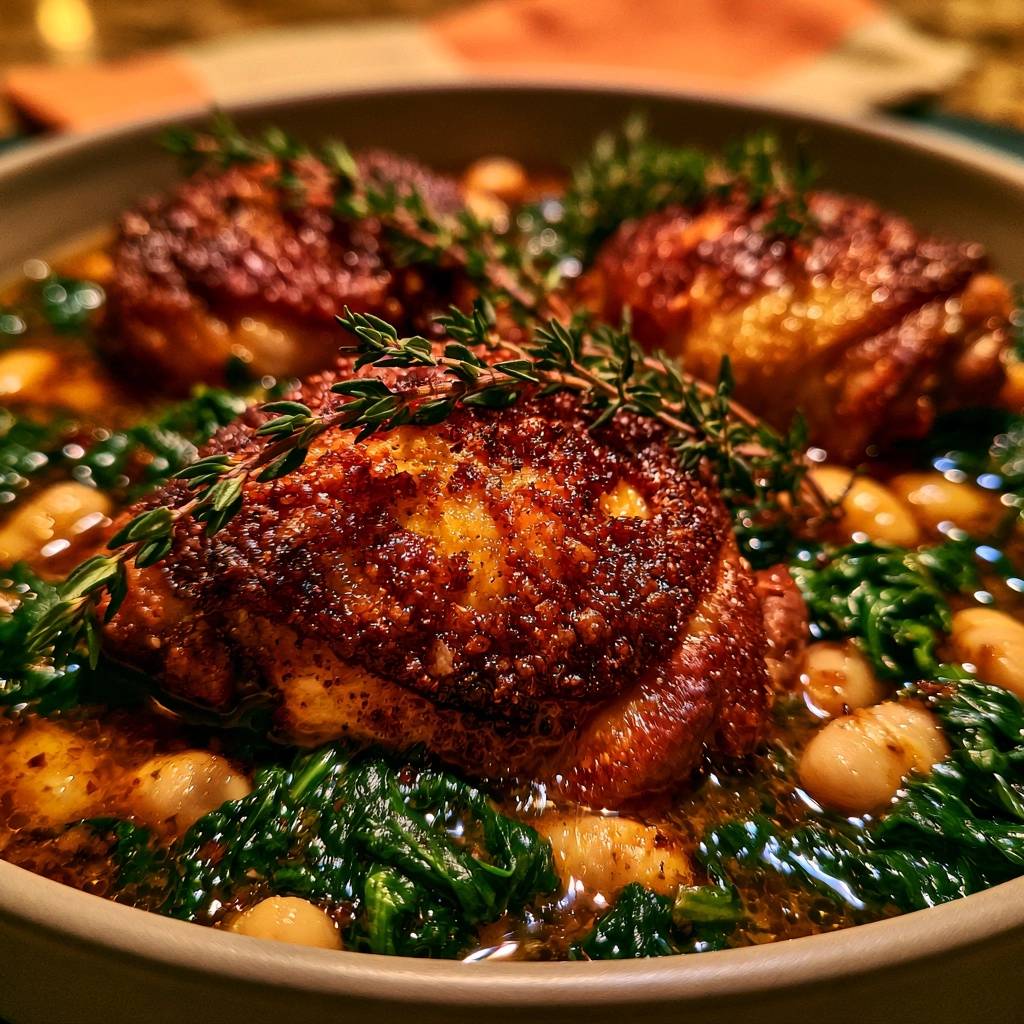
This insulation allows you to keep the chicken in the oven long enough for the skin to undergo intense dehydration. While a breast would turn to sawdust, the thigh remains juicy and flavorful, soaking up the aromatics from the beans and spinach below.
Essential Components for Braised Garlic Herb Chicken Thighs
Every ingredient in this skillet serves a functional purpose beyond just flavor. Smoked paprika is the heavy lifter here, providing a deep earthy base and helping the skin achieve a rich, dark color quickly. Without it, the skin might look pale even if it feels crispy.
Fresh thyme sprigs are another non-negotiable element. As the skillet sits in the oven, the heat draws the oils out of the herbs and into the rendering chicken fat. This infuses the entire dish with a woody, floral aroma that dried herbs simply cannot replicate.
Selecting the Right Cannellini Beans and Spinach
Cannellini beans are the superior choice for this braise because of their creamy texture and thin skins. They act like little sponges, absorbing the “fond”—those delicious browned bits stuck to the bottom of the pan—and the chicken stock. They provide a hearty, velvety contrast to the crunch of the chicken.
When it comes to spinach, you might feel like six cups is an absurd amount. However, spinach is mostly water and will shrink down to a fraction of its size within seconds of hitting the heat. Use fresh baby spinach for a delicate texture; frozen spinach holds too much water and will turn your braising liquid into a swampy mess.
Aromatics: The Garlic and Herb Foundation
We use six full cloves of garlic because the long cooking time mellows the sharp bite, leaving behind a sweet, nutty essence. The red pepper flakes add a subtle back-end heat that cuts through the richness of the chicken fat without making the dish spicy.
Deglazing the pan with extra stock is the most satisfying part of the process. It lifts the caramelized proteins off the skillet floor and incorporates them into the sauce. This creates a complex, savory bridge between the seared meat and the vegetable base.
Phase One: The Cold-Prep and Dry-Brine Technique
Before the chicken ever touches the pan, you must address surface moisture. Take a paper towel and pat the skin until it feels completely dry to the touch. If the skin is damp, it will steam in the oil rather than sear, ruining your chances of a crunch.
Once dry, season the thighs generously with your salt and spice blend. The salt acts as a mini dry-brine, drawing out deep-seated moisture and seasoning the meat all the way to the bone. Let the chicken sit for a few minutes while your oil heats up to ensure the spices adhere properly.
Phase Two: Mastering the Undisturbed Skillet Sear
The biggest mistake home cooks make is moving the meat too soon. When you place the chicken skin-side down in the hot oil, leave it alone. You want a solid 8 to 10 minutes of undisturbed contact to properly render the fat and build that mahogany crust.
You’ll know it’s ready when the chicken releases easily from the pan. If it sticks, it’s telling you it needs more time. Look for a deep golden-brown color across the entire surface of the skin before you even think about flipping it over for that brief bottom sear.
Managing Heat and Oil Smoke Points
Keep your heat at a steady medium-high during the sear. If the oil starts to smoke excessively, turn it down slightly, but don’t lose that sizzle. You need the heat to be high enough to crisp the skin but not so high that it burns the spices.
The brown bits left behind, known as the fond, are liquid gold. Be careful not to burn them when you add the garlic. Garlic cooks in seconds, so have your deglazing liquid ready to go the moment you smell that fragrant aroma to stop the cooking process.
Phase Three: Building the Shallow Braising Liquid
After deglazing, add your beans and stock. This is where the “halfway rule” becomes critical. You want enough liquid to cook the beans and wilt the spinach, but the level must stay below the chicken skin once the thighs are returned to the pan.
Add the spinach in handfuls, stirring it into the hot liquid until it collapses. It might look crowded at first, but it will quickly make room. Once the greens are wilted, nestle the chicken back in, making sure the crispy skin stays high and dry above the broth.
Phase Four: The High-Heat Oven Finish
The 400°F oven acts like a convection chamber. While the bottom of the chicken poaches in the flavorful garlic broth, the dry heat from above continues to blast the skin. This final stage ensures any remaining fat is rendered out, locking in the texture.
Transfer the skillet carefully and let it roast for 15 to 20 minutes. You’re looking for an internal temperature of 165°F. The beans will become even creamier during this time, and the thyme sprigs will perfume the entire kitchen with a savory, herbal scent.
Troubleshooting Common Braising Pitfalls
If your skin comes out soft, you likely used too much liquid or your oven wasn’t hot enough. Next time, ensure the broth only hits the middle of the thigh. If the beans absorb the liquid too quickly and look dry, splash in a little more stock around the edges of the chicken.
If your garlic turned bitter, it probably browned too much before you added the liquid. Garlic should only cook for about 30 seconds. It should be pale gold and fragrant, never dark brown or black, as that bitterness will permeate the entire sauce.
How to Calibrate Your Oven for Even Browning
Place your rack in the center of the oven for the best results. If you find the skin isn’t browning enough, you can move it to the top third for the last five minutes. A cast-iron skillet is the best tool for this job because it holds heat better than stainless steel.
Cast iron provides a more consistent sear and helps maintain the temperature of the braising liquid once it hits the oven. If you are using a thinner pan, you may need to increase the oven time by a few minutes to reach the desired internal temperature.
Optimal Side Dishes for Garlic Herb Chicken
This dish is a complete meal on its own, but a few additions can make it even better. A thick slice of toasted sourdough is perfect for mopping up the garlic-infused bean broth. The acidity of the sourdough balances the richness of the chicken fat beautifully.
You could also serve this alongside a bright citrus salad with arugula and lemon vinaigrette. The sharp, fresh greens cut through the savory weight of the braise, refreshing your palate between bites of crispy skin and creamy beans.
Storage, Reheating, and Meal Prep Strategy
Store leftovers in an airtight container in the fridge for up to three days. The skin will naturally soften as it sits in the refrigerator, but don’t worry, you can bring the crunch back. Avoid the microwave, as it will make the chicken rubbery and the skin soggy.
To reheat, place the chicken in an air fryer at 375°F for 5 to 7 minutes. Alternatively, put it under the broiler for a few minutes until the skin sizzles. This will revive the texture while keeping the meat inside juicy and tender.
Expert Tips for Braised Garlic Herb Chicken Thighs
Can I use dried thyme instead of fresh?
You can use dried thyme in a pinch, but you will lose that bright, aromatic punch. If you must use dried, use only one teaspoon and add it when you add the oregano. Fresh sprigs are better because they infuse the fat on top of the skin during the oven roast.
How do I keep the flavors bright?
Use a high-quality chicken stock, and add a small squeeze of fresh lemon juice to the pan just before you nestle the chicken back in. This keeps the flavors balanced and bright.
How do I prevent the spinach from becoming slimy?
The key is timing. Only add the spinach right before the chicken goes back into the pan. It should just barely be wilted. The spinach will continue to cook in the oven, so if you overcook it on the stovetop, it will turn mushy and lose its vibrant green color.
Can I use frozen beans?
Frozen beans are not recommended for this specific dish. They tend to have a much softer, mealier texture once thawed and cooked. Canned cannellini beans are actually the preferred choice here because they hold their shape well during the braise while maintaining a creamy interior.
Is it possible to overcook the thighs?
Chicken thighs are incredibly forgiving due to their fat content and connective tissue. While you should aim for 165°F, thighs can actually handle temperatures up to 180°F without becoming dry. This makes them much easier to work with than breasts, which turn tough the moment they cross the line.
Braised Garlic Herb Chicken Thighs
Course: Main CourseCuisine: AmericanDifficulty: easy4
servings15
minutes35
minutes50
Minutes510
kcalAmerican
Ingredients
4 large bone-in, skin-on chicken thighs
1 can (15 oz) cannellini beans, drained and rinsed
6 cups fresh baby spinach (it will wilt significantly)
6 cloves garlic, minced
1 cup chicken stock
1/2 cup extra chicken stock plus 1 teaspoon lemon juice
2 tablespoons olive oil
1 tablespoon smoked paprika
1 teaspoon dried oregano
1/2 teaspoon red pepper flakes
4-6 sprigs fresh thyme
Salt and black pepper to taste
Directions
- Pat the chicken thighs extremely dry with paper towels. This is the first secret to crispy skin. Season both sides generously with salt, pepper, paprika, and oregano.
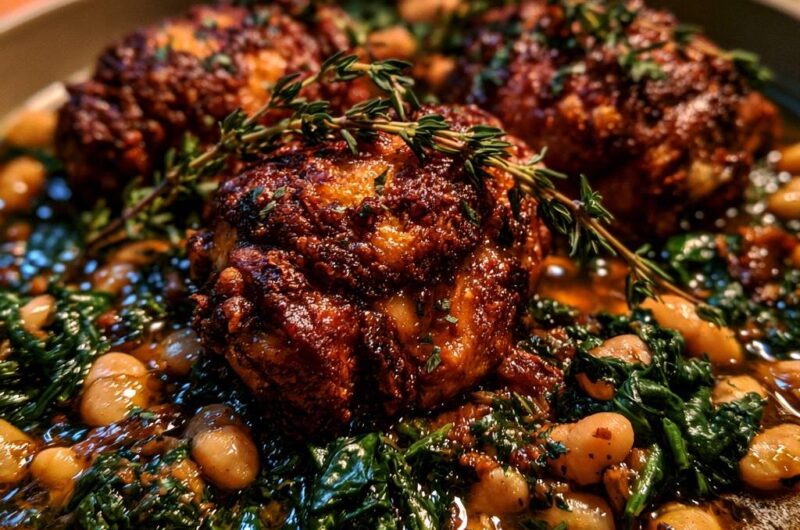
- Heat olive oil in a large oven-safe skillet over medium-high heat. Place chicken skin-side down. Do not move them for 8 to 10 minutes. This undisturbed contact renders the fat and creates the deep mahogany, crispy crust seen in the image.
- Flip the chicken and sear the bottom for 2 minutes. Remove chicken from the pan and set aside on a plate.
- In the same pan, reduce heat to medium. Add minced garlic and red pepper flakes; cook for 30 seconds until fragrant.
- Deglaze the pan with the extra 1/2 cup stock and lemon juice, scraping up the browned bits (fond) from the bottom. Add the remaining chicken stock and the cannellini beans.
- Add the spinach to the pan in batches, stirring until it is fully wilted into the liquid.
- Place the chicken thighs back into the pan, nestling them into the beans and spinach. Crucial step: Ensure the liquid only reaches halfway up the sides of the chicken. The skin must remain completely above the liquid line to stay crispy.
- Place fresh thyme sprigs directly over the chicken. Transfer the skillet to a 400°F (200°C) oven for 15 to 20 minutes, or until the internal temperature reaches 165°F.
- The circulating oven heat will finish rendering the fat in the skin, locking in that crunch while the beans and spinach soak up the savory pan juices below. Serve immediately directly from the skillet.
Notes
- The secret to crispy skin is patting the chicken extremely dry before seasoning and ensuring the braising liquid only reaches halfway up the sides of the chicken thighs.