Mastering Ganache-Topped Fudge Brownies: The Anti-Cakey Method
Stop settling for brownies that turn out like dry, airy chocolate cake. If you’ve ever pulled a pan out of the oven only to find a crumbly, bread-like texture, you know the disappointment of a “cakey” brownie. We’re leaving that behind today for something much more indulgent.
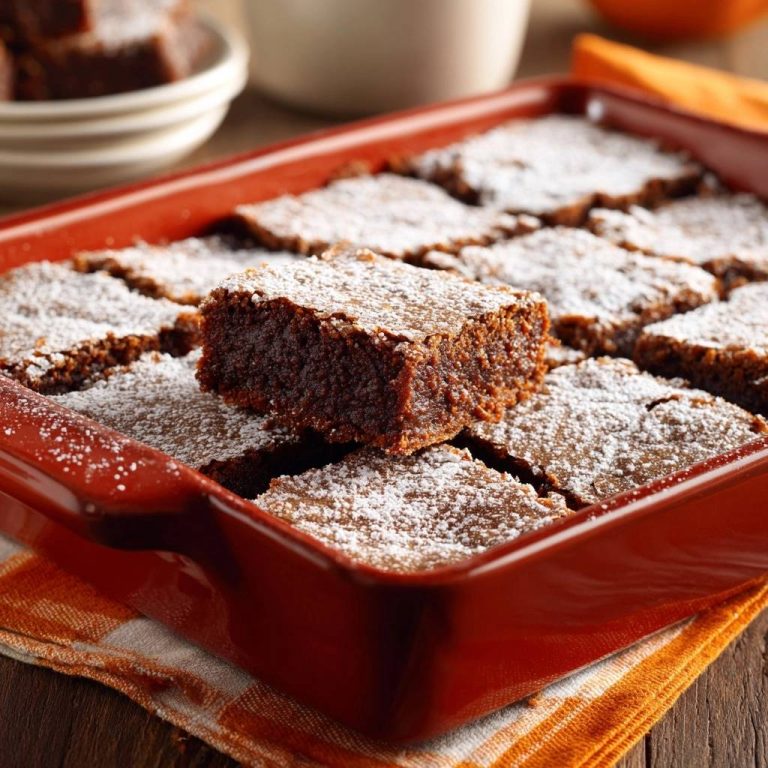
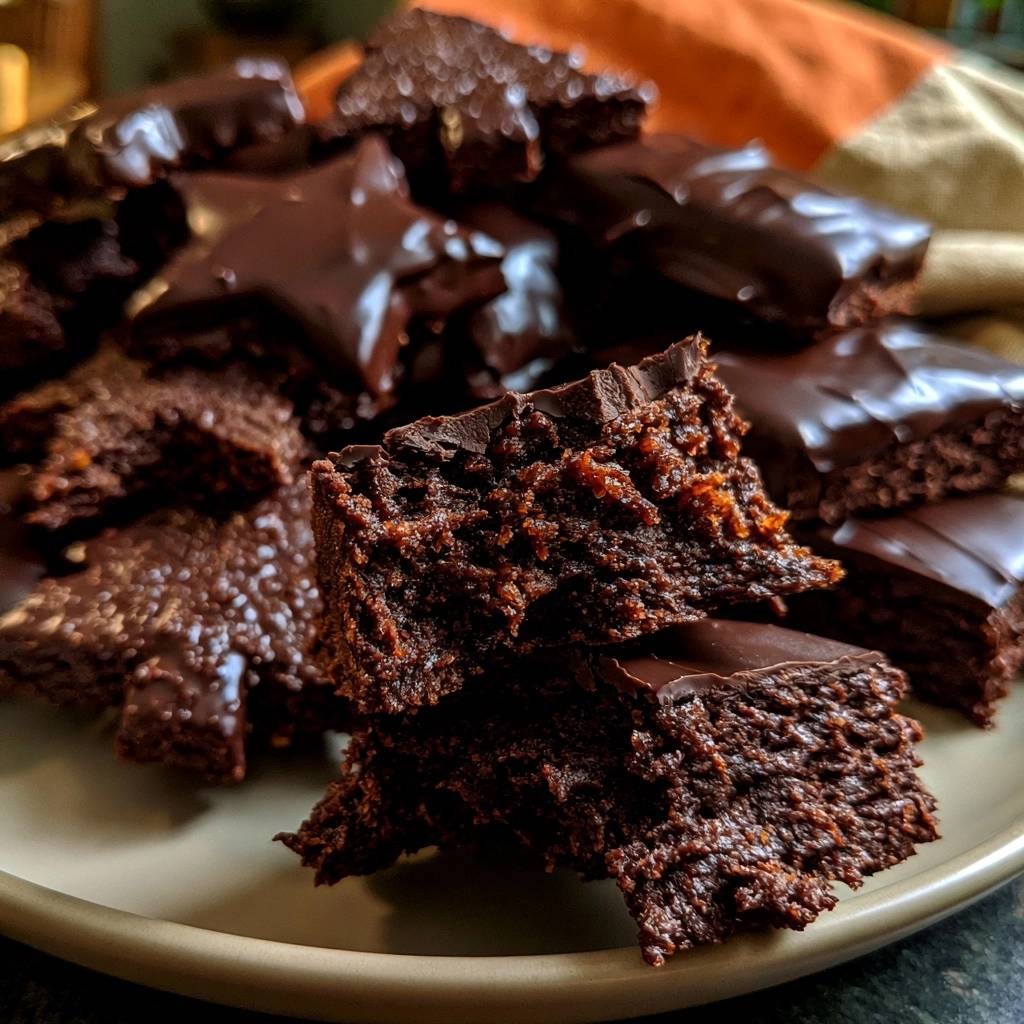
These Ganache-Topped Fudge Brownies are designed for the true chocolate purist who craves a dense, truffle-like bite. The secret to that professional, skyscraper-thick texture lies in the specific fat-to-flour ratio and a total rejection of traditional aeration. You’re looking for a heavy, moist interior that practically melts on your tongue, topped with a silky layer of dark chocolate that snaps ever so slightly when chilled.
The real magic happens when you put down the electric mixer. The secret is hand-whisking the butter and sugar just enough to combine them without whipping in the air bubbles that cause brownies to rise and turn cakey. By controlling the air, you lock in a concentrated chocolate flavor and a fudgy structure that holds its shape perfectly, even when cut into decorative stars.
The Science of Density: Why These Aren’t Cake
Most brownie recipes fail because they treat the batter like a standard sponge cake. To achieve a dense, fudge-like consistency, we intentionally omit leavening agents like baking powder or baking soda. Without these chemical lifters, the brownies rely on the structural integrity of the fats and the proteins in the eggs to create a tight, moist crumb.
When you use an electric mixer, you beat thousands of tiny air pockets into the butter and sugar. In the oven, those pockets expand, creating a light and fluffy texture. By avoiding the mixer, we keep the batter heavy. This high fat-to-flour ratio ensures the final product is closer to a piece of fudge or a chocolate truffle than a slice of birthday cake.
The Role of Hand-Whisking vs. Electric Mixing
Hand-whisking for exactly sixty seconds is a deliberate technique to dissolve the sugar into the melted butter without incorporating excess oxygen. You want the sugar to begin breaking down so the top of the brownie gets that classic crackle, but you don’t want the mixture to become pale and fluffy. If the mixture looks like whipped frosting, you’ve gone too far.
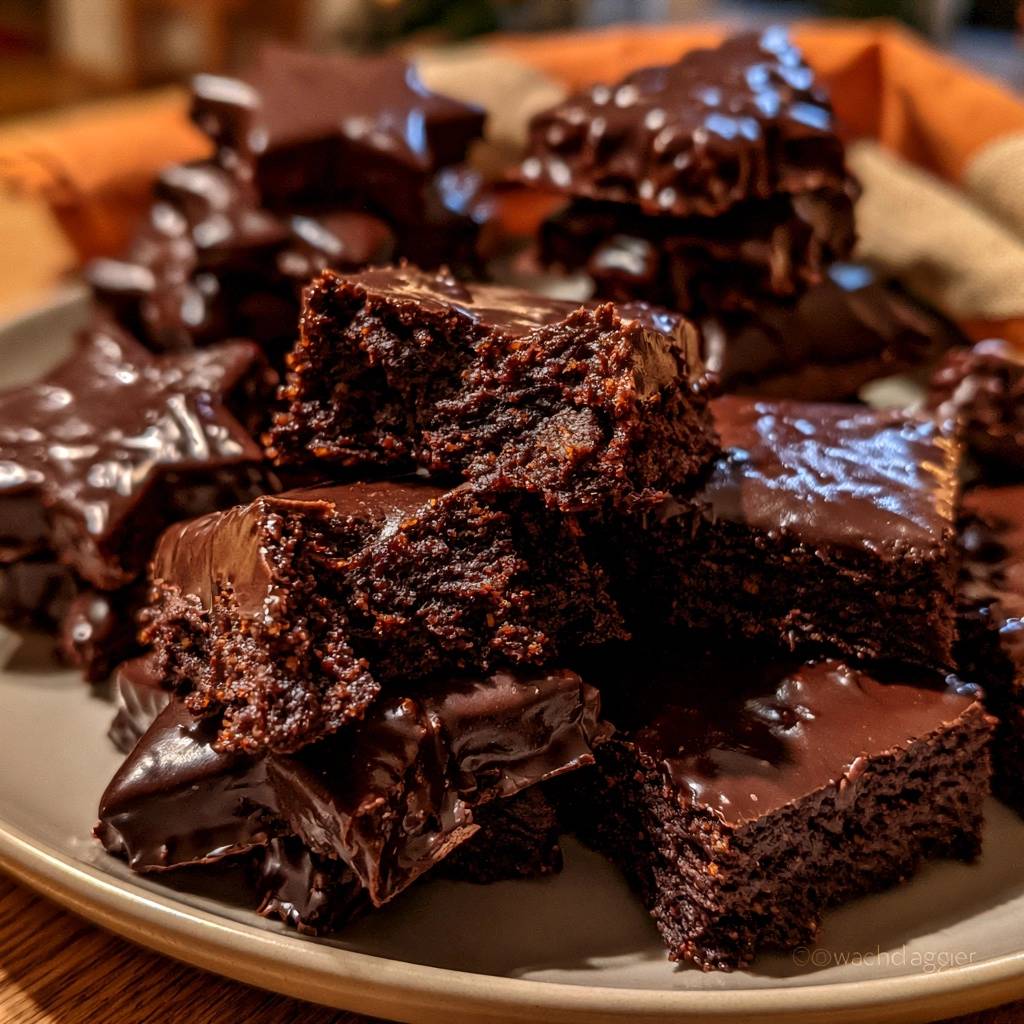
Furthermore, hand-mixing allows you to feel the resistance of the batter. As you add the flour and cocoa, you can ensure you’re only folding until the ingredients are just combined. Over-mixing at this stage develops gluten, which leads to a tough, bready texture. A gentle hand keeps the brownies tender and rich.
Temperature Control and Fat Saturation
The temperature of your butter is a critical variable in this equation. You want the butter melted to ensure it fully coats the flour particles, preventing excessive gluten formation, but it must be cooled slightly. If the butter is boiling hot, it will cook the eggs prematurely and cause the sugar to become greasy rather than dissolved.
We also stir in a half-cup of melted chocolate chips directly into the batter. While cocoa powder provides the deep chocolate flavor, the melted chips provide the “chew.” The cocoa butter in the chips solidifies as the brownies cool, creating a structural binder that gives you that satisfying, dense resistance when you take a bite.
Essential Components for Ganache-Topped Fudge Brownies
Quality ingredients are the backbone of a recipe with so few components. Since there are no spices or fruits to hide behind, the flavor of your cocoa and chocolate will be front and center. You’ll want to use a high-quality unsweetened cocoa powder and a dark chocolate with at least 60% cacao for the ganache to ensure the dessert isn’t cloyingly sweet.
The baking window is equally vital. These brownies require a precise 22 to 25 minutes in the oven. Because they are so dense, they will continue to cook in the hot pan after you remove them from the heat. If you wait for a clean toothpick, you’ve already overbaked them into a dry, crumbly mess.
Selecting High-Fat Cocoa and Chocolate
I recommend using a Dutch-processed cocoa powder if you want a darker color and a smoother, less acidic chocolate taste. However, a standard natural cocoa works well too, as long as it’s fresh. The dark chocolate chips used for the ganache are essential for balancing the two cups of granulated sugar in the base; the bitterness of the dark chocolate cuts through the richness perfectly.
Avoid using milk chocolate for the ganache layer. Milk chocolate has a lower fat content and higher sugar, which can result in a ganache that is too soft to set properly or too sweet to enjoy in a thick layer. Stick to dark or semi-sweet varieties for that professional, mirror-like finish.
The Importance of Room Temperature Eggs
Never use eggs straight from the fridge for this recipe. Cold eggs will immediately seize the melted butter and the melted chocolate chips, causing the batter to break and look curdled. This ruined emulsion leads to an uneven bake where the fat might leak out of the brownies in the oven.
If you forgot to take your eggs out, simply place them in a bowl of warm water for five minutes. This quick-thaw method brings them to the perfect temperature, ensuring they emulsify smoothly with the fats for a glossy, cohesive batter that bakes up beautifully.
Step-by-Step: Building the Fudgy Foundation
When you begin combining your wet and dry ingredients, put away the whisk and grab a rubber spatula. You want to use a folding motion, scraping the bottom of the bowl and turning the batter over itself. This ensures every bit of flour is hydrated without working the batter too hard.
The visual cues here are everything. The batter should not be thin or pourable like a cake mix. Instead, it should be thick, heavy, and have a glossy sheen. If it looks like a thick chocolate paste that requires a bit of effort to spread into the corners of the pan, you’ve done it exactly right.
Preparing the Pan for Easy Removal
To get those clean, sharp edges, you must use a parchment paper sling. Cut a piece of parchment so it covers the bottom and two sides of the pan, leaving an inch or two of overhang. This allows you to lift the entire block of brownies out once they are chilled, making slicing much easier.
I strongly suggest using an 8×8 inch square pan rather than a 9×9. The smaller pan forces the batter to climb higher, resulting in that “skyscraper” thickness. A larger pan will spread the batter too thin, which makes it much easier to overbake and results in a less satisfying texture.
The Precision Bake: Avoiding the Over-Dry Crumb
This is the most critical moment in the process. Set your timer for 22 minutes and start checking. When you insert a toothpick, you are looking for moist, sticky crumbs that cling to the wood. This indicates the center is set but still retains the moisture needed for a fudgy bite.
If the toothpick comes out clean, the brownies are overdone. Remember the concept of carry-over cooking; the residual heat in the dense batter will finish the job while the pan sits on the counter. Pulling them out when they look slightly underdone is the only way to guarantee that truffle-like interior.
Crafting the Perfect Dark Chocolate Ganache
A perfect ganache is a simple emulsion of heavy cream and chocolate, but it requires patience. We use a 1:2 ratio of cream to chocolate here to ensure the topping is thick enough to hold its shape but soft enough to bite through easily. The dark chocolate provides a sophisticated finish that elevates the entire dessert.
The “sit and wait” method is non-negotiable. After pouring the hot cream over the chocolate chips, let it sit undisturbed for five full minutes. This allows the heat to penetrate the center of the chocolate pieces. If you stir too early, the temperature drops too quickly, and you’ll end up with stubborn, unmelted lumps.
Achieving a Mirror-Like Glossy Finish
When you start stirring the ganache, begin in the very center of the bowl with small, circular motions. Gradually work your way outward as the mixture darkens and combines. This technique prevents you from whisking in air bubbles, which would ruin the smooth, mirror-like surface of the topping.
For a final touch of expertise, sprinkle a pinch of flaky sea salt over the ganache before it sets. The salt isn’t just for looks; it acts as a flavor enhancer that wakes up the taste buds and balances the intensity of the dark chocolate. It turns a simple brownie into a gourmet experience.
The Critical Chill: Setting the Fats
I know it’s tempting to slice into these while they are warm, but you must resist. The two-hour refrigeration period is what transforms the texture from “good” to “extraordinary.” As the brownies chill, the butter and melted chocolate solidify, creating that dense, fudgy resistance that defines this style.
A warm brownie will be delicious, but it will be messy and soft. A chilled brownie has a bite that is almost like a piece of candy. Once the fats have set, the flavors also have time to meld and deepen, making the chocolate taste even more intense than it did right out of the oven.
Troubleshooting Common Brownie Textures
If your brownies turned out oily, your butter was likely too hot when you added the eggs, causing the emulsion to break. Next time, let the butter cool until it’s just warm to the touch. If the brownies are crumbling when you cut them, they were either overbaked or you measured your flour too heavily. Always spoon flour into the measuring cup rather than scooping it directly.
If your ganache is runny and won’t set, the cream wasn’t hot enough or the ratio was off. Ensure the cream reaches a simmer (small bubbles around the edges) before pouring it over the chocolate. If it’s already runny, you can try chilling it for a longer period, but it may remain a bit soft. Simply call it a chocolate glaze and enjoy it anyway!
Slicing and Presentation Techniques
To get those professional, clean edges, wait until the brownies are completely cold. Lift them out of the pan using the parchment sling and place them on a cutting board. Use a large, sharp chef’s knife and run it under hot water, then wipe it dry before every single cut. The heat from the blade will glide through the ganache without tearing it.
For a special occasion, you can use a star-shaped cookie cutter as mentioned in the recipe. Press firmly straight down through the ganache and the brownie base. These shapes look stunning on a dessert platter and highlight the thick, impressive height of the fudge layer. Save the scraps for snacking or crumbling over ice cream.
Storage and Make-Ahead Strategy
These brownies are a fantastic make-ahead dessert because they actually improve with age. Over the first 24 to 48 hours, the moisture redistributes, and the chocolate flavor becomes more pronounced. You can store them in an airtight container in the refrigerator for up to five days, though they rarely last that long.
If you want to freeze them, wrap individual squares tightly in plastic wrap and then place them in a freezer bag. They will stay fresh for up to three months. To serve, thaw them in the refrigerator overnight. Avoid thawing at room temperature if you want to keep the ganache looking glossy and prevent it from sweating.
Expert Tips for Customizing Your Batch
While these are perfect as written, you can easily tweak the flavor profile. Adding a teaspoon of espresso powder to the dry ingredients won’t make them taste like coffee; instead, it acts as a catalyst that makes the chocolate taste even darker and richer. It’s a classic baker’s trick for deep flavor.
Avoid adding high-moisture ingredients like fresh berries or jam swirls directly into the batter, as this will ruin the dense, anti-cakey structure we worked so hard to build. If you want extra texture, stick to dry add-ins like toasted walnuts or pecans, which provide a nice crunch against the silky ganache topping.
Frequently Asked Questions
Can I use a 9×9 pan instead of an 8×8?
You can, but the brownies will be significantly thinner and will bake much faster. Start checking for doneness at the 18-minute mark. You will lose that “skyscraper” height, but the flavor will remain the same. For the best results, I highly recommend sticking to the 8×8 pan.
Why is there no baking powder or baking soda in this recipe?
The absence of leavening agents is intentional. Baking powder creates lift and air, which results in a cakey texture. By omitting it, we ensure the brownies remain dense, heavy, and fudgy. The only “lift” comes from the eggs, which provide structure without making the brownies airy.
Can I substitute the heavy cream in the ganache?
For a proper ganache that sets firmly, you need a high fat content. Heavy cream or heavy whipping cream is best. You could use full-fat canned coconut milk (the thick part at the top) in a pinch, but avoid using regular milk or half-and-half, as the ganache will be too thin and won’t set properly.
How do I prevent the parchment paper from slipping?
A quick tip is to lightly grease the pan with a tiny bit of butter or cooking spray before laying the parchment paper down. The grease acts like glue, holding the paper in place so it doesn’t slide around while you are trying to spread the thick brownie batter into the corners.
Why did my sugar not dissolve properly?
If you find the texture grainy, it usually means the butter wasn’t warm enough when combined with the sugar, or you didn’t whisk it for the full minute. The sugar doesn’t need to disappear completely, but the whisking process helps it begin to melt, which also contributes to the shiny, crackly top beneath the ganache.
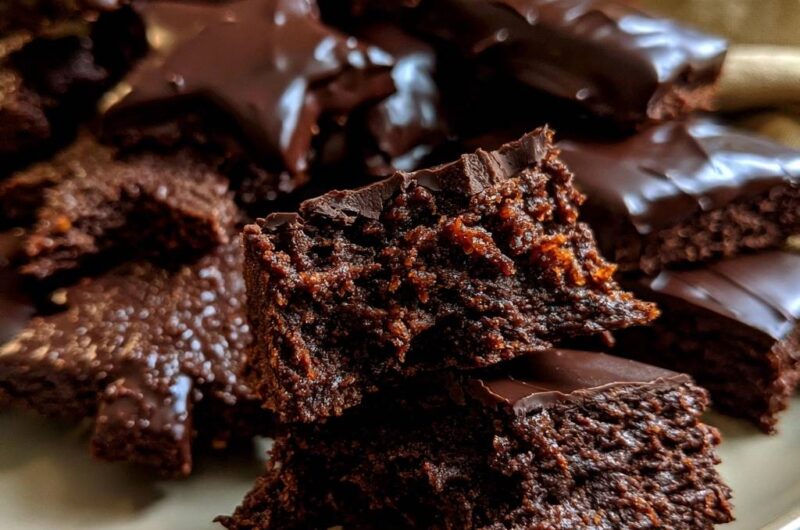
Ganache-Topped Fudge Brownies
Course: DessertCuisine: AmericanDifficulty: easy16
servings15
minutes25
minutes40
Minutes285
kcalAmerican
Ingredients
1 cup unsalted butter, melted and cooled slightly
2 cups granulated sugar
2 large eggs, room temperature
1 tablespoon vanilla extract
3/4 cup unsweetened cocoa powder
1 cup all-purpose flour
1/2 teaspoon salt
1/2 cup semi-sweet chocolate chips (melted into the batter for extra density)
1 cup dark chocolate chips (for ganache)
1/2 cup heavy cream (for ganache)
Flaky sea salt (optional, for topping)
Directions
- Preheat your oven to 350 degrees F. Line an 8×8 inch baking pan with parchment paper, leaving an overhang on the sides for easy removal.
- In a large bowl, combine the melted butter and sugar. Whisk by hand for one minute. Add the eggs and vanilla, whisking just until combined. Stir in 1/2 cup of melted chocolate chips; this adds the structural “chew” seen in the image. Do not over-beat. Over-beating incorporates air, which creates a cakey texture rather than a fudgy one.
- Sift the cocoa powder, flour, and salt directly into the wet ingredients. Use a rubber spatula to gently fold the dry ingredients in until just barely streaks of flour remain. The batter should be thick and heavy.
- Spread the batter into the prepared pan. Bake for 22 to 25 minutes. To ensure they stay fudgy, pull them out when a toothpick inserted in the center comes out with moist, sticky crumbs attached, not clean.
- While the brownies cool completely in the pan, make the ganache. Place 1 cup dark chocolate chips in a small bowl. Heat the heavy cream in a small saucepan or microwave until it just begins to simmer. Pour the hot cream over the chocolate and let it sit for 5 minutes.
- Stir the ganache until smooth and glossy. Pour it over the cooled brownies and spread evenly.
- For the ultimate dense texture shown in the photo, place the pan in the refrigerator for at least two hours. This sets the fats and creates that perfect, truffle-like bite.
- Once chilled and firm, lift the parchment paper out of the pan. Use a star-shaped cookie cutter or a sharp, warm knife to cut the brownies into the shapes seen in the image. Serve chilled or at room temperature.
Notes
- To achieve the dense texture, do not use an electric mixer and ensure you pull the brownies out of the oven while the toothpick still has moist crumbs. Refrigerating for two hours is essential for the truffle-like consistency.