Mastering Broccoli and Cheese Stuffed Chicken Breasts
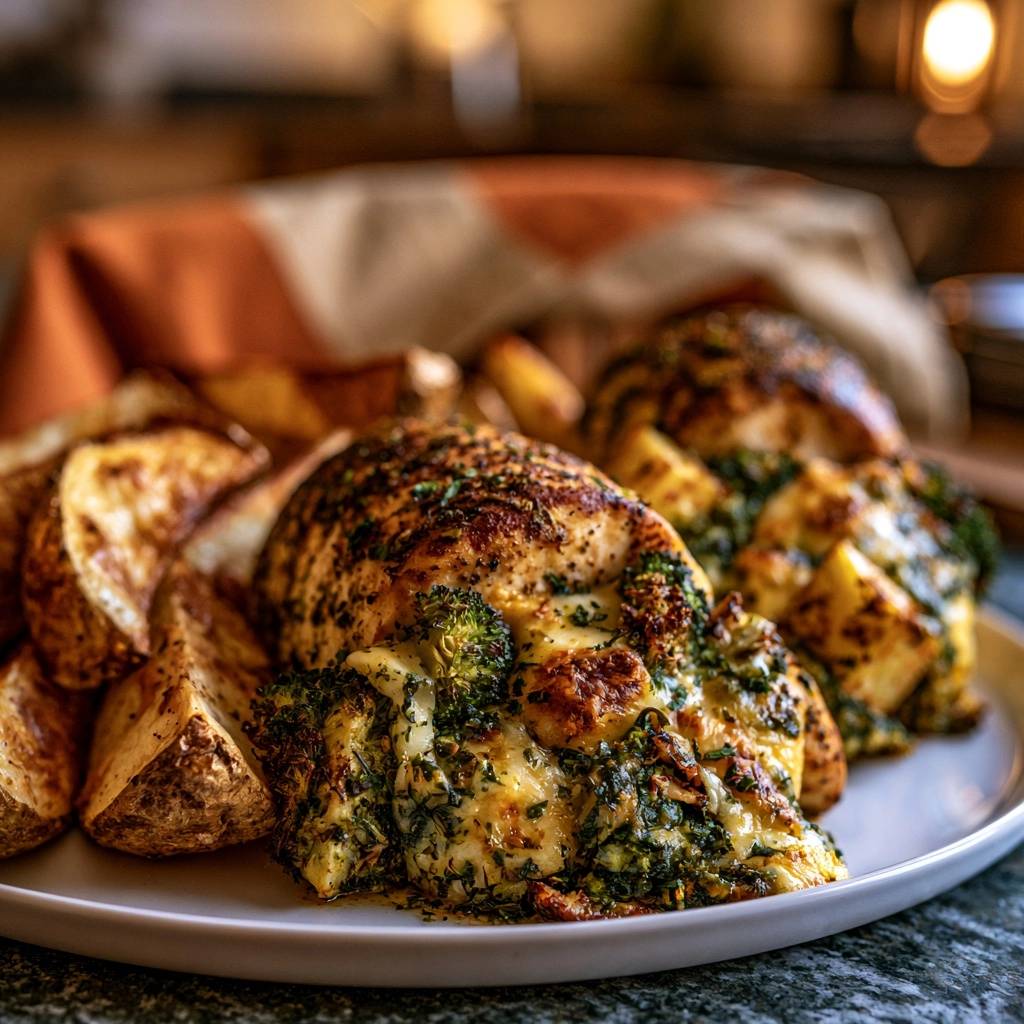
Most home cooks avoid stuffing chicken because they’ve been burned before. You spend twenty minutes carefully prepping, only to watch your expensive cheddar leak out into a greasy puddle on the baking sheet. It’s frustrating to end up with a hollow piece of meat and a burnt mess in the pan. However, this recipe solves that “cheese leak” once and for all by using a smart structural binder.
The secret lies in the contrast of textures and the stability of the filling. You get a deeply seared, spice-rubbed exterior that crunches slightly before giving way to a molten, creamy center. By combining the broccoli with specific cheeses, we create a filling that stays exactly where you put it. It’s a reliable way to get that “wow” factor without the usual kitchen cleanup headache.
To ensure success, you must focus on the moisture content of your vegetables. If your broccoli is wet, the steam will force the pocket open and push the cheese out. I always recommend patting your blanched broccoli bone-dry with a paper towel before mixing it into the cheese. This small step ensures the filling remains thick and luscious rather than watery and thin.
The Science of the No-Leak Cheese Filling
Understanding why cheese leaks is the first step to preventing it. Standard shredded cheddar has a relatively low melting point and a high oil content. When it hits the heat of the oven, the proteins break down quickly, and the fat separates, causing it to run. Therefore, we need to introduce stabilizers that hold that cheddar in suspension while it melts.
Cream cheese and Parmesan are the heroes of this structural mission. Softened cream cheese acts as a thick, tacky glue that coats the broccoli and cheddar. Because it has a higher moisture-to-fat ratio and contains stabilizers, it doesn’t liquefy as easily as hard cheeses. In addition, the Parmesan adds a salty punch and a gritty structure that helps the mixture maintain its shape under pressure.
Blanching the broccoli isn’t just about softening the stalks; it’s about color and chemistry. A quick dip in boiling water sets the vibrant green chlorophyll and removes the raw “cabbage” smell. However, you must chop it finely. Large chunks of broccoli create air gaps in your stuffing, which leads to uneven cooking and structural weak points in the chicken breast.
Essential Components for Stuffed Chicken and Potatoes
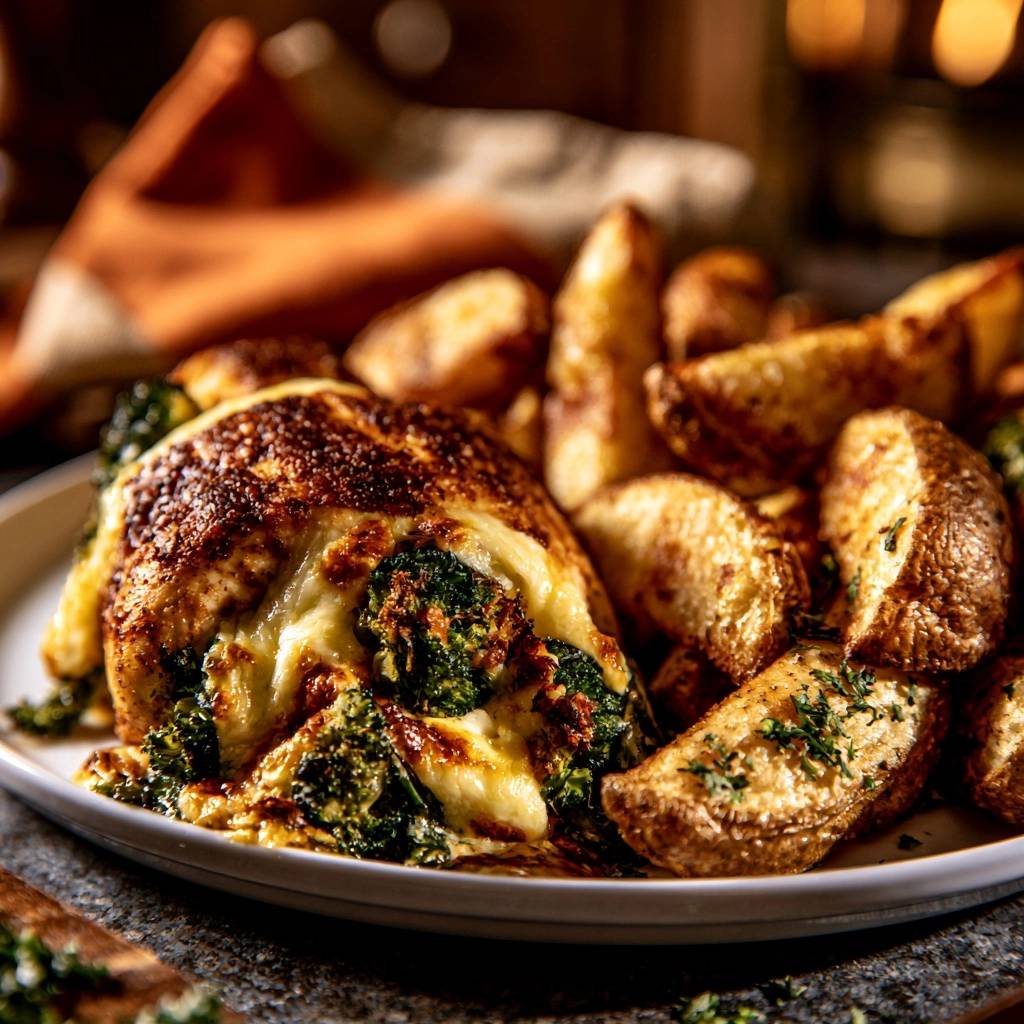
Success starts at the grocery store with the right bird. You want large, plump chicken breasts, ideally around 8 to 10 ounces each. If they’re too thin, you won’t have enough “wall” thickness to hold the stuffing. Look for meat that hasn’t been injected with excess saline, as that extra water will purge in the pan and prevent you from getting a good sear.
The dry rub is where the flavor lives. Smoked paprika provides a deep, earthy red color and a hint of campfire flavor that mimics a grill. When combined with dried oregano and garlic powder, it creates a savory crust that balances the richness of the cheese. Don’t be shy with the seasoning; you need enough to coat the entire exterior of the meat to lock in juices.
For the side dish, Russet potatoes are the only way to go. While Yukon Golds are creamy, they often turn mushy when roasted at high heat alongside chicken. Russets have a high starch content, which is essential for achieving that glass-like, crispy exterior on your wedges. They act as the perfect crunchy foil to the soft, cheesy chicken.
Selecting and Preparing the Poultry
If you can find it, choose air-chilled chicken. Most commercial chicken is chilled in cold water baths, meaning the skin and meat soak up extra moisture like a sponge. Air-chilled meat has a drier surface, which is the golden ticket for a crispy, golden-brown crust. It sears faster and tastes more “chicken-forward.”
Before you start cutting, trim away any loose fat or silver skin. However, be careful not to trim too much from the sides. You need that outer membrane to remain intact to act as the “envelope” for your filling. If the meat is uneven in thickness, you can gently pound the thickest part with a mallet just to level it out before slicing your pocket.
The Three-Cheese Blend Rationale
Each cheese in this trio has a specific job. Sharp cheddar provides the classic, bold flavor we all crave. Cream cheese provides the “melt-proof” body and creamy mouthfeel. Finally, the Parmesan acts as a seasoning agent and a binder. It’s a balanced ecosystem of flavor and function that keeps the filling stable.
If you want to experiment, you can swap the cheddar for Gruyère for a nuttier, more sophisticated profile. Fontina is another great option because it melts beautifully but still has enough body to stay put. Just ensure you keep the cream cheese ratio the same, as that is your primary insurance policy against leakage.
Step-by-Step: Preparing the Broccoli and Cheese Stuffed Chicken Breasts
Timing is everything when you’re cooking a full meal in one go. Start with the potatoes because they need a head start in the oven. By the time you finish prepping and searing the chicken, the potatoes will be halfway done. This ensures everything hits the table hot and perfectly cooked at the exact same moment.
The “Pocket Technique” requires a steady hand and a very sharp knife. You aren’t trying to cut the chicken in half. Instead, think of it like creating a pita pocket. You want a small entry point that expands into a large internal cavern. This keeps the opening small, making it much easier to seal later on.
Once the chicken is stuffed, we use the “Sewing Method.” This isn’t just about sticking a toothpick in; it’s about weaving the wood through both sides of the meat. This physical barrier creates a tight seal. When the meat hits the hot oil, the proteins will contract around the toothpicks, effectively locking the door on that cheese filling.
Creating the Perfect Chicken Pocket
Place your hand flat on top of the chicken breast to steady it. Insert the tip of a boning knife or a small chef’s knife into the thickest side. Slowly sweep the blade in a semi-circle inside the meat, being careful not to poke through the other side or the bottom. You want a deep “hinge” at the back.
If you do accidentally poke a hole, don’t panic. You can usually “patch” it by overlapping the meat and securing it with an extra toothpick. The goal is to create as much space as possible for that broccoli mixture. The more filling you can fit, the more flavorful each bite will be.
Securing the Filling with the Toothpick Method
After stuffing the breast, pull the edges of the opening together so they overlap slightly. Take a toothpick and insert it at a 45-degree angle, catching both the top and bottom flaps of meat. Repeat this three or four times along the opening. It should look like a series of stitches.
This creates three points of contact that prevent the meat from pulling apart as it shrinks during cooking. Think of it as a temporary weld. Without this, the steam from the broccoli will naturally want to push the pocket open, and your hard work will end up at the bottom of the pan.
The Two-Stage Cooking Process: Sear and Roast
The Maillard reaction is your best friend here. By searing the chicken in a shimmering hot skillet first, you develop a complex, savory crust that baking alone can’t achieve. This high-heat contact also “sets” the outside of the meat instantly, which helps maintain the structural integrity of the pocket before it even enters the oven.
Use an oven-safe skillet, like cast iron or heavy stainless steel. Once you flip the chicken and see that gorgeous golden-brown color, the whole pan goes into the oven. This transition allows the ambient heat of the oven to cook the chicken through gently, while the residual heat of the pan continues to crisp the bottom side.
This two-stage method is the secret to juicy meat. The sear locks in the initial juices, and the roasting finishes the job without drying out the exterior. Because the pan is already hot, the cooking time in the oven is significantly reduced. This prevents the cheese from overheating to the point of exploding out of the chicken.
Avoiding Common Stuffed Chicken Mistakes
The most common mistake is overcooking the meat out of fear. Chicken breast becomes dry and stringy the moment it passes 165°F. Because the cheese filling holds a lot of heat, the chicken will continue to cook for a few minutes after you take it out of the oven. Pull it at 160°F and let carry-over cooking do the rest.
Another pitfall is “crowding the pan.” If you try to squeeze four large chicken breasts into a small skillet, they will steam instead of sear. You’ll end up with grey, rubbery meat instead of a golden crust. If your skillet is too small, sear the chicken in two batches before moving them all to a larger baking sheet for the roasting phase.
Lastly, make sure your cream cheese is truly softened. If it’s cold, it won’t mix evenly with the broccoli and cheddar. You’ll end up with “pockets” of plain cream cheese and other areas where the cheddar is unsupported and likely to leak. Leave the cream cheese on the counter for at least an hour before starting.
Optimal Side Dish Pairings and Garnishes
While the herb-roasted potatoes provide a hearty base, this dish benefits from a hit of acidity. A simple arugula salad tossed in a sharp lemon vinaigrette is the perfect partner. The peppery greens and citrus juice cut right through the richness of the three-cheese filling, refreshing your palate between bites.
Don’t underestimate the power of fresh parsley. It’s not just for looks; it adds a clean, grassy note that brightens the heavy flavors of garlic and smoked paprika. Sprinkle it on right before serving so the heat of the chicken releases the herb’s natural oils. A final crack of fresh black pepper over the whole plate adds a nice floral heat.
Make Ahead Strategies and Storage
You can absolutely prep this dish in advance. Stuff and secure the chicken breasts up to 24 hours before you plan to cook them. Store them in an airtight container in the fridge. This actually helps the flavors of the rub penetrate the meat more deeply. Just let them sit on the counter for 15 minutes before searing to take the chill off.
For leftovers, avoid the microwave if possible, as it can make the chicken rubbery and the cheese oily. Instead, place the chicken in a small baking dish with a tablespoon of water or broth. Cover it tightly with foil and heat at 325°F until warmed through. This “steaming” effect keeps the meat moist and the filling creamy.
Expert Troubleshooting
Can I use frozen broccoli instead of fresh?
Yes, you can use frozen broccoli, but you must be extra careful with moisture. Thaw the broccoli completely and then place it in a clean kitchen towel. Squeeze it firmly to remove every drop of excess water. Frozen broccoli is much wetter than fresh, and if you don’t dry it, your filling will turn into a watery soup inside the chicken.
What if I don’t have an oven-safe skillet?
No problem at all. Simply sear the chicken in whatever frying pan you have. While the chicken is searing, place a standard baking sheet in the oven to get it hot. Once the chicken is browned on both sides, carefully transfer the breasts onto the hot baking sheet. The pre-heated metal will ensure the bottom stays crispy while the oven roasts the top.
How do I know the chicken is done without a thermometer?
While a thermometer is best, you can use visual cues. The chicken should feel firm to the touch, similar to the bounce of a flexed palm muscle. The juices running out of the meat (not the cheese) should be clear, not pink. Also, the exterior should have a matte look rather than a shiny, raw appearance. However, investing in a cheap digital thermometer is the best way to guarantee juicy results.
Can I substitute the chicken breast with thighs?
Chicken thighs are much harder to stuff because they are smaller and have an irregular shape. If you prefer dark meat, it is better to make a “roll-up” or “roulade.” Pound the thighs flat, spread the filling on top, roll them up tightly, and secure them with twine or toothpicks. The cooking time will be slightly longer, but the meat will be very forgiving and moist.
Why must the chicken rest for 5 minutes before pulling the toothpicks?
Resting is the most important step for the filling. When the chicken is piping hot, the cheese is in a completely liquid state. If you pull the toothpicks or slice the meat immediately, the filling will pour out like lava. During the five-minute rest, the proteins in the cheese begin to “set” and firm up, ensuring the filling stays inside the slice when you finally eat.
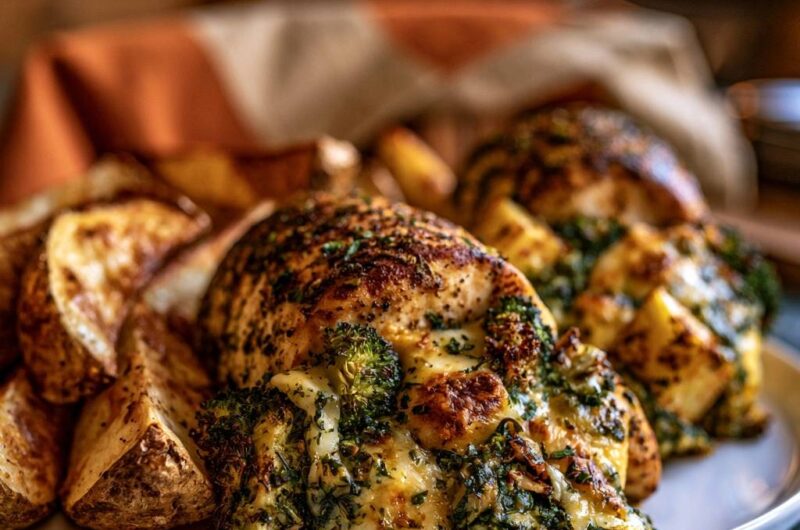
Broccoli and Cheese Stuffed Chicken Breasts
Course: Main CourseCuisine: AmericanDifficulty: easy4
servings20
minutes30
minutes50
Minutes485
kcalAmerican
Ingredients
4 large boneless skinless chicken breasts
2 cups small broccoli florets, blanched and finely chopped
1.5 cups shredded sharp cheddar cheese
4 ounces cream cheese, softened
1/2 cup freshly grated Parmesan cheese
1 teaspoon garlic powder
1 teaspoon smoked paprika
2 tablespoons fresh parsley, finely minced
1 teaspoon dried oregano
Salt and cracked black pepper to taste
3 tablespoons olive oil (divided)
4 large russet potatoes, cut into thick wedges
Directions
- Preheat your oven to 400°F (200°C). In a large bowl, toss the potato wedges with 2 tablespoons of olive oil, salt, pepper, and half of the dried oregano. Spread them in a single layer on a large baking sheet. Roast for 15 minutes while you prepare the chicken.
- In a medium bowl, combine the chopped broccoli, shredded cheddar, softened cream cheese, and Parmesan. The cream cheese and Parmesan act as a structural binder, preventing the cheddar from liquefying and leaking out during cooking.
- Use a sharp knife to cut a deep horizontal pocket into the thickest part of each chicken breast. Do not cut all the way through.
- Season the exterior of the chicken generously with garlic powder, smoked paprika, the remaining oregano, salt, and pepper. Ensure the seasoning is rubbed into the meat for a dark, flavorful crust.
- Stuff each pocket generously with the broccoli and cheese mixture. To ensure the “No-Leak” result, press the edges of the chicken together and secure the opening with 3-4 toothpicks inserted at an angle, “sewing” the meat shut.
- Heat 1 tablespoon of olive oil in a large oven-safe skillet over medium-high heat. Once the pan is shimmering, sear the chicken for 3-4 minutes on one side until a deep golden-brown crust forms. Carefully flip the chicken.
- Transfer the skillet directly into the oven (or move the chicken to the baking sheet with the potatoes). Bake for 12-15 minutes or until the internal temperature of the chicken reaches 165°F.
- Remove from the oven and let the chicken rest for 5 minutes. This is crucial; it allows the cheese filling to set so it doesn’t pour out when sliced. Remove the toothpicks, garnish with fresh minced parsley, and serve with the crispy potato wedges.
Notes
- The secret to preventing cheese leaks is using cream cheese as a binder and securing the chicken with toothpicks. Let the chicken rest for 5 minutes before serving to allow the filling to set.