Mastering Hearty Black Bean and Tomato Chili
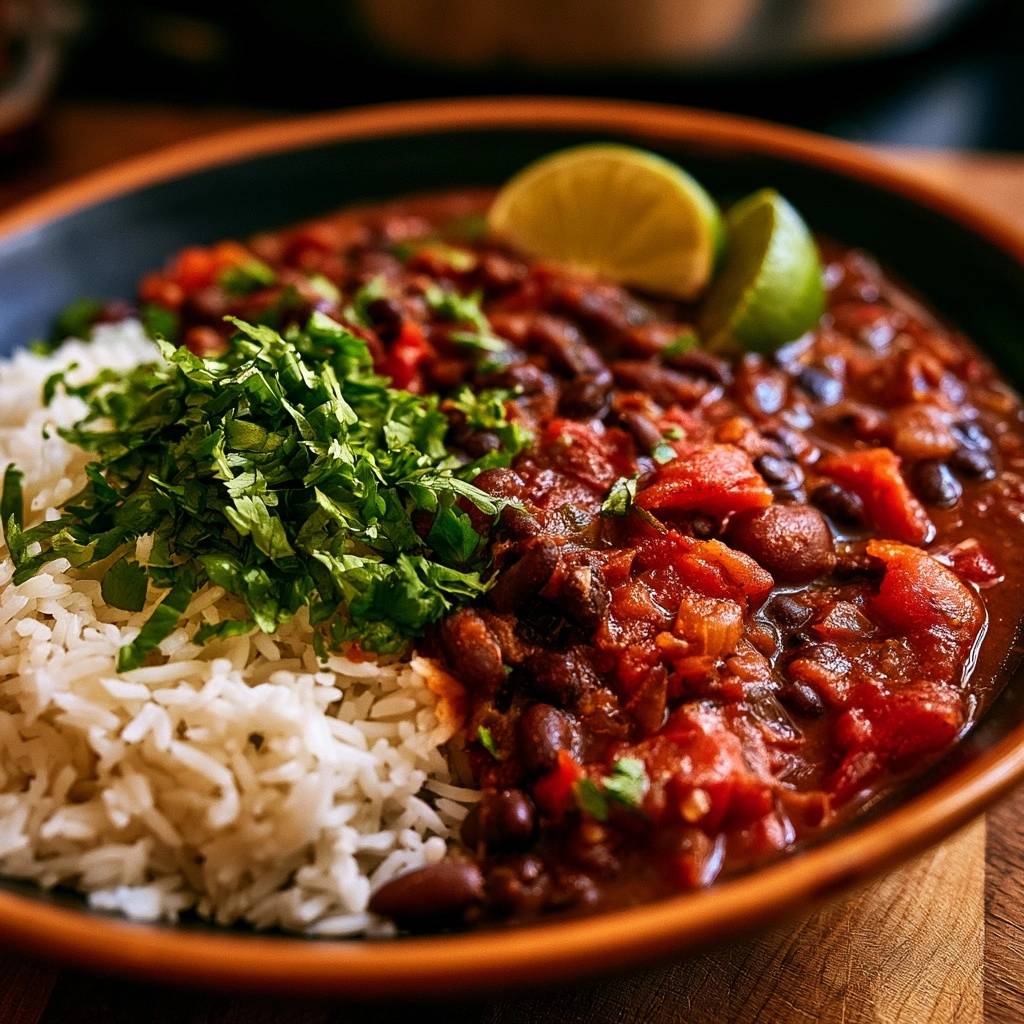
Finding a vegetarian protein that actually feels substantial can be a real challenge. Most of us have tried making a quick bean stew only to end up with a bowl of watery liquid where the beans just sink to the bottom. It’s frustrating when you want a thick, comforting meal but get something that looks more like a sad soup.
This Hearty Black Bean and Tomato Chili changes that narrative entirely. It’s designed to be a superior weeknight staple because it focuses on a velvety texture and a concentrated flavor profile. You won’t find any thin, translucent broth here; instead, you get a rich, clingy sauce that coats every grain of rice.
The secret to this success isn’t a long list of ingredients or hours on the stove. It’s all about how you handle the beans themselves. By using a simple mashing technique, you release the natural starches that act as a built-in thickener, ensuring your chili has that “slow-cooked” body in just thirty minutes.
The Science of Thickening Bean-Based Sauces
Legumes like black beans are packed with natural starches, but those starches are trapped behind a tough outer skin. When you simply boil beans in liquid, the water stays thin because the starch can’t escape. This is why many home-cooked chilis feel disconnected, with the liquid and solids separating on the plate.
To create a cohesive sauce, you need to encourage those starches to emulsify with your vegetable broth and tomato juices. When you heat starch granules in the presence of liquid, they swell and eventually burst. This process, known as gelatinization, is what gives sauces their body and “mouthfeel.”
The “Mashing Method” used in this recipe is a game-changer for quick meals. By crushing about half a cup of the beans against the side of the pot, you release amylose, a type of starch molecule. As you stir these mashed beans back into the simmering liquid, they act as a natural thickener, binding the broth and tomato juices into a glossy, thick sauce.
Essential Components for Deep Chili Flavor
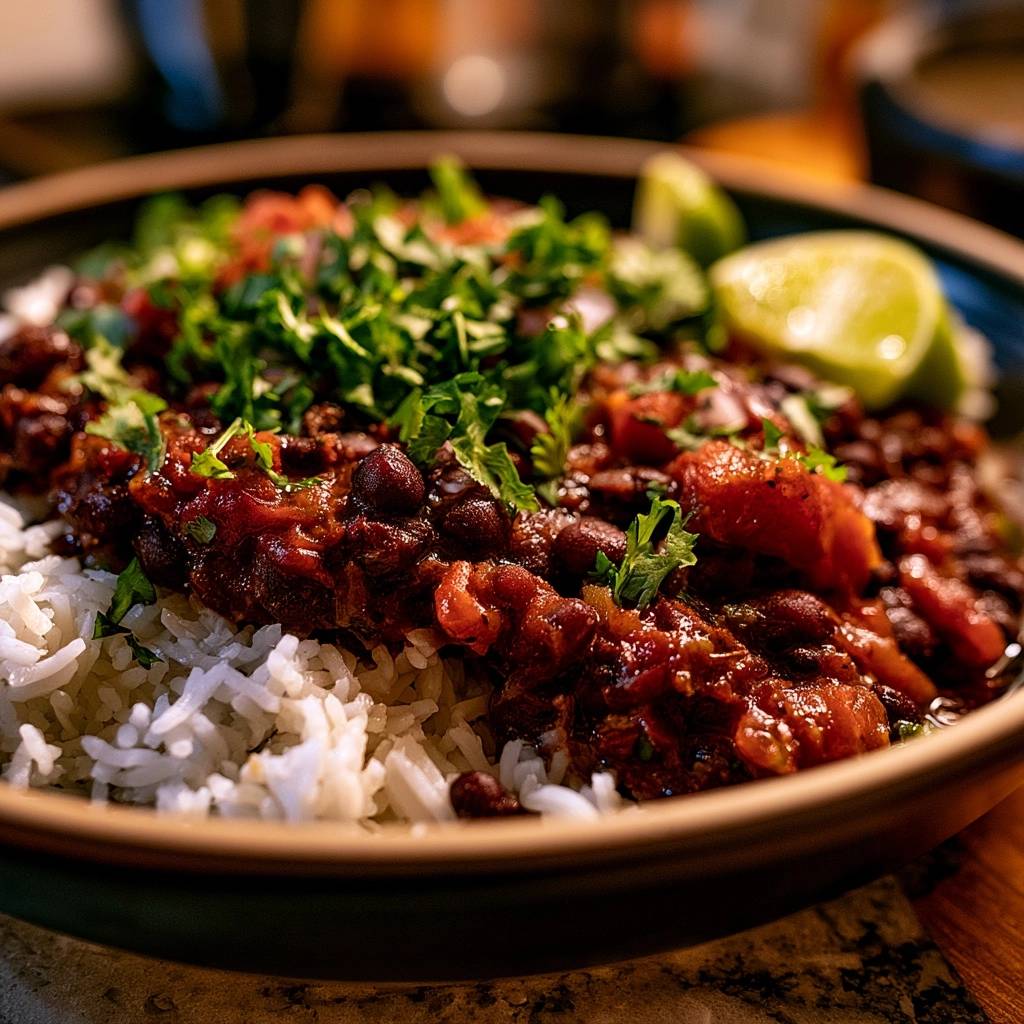
Building a complex flavor in a short amount of time requires choosing ingredients that do the heavy lifting for you. Fire-roasted tomatoes are a non-negotiable in my kitchen for this reason. Unlike standard diced tomatoes, these are charred over an open flame before canning, which adds a smoky, deep undertone that mimics hours of simmering.
Tomato paste is another foundational umami builder that shouldn’t be overlooked. It’s essentially tomatoes that have been cooked down until they are incredibly concentrated. When you sauté the paste with your aromatics, it adds a savory “meatiness” and a rich color that makes the chili look and taste much more expensive than it actually is.
Selecting the Right Black Beans
For a thirty-minute weeknight meal, canned black beans are your best friend. They are already tender, meaning you only need to focus on the sauce. However, you must rinse and drain them thoroughly before they hit the pot.
Rinsing is essential because the liquid in the can is often loaded with excess sodium and can have a metallic “tin” taste. By starting with clean beans, you have total control over the salt levels and the purity of the final flavor profile.
The Aromatic Base: Peppers and Onions
The foundation of any good chili starts with the aromatics. I recommend a fine dice for the yellow onion so it melts into the sauce, while the red bell pepper should be kept in half-inch pieces. This size difference ensures you get a bit of texture in every bite.
The natural sweetness of the red pepper is a crucial balancing element. It cuts through the earthy, heavy notes of the cumin and the dark black beans, providing a bright pop of flavor that keeps the dish from feeling too “muddy” or one-note.
Building Layers: The Sauté and Bloom Phase
The most critical technical step in this entire recipe happens before you ever add the liquid. Once your vegetables are soft, you’ll add the tomato paste and dry spices. This is called “blooming,” and it’s the difference between a flat dish and a vibrant one.
Spices like chili powder, cumin, and smoked paprika contain fat-soluble flavor compounds. By tossing them in the hot olive oil for a couple of minutes, you wake up those flavors and toast the raw edges off the spices. You’ll know it’s working when the oil turns a deep, rusty red and the aroma fills your entire kitchen.
Watch the pot closely during this phase. You want the tomato paste to darken slightly and the spices to become pungent, but you don’t want them to burn. If the mixture looks too dry or starts to stick aggressively, add a tiny splash of broth to keep things moving while the flavors concentrate.
Step-by-Step: Constructing the Hearty Black Bean and Tomato Chili
Start by heating your olive oil until it shimmers. When you drop the onions and peppers in, they should sizzle immediately. Sauté them until the onions are translucent and the peppers have lost their raw crunch, which usually takes about five or six minutes.
Next, clear a small space in the center of the pan to drop in your tomato paste and garlic. Stir them into the vegetables along with your spices. This two-minute window of caramelization is where the “soul” of the chili is born, creating a dark, savory base for the beans.
Integrating Liquids and Fire-Roasted Tomatoes
When you pour in the vegetable broth and the fire-roasted tomatoes, you’ll notice the pan hiss. Use your wooden spoon to scrape up any brown bits stuck to the bottom. This is called deglazing, and those bits are packed with concentrated flavor that you want back in your sauce.
Make sure you include all the juices from the tomato can. That liquid is highly acidic, which is vital for balancing the richness of the beans. Without that acidity, the chili can end up tasting a bit heavy or dull on the tongue.
The Mashing Technique for Maximum Viscosity
Once the mixture reaches a simmer, it’s time for the magic trick. Take a potato masher or a large spoon and crush a portion of the beans directly against the bottom of the pot. You don’t need to be precise; just a few good mashes will do the job.
As you stir, you’ll see the liquid transform from a thin “soup” into a proper chili. Let it simmer uncovered for about 15 to 20 minutes. You’re looking for the “back of the spoon” test: if you dip a spoon in and the sauce coats it without immediately running off, you’ve reached the perfect viscosity.
Flavor Variations and Ingredient Swaps
This recipe is a fantastic canvas for whatever you have in the pantry. If you want more heat, try adding a chopped chipotle in adobo sauce during the sauté phase. For a more southwestern vibe, a cup of frozen corn added in the last five minutes provides a nice crunch and sweetness.
If you don’t have red bell peppers, a poblano pepper is an excellent substitute. It offers a slightly earthier, more complex flavor without being overly spicy. You can even toss in some diced sweet potato, though you’ll need to simmer it a bit longer to ensure the potato is tender.
What to Serve With Black Bean Chili
Texture contrast is the key to a great meal. I love serving this chili with fluffy white Basmati rice. Because Basmati is long-grain and non-sticky, the individual grains stay separate, allowing the thick bean sauce to fill the gaps without turning the whole bowl into mush.
To balance the deep, smoky heat, consider a cooling element. A dollop of plain yogurt or a scoop of avocado works wonders. For a drink, a sparkling water with a heavy squeeze of lime provides a crisp, refreshing contrast to the earthy beans.
Make Ahead and Storage Strategies
Like most stews, this chili actually tastes better the next day. As it sits in the fridge, the spices continue to meld and the beans absorb more of the savory sauce. If you’re meal prepping, let the chili cool completely at room temperature for about 30 minutes before sealing it up.
When you go to reheat it, you might notice the sauce has thickened even further. Don’t worry! Just add a small splash of broth or water when you put it back on the stove. As it heats up, the sauce will loosen back into that perfect, velvety consistency.
Freezing and Thawing for Meal Prep
This dish freezes beautifully because black beans hold their shape well. Store it in airtight containers or heavy-duty freezer bags for up to three months. Just be sure to leave a little bit of “headspace” at the top of the container, as the liquid will expand slightly when it freezes.
The best way to defrost is to leave it in the fridge overnight. If you’re in a rush, you can thaw it in a bowl of warm water. Avoid microwaving it from a completely frozen solid state, as this can make the beans on the edges turn mushy while the center stays icy.
Troubleshooting Common Chili Issues
If you find your chili is too salty, don’t panic. A big squeeze of fresh lime juice or adding an extra half-can of unsalted diced tomatoes can help dilute the saltiness. Acidity is often the best “eraser” for over-seasoning.
If the sauce is still too thin after 20 minutes, simply keep simmering it uncovered. The extra evaporation will naturally concentrate the liquids. On the flip side, if the spices feel “flat,” it might be that your chili powder is old. A tiny pinch of extra salt or a dash of smoked paprika at the end can usually wake those flavors back up.
Expert Tips for the Perfect Finish
The “Fresh Finish” is what separates a good home cook from a great one. Cilantro and lime juice contain volatile oils that break down quickly under heat. If you stir them in at the beginning, their bright, citrusy notes will vanish by the time you eat.
Always wait until the very last second to add your fresh herbs and lime. Squeezing that lime wedge over the bowl right before you take your first bite provides a sharp, acidic “high note” that cuts through the deep, earthy flavors of the beans and spices.
How long can I store this chili in the refrigerator?
You can safely store this black bean chili in an airtight container for up to 5 days. In fact, the flavor often improves after 24 hours as the spices have more time to penetrate the beans. When reheating, you may need to add a tablespoon of water to restore the original consistency.
Why is my chili still watery after simmering?
If your chili hasn’t thickened, it’s likely because not enough starches were released. Use a potato masher to crush a few more beans against the side of the pot and ensure you are simmering without a lid. Simmering uncovered allows steam to escape, which is essential for reducing the liquid into a thick sauce.
Can I use dried beans instead of canned?
Yes, you can use dried beans, but you must soak and cook them until tender before starting this recipe. One 15-ounce can is roughly equivalent to 1.5 cups of cooked beans. If using dried beans, you may need to add a bit more salt, as canned beans usually come pre-seasoned.
What can I use if I don’t have fire-roasted tomatoes?
Standard diced tomatoes will work just fine as a substitute. To mimic the smoky flavor of fire-roasted versions, you can add an extra 1/4 teaspoon of smoked paprika or a tiny drop of liquid smoke. Make sure to keep the juices from the can regardless of which variety you use.
Is this recipe spicy?
This chili has a mild to medium heat level depending on the brand of chili powder you use. The smoked paprika and cumin provide more “warmth” than “burn.” If you prefer a very mild version, cut the chili powder in half; if you want it hot, add a pinch of cayenne pepper or some diced jalapeños with the onions.
Can I freeze this chili for later?
Absolutely. This recipe is perfect for freezing because black beans maintain their texture well. Store it in a freezer-safe bag or container for up to 3 months. Thaw it in the refrigerator overnight before reheating on the stove for the best results.
Hearty Black Bean and Tomato Chili
Course: Main CourseCuisine: AmericanDifficulty: easy4
servings10
minutes30
minutes40
Minutes345
kcalAmerican
Ingredients
2 cans (15 oz each) black beans, rinsed and drained
1 can (14.5 oz) fire-roasted diced tomatoes (do not drain)
1 tablespoon tomato paste
1 medium yellow onion, finely diced
1 red bell pepper, chopped into 1/2-inch pieces
3 cloves garlic, minced
1 tablespoon chili powder
1 teaspoon ground cumin
1/2 teaspoon smoked paprika
1/2 cup vegetable broth (low sodium)
2 cups cooked white basmati rice
1/2 cup fresh cilantro, roughly chopped
1 lime, cut into wedges
2 tablespoons olive oil
Salt and pepper to taste
Directions
- Heat olive oil in a large pot or deep skillet over medium heat. Add the onion and bell pepper, sautéing for 5 to 6 minutes until the onions are translucent and the peppers have softened.
- Stir in the tomato paste, garlic, chili powder, cumin, and smoked paprika. Cook for 2 minutes, stirring constantly. This “blooms” the spices and caramelizes the tomato paste for a deep, dark red color and concentrated flavor.
- Add the fire-roasted diced tomatoes (with their juices) and the vegetable broth. Add the drained black beans and stir to combine. Bring the mixture to a simmer.
- To solve the watery sauce problem, take a potato masher or the back of a large wooden spoon and crush about 1/2 cup of the beans directly against the side or bottom of the pot. Stir these mashed beans back into the liquid. The released starches will act as a natural thickener, transforming the broth into a thick, glossy sauce.
- Simmer uncovered for 15 to 20 minutes. Stir occasionally to prevent sticking. The sauce is ready when it is thick enough to coat the back of a spoon and does not “bleed” liquid when placed on a plate.
- Taste and season with salt and pepper.
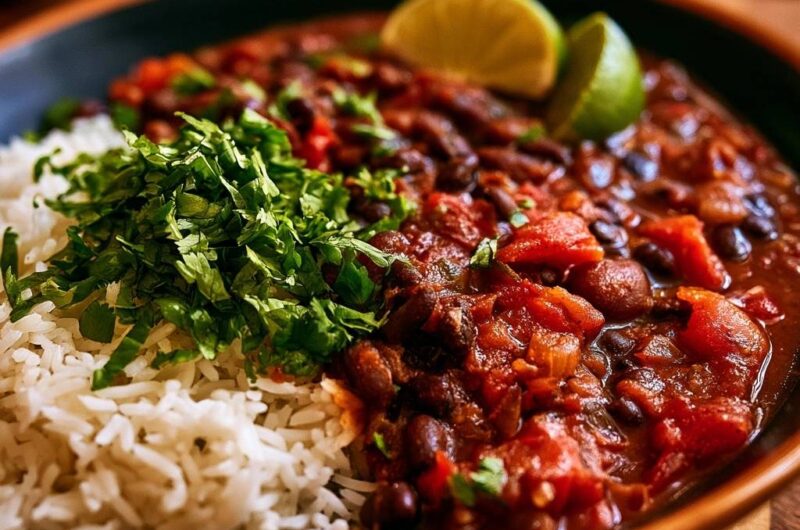
- To serve, fill half of a shallow bowl with fluffy white basmati rice and the other half with the chili. Top the center with a generous heap of fresh chopped cilantro and garnish with lime wedges. Squeeze the lime over the beans just before eating to brighten the deep, earthy flavors.
Notes
- To ensure the sauce is not watery, mash approximately 1/2 cup of the beans against the side of the pot during simmering. Bloom the spices with the tomato paste to achieve a deeper flavor profile.