Mastering Soft Chocolate Topped Peanut Butter Crispy Bars
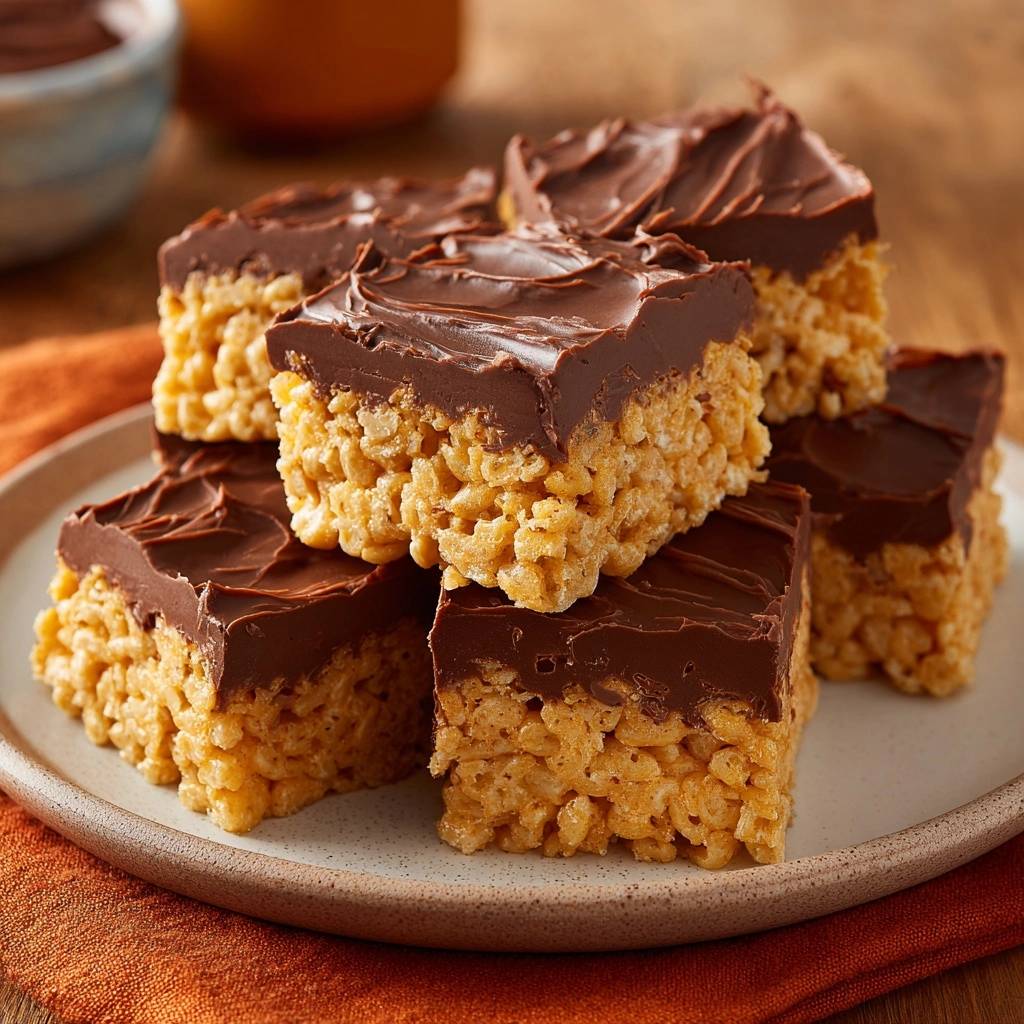
Imagine biting into a treat that offers a satisfying crunch followed immediately by a velvety, fudge-like melt. Most people have experienced the disappointment of a homemade cereal bar that is so hard it practically requires a hammer to break. These Chocolate Topped Peanut Butter Crispy Bars solve that problem entirely by focusing on a delicate balance of moisture and temperature.
The secret to this recipe lies in the “Soft-Set Method,” which prioritizes a chewy, pliable base over a brittle one. By carefully managing how the sugars interact with the peanut butter, you create a snack that stays fresh and soft for days. It is the ultimate upgrade to a childhood classic, offering a sophisticated texture that feels more like a gourmet confection than a lunchbox staple.
Expertise in the kitchen often comes down to knowing when to stop, and that is certainly the case here. The most important tip I can give you is to watch your sugar mixture like a hawk. If you let it reach a rolling boil, you are essentially making hard candy, which is why so many recipes fail. We want to dissolve the crystals, not transform them into a tooth-breaking cement.
The Chemistry of Soft Peanut Butter Crispy Bars
Creating a bar that stays soft requires a basic understanding of sugar science. When you heat granulated sugar and corn syrup, you are creating a binder. However, if that mixture gets too hot, the water evaporates and the sugar molecules bond tightly together, leading to a “hard crack” stage that ruins the chewiness.
In this recipe, we use light corn syrup as an “invert sugar.” This is a fancy way of saying it prevents the granulated sugar from recrystallizing and getting grainy. Therefore, the corn syrup acts as a stabilizer, ensuring that every bite is smooth and consistent rather than sandy or brittle.
Why Temperature Control Trumps Cooking Time
You might be tempted to walk away from the stove, but stay put. The “barely simmer” rule is the golden law of this kitchen. Once the sugar dissolves into the syrup, the residual heat is more than enough to melt the peanut butter and bind the cereal together without dehydrating the mixture.
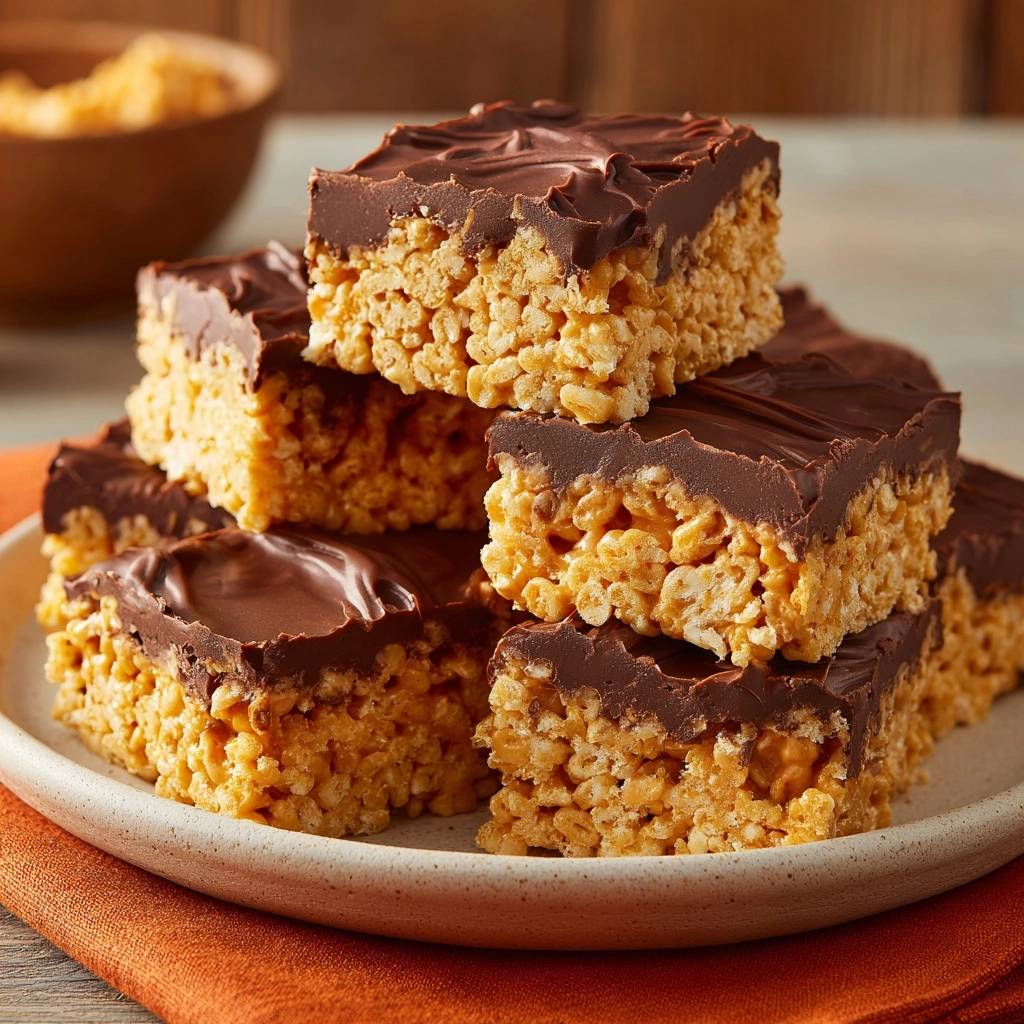
If you cook the syrup for even sixty seconds too long, you lose the fudge-like consistency. Therefore, as soon as you see those first tiny bubbles dancing around the edges of the pan, pull it off the burner. This preserves the moisture and keeps the bars flexible enough to bend slightly before they break.
Essential Components for the Perfect Batch
Quality ingredients lead to quality results, especially when the list is this short. For the best structural integrity, I recommend using a standard “no-stir” creamy peanut butter. While natural varieties are delicious on toast, the oil separation can cause these bars to fall apart or become greasy.
The salt is technically optional, but I highly suggest including it. It cuts through the richness of the corn syrup and highlights the roasted notes of the peanuts. In addition, using a high-quality vanilla extract adds a layer of aromatic depth that makes these taste like they came from a high-end bakery.
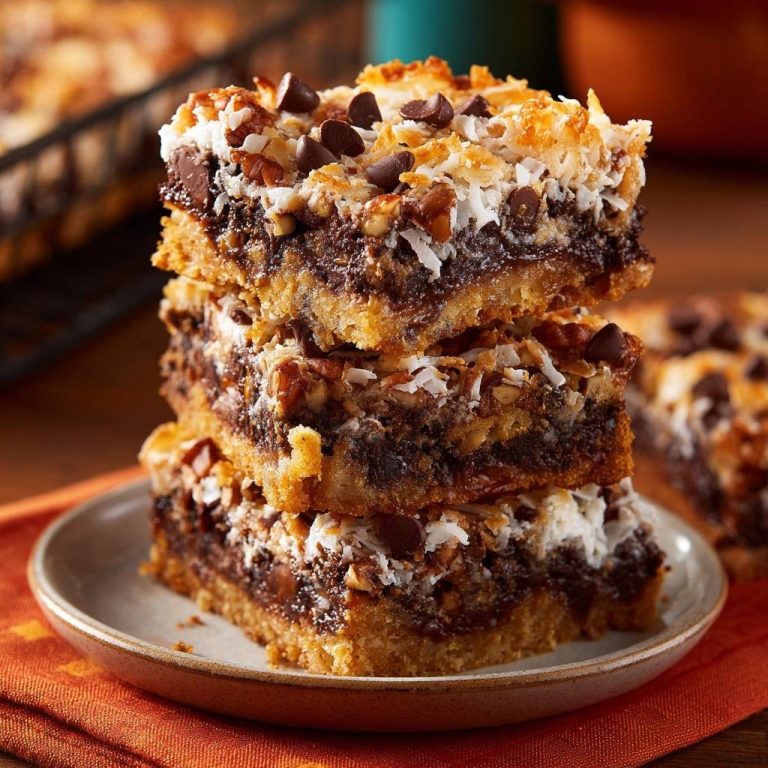
For a perfect pairing, try our Chocolate Coconut Pecan Caramel Bars Recipe.
Selecting Your Crispy Rice Cereal
Not all crispy rice cereals are created equal. Name-brand options often have more structural air pockets, which help them stay crunchy even when coated in heavy peanut butter. Generic brands can sometimes be denser, which might lead to a slightly heavier bar.
Always check the freshness of your cereal before you start. If the cereal is even slightly stale, that flavor will be magnified once it is trapped under a layer of chocolate. You want that loud, distinct “snap” when you fold the mixture together.
The Dual-Chocolate Topping Strategy
We use a blend of semi-sweet and milk chocolate chips for a very specific reason. Semi-sweet provides the deep cocoa flavor, while milk chocolate adds extra creaminess and sugar. This combination creates a balanced profile that isn’t overly bitter or cloyingly sweet.
Furthermore, adding a small amount of butter to the melting chocolate is a game-changer. It creates a “ganache-lite” texture. This ensures the topping stays slightly soft, so when you bite into the bar, the chocolate yields gracefully instead of shattering into a mess of shards.
Step-by-Step: Crafting Chocolate Topped Peanut Butter Crispy Bars
Making these bars is a fast-paced process, so have all your tools ready. You’ll want your pan greased and your cereal measured out before you even turn on the stove. This prevents the sugar mixture from cooling too much before you can incorporate the dry ingredients.
Phase 1: Preparing the Sugar Binder
Start by combining the corn syrup and sugar in a heavy-bottomed saucepan. As you stir over medium heat, you will notice the mixture go from cloudy to crystal clear. This is the sugar dissolving into the syrup, which is exactly what we want.
Watch for the very first signs of movement in the liquid. You aren’t looking for big, rolling bubbles. Instead, look for tiny, pin-sized bubbles at the perimeter. The moment you see them, kill the heat and move the pan to a cool surface.
Phase 2: Incorporating the Peanut Butter and Aromatics
Now, stir in your creamy peanut butter, vanilla, and salt. The residual heat will melt the peanut butter instantly, creating a glossy, tan-colored sauce. It should look smooth and smell incredibly fragrant as the vanilla hits the warm liquid.
Adding the vanilla at this stage is vital. If you add it while the syrup is still on the heat, the flavor can actually evaporate. By waiting until the pan is off the stove, you lock in those floral, sweet notes that balance the salty peanut butter.
Phase 3: The Gentle Fold Technique
Pour the peanut butter mixture over your cereal and use a large spatula to fold it in. You want to be gentle here. If you stir too aggressively, you’ll crush the delicate rice puffs, resulting in a dense, heavy brick rather than a light, crispy treat.
When you transfer the mixture to the pan, do not press down with all your might. Use a piece of wax paper to lightly pat the top until it is level. If you pack them in too tightly, you squeeze out all the air, which is the main culprit behind “rock hard” bars.
Achieving the Signature Matte Chocolate Finish
The topping should be as beautiful as it is delicious. When melting your chocolate and butter in the microwave, use 30-second intervals. Stirring between each burst is essential because chocolate can hold its shape even when it is actually melted and ready to burn.
Once the chocolate is silky, pour it over the center of the bars and spread it toward the edges. For a professional look, use the back of a spoon to create decorative swirls. This gives the bars a rustic, handmade charm that looks great on a serving platter.
The Role of Butter in the Topping
The two tablespoons of butter do more than just add flavor. They lower the melting point of the chocolate chips. This means the topping will set firmly enough to handle, but it won’t become so hard that it cracks when you try to slice it.
This small addition also gives the chocolate a beautiful matte finish. It prevents that chalky look that sometimes happens with plain melted chips. It stays looking fresh and appetizing even after sitting out for a few hours at a party.
Troubleshooting Common Texture Issues
If your bars turned out too hard, you likely let the sugar boil for too long. Even thirty extra seconds of bubbling can change the sugar structure significantly. Next time, pull the pan off the heat the very second the sugar is dissolved.
On the other hand, if the bars are too soft and falling apart, you might have under-measured the cereal. Ensure you are using a full six cups. Also, make sure you give them enough time to set at room temperature; rushing the process can lead to a gooey mess.
Avoiding the “Shatter” Effect When Slicing
To get those perfect, clean edges you see in bakeries, use a warm knife. Run your blade under hot water, wipe it completely dry, and then make your cut. The heat from the metal will glide through the chocolate layer without cracking it.
Wipe the knife clean after every single cut. It takes an extra minute, but it prevents peanut butter crumbs from getting smeared all over the dark chocolate top. Your bars will look much more professional and enticing this way.
Flavor Variations and Ingredient Swaps
Once you master the base recipe, you can start getting creative. A popular variation is to sprinkle a pinch of flaky sea salt over the chocolate before it sets. This adds a sophisticated “salted caramel” vibe that adults absolutely love.
You can also swap out one cup of the rice cereal for crushed pretzels or toasted oats. This changes the crunch profile and adds a bit more saltiness. Just keep the total volume of dry ingredients at six cups to maintain the correct binder ratio.
Dairy-Free and Alternative Nut Butter Adjustments
If you need to avoid dairy, you can use a plant-based butter stick for the chocolate topping. It works almost exactly the same way to keep the chocolate soft. For the chocolate itself, many dark chocolate chips are naturally dairy-free, so just check the label.
For those with nut allergies, sunflower seed butter is a fantastic 1:1 replacement for peanut butter. It has a similar fat content and earthy flavor. Almond butter also works well, though it results in a slightly milder taste that lets the chocolate shine even more.
Storage Logistics: Keeping Bars Fresh for Days
Whatever you do, stay away from the refrigerator! Cold air is the enemy of these bars. It draws moisture out of the sugar and makes the cereal go stale and tough. It also makes the chocolate topping unpleasantly hard to bite through.
Store your bars in an airtight container at room temperature. They will stay perfectly soft and chewy for up to four or five days. If you need to stack them, place a sheet of parchment paper between the layers so the chocolate doesn’t stick to the bottoms of the bars above.
Expert Tips for Large Batch Production
If you are doubling this recipe for a bake sale or a big party, use a very large, heavy-bottomed pot. A thin pot will have “hot spots” that might burn the sugar before the rest of it has even melted. Even heat distribution is your best friend when working with larger volumes.
When doubling, the sugar mixture might take a few extra minutes to reach that simmering point. Don’t be tempted to turn the heat to high to speed it up. Keep it at medium so you have total control over the temperature and can stop it at the perfect moment.
Frequently Asked Questions
Can I use honey instead of corn syrup?
You can, but the texture will change significantly. Honey is much more acidic and has a different sugar structure than corn syrup. This usually results in a bar that is much stickier and softer, meaning they might not hold their shape as well at room temperature. If you use honey, you may need to store them in a slightly cooler spot to keep them from becoming too gooey.
Why did my chocolate turn white or streaky?
This is called “chocolate bloom.” It usually happens if the chocolate gets too hot during the melting process or if it experiences a rapid temperature change. It can also happen if a drop of water or steam gets into the bowl while melting. While it looks a bit unappealing, it is perfectly safe to eat and won’t affect the flavor of your bars.
How do I get the bars out of the pan easily?
The best method is to create a “parchment sling.” Cut a piece of parchment paper so it is the width of your pan but long enough to hang over two of the sides. Grease the pan first so the paper sticks to it, then fill it with the mixture. Once the bars are set, you can simply grab the overhanging paper and lift the entire block out onto a cutting board.
Is it possible to make these without a microwave?
Absolutely. You can use a double-boiler or a “bain-marie” on the stove. Place a heat-proof glass bowl over a pot of gently simmering water, making sure the bottom of the bowl doesn’t touch the water. Add your chocolate and butter to the bowl and stir until melted. This is actually a very safe way to melt chocolate because it provides very gentle, even heat.
Can I add mix-ins like marshmallows or nuts?
Yes, you can add about half a cup of mix-ins without ruining the recipe. Add them during the folding phase when you are incorporating the cereal. If you add marshmallows, make sure the peanut butter mixture has cooled slightly so they don’t melt completely. Chopped peanuts or pecans add a great extra crunch and boost the nutty flavor profile.
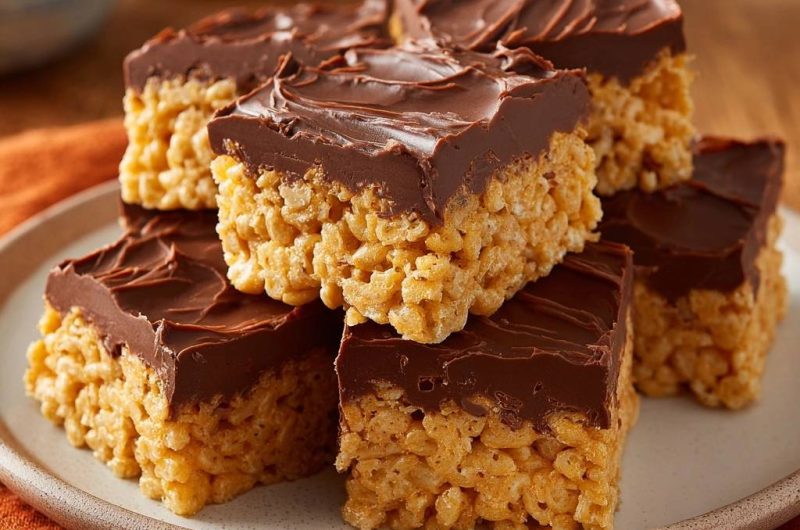
Peanut Butter Crispy Bars
Course: DessertCuisine: AmericanDifficulty: easy16
bars15
minutes5
minutes310
kcal20
MinutesA delicious twist on a classic treat, these bars use a specific temperature control method to ensure they stay soft and chewy for days. Topped with a blend of semi-sweet and milk chocolate for a perfect finish.
Ingredients
6 cups crispy rice cereal
1 cup creamy peanut butter
1 cup light corn syrup
1/2 cup granulated sugar
1 teaspoon vanilla extract
1/4 teaspoon salt (optional, to balance sweetness)
1 1/2 cups semi-sweet chocolate chips
1/2 cup milk chocolate chips
2 tablespoons butter (for the topping)
Directions
- Grease a 9×9 inch baking pan or line it with parchment paper, leaving an overhang on the sides for easy removal.
- In a large heavy saucepan, combine the light corn syrup and granulated sugar. Place over medium heat and stir constantly.
- Watch the mixture closely. As soon as the sugar is fully dissolved and the liquid begins to just barely simmer around the edges, remove it from the heat immediately. Do not let it reach a full boil. Boiling the sugar creates a hard candy bond that causes the bars to become rock hard.
- Stir in the creamy peanut butter, vanilla extract, and salt until the mixture is completely smooth and combined.
- Gently fold in the crispy rice cereal until every piece is evenly coated with the peanut butter mixture.
- Transfer the mixture to your prepared pan. Use a piece of wax paper or a greased spatula to lightly press the mixture into the corners. Do not pack it down firmly. Pressing too hard crushes the cereal and creates a dense, hard bar.
- In a microwave-safe bowl, combine the semi-sweet chips, milk chocolate chips, and 2 tablespoons of butter. Heat in 30-second intervals, stirring well in between, until the chocolate is silky and fully melted.
- Spread the melted chocolate evenly over the top of the bars. Use the back of a spoon to create the textured swirls seen in the image.
- Let the bars sit at room temperature for at least 2-3 hours to set. Avoid refrigerating them, as the cold air draws out moisture and hardens the sugars. Once the chocolate is firm, lift the bars out using the parchment paper and slice into squares.
Notes
- Do not boil the sugar mixture and avoid refrigerating the finished bars to maintain a soft, fudge-like texture. Use the residual heat method for the best results.