Mastering the Cheesy Ground Beef and Rice Skillet
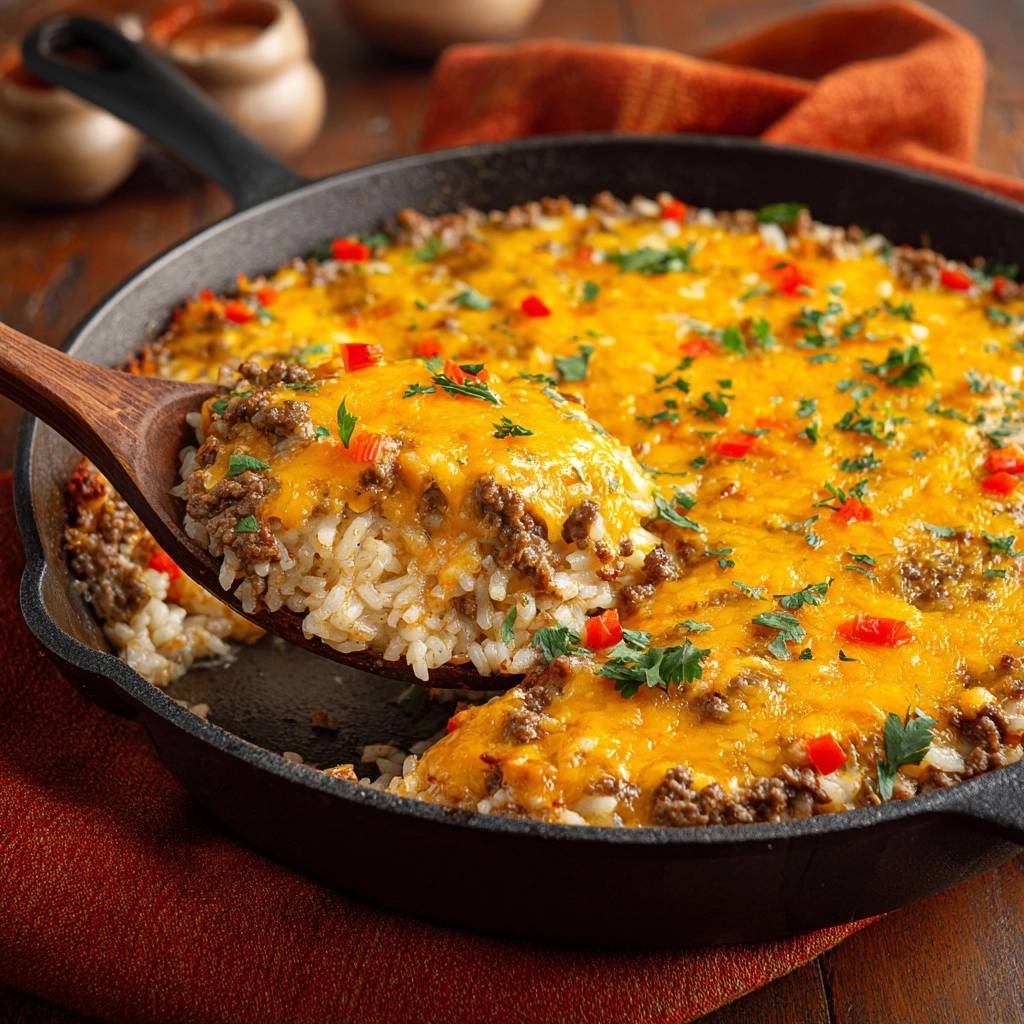
Most one-pan meals promise convenience but deliver a soggy, gummy mess where the rice and meat blend into an unrecognizable mush. It’s frustrating to put in the effort only to end up with a texture that feels more like porridge than a gourmet dinner. This Cheesy Ground Beef and Rice Skillet changes that narrative by focusing on a specific searing technique that keeps every grain of rice distinct and fluffy.
The secret lies in treating your rice like a star ingredient rather than an afterthought. By toasting the dry grains in the natural fats of the beef, you create a savory seal that protects the rice from over-hydrating. The result is a robust, 35-minute meal that balances juicy protein, perfectly tender starch, and a thick, molten layer of cheddar that pulls everything together.
I’ve found that the absolute key to success here is resisting the urge to wash your rice. While rinsing is usually a golden rule in the kitchen, skipping it allows the beef drippings to fully coat the surface starch. This creates a beautiful, nutty crust on each grain that prevents them from sticking together once the broth is added.
The Science of Non-Mushy Skillet Rice
Understanding why rice turns mushy is the first step toward skillet mastery. Long-grain white rice is high in amylose, a type of starch that helps grains stay separate and firm. However, when rice is boiled in liquid without preparation, the surface starches gelatinize quickly, creating that dreaded sticky texture that ruins a good beef skillet.
In this recipe, we use a dry-heat method known as “toasting” before any liquid enters the pan. When you toss the dry grains into the hot beef fat, the heat begins to break down the surface starches and creates a protective barrier. This process, often used in making pilaf or risotto, ensures the rice absorbs the beef broth slowly from the inside out rather than dissolving on the outside.
Furthermore, by not washing the rice, we keep the exterior starch intact so it can fry in the fat. This creates a structural integrity that can withstand the weight of the ground beef and the heavy blanket of cheese. It’s the difference between a dish that feels like a cohesive meal and one that feels like a bowl of wet leftovers.
Essential Components for the Beef and Rice Base
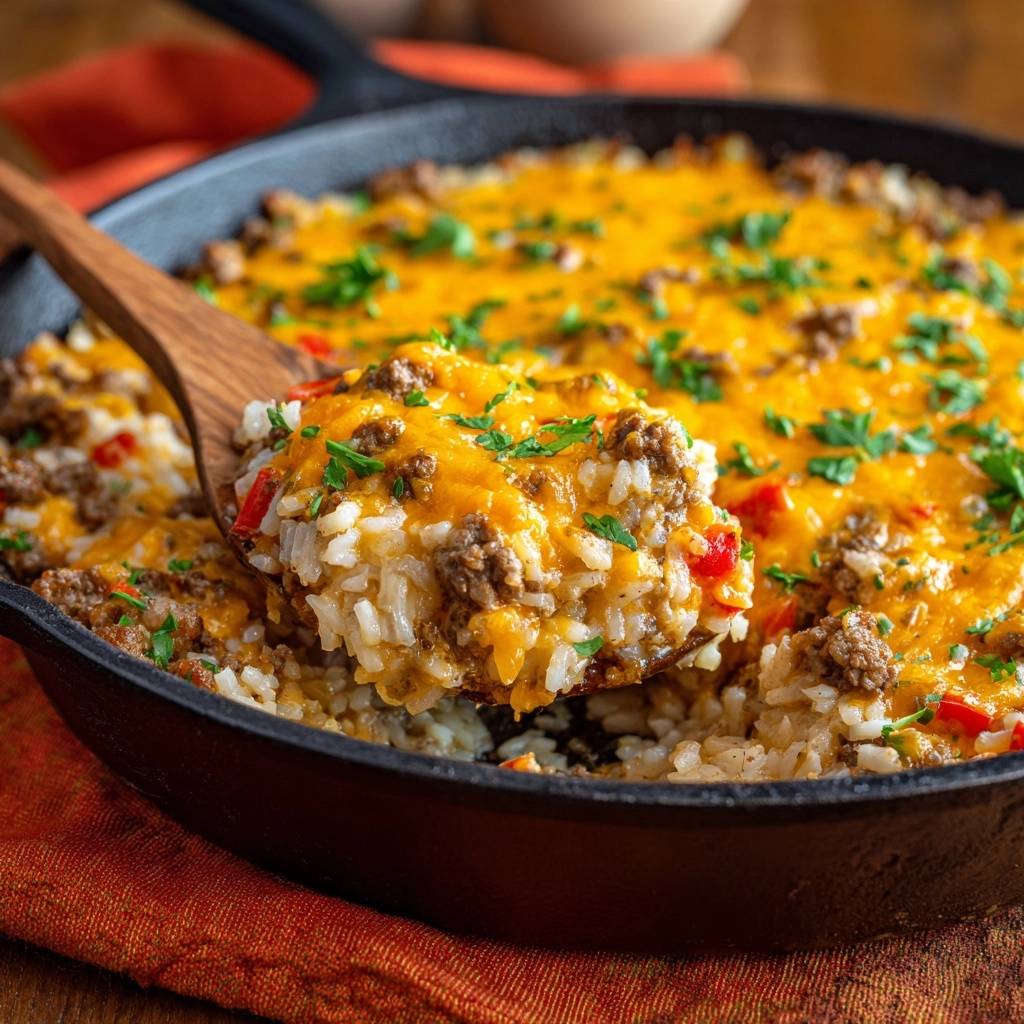
Quality ingredients are the backbone of this skillet, and it starts with your choice of beef. I highly recommend using 80/20 or 85/15 ground beef. While lean beef might seem healthier, you need that rendered fat to properly toast the rice and carry the flavors of the garlic and paprika throughout the entire dish.
The type of rice is equally non-negotiable. Long-grain white rice is the gold standard here because it has the right starch profile to stay fluffy. If you try to swap in short-grain or jasmine rice, you’ll likely end up with a much softer, stickier result because those varieties release more starch during the simmering process.
When it comes to the liquid, a high-quality beef broth provides the deep, savory base that water simply can’t match. If you’re sensitive to salt, use a low-sodium version so you can control the seasoning yourself. Finally, please grab a block of sharp cheddar and grate it yourself. Pre-shredded cheeses are coated in potato starch or cellulose to prevent clumping, which stops them from melting into that smooth, gooey blanket we want.
Vegetable Aromatics and Flavor Enhancers
Onions and red bell peppers aren’t just there for color; they provide the aromatic foundation of the dish. As the onions cook in the beef fat, they release natural sugars that caramelize slightly, helping to deglaze the pan when the broth hits the surface. This lifts all those flavorful browned bits—the fond—off the bottom of the skillet.
The paprika adds a subtle, earthy warmth and a gorgeous reddish hue to the rice. It bridges the gap between the richness of the beef and the sharpness of the cheddar. Using fresh garlic at the very end of the sauté ensures it perfumes the oil without burning, which would otherwise leave a bitter aftertaste in the finished meal.
Phase One: Searing Beef and Toasting Grains
Start by getting your skillet nice and hot over medium-high heat. When you add the beef, let it sit for a minute before breaking it up to get a good sear. You want deep brown crumbles, not grey, steamed meat. Once the beef is browned, do not reach for a strainer! That liquid gold in the pan is exactly what we need for the next step.
Pour the dry rice directly into the pan with the beef and fat. Stir it constantly for about three to four minutes. You’ll notice the rice changing from translucent to a solid, opaque white, and eventually to a light golden brown. You should smell a distinct nutty aroma, almost like popcorn. This is the sign that the starches are toasted and ready for the broth.
Once the rice is toasted, toss in your onions and peppers. They only need a couple of minutes to soften because they will continue to cook during the simmer. Add your garlic and spices last, stirring for just 30 seconds. This brief window is enough to wake up the oils in the paprika and garlic without scorching them.
Phase Two: The Precision Simmer Technique
After you pour in the beef broth, use your spoon to scrape the bottom of the pan vigorously. This ensures all the flavor is incorporated into the liquid. Once the mixture reaches a rolling boil, turn the heat down to the lowest setting and put the lid on. This is the most important part: do not lift that lid for any reason.
Inside the skillet, a delicate balance of steam and pressure is cooking the rice. Every time you lift the lid, steam escapes, the temperature drops, and the rice will likely end up unevenly cooked or crunchy. Let the physics of the tight-fitting lid do the work for the full 15 to 18 minutes.
When the timer goes off, move the skillet away from the heat source but keep the lid on for another five minutes. This “carryover” steaming period allows the moisture to redistribute evenly through the grains. It’s the secret step that ensures the rice at the very top of the pile is just as tender as the rice at the bottom.
Phase Three: Achieving the Perfect Cheese Blanket
Now comes the most satisfying part. Remove the lid and use a fork to gently fluff the rice. You aren’t stirring vigorously; you’re just lifting and separating the grains to let a little air in. This also helps distribute the beef and vegetables evenly so every bite is balanced.
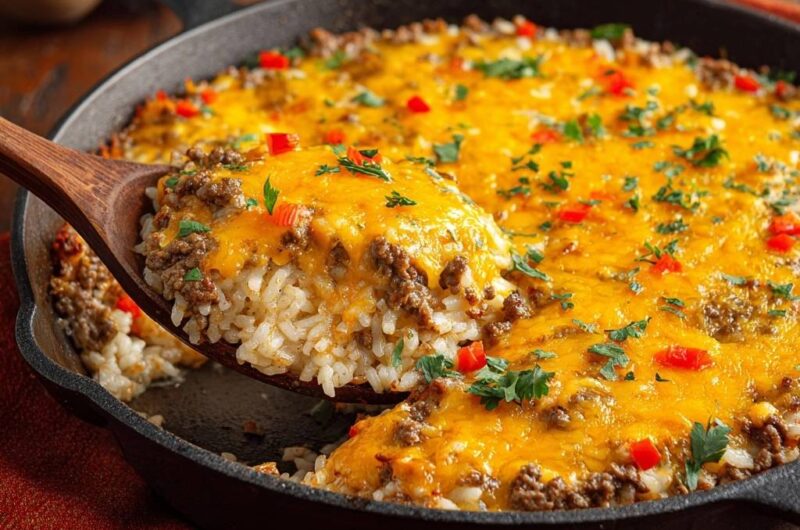
Level the surface of the rice with the back of your spoon and then go heavy with the shredded cheddar. Cover the pan again for two minutes. The residual heat from the rice will melt the cheese into a solid, shimmering blanket. If you want those crispy, brown cheese spots, you can pop the whole skillet under the broiler for a minute.
Just be careful if you use the broiler! If you’re using a cast iron skillet, that handle will be incredibly hot. Always use a thick oven mitt. Garnish with your reserved fresh peppers and parsley right before serving to add a pop of brightness and crunch against the rich, cheesy base.
If you like using cast iron under the broiler, be sure to grab a thick towel before handling this cheesy beef corn rice skillet.
Troubleshooting Common Skillet Meal Errors
If you find that your rice is still a bit crunchy after the resting period, don’t panic. This usually happens if your lid isn’t perfectly tight or if your heat was a tiny bit too low. Simply splash in two tablespoons of broth, put the lid back on, and simmer on low for another three minutes. The extra steam usually fixes the issue immediately.
On the flip side, if you notice a slight smell of toasted rice toward the end of the simmer, you might be developing a “socarrat.” This is a crispy crust of rice on the bottom of the pan, much like in Spanish paella. As long as it isn’t black and smelling like charcoal, this is actually a delicious delicacy that adds a wonderful crunch to the dish.
For those cooking at high altitudes, remember that water boils at a lower temperature. You may need to add an extra quarter cup of broth and increase the simmering time by about five minutes. Always check the rice for tenderness before adding the cheese if you are living a mile high or more.
Customizing Your Cheesy Ground Beef and Rice
This recipe is a fantastic canvas for different flavor profiles. If you want a spicy kick, dice up a fresh jalapeño and sauté it with the onions, or swap the standard paprika for a smoked variety. A dash of cayenne pepper in the spice mix will also provide a nice back-of-the-throat heat that cuts through the cheddar.
For a garden-style variation, you can stir in a few handfuls of fresh baby spinach right after you fluff the rice. The heat from the grains will wilt the spinach in seconds. Diced zucchini also works well; just add it during the last five minutes of the rice simmering so it stays tender-crisp rather than turning to mush.
If you prefer a creamier texture, try stirring in a dollop of Greek yogurt or sour cream after the rice is fully cooked but before you add the cheese. This creates a velvety sauce that binds the beef and rice together, making the dish feel even more indulgent and comforting.
Optimal Pairings for a Balanced Skillet Dinner
Since this skillet is quite rich and hearty, I usually pair it with something bright and acidic. A simple arugula salad tossed in a lemon vinaigrette is perfect. The peppery greens and the sharp citrus juice help cleanse the palate between bites of cheesy beef and rice.
Roasted vegetables are another great option. Broccoli florets or green beans charred in the oven with a little garlic and salt provide a necessary crunch that contrasts with the soft texture of the skillet. I generally avoid serving this with bread or potatoes, as the rice already provides plenty of satisfying carbohydrates.
If you want to keep it very simple, a side of sliced cucumbers with a splash of white vinegar and a pinch of dried dill works wonders. It’s a cool, refreshing side dish that balances the warm, savory spices of the beef and the richness of the melted cheese.
Storage, Reheating, and Meal Prep Strategy
This dish is a meal prepper’s dream because the flavors actually deepen after a night in the fridge. Store any leftovers in an airtight container for up to four days. The rice will absorb a bit more moisture as it sits, so it stays flavorful and doesn’t get that “refrigerated” taste that some leftovers have.
When it comes to reheating, the microwave can sometimes dry out rice. To prevent this, use the “ice cube trick.” Place your portion on a plate, put a single ice cube in the center of the rice, and cover it loosely with a damp paper towel. As it heats, the ice cube creates steam that re-hydrates the grains without making them soggy.
I don’t recommend freezing this specific dish. While the beef and cheese freeze fine, the rice can become grainy and lose its structural integrity once thawed and reheated. It’s much better enjoyed fresh or within a few days of cooking to maintain that perfect “non-mushy” texture we worked so hard to achieve.
Expert Tips for Skillet Longevity
A well-seasoned cast iron skillet is the best tool for this job because it holds heat so evenly. This consistent temperature is what allows the rice to simmer perfectly without hot spots that might burn the bottom. Plus, the cast iron can go straight from the stovetop to the broiler for that cheesy finish.
Cleaning up after a cheesy meal can be intimidating, but it’s easy if you do it while the pan is still slightly warm. Use a plastic scraper or a chainmail scrubber to remove any stuck-on cheese or rice. Avoid using harsh soaps that can strip your seasoning. A quick rinse with hot water and a light coat of oil will keep your skillet ready for the next meal.
Frequently Asked Questions
Can I use brown rice instead of white?
You can, but you will need to make significant adjustments. Brown rice requires more liquid and a much longer cook time, usually around 40 to 45 minutes. If you use brown rice, increase the beef broth to 3 cups and be prepared for a chewier texture. The toasting step is still vital for flavor, but the rice will never get quite as soft as white rice.
Can I use ground turkey or chicken?
Yes, ground turkey or chicken works well, but these meats are much leaner than beef. Because they don’t render as much fat, you will need to add two tablespoons of olive oil or butter to the pan before adding the rice. Without that extra fat, the rice won’t toast properly and will likely end up sticking to the bottom of the skillet.
Why is my rice still sticking to the bottom?
Sticking usually happens for two reasons: either the pan wasn’t deglazed properly or the heat was too high during the simmer. Make sure you really scrape those browned beef bits off the bottom when you add the broth. Also, ensure your “low” heat setting is truly low; if the liquid boils too vigorously under the lid, the starch will bake onto the pan.
Is it possible to make this in a stainless steel pan?
Absolutely. A stainless steel skillet or a deep sauté pan works perfectly fine. Just be aware that stainless steel doesn’t hold heat as long as cast iron, so you might need to be more precise with your simmering temperature. You also won’t get the same level of “crust” on the bottom, but the rice will still be delicious and fluffy.
Can I add frozen peas or corn?
Yes, frozen vegetables are a great addition. The best time to add them is right after the rice has finished its 5-minute rest. Fold them into the hot rice when you are fluffing it with a fork. The residual heat will thaw and cook the peas or corn in about 60 seconds without adding excess water to the rice during the simmering phase.
Cheesy Ground Beef and Rice
Course: Main CourseCuisine: AmericanDifficulty: easy4
servings10
minutes25
minutes510
kcal35
MinutesThis one-pan meal solves the problem of mushy rice by toasting the grains in beef drippings before simmering. Combined with bell peppers, onions, and sharp cheddar, it is a hearty and reliable family dinner.
Ingredients
1 pound ground beef (80/20 or 85/15 recommended for fat content)
1.5 cups long-grain white rice, unwashed
1 small onion, finely diced
1 red bell pepper, finely diced (reserve 1 tablespoon for garnish)
2 cloves garlic, minced
2.5 cups beef broth
1 teaspoon salt
1/2 teaspoon black pepper
1 teaspoon paprika
2.5 cups shredded sharp cheddar cheese
Fresh parsley, chopped for garnish
Directions
- Place a large cast iron skillet over medium-high heat. Add the ground beef and cook until fully browned, breaking it into small crumbles. Cook until no pink remains and it reaches 160°F (71°C).
- Do not drain the fat. This is the key step for flavor and rice texture. Add the dry, uncooked rice directly into the skillet with the beef and drippings. Stir constantly for 3 to 4 minutes until the rice smells nutty and the grains look opaque or slightly golden. This toasting process prevents the rice from becoming mushy later.
- Stir in the diced onion and the majority of the red bell pepper. Cook for 2 minutes until softened. Add the minced garlic, salt, pepper, and paprika, stirring for 30 seconds until fragrant.
- Pour in the beef broth and scrape the bottom of the pan with a wooden spoon to release any browned bits (deglazing). Bring the mixture to a rolling boil.
- Once boiling, reduce the heat to low and cover the skillet with a tight-fitting lid. Simmer for 15 to 18 minutes. Do not lift the lid during this time.
- Remove from heat and let sit, covered, for 5 minutes to allow the steam to finish the rice.
- Remove the lid and fluff the rice gently with a fork. Spread the beef and rice into an even layer. Sprinkle the shredded cheddar cheese heavily and evenly over the entire surface.
- Cover the pan for 2 more minutes to allow the cheese to melt into a solid blanket. For a bubbly finish, you may place the skillet under a broiler for 60 seconds.
- Garnish with the reserved raw red pepper bits and fresh parsley. Serve immediately directly from the skillet.
Notes
- Toasting the rice in the beef fat is the essential step to prevent a mushy texture. For a bubbly crust, place the skillet under the broiler for 60 seconds after the cheese has melted.