No-Bake Coconut Snowballs That Hold Shape Perfectly
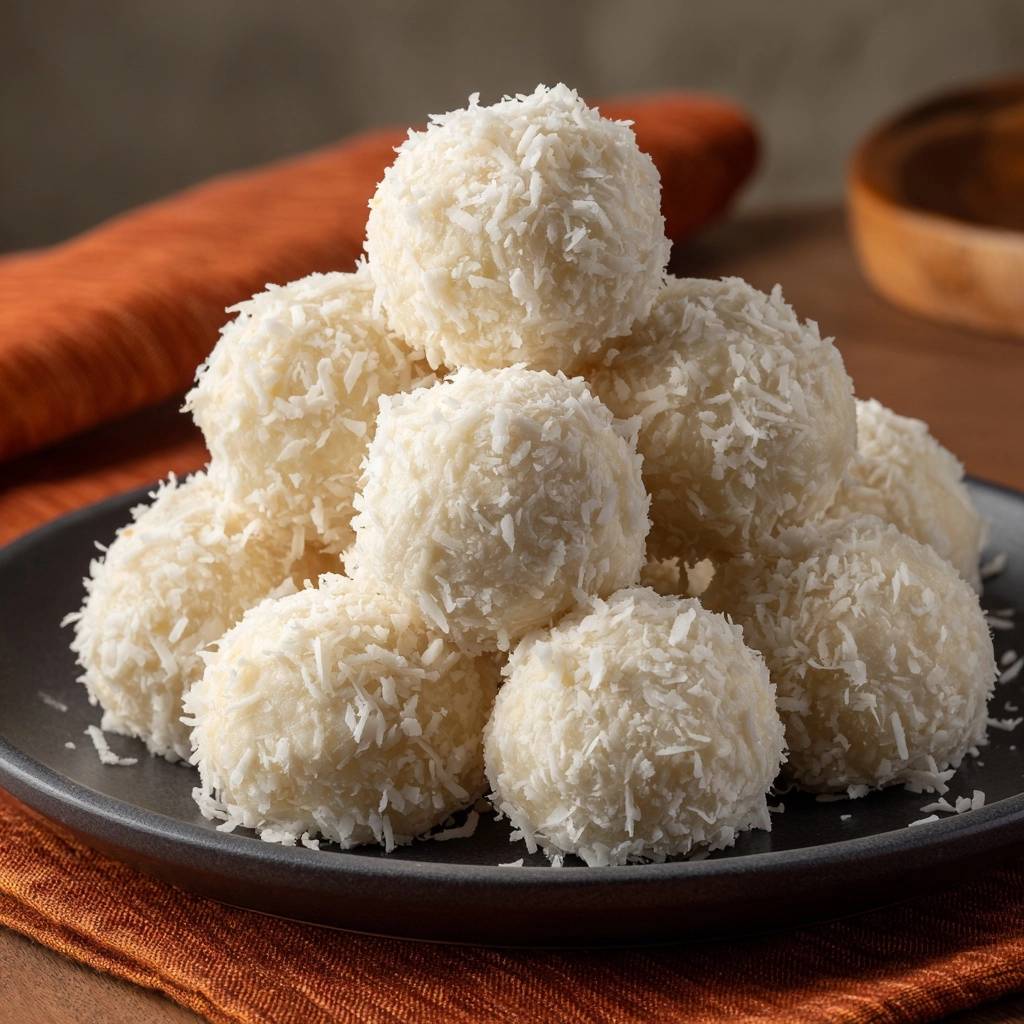
Tired of no-bake coconut snowballs that fall apart the second you pick them up? You know the drill: you mix, roll, and they crumble into sad flakes. This recipe changes everything with a simple chill that locks in perfect shape.
Therefore, you’ll spend under 45 minutes active time for about 30 sturdy balls. They’re festive for holidays or gifting, and each packs around 120 calories with 8g sugar. No oven needed, just sweet coconut bliss.
Here’s the expertise booster: chill the dough for exactly 30 minutes. That firms the condensed milk’s fats, so the mixture holds like a dream. Skip it, and you’re back to crumbly chaos.
Core Ingredients for Sturdy No-Bake Coconut Snowballs
Only two stars make these no-bake coconut snowballs shine: 4 cups sweetened shredded coconut and one 14-ounce can sweetened condensed milk. The coconut brings fluffy texture and binds with its sugars, while the milk acts as the sticky glue. Full-fat milk works best; low-fat versions lack the heft to prevent crumbling.
In addition, fresh coconut flakes absorb moisture evenly for that chewy bite. Therefore, check for vibrant white strands without staleness. For vegan swaps, grab coconut condensed milk to keep the structure intact.
Selecting Sweetened Shredded Coconut
Go for fine or medium shreds in these no-bake coconut snowballs; fine gives a smoother roll, medium adds chew. Divide into 3 cups for dough and 1 cup for coating. Brands with higher moisture content firm up better, so avoid dry ones that lead to loose balls.
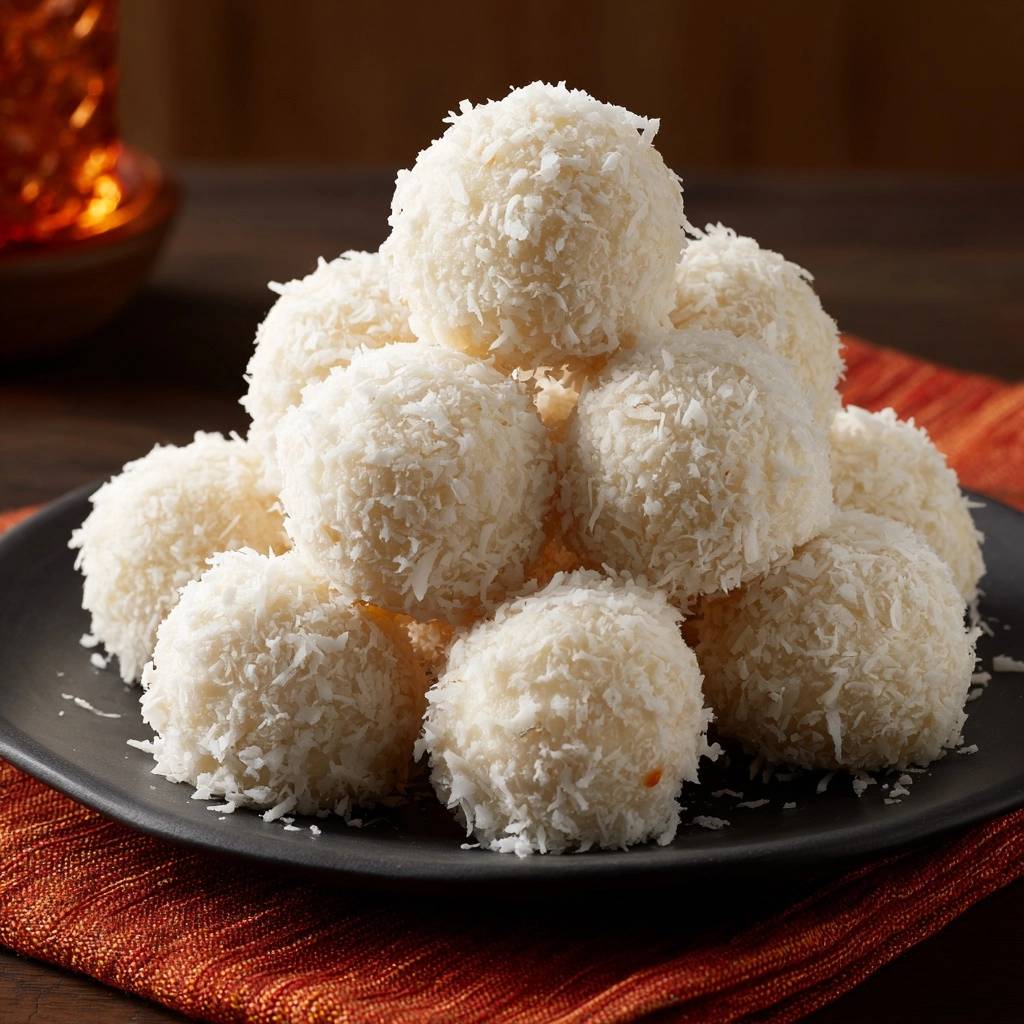
However, toasting isn’t needed here. It preserves the pure, snowy look and fresh coconut aroma that hits when you bite in.
Why Sweetened Condensed Milk Binds Everything
Sweetened condensed milk’s thick, sugary paste soaks into the coconut, creating a dough that pulls together. Its fats solidify when chilled, ensuring sturdy no-bake coconut snowballs. Store opened cans in the fridge for up to two weeks.
Full-fat delivers chewiness; skim versions stay too runny. That’s why this duo transforms loose flakes into rollable heaven.
Step-by-Step: Mixing No-Bake Coconut Snowball Dough
Start with 3 cups sweetened shredded coconut in a large bowl. Pour in the full can of sweetened condensed milk. Stir hard; it looks messy at first but thickens into sticky dough after a few minutes.
This arm workout pays off with perfect binding. You’ll smell sweet coconut rising as it comes together. Avoid half-hearted mixes, or lumps persist.
Stirring Technique for Thick Dough
Grab a sturdy spoon and fold coconut into milk first. Then stir fast for 3 to 5 minutes. Pinch a bit; it should hold shape without crumbling.
Pro tip: if it’s still loose, add a tablespoon more coconut. Done right, the dough clings to the spoon like soft playdough.
Chilling Phase: Secret to Firm No-Bake Coconut Snowballs
Cover the bowl tight with plastic wrap and fridge it for 30 minutes. Cold solidifies the milk’s fats, binding coconut strands so balls shape easily. Test by pressing; it firms but stays pliable.
In a rush? Freezer works in 15 minutes. However, don’t skip this, or rolling turns to mush. Chilled dough smells richer, too.
How Cold Sets the Sticky Mixture
The chill drops temps, hardening fats that glue everything. Room-temp dough crumbles on contact; chilled holds firm with a gentle give. Side by side, you’ll see the difference immediately.
Therefore, always hit that 30-minute mark for foolproof no-bake coconut snowballs.
Shaping and Coating Perfect Coconut Snowballs
Line a baking sheet with parchment. Scoop 1-tablespoon mounds of chilled dough. Roll into smooth balls with damp hands; moisture stops sticking for even shapes.
Next, roll each in the remaining 1 cup coconut. Press lightly for full coverage. Final 15-minute chill sets the fluffy coat. You’ll get about 30 uniform balls with snowy texture.
Rolling with Damp Hands Prevents Sticking
Run hands under water, shake off excess. Roll one batch at a time to keep dough cold. This gives satin-smooth surfaces that coat perfectly.
Too dry? Dampen again. It prevents tears and warms the dough less.
Even Coconut Coating Application
Use a shallow bowl for the coconut. Gently roll and press; don’t toss hard or balls dent. Fix bald spots with extra flakes.
Aim for fluffy outside over sturdy core. That contrast makes them irresistible.
Avoiding Crumbly No-Bake Coconut Snowballs
Crumbly no-bake coconut snowballs? Usually from skipping chill or weak stirring. Warm hands melt the binder, too. Always chill first and work fast.
For a perfect pairing, try our Classic Magic Bars: Perfectly Structured, No Crumbles!.
Cheap, dry coconut flakes apart easily. Pick moist ones. If too dry post-mix, add milk drops; too sticky means more coconut.
Fixing Sticky or Loose Dough
Sticky after chill? Sprinkle in coconut 1 tablespoon at a time, then re-chill 10 minutes. High humidity softens it, so extra flakes help. Stir again if needed for even fix.
This rescue keeps shapes perfect without waste.
Preventing Balls from Falling Apart
Root issue: insufficient fat binding from short chill or low-fat milk. Always use full-fat and 30 minutes minimum. Overwarm rooms worsen it, so fridge nearby.
Reinforce with damp hands. Your balls stay intact every time.
Flavor Variations for No-Bake Coconut Snowballs
Stick to basics or twist: stir in 1 teaspoon vanilla for warmth. Lemon zest adds zing without crumbling the dough. Chopped nuts or chocolate chips, up to 1/2 cup, bind fine if fine-diced.
Almond extract brings tropical notes. Matcha powder, 2 tablespoons, turns them green snowballs. All hold shape post-chill. Vegan? Coconut condensed milk swaps seamlessly.
Chocolate-Dipped Coconut Snowball Upgrade
Melt dark chocolate chips over low heat. Dip half each chilled ball, place on parchment. Re-chill 10 minutes for crisp shell over chewy core.
Perfect contrast; serve with coffee for bliss.
Citrus Zest Twists on Classic Recipe
Mix 1 tablespoon lime or orange zest into dough pre-chill. It cuts sweetness with bright pop. Zest fresh for oils that infuse deeply.
Structure stays firm; zest doesn’t add moisture.
Storage and Make-Ahead for Coconut Snowballs
Store no-bake coconut snowballs in an airtight container in the fridge up to 1 week. They firm more over time for better bite. Layer with parchment to avoid sticking.
Double the recipe for holidays; it scales easy. Gifting? Tin them with wax paper. Revive texture by chilling before serving.
Freezing No-Bake Coconut Snowballs Properly
Flash-freeze balls on a sheet for 2 hours, then bag airtight. They’ll last 3 months. Thaw in fridge overnight; texture stays chewy, not icy.
Portion singles for grab-and-go. Avoid refreezing thawed ones.
Pairing No-Bake Coconut Snowballs with Drinks and Desserts
These no-bake coconut snowballs love coffee’s bitterness or hot tea’s steam. Sparkling cranberry juice cuts the sweet with tart fizz. Smoothies balance with fruit creaminess.
Pair with fresh berries or yogurt parfaits for light desserts. Add to cheese platters or holiday charcuterie. Great for potlucks or tea parties; they vanish fast.
No-Bake Coconut Snowballs FAQ
Can I Make No-Bake Coconut Snowballs Vegan?
Yes, swap regular sweetened condensed milk for coconut condensed milk or thicken coconut cream with powdered sugar (1/4 cup per cup cream). Stir vigorously; it binds like the original. Chill time stays 30 minutes for firm vegan no-bake coconut snowballs with same chew. Texture holds perfectly.
Why Do My Coconut Snowballs Crumble?
Most often, you skipped or shortened the 30-minute chill, so fats don’t solidify. Or stirring was too light, leaving loose coconut. Fix by chilling longer next time and mixing until dough pulls from bowl sides. Warm hands during rolling melt it, too; dampen and chill dough between batches for sturdy results.
How Long Do No-Bake Coconut Snowballs Last?
In an airtight fridge container, no-bake coconut snowballs keep up to 1 week with firm, chewy texture. Freezer lasts 3 months; flash-freeze first then bag. They soften slightly after 4-5 fridge days but revive with 15-minute chill. Avoid room temp over 2 hours to prevent sogginess.
Can I Add Nuts to Coconut Snowballs?
Absolutely, add 1/2 cup finely chopped nuts like pecans or almonds to the dough during mixing. Finely chop so they bind without weakening structure. Chill fully before rolling; extra crunch shines without crumbling. Toast nuts lightly first for deeper flavor that pairs with coconut.
Best Way to Serve Coconut Snowballs?
Serve no-bake coconut snowballs chilled straight from the fridge for the best firm-yet-chewy bite and snowy coating that doesn’t shed. Let sit 5 minutes if freezer-thawed for softer core. Plate on a tiered stand for parties; their white fluff pops visually and tastes sweetest cold.
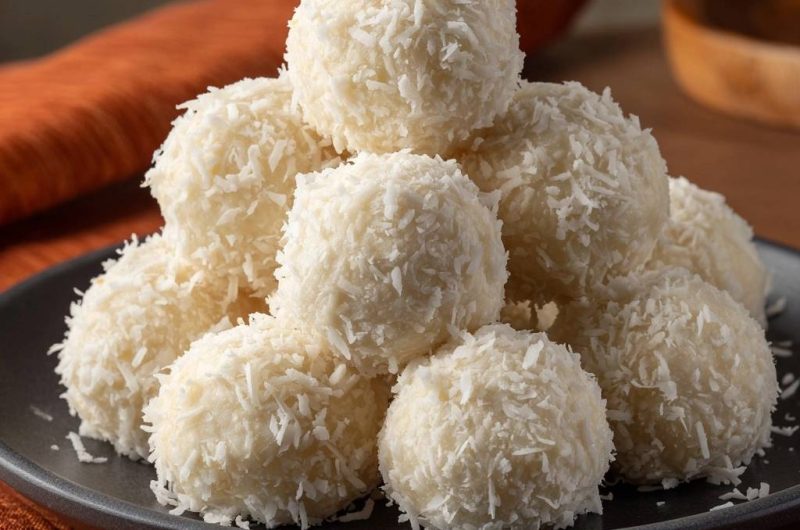
Coconut Snowballs
Course: DessertCuisine: AmericanDifficulty: easy24
snowballs15
minutes20
kcal60
MinutesTired of coconut balls that crumble apart? This recipe fixes that with a simple chill step for sturdy, fluffy coconut snowballs. No baking required.
Ingredients
4 cups sweetened shredded coconut, divided
1 (14-ounce) can sweetened condensed milk
Directions
- In a large bowl, combine 3 cups sweetened shredded coconut and the sweetened condensed milk. Stir vigorously with a spoon until fully mixed and the coconut absorbs the milk into a thick, sticky dough. It will look loose at first but comes together with stirring.
- Cover the bowl tightly with plastic wrap and chill in the refrigerator for 30 minutes. This key step is what prevents crumbling: the cold firms the condensed milk, making the dough easy to handle and shape without falling apart.
- Line a baking sheet with parchment paper. Scoop out 1-tablespoon portions of the chilled dough and roll each into a smooth ball using slightly damp hands to avoid sticking.
- Place the remaining 1 cup sweetened shredded coconut in a shallow bowl. Gently roll each ball in the coconut to coat evenly, pressing lightly so it adheres perfectly.
- Arrange the coated balls on the prepared baking sheet and chill for another 15 minutes to set. Store in an airtight container in the fridge for up to 1 week. Serve chilled for the best texture.
Notes
- Chilling the dough for 30 minutes is the key step to prevent crumbling. Use slightly damp hands when rolling for smooth balls. Store in the fridge for up to 1 week.