Perfect Caramelized Onions: No-Scorch Mastery
Ever cranked up the heat on onions only to end up with charred bits before they even turn golden? You’re not alone. This method flips the script with a cold-pan start that guarantees deep, sweet flavor without a hint of scorch. Dinner’s hero topping lands on your table in just 40 minutes of mostly hands-off cooking, yielding about 1.5 cups to serve 4-6.
So why does this beat jarred versions every time? Fresh onions deliver that live-wire sweetness and umami you can’t bottle. Plus, you control the pace for restaurant-level depth. In addition, the low-slow approach builds layers of flavor through natural sugars breaking down just right.
That same low-and-slow method is the secret to getting deep golden color on these crispy pierogi with caramelized onions.
Here’s the expertise kicker: starting cold melts the butter evenly into the onions first. That prevents hot spots that cause burning. Therefore, you get silky, jam-like results that elevate burgers, steaks, or toast effortlessly. Prep takes 5 minutes, cook time 40, and it’s foolproof.
Selecting Onions for Even Caramelization
Yellow onions top the list for caramelized onions because they’ve got 12-15% sugar content. That natural fructose turns golden without added sweeteners. White onions work okay but stay sharper due to lower sugars, while reds bring color yet bleed moisture faster.
Therefore, grab firm yellow ones with tight skins for best results. Organic versions often taste cleaner without pesticide residues. In addition, store them in a cool, dry spot away from potatoes to last up to two months.
Best Onion Varieties Ranked
1. Yellow: Highest sugar (12-15%), low moisture for quick caramelization, mild sweet finish. 2. White: 10% sugar, higher water means longer cook but crisp texture. 3. Red: 11% sugar, vibrant hue, however anthocyanins can turn muddy if overcooked.
Uniform Slicing Techniques
Aim for 1/8-inch thin slices so every piece caramelizes evenly. Use a sharp knife or mandoline for uniformity; thick cuts leave raw centers. First, halve the onion pole-to-pole, then slice across the grain while keeping rings intact.
Pro tip: Chill onions 15 minutes before slicing to reduce tears from sulfur release. Pitfall avoided: uneven piles that steam instead of brown.
Core Ingredients Breakdown
Unsalted butter coats the onions in fat to prevent sticking and promote even browning. Salt draws out moisture early, speeding fond formation for richer taste. For 4 large onions, 2 tablespoons butter and 1/2 teaspoon salt hit the sweet spot, yielding 1.5 cups.
Water’s your safety net if edges brown too fast; it creates steam to slow things down. No sugar needed since onions’ fructose does the heavy lifting. Dairy-free? Swap in olive oil or ghee for similar silkiness.
Butter and Salt Ratios Explained
Stick to 1/2 tablespoon butter per onion and a pinch of salt upfront. Unsalted avoids bitterness from dairy scorching. Therefore, season early for even draw-out of liquids.
Optional Water Addition Timing
Add 1 tablespoon only if edges crisp prematurely around the 25-minute mark. It deglazes and steams for control. Test doneness by smell: sweet and nutty means you’re golden.
Cold-Pan Start: Foundation Technique
Toss sliced onions, butter, and salt into a cold 12-inch skillet. Set to low heat; the butter melts gently, bathing onions without hot spots. Stir every 5 minutes for 20 minutes as they soften and release liquid.
This sweating phase breaks down pectin, turning crisp slices translucent and sweet-smelling. Contrast that with hot-pan starts: instant charring kills the nuance. You’ll see steam rise first, then subtle shine.
Skillet Prep Without Preheating
Choose a wide stainless or nonstick skillet for even evaporation. Stainless builds more fond flavor. Single layer prevents steaming; overcrowd and you’ll boil them instead.
First 20 Minutes: Sweating Phase
Chemically, enzymes convert starches to sugars here. Stir to avoid clumps; onions go from rigid to floppy. Aroma shifts from sharp to mellow oniony bliss.
Medium-Low Heat: Building Golden Depth
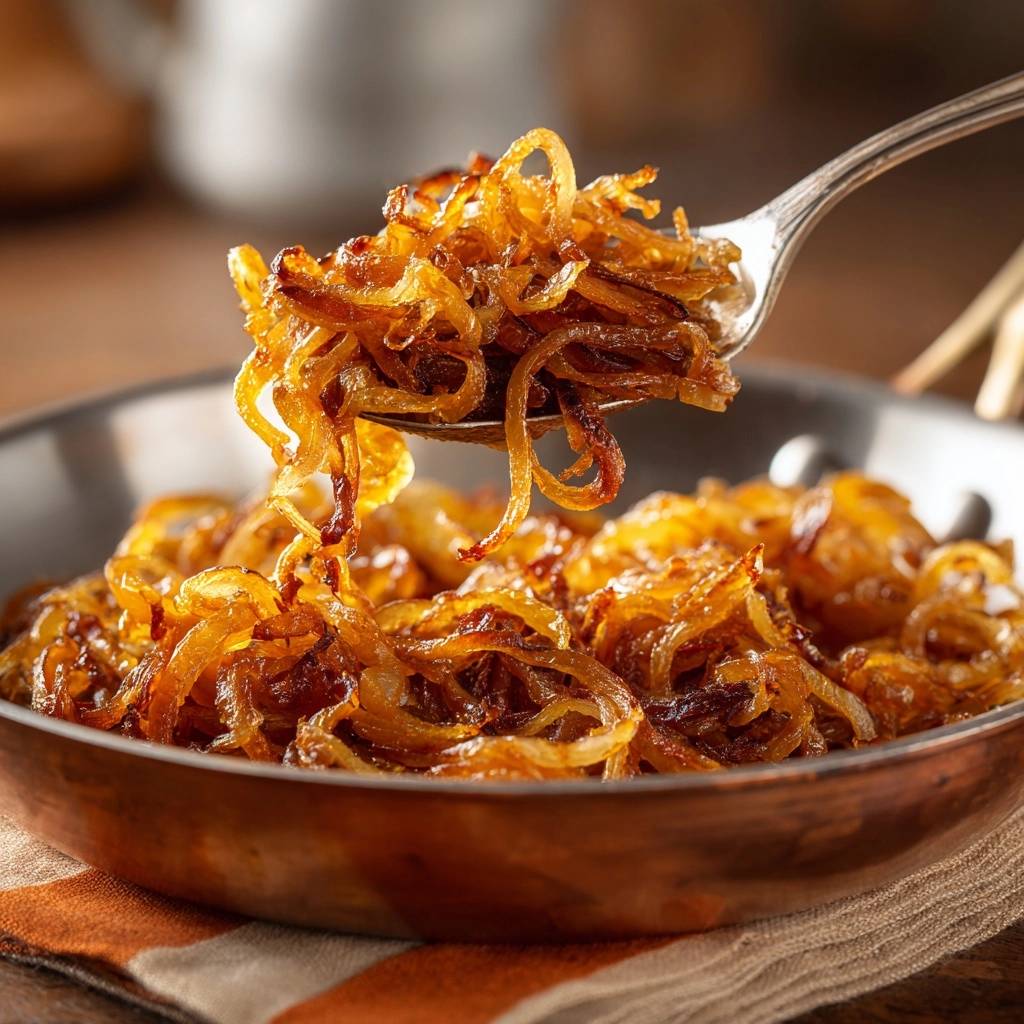
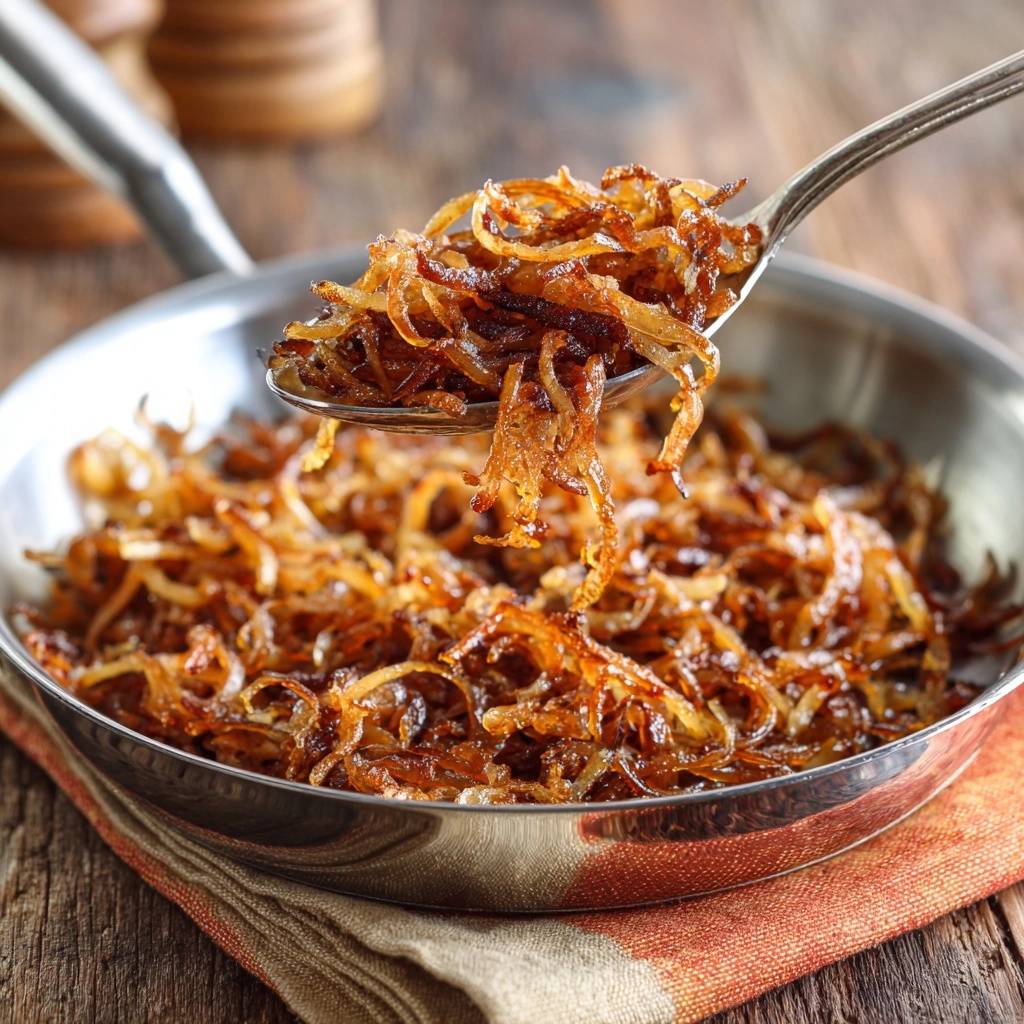
Bump to medium-low after 20 minutes. Stir every 2-3 minutes for 15-20 more; color deepens from amber to rich gold. Fragrance blooms nutty and caramel-like around 35 minutes.
Edges get those craveable crispy bits. Total 40 minutes, but watch for jam-like consistency. If spots brown fast, splash water and stir.
Stirring Rhythm for Even Browning
Scrape the bottom each time to lift fond, that browned base of pure flavor. Frequency ramps up to build color without burn. Done when spreadable and deeply hued.
Crisp Edge Formation Control
Crispy edges signal success, not scorch. Control with water or lower heat. Cool in the pan to halt cooking right at peak.
Science of Perfect Caramelized Onions
Maillard reaction kicks in at 280-330°F, browning proteins and sugars for savory depth. Fructose caramelizes lower, around 320°F, thanks to onions’ makeup. Cold start keeps pyrolysis (bitter compounds) at bay.
pH drops as they cook, boosting umami. Low-slow heat curves time perfectly: steady rise avoids spikes. Therefore, you nail that complex, jammy taste pros chase.
Maillard vs. Caramelization Breakdown
Maillard needs amino acids for nutty savoriness; pure caramelization melts sugars sweet. Onions do both low and slow for balance. Hot heat skips to burnt.
Temperature Thresholds Decoded
Spot-check with an instant-read thermometer; stay under 300°F pan-wide. Edges hit higher naturally. Pro tip: infrared gun tracks hot spots easily.
Avoiding Common Caramelization Pitfalls
High heat scorches fast; always cold-start. Overcrowding traps steam, so use a big pan or batch cook. Uneven slices mean patchy results, fix with mandoline precision.
At high altitude, add 5-10 minutes for thinner air evaporation. Deglaze stuck bits with balsamic for bonus flavor. These tweaks ensure perfection every time.
High-Heat Burn Prevention
Burn shows black flecks and acrid smell. Lower heat, add water, scrape clean. Reset with cold-pan method if needed.
Overcrowding and Uneven Results
Double pan size for 4 onions. Math: 1 pound per 12 inches. Single layer browns; stacks steam soggily.
Flavor Variations for Caramelized Onions
Add thyme sprigs in the last 10 minutes for earthy lift. Balsamic drizzle at end cuts sweetness with tang. Garlic cloves sweat early for mellow depth.
Vegan? Olive oil shines. Spice with chili flakes midway, or sweeten with thin apple slices. Scale up by halving more onions; use herbed on pizza, spicy on tacos.
Herb and Acid Enhancements
Drop herbs late to avoid bitterness. Balsamic in final stir balances perfectly. Timing preserves punch.
Spicy and Sweet Twists
Chili builds heat gradually; taste at 30 minutes. Pear slices melt in for fruity contrast. Adjust to your heat sweet spot.
Storage and Make-Ahead Strategies
Store in an airtight glass jar in the fridge up to 5 days. Freezes beautifully for 3 months; portion into ice cube trays for easy grabs. Batch cook weekly for meal prep wins.
Vacuum-seal bags extend fridge life to 10 days. Always cool fully before storing to avoid condensation sogginess.
Freezing Perfect Caramelized Onions
Spread flat in bags, press air out. Thaw overnight, recrisp in skillet over medium with a pat of butter. Texture revives like fresh.
Reheating Without Texture Loss
Low skillet heat with lid on adds steam back. Skip microwave; it turns them mushy. Dry heat crisps edges nicely.
Pairing Perfect Caramelized Onions
Pile 1/4 cup on burgers for umami bomb that juices every bite. Spoon over steak for luxe contrast. Nutrition perk: quercetin antioxidants in each 50-calorie serving.
Smear on crostini with goat cheese, mix into frittatas, or top grain bowls. Endless versatility from one pan.
Burger and Steak Toppings
2 tablespoons per burger patty; grill synergy caramelizes further. Steak gets 1/4 cup sliced thin atop resting meat.
Versatile Appetizer and Side Uses
Toast with ricotta: 1 tablespoon spread. Salads: chop fine, 2 tablespoons tossed in. Portions keep it balanced.
Troubleshooting Caramelized Onion Issues
Soggy Texture Fixes
Increase heat slightly post-sweat or use bigger pan for evaporation. Uncover fully after liquid releases. Patience dries them to jammy.
Pale or Bitter Outcomes
Pale means low heat; nudge to medium-low sooner. Bitter from overdone edges: water splash next time, pull at deep gold.
Can I Make Perfect Caramelized Onions Faster?
Not really without sacrificing flavor, but baking at 400°F in a covered dish cuts time to 30 minutes. Stir halfway. Still, stovetop low-slow wins for fond depth.
Why Are My Caramelized Onions Still Crunchy?
Thick slices are the culprit; they need longer or thinner cuts. Reslice leftovers thin, recook 10 minutes on medium. Uniform 1/8-inch from start prevents this.
What’s the Best Substitute for Butter?
Olive oil or ghee mimics the coating perfectly. Use same amount; oil’s smoke point handles browning well. Vegan and just as silky.
Do Perfect Caramelized Onions Freeze Well?
Absolutely, up to 3 months in flat bags. Thaw in fridge, reheat low with butter to restore texture. Ice cube trays make single-use portions ideal for toppings.
Caramelized Onions
Course: Side DishCuisine: AmericanDifficulty: easy4
servings10
minutes40
minutes120
kcal50
MinutesSick of onions burning before they turn golden? This low-slow start in a cold pan with gradual heat builds deep flavor without a single scorch mark.
Ingredients
4 large yellow onions, thinly sliced
2 tablespoons unsalted butter
1/2 teaspoon salt
1 tablespoon water (optional, if browning too fast)
Directions
- Slice onions thinly and evenly for uniform cooking.
- In a large skillet, combine onions, butter, and salt. Place over low heat with no preheating, the cold-pan start melts butter gently into onions to prevent hot spots and scorching.
- Cook on low for 20 minutes, stirring every 5 minutes. Onions will soften and release liquid, no burning possible at this stage.
- Increase to medium-low heat. Continue cooking 15-20 more minutes, stirring every 2-3 minutes. If edges brown too fast, add 1 tablespoon water to create steam and slow caramelization evenly.
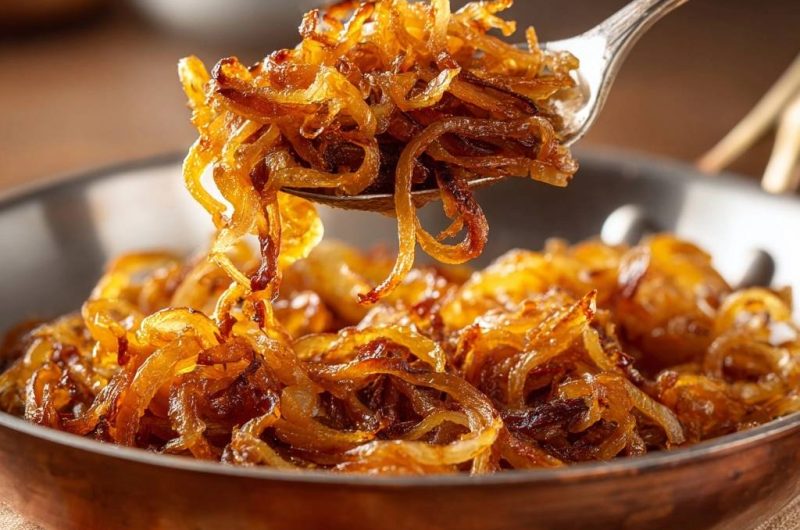
- Onions are done when deep golden, fragrant, and caramelized with crispy edges, about 40 minutes total. Use as topping for burgers, steaks, or toast. Store in fridge up to 5 days.
Notes
- Store in fridge up to 5 days. Use as topping for burgers, steaks, or toast. Add 1 tablespoon water if browning too fast.