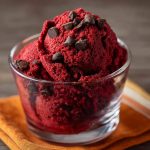
Red Velvet Dream Frozen Dessert: Stays Creamy, Never Icy!
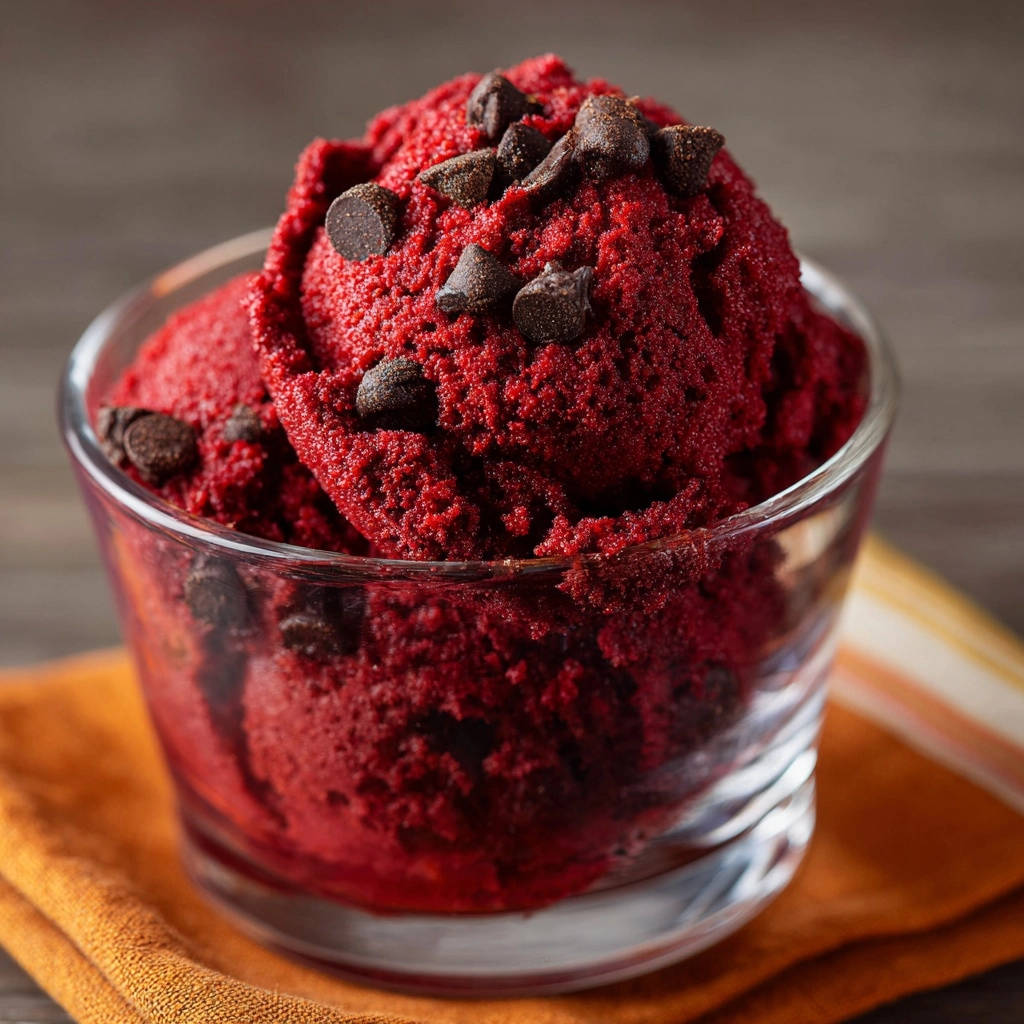
You know that familiar frustration: craving a homemade frozen dessert, but every attempt turns into an unyielding block of ice? I’ve certainly been there!
After countless experiments, I finally perfected this incredible Red Velvet Dream Frozen Dessert that remains perfectly scoopable and luxuriously creamy, straight from the freezer.
It’s truly a dessert revelation, delivering a rich red velvet experience without any of the typical icy pitfalls.
Why This Red Velvet Dream Is Your New Go-To Frozen Treat
The Scoopable Secret: No More Ice Blocks!
The standout feature of this recipe is its consistently creamy texture. You won’t need to thaw it on the counter; it scoops beautifully every single time.
This secret lies in a clever combination of ingredients and technique that prevents large ice crystals from forming.
Decadent Flavor, Effortless Creation
Beyond its perfect texture, this Red Velvet Dream Frozen Dessert delivers on taste. It captures that classic cocoa and vanilla essence, infused with a vibrant red hue.
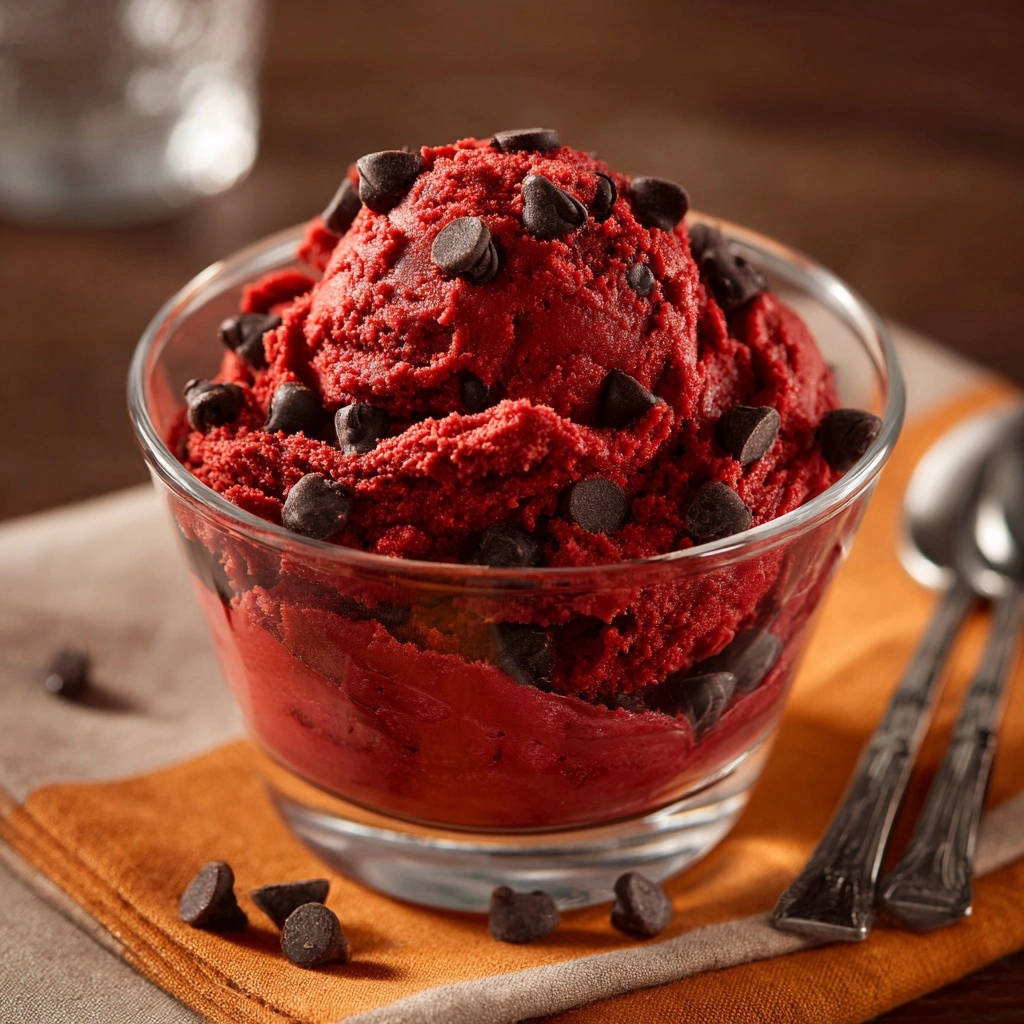
Despite its indulgent profile, the preparation is surprisingly straightforward, requiring no special ice cream maker or complicated steps.
A Crowd-Pleaser for Any Occasion
With its striking color and delightful flavor, this frozen dessert is an absolute showstopper.
It’s perfect for dinner parties, a cozy family movie night, or simply as a satisfying personal treat when a craving strikes.
If you like cream cheese frosting, you will also like these salted chocolate peanut butter brownie bars.
Gather Your Ingredients: The Building Blocks of Creaminess
Each ingredient in this Red Velvet Dream Frozen Dessert plays a vital role in achieving its signature creamy texture and rich flavor.
The Dynamic Duo: Heavy Cream & Sweetened Condensed Milk
Cold heavy cream is the foundation, whipped to incorporate essential air. This air creates the light, voluminous body of the dessert, preventing it from becoming dense and hard.
Sweetened condensed milk is the true hero, not just adding sweetness, but crucially, preventing ice crystals. Its high sugar and milk solids content lowers the freezing point, ensuring a consistently smooth, scoopable consistency.
Color & Cocoa: Achieving That Signature Red Velvet Hue
Unsweetened cocoa powder provides the subtle chocolatey depth characteristic of red velvet.
Red food coloring, whether liquid or gel, is essential for that iconic, vibrant red hue. You can adjust the amount to achieve your desired intensity.
Salt & Vanilla: The Flavor Enhancers
Vanilla extract adds warmth and depth, complementing the cocoa and red velvet flavor profile.
A touch of salt is surprisingly important; it balances the sweetness of the condensed milk and heightens all the other flavors, preventing the dessert from tasting flat.
Chocolate Chips: A Delightful Texture Pop
Mini chocolate chips, or standard if preferred, provide delightful pockets of chocolatey goodness and a pleasant textural contrast to the smooth, creamy base.
They add another layer of indulgence to this already rich frozen treat.
If you love the creamy, rich texture of this frozen dessert, you’ll enjoy these fudgy chocolate strawberry brownies for another decadent treat.
Essential Tools for Red Velvet Dream Success
Having the right equipment makes preparing this frozen dessert quick and easy, ensuring the best possible results.
Mixer Must-Haves
An electric mixer, either a handheld model or a stand mixer, is indispensable for whipping the heavy cream to stiff peaks.
It achieves the necessary aeration much more efficiently and consistently than whisking by hand.
Freezing Fundamentals
A good freezer-safe container with a tight-fitting lid is crucial for proper freezing and storage.
This prevents freezer burn and helps maintain the dessert’s creamy texture over time.
Crafting Your Red Velvet Dream: A Step-by-Step Guide to Perfection
- Prepare Your Base Ingredients:
In a large, chilled mixing bowl, combine the very cold heavy cream, unsweetened cocoa powder, vanilla extract, salt, and red food coloring. Starting with very cold cream and a chilled bowl significantly aids in achieving stiff peaks quickly.
- Whip to Stiff Peaks:
Using your electric mixer, beat the mixture on high speed until firm, stiff peaks form. This means when you lift the beaters, the cream stands up straight and holds its shape without drooping. This step is absolutely critical for incorporating enough air to ensure an airy, non-icy texture.
- Gently Fold in Sweetened Condensed Milk:
With a large spatula, carefully and gently fold the sweetened condensed milk into the whipped cream mixture until just combined. The key here is not to deflate the beautiful air you just whipped in. The condensed milk is the secret ingredient for preventing large ice crystals and ensuring that perfect scoopable consistency.
- Incorporate Chocolate Chips:
Add 1/2 cup of chocolate chips to the mixture. Continue to gently fold them in until they are evenly distributed throughout the creamy base. Avoid overmixing, as this can also lead to a denser texture.
- Transfer to Freezer Container:
Carefully pour the mixture into your chosen freezer-safe container. You can smooth the top gently with a spatula if you wish. Ensure your container is well-suited for freezing and has an airtight lid.
- Freeze Until Firm:
Cover the container tightly with its lid or plastic wrap, pressing it directly onto the surface of the dessert to minimize air exposure and prevent freezer burn. Freeze for at least 6 hours, or ideally overnight, until it reaches a firm but perfectly scoopable consistency.
- Serve and Enjoy:
When ready to serve, scoop your perfectly creamy Red Velvet Dream Frozen Dessert into individual glasses, bowls, or onto cones. Garnish with additional chocolate chips, a drizzle of chocolate sauce, or a dollop of whipped cream for an extra special touch.
Pro Tips for a Flawlessly Creamy Red Velvet Dream
These expert tips will help ensure your Red Velvet Dream Frozen Dessert turns out perfectly every time, from its luscious texture to its vibrant appearance.
Mastering the Whipped Cream Technique: A truly cold environment is key for whipping cream. Place your mixing bowl and the beaters of your electric mixer in the freezer for 10-15 minutes before you begin. This helps the fat molecules in the cream stiffen faster, leading to quicker and more stable stiff peaks.
The Art of Gentle Folding: When incorporating the condensed milk and chocolate chips, use a “cut-and-fold” motion with a large rubber spatula. Slice down through the center of the mixture, then scoop from the bottom and fold it over the top. Rotate the bowl and repeat. This technique minimizes deflating the airy whipped cream.
Freezing for Optimal Texture: While 6 hours provides a scoopable dessert, freezing overnight (12-24 hours) often allows the Red Velvet Dream to fully set and achieve its most consistent, smooth, and creamy texture. Always ensure the container is airtight to prevent any surface ice crystals from forming.
Creative Toppings & Serving Suggestions: Elevate your dessert with a variety of toppings. Consider crushed red velvet cookies, mini marshmallows, a light dusting of cocoa powder, or a homemade cream cheese glaze drizzle. For an elegant presentation, serve scoops in chilled martini glasses or small dessert cups.
Storing & Making Ahead: Enjoying Your Red Velvet Dream Anytime
One of the many benefits of this Red Velvet Dream Frozen Dessert is how well it stores, making it perfect for preparing in advance.
How to Store Your Frozen Dessert
Always store your frozen dessert in an airtight, freezer-safe container. Placing a layer of plastic wrap directly on the surface before sealing the lid can further prevent freezer burn and maintain creaminess.
Stored properly in the coldest part of your freezer, this Red Velvet Dream will maintain its excellent texture and flavor for up to 2-3 weeks.
Can You Make It Ahead?
Absolutely! This recipe is ideal for making ahead of time. In fact, an overnight freeze often yields the best texture.
Prepare it a day or two before an event, and you’ll have a fantastic, stress-free dessert ready to go.
Troubleshooting Your Red Velvet Dream Frozen Dessert
Even with simple recipes, questions can arise. Here are solutions to common concerns, ensuring your Red Velvet Dream is nothing short of perfect.
Why Is My Dessert Icy?
If your dessert turns out icy, the most common reason is not whipping the heavy cream to sufficiently stiff peaks. Insufficient air results in a denser mixture that freezes harder.
Another culprit could be overmixing after adding the condensed milk, which deflates the whipped cream. Always fold gently to preserve the air and ensure the condensed milk evenly distributes to inhibit large ice crystal formation.
Achieving the Perfect Red Hue
The intensity of the red color can vary based on the type and brand of food coloring. Gel food coloring typically provides a more vibrant and concentrated color with less volume than liquid drops.
Start with the recommended amount, then add more incrementally, drop by drop, until you achieve your desired iconic red velvet shade. Remember, the color will deepen slightly as it chills.
Too Sweet? Adjusting Flavor Balance
If you find the dessert too sweet, ensure you’ve added the specified amount of salt; it’s a crucial balancing agent. You can also increase the cocoa powder by an additional half teaspoon to add a touch more bitterness, which helps to cut through the sweetness.
Another option for balancing sweetness is serving it with a tart element, like fresh raspberries or a light dusting of unsweetened cocoa.
Your Top Questions About Red Velvet Dream Frozen Dessert Answered
Can I Make This Red Velvet Dream Dairy-Free?
While the texture may vary slightly, you can attempt to make this Red Velvet Dream dairy-free. Use full-fat canned coconut cream (chilled, scoop out the solid cream) instead of heavy cream and a sweetened condensed coconut milk alternative.
Be aware that coconut cream whips differently and may yield a slightly less firm, but still delicious, result. You might also enjoy exploring other delightful no-bake options, like this No-Bake Peanut Butter Fudge Pie, which is inherently dairy-free.
How Long Does This Frozen Dessert Last in the Freezer?
When properly stored in an airtight container, your Red Velvet Dream Frozen Dessert will maintain its best quality for about 2 to 3 weeks in the freezer.
Beyond that, it may start to develop more ice crystals, though it will still be safe to eat for longer.
What Are Other Fun Mix-In Ideas?
Beyond classic chocolate chips, consider folding in cream cheese frosting bits for an authentic red velvet experience, crumbled red velvet cookies, or even white chocolate chunks for a different flavor dynamic.
What’s Next?
Try these delicious pairings:
- Mastering Glazed Lemon Poppy Seed Scones with the Double-Chill Method
- Gooey Cinnamon Rolls with Heavy Cream Secret
For a different kind of sweet, chocolatey dessert that’s also perfect for sharing, you might love these Decadent Pumpkin Pie Truffles.
Do I Need a Churned Ice Cream Maker for This Recipe?
Absolutely not! That’s one of the best parts of this Red Velvet Dream Frozen Dessert.
It’s a completely no-churn recipe, relying on the whipping and folding technique to achieve its creamy texture without any specialized ice cream equipment.
Ready to Indulge? Share Your Red Velvet Dream!
Now that you have all the insider tips and a detailed guide, it’s time to whip up your very own Red Velvet Dream Frozen Dessert.
Get ready for perfectly scoopable, wonderfully creamy, and undeniably delicious bites of red velvet perfection, every single time.
Don’t forget to share your creations and tag us on social media-we can’t wait to see your decadent frozen desserts!
Red Velvet Frozen Dessert
Course: DessertCuisine: AmericanDifficulty: easy6
servings15
minutes550
kcal360
minutesCraving a decadent frozen treat that stays perfectly scoopable and creamy? This Red Velvet dessert uses a simple trick to avoid ice crystals, ensuring a delightful texture right from the freezer. Get ready for dessert perfection!
Ingredients
2 cups cold heavy cream
1 (14 ounce) can sweetened condensed milk
2 tablespoons unsweetened cocoa powder
1 teaspoon vanilla extract
1/2 teaspoon salt
1 to 2 teaspoons red food coloring (adjust for desired color intensity)
1/2 cup chocolate chips, plus more for topping
Directions
- In a large, chilled bowl, combine the cold heavy cream, cocoa powder, vanilla extract, salt, and red food coloring. Using an electric mixer, beat on high speed until stiff peaks form. This step is crucial for incorporating air and creating the airy, non-icy texture.
- Gently fold in the sweetened condensed milk until just combined. Be careful not to deflate the whipped cream. The condensed milk is key to preventing large ice crystals.
- Fold in 1/2 cup of chocolate chips.
- Pour the mixture into a freezer-safe container.
- Cover tightly and freeze for at least 6 hours, or preferably overnight, until firm but scoopable.
- Serve scooped into glasses, topped with additional chocolate chips. Enjoy your perfectly creamy, non-icy treat!
Notes
- Whipping cream to stiff peaks and gently folding in condensed milk are crucial for preventing ice crystals and ensuring a scoopable, airy texture.