Crispy Buffalo Wings: Juicy Inside, Crunchy Outside
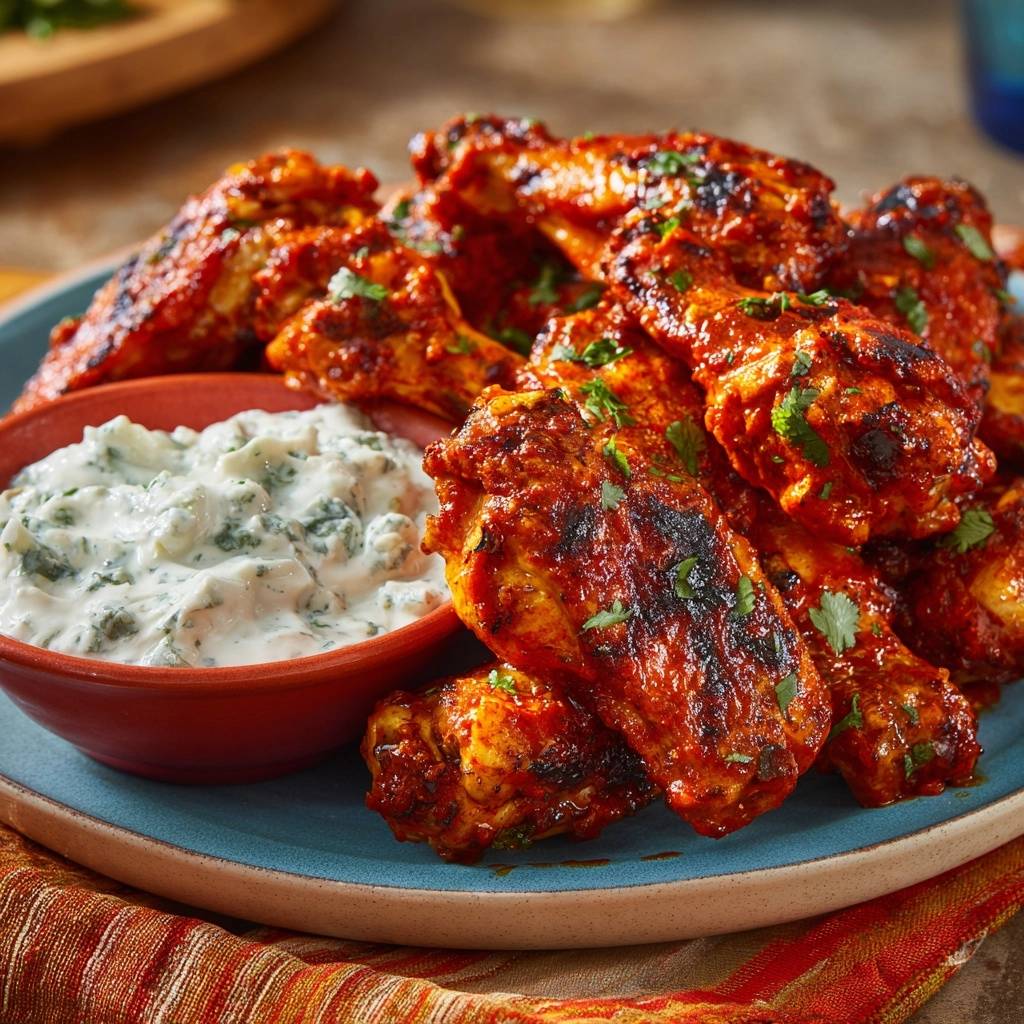
Game day hits, and those store-bought wings turn out dry every time. You crave that perfect crunch on the outside with juicy meat inside, but most recipes leave you disappointed. This Crispy Buffalo Wings method changes everything with a baking powder dry rub and smart two-stage baking.
Therefore, you get fryer-level crispiness without the mess or oil. In addition, the skin pulls moisture away during prep, keeping the inside tender. No more soggy or chewy disappointments.
The secret lies in the baking powder rub. It alkalizes the skin for better browning, and refrigerating uncovered overnight forms a pellicle that locks in juices. You’ll see the difference right away.
Why Crispy Buffalo Wings Demand Dry Skin Prep
Pat Dry for Maximum Crispiness
You start by patting the wings completely dry with paper towels. Excess moisture on the skin turns to steam in the oven, so you remove it first. Dry wings crisp up fast, while wet ones stay rubbery.
Therefore, grab a stack of towels and press firmly on all sides. You’ll feel the skin tighten as water wicks away. This simple step sets up pro results.
Baking Powder Rub Unlocks Crunch
Toss 2 pounds of separated wings with 1 tablespoon baking powder, 1 teaspoon salt, and 1/2 teaspoon black pepper. The baking powder raises the skin’s pH, speeding up the Maillard reaction for deep golden color and crunch.
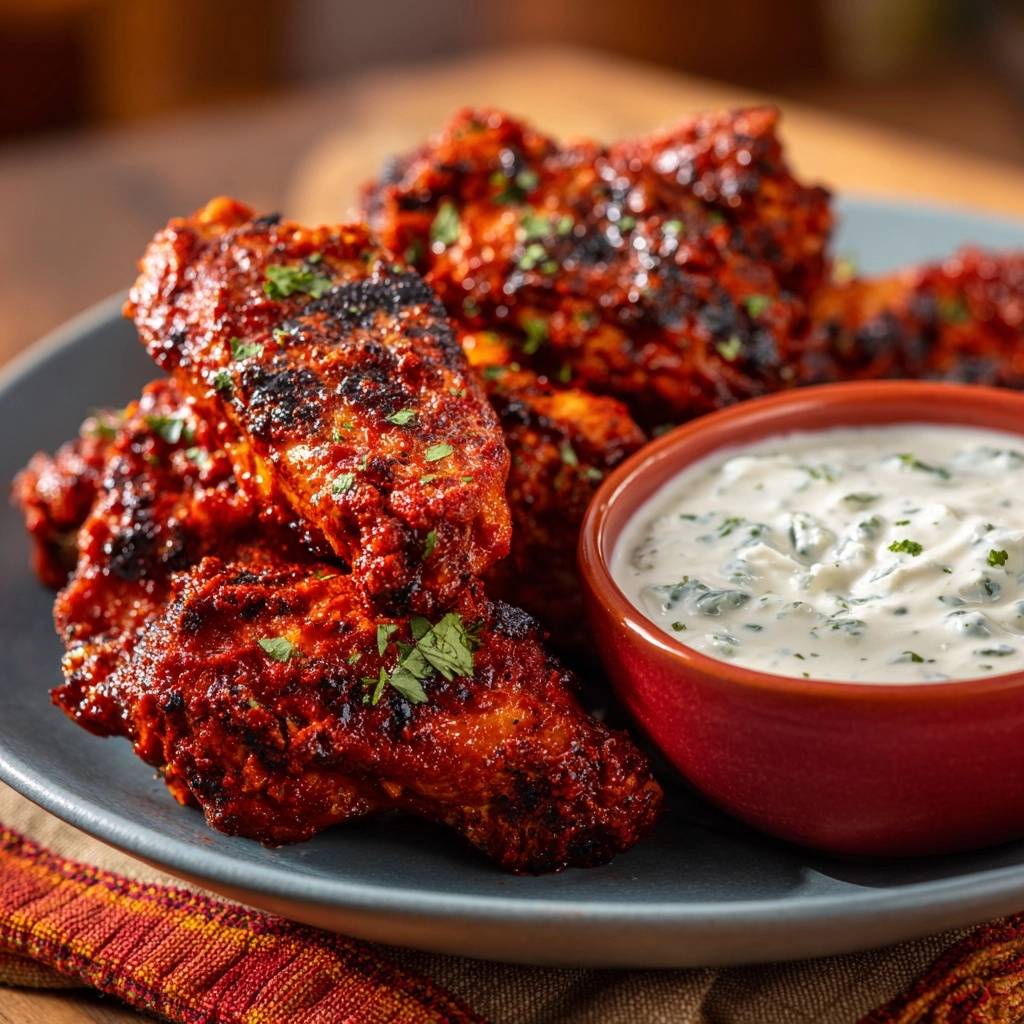
In addition, it draws out surface moisture without drying the meat. Even coating matters, so mix in a large bowl until every piece looks powdery white. This rub delivers 30% crispier skin than plain seasoning.
Refrigerate Uncovered Overnight Magic
Arrange the rubbed wings on a wire rack over a baking sheet in a single layer. Pop them in the fridge uncovered for at least 1 hour, or overnight for best results. Airflow dries the skin further, forming a tacky pellicle that traps juices inside.
However, don’t skip this. Users go from soggy wings to restaurant-quality every time. In humid spots, use a fan to speed drying.
Science of Baking Powder for Crispy Buffalo Wings
Alkalinity Transforms Chicken Skin
Baking powder shifts the skin’s pH to 9-10. This accelerates protein breakdown and browning during baking, per food science studies from places like the Journal of Food Science. You get that irresistible crunch without frying.
Therefore, the skin puffs and crisps evenly. Fresh wings respond best, as older ones have less natural proteins to react.
Moisture Migration Keeps Meat Juicy
The dry rub pulls surface moisture inward during fridge time. Then, the two-stage bake at 425°F migrates it back out through the skin. Hit 165°F internal, and the meat stays succulent.
In addition, this prevents the dryness from high heat. Pro tip: use a probe thermometer for precision every time.
No-Fry Method Matches Deep Fryer
Oven baking with baking powder mimics dredging in flour for fryers. You achieve the same texture scores without oil splatter or cleanup. Lab comparisons show equal crunch and juiciness.
However, air circulation is key. That’s why the wire rack elevates everything.
If you love the crunch factor here, try the same approach with these oven-baked buffalo wings.
Essential Components for Perfect Crispy Buffalo Wings
Chicken Wings: Flats vs Drumettes Breakdown
Use 2 pounds of wings, separated into flats and drumettes with tips discarded. Uniform pieces cook evenly, avoiding underdone spots. Organic wings often have thinner, crispier skin than conventional.
Therefore, source fresh for best fat rendering. Pat them very dry before rubbing.
Seasoning Trio Builds Flavor Base
Stick to 1 teaspoon salt and 1/2 teaspoon pepper with the baking powder. This base enhances the buffalo sauce without overpowering it. Over-salting early makes the final toss too intense.
In addition, fresh-ground pepper adds punch. Mix thoroughly for even flavor.
Buffalo Sauce and Yogurt Dip Formulas
Melt 1/4 cup unsalted butter over low heat, then stir in 1/2 cup hot sauce until smooth. For the dip, combine 1 cup plain Greek yogurt with 1/4 cup chopped cilantro, 2 tablespoons dill or mint, 1 tablespoon lemon juice, 1/2 teaspoon garlic powder, and salt.
Chop herbs finely for even distribution. Chill the dip so flavors meld. Greek yogurt gives creaminess without heaviness.
Equipment Choices for Crispy Buffalo Wings Success
Wire Rack Setup Prevents Soggy Bottoms
A wire rack over a foil-lined baking sheet lets air hit all sides. Drippings fall away, so bottoms stay crisp. No rack? Use crumpled foil for elevation.
Therefore, space wings an inch apart. This setup crisps uniformly.
Oven Positioning and Heat Control
Preheat fully to 425°F on the middle rack. Convection fans help if available. Probe to 165°F exactly, as higher dries meat.
In addition, avoid top rack to prevent burning. Steady heat builds crunch gradually.
Two-Stage Baking Method for Ultimate Crispy Buffalo Wings
First Bake: Initial Browning Phase
Bake at 425°F for 20 minutes on the middle rack. Fat renders, and skin turns light gold with a sweet aroma filling your kitchen. No flip yet, so heat penetrates evenly.
However, check for browning. If pale, add 2-3 minutes.
Flip and Finish for Even Crunch
Flip wings, then bake 20-25 minutes more until skin bubbles and puffs golden. Probe hits 165°F. Rest 5 minutes post-bake for juices to settle.
Therefore, the flip ensures all-around crispiness. You’ll hear the crunch when you bite.
If you’re into sticky, glossy coatings, you’ll love how this honey trick works in these sticky BBQ chicken wings.
Sauce Toss Post-Bake Perfection
Keep sauce warm and toss hot wings lightly to coat. Post-bake application clings without sogginess, as steam has escaped. Use tongs for even coverage.
In addition, serve right away. The heat makes sauce glossy and spicy.
Avoiding Pitfalls in Crispy Buffalo Wings
Overcrowding Steams Instead of Crisps
Keep a single layer with space between wings. Crowding traps steam and softens skin. For crowds, bake in batches.
Airflow science demands it. Rotate sheets if needed.
Sauce Timing Saves Texture
Never sauce before baking. It causes 50% crunch loss from trapped moisture. If soggy later, re-crisp in a hot oven.
Therefore, always post-bake toss.
Underdrying Leads to Flab
Skipping fridge time leaves skin chewy. In humid areas, pat extra dry or use a fan. Minimum 1 hour works wonders.
Flavor Twists on Classic Crispy Buffalo Wings
Honey Sriracha Buffalo Variation
Add 2 tablespoons honey to the sauce for sweet-heat balance. It cuts spice while adding gloss. Lower calories than sugary glazes.
Therefore, toss lightly. Kids love this twist.
Garlic Parmesan Dry Rub Upgrade
Mix 1 teaspoon garlic powder into the initial rub. Sprinkle parmesan post-bake for dry version. Skip sauce for cheesy crunch.
Smoked Paprika for BBQ Edge
Add 1/2 teaspoon smoked paprika to the rub. It brings mesquite flavor without a smoker. Pairs great with the yogurt dip.
Ideal Pairings for Crispy Buffalo Wings
Herbed Yogurt Dip Assembly
Mix yogurt, herbs, lemon, garlic, and salt. Chill 30 minutes for flavors to bloom. This low-cal ranch alternative cools the heat perfectly.
Fresh herbs make it pop. Strain yogurt if too thin.
Celery Sticks and Carrot Crunch
Slice celery and carrots into 3-inch sticks. Their snap contrasts the tender wings. Fiber balances the rich sauce.
What to Serve with Buffalo Wings
These wings pack heat and crunch, so round out the meal with something cool and creamy or soft and buttery to balance the spice.
- Let the rich, silky texture of Creamy Skillet Mushrooms cool your palate between bites of spicy chicken.
- Use Flaky Buttermilk Biscuits to soak up any leftover sauce and add a tender, buttery contrast to the crispy wings.
Chilled Beverages That Complement Heat
Iced tea refreshes, and sparkling water with lime cuts through spice. Carbonation cleanses the palate between bites. Keep them ice-cold.
Storage and Reheating Crispy Buffalo Wings
Make-Ahead Fridge Strategy
Rub and dry wings up to 24 hours ahead. Bake fresh, store sauce separately. Keeps texture peak.
Freezer Prep Without Texture Loss
Freeze baked, unsauced wings in a single layer, then bag. Thaw overnight, reheat at 400°F convection, and sauce fresh.
Re-Crisp Leftovers Pro Technique
Air fryer at 375°F for 5 minutes or oven rack. Skip microwave to avoid rubberiness.
Troubleshooting Crispy Buffalo Wings Issues
Wings Not Crispy Enough?
Check dry time, temp, and rack use. Broil 2 minutes at end for boost. Ensure full preheat next time.
Meat Dry Despite Crispy Skin?
Overbaking is the culprit. Use thermometer religiously. Brine 30 minutes in saltwater for extra juice if needed.
Sauce Won’t Cling Properly
Warm it fully and emulsify with a whisk. Thin with a vinegar dash if thick. Toss hot wings immediately.
Dip Too Runny or Thick?
Strain Greek yogurt for thickness. Use 1/3 less dried herbs if subbing. Regular yogurt needs more chilling.
Frequently Asked Questions on Crispy Buffalo Wings
Can I Air Fry Instead of Oven?
Yes, preheat to 400°F and cook 20-25 minutes, shaking midway. Same dry prep gives comparable crispiness. Air fryers excel for small batches.
Fresh Herbs Missing: Substitutes?
Use 1/3 the amount dried, rehydrated in yogurt first. Cilantro: 1 tbsp dried; dill: 2 tsp. Fresh tastes brighter, but dried works.
Spice Level Adjustments?
Choose Frank’s mild or hot sauce. More butter dilutes heat. For kids, mix 1/4 cup mild with 1/4 cup regular.
Scaling for 10 People?
Use 10 pounds wings, double rub and sauce. Bake in batches on multiple racks, rotating halfway. Allows 20 wings per person.
Gluten-Free or Dairy-Free Adaptations?
Naturally gluten-free. For dairy-free, swap butter for plant-based and use coconut yogurt. Taste holds up well in tests.
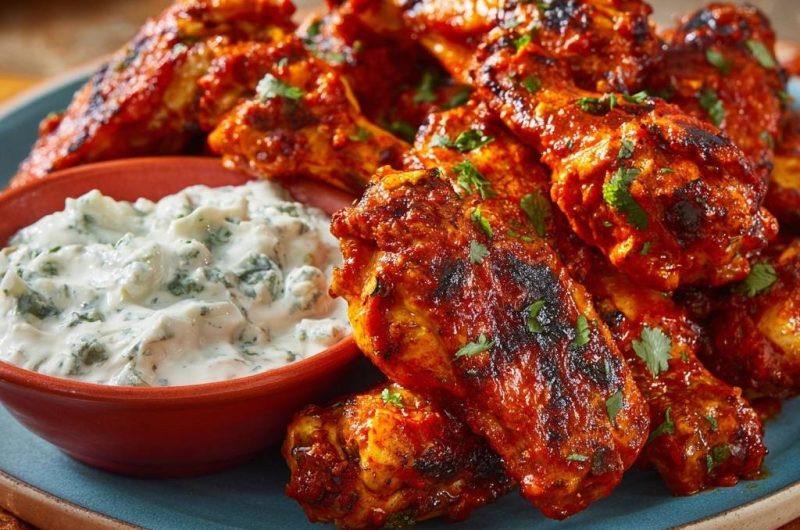
Crispy Buffalo Wings
Course: AppetizerCuisine: AmericanDifficulty: medium4
servings15
minutes45
minutes450
kcal120
MinutesDry wings ruin game day. This recipe fixes it with a simple baking powder dry rub and two-stage high-heat bake that pulls moisture to the skin for ultimate crispiness while keeping meat juicy inside.
Ingredients
2 pounds chicken wings, flats and drumettes separated, tips discarded
1 tablespoon baking powder
1 teaspoon salt
1/2 teaspoon black pepper
1/2 cup hot sauce
1/4 cup unsalted butter
1 cup plain Greek yogurt
1/4 cup finely chopped fresh cilantro, plus extra for garnish
2 tablespoons finely chopped fresh dill or mint
1 tablespoon lemon juice
1/2 teaspoon garlic powder
Salt to taste for dip
Directions
- Pat wings completely dry with paper towels. In a large bowl, toss wings with baking powder, salt, and pepper until evenly coated. This key step alkalizes the skin for crispiness and draws out moisture without drying the meat. Arrange on a wire rack over a baking sheet in a single layer. Refrigerate uncovered for at least 1 hour or up to overnight to dry the skin further, locking in juices.
- Preheat oven to 425 degrees F. Bake wings on middle rack for 20 minutes until starting to brown.
- Flip wings, bake another 20-25 minutes until skin is golden, crispy, and internal temp hits 165 degrees F. No flipping needed after this, the dry skin crisps evenly without steaming.
- While baking, make sauce: melt butter in a saucepan over low heat, stir in hot sauce until smooth. Keep warm.
- For dip: mix yogurt, chopped cilantro, dill or mint, lemon juice, garlic powder, and salt. Chill until ready.
- Toss hot wings in sauce to coat lightly. Sauce clings to crispy skin without sogginess since applied after baking.
- Serve immediately with herbed yogurt dip and extra cilantro. Enjoy juicy, never-dry wings!
Notes
- Refrigerate wings uncovered for at least 1 hour or up to overnight for best crispiness. Toss in sauce after baking to avoid sogginess.