Mastering Sticky BBQ Beef Burnt Ends
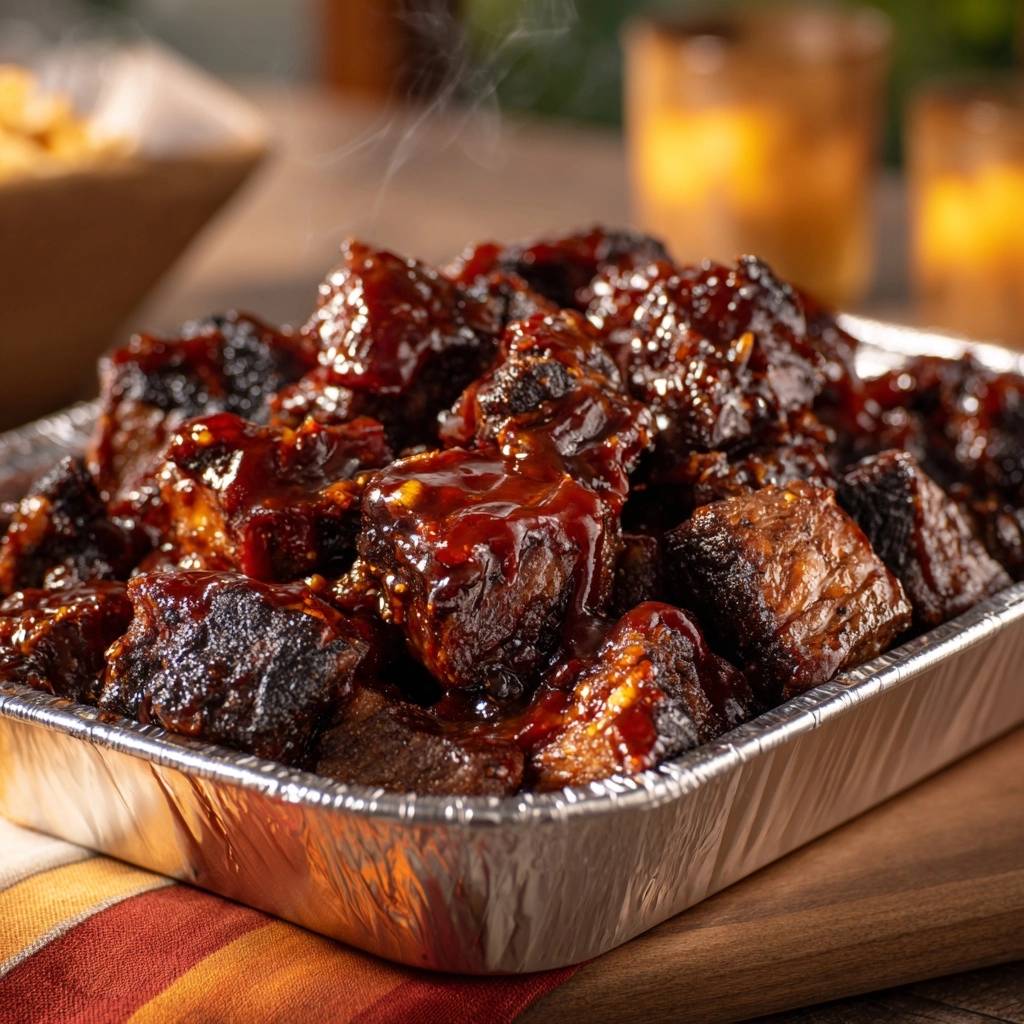
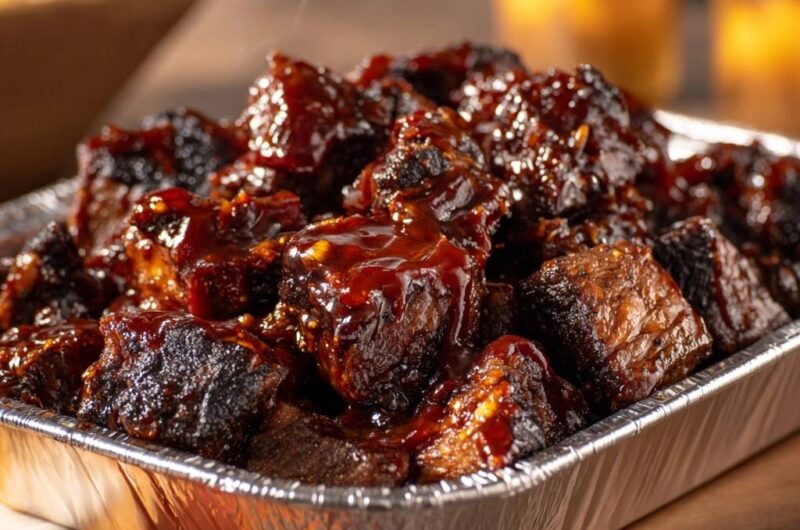
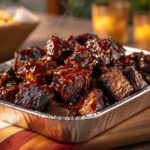
Imagine biting into a cube of beef that has a dark, caramelized crust on the outside but yields to a buttery, melt-in-your-mouth center the moment it hits your tongue. That perfect balance of smoke, salt, and sweetness is the hallmark of legendary BBQ. However, many home cooks end up with “meat rocks”—tough, rubbery cubes that feel more like a jaw workout than a delicacy.
If you enjoy working with caramelized beef edges, you’ll love these gooey cheeseburger sliders for a similar rich, savory finish.
The frustration of spending hours at the smoker only to produce dry beef is real. Most people fail because they treat these cubes like steak, cooking them too fast or failing to break down the stubborn connective tissue. This recipe solves that problem by utilizing a specific two-stage rendering process that guarantees tenderness every single time.
The secret to success lies in the transition from dry heat to a pressurized braise. By sealing the beef in a foil-wrapped environment with butter and broth midway through the cook, you force the collagen to liquefy. This creates that signature “meat candy” texture that vanishes within minutes of hitting the serving platter. I’ve found that a tight foil seal is the difference between a chewy disaster and a BBQ masterpiece.
The Mechanics of Tenderness: Why Beef Gets Tough
Beef cuts like brisket point and chuck roast are packed with collagen, a tough protein that holds muscle fibers together. If you grill these cubes over high heat, the proteins tighten up and become incredibly tough. Therefore, you must use low temperatures and plenty of time to transform that collagen into silky gelatin.
The magic happens between 165°F and 200°F. At the lower end of this range, the meat begins to “stall” as moisture evaporates from the surface. By wrapping the meat once it hits 165°F, you stop that evaporation and use the trapped steam to melt the internal fats. This ensures the final product is succulent rather than stringy.
Essential Components for Sticky BBQ Beef Burnt Ends
Every ingredient in this lineup serves a functional purpose beyond just adding flavor. For instance, yellow mustard is the ultimate binder. It acts as a surfactant, helping the dry rub stick to the meat without sliding off during the initial smoke. Don’t worry about the flavor; the vinegar in the mustard evaporates, leaving no trace of a mustard taste behind.
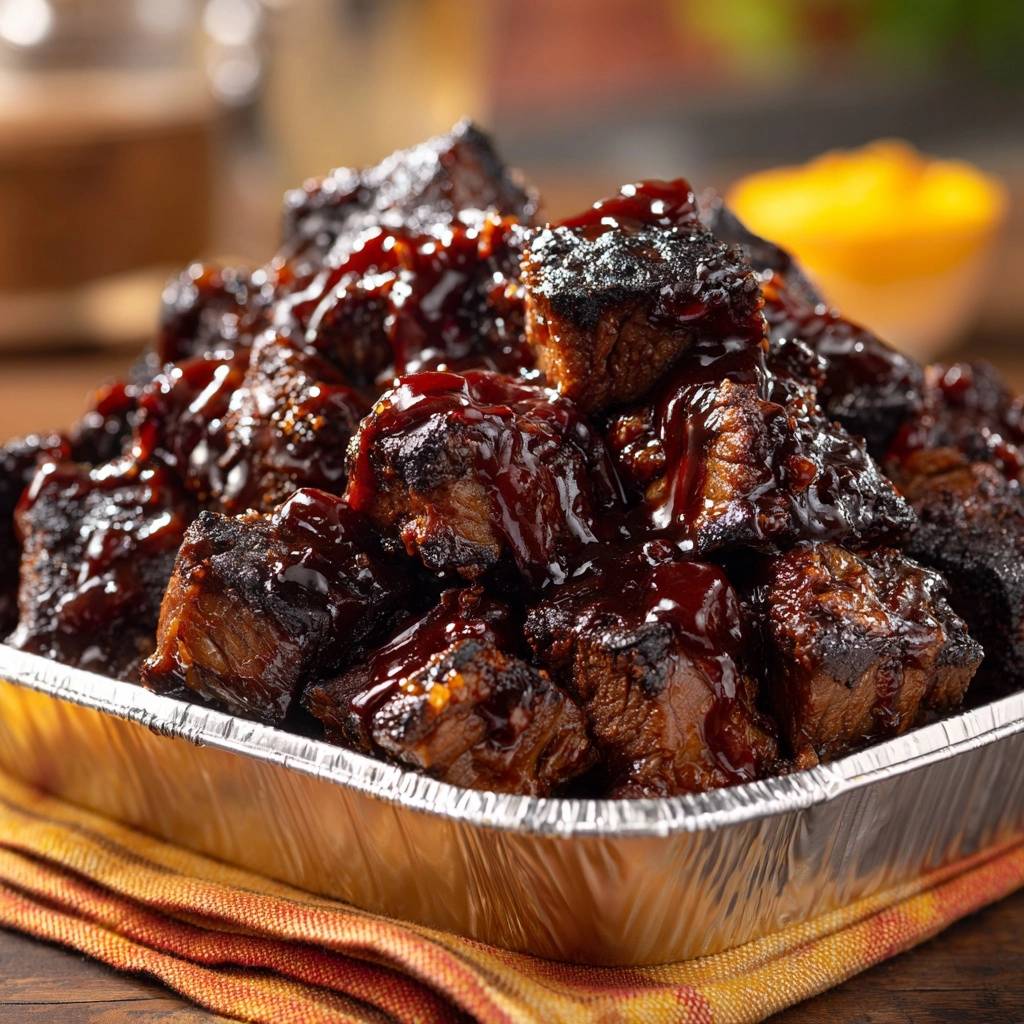
The dry rub provides the foundation for the “bark,” which is the dark, flavorful crust on the exterior. In addition to the spices, the beef broth and butter used in the second stage are vital. They provide the moisture and fat needed to braise the beef from the inside out, ensuring the cubes don’t dry out while they soften.
The same rich, caramelized beef flavor works beautifully in these savory beef hand pies.
Selecting the Right Cut: Brisket vs. Chuck
Traditionally, burnt ends come from the “point” of a brisket, which is the fattier, marbled end of the whole packer. If you can’t find a brisket point, a well-marbled chuck roast is a fantastic alternative. Look for a roast with heavy white flecks of intramuscular fat, as this fat will render down and keep the meat moist during the five-hour journey.
The Anatomy of a Balanced BBQ Rub
A great rub needs a balance of savory, spicy, and sweet. Paprika provides the deep mahogany color, while garlic and onion powder add an earthy depth. Brown sugar is the most critical component for the “sticky” factor, as it caramelizes under heat. However, you must balance it with plenty of kosher salt to ensure the meat doesn’t become cloyingly sweet.
Phase One: Building the Bark and Smoke Profile
Start by cutting your beef into 1.5-inch cubes. This size is the “sweet spot” for BBQ. It provides enough surface area for the smoke and rub to create a thick bark, but it’s large enough that the center won’t dry out before the collagen breaks down. Toss them thoroughly in the rub until they look like dark, spice-covered nuggets.
Place the cubes on the smoker at 250°F. During these first three hours, you are looking for the “bark” to set. It should be dark, almost black, and shouldn’t rub off when you touch it. Once the internal temperature hits 165°F, the meat has taken on all the smoke flavor it needs, and it’s time to move to the softening phase.
Phase Two: The Foil Seal and Braising Technique
This is the “Anti-Chewy Meat Hack” that changes everything. Transfer the cubes into an aluminum pan and dot them with butter, honey, and a splash of beef broth. Cover the pan with heavy-duty foil, crimping the edges tightly. You want to create a pressurized steam chamber that forces moisture back into the muscle fibers.
The butter adds a rich mouthfeel, while the honey begins the glazing process from the bottom up. Let the beef braise in this liquid for about 90 minutes to two hours. You’ll know it’s ready when a toothpick or meat probe slides into the cubes with zero resistance, like it’s hitting a stick of warm butter.
Phase Three: Achieving the Signature Sticky Glaze
Once the meat is tender, it’s time for the final transformation. Drain most of the liquid from the pan, but leave just a little bit of that beefy gold at the bottom. Pour your favorite BBQ sauce over the cubes and toss them gently so you don’t break the tender meat apart.
Return the pan to the heat, uncovered, for the last 30 minutes. This allows the sauce to “tack up,” turning from a liquid into a thick, sticky glaze that clings to every corner of the beef. Watch it closely here; you want caramelization, not burnt sugar. The result should be shiny, dark, and incredibly fragrant.
Critical Equipment for Consistent BBQ Results
You cannot guess the doneness of beef burnt ends by looking at them. An instant-read meat thermometer is your best friend. It allows you to track the transition from the 165°F wrap point to the 200°F finish line. Without it, you’re just flying blind and risking a batch of dry meat.
Additionally, using a wire rack on top of your smoker grates makes it much easier to move 40 small cubes of meat at once. Heavy-duty aluminum foil is also a must. Standard foil tears easily, and if the steam escapes during the braising phase, the meat will stay tough regardless of how long you cook it.
Troubleshooting Common Burnt End Obstacles
If your meat is still tough after five hours, don’t panic. It simply means the collagen hasn’t finished melting. Cover the pan back up and give it another 30 minutes. Every piece of beef is different, and some just need a little more time in the “sauna” to give up their toughness.
If your glaze is too thin, it usually means there was too much liquid left in the pan before you added the sauce. You can fix this by simmering the sauce in a separate pot to thicken it before tossing, or simply extending the final uncovered cook time. Just be careful not to let the meat get mushy by over-handling it.
Optimal Pairings for Rich BBQ Beef
Since these burnt ends are incredibly rich, fatty, and sweet, you need side dishes that provide a sharp contrast. A vinegar-based coleslaw is the perfect partner because the acidity cuts right through the heavy beef fat. Pickled red onions or sliced jalapeños also provide a bright pop of flavor that cleanses the palate between bites.
What to serve with Sticky BBQ Beef Burnt Ends
These tender, caramelized beef pieces are rich and smoky, so you want something soft and mild to balance the plate.
- Bake a batch of soft buttery garlic herb dinner rolls to soak up any extra barbecue sauce clinging to the meat.
- For a cheese-laced option with a crisp edge, garlic herb cheddar biscuits add a sharp, savory contrast
For a classic BBQ spread, serve these alongside jalapeño cornbread or a simple potato salad. The goal is to have something starchy to soak up any extra sauce and something acidic to keep the meal from feeling too heavy. A cold glass of sparkling apple cider also complements the smoky sweetness beautifully.
Storage and Reheating Without Losing Moisture
If you have leftovers, store them in an airtight container in the fridge for up to four days. Avoid the microwave at all costs, as it will turn the fat rubbery and the meat dry. Instead, place the cubes in a small baking dish with a tablespoon of beef broth or water.
Cover the dish with foil and reheat in a 300°F oven for about 15 to 20 minutes. This gently warms the meat and thins out the glaze without overcooking the center. The beef will taste almost as good as it did the day it came off the smoker, maintaining that signature sticky integrity.
Expert BBQ Techniques FAQ
Can I make these in a standard oven?
Yes, you can absolutely achieve great results in a kitchen oven. Set your oven to 250°F and follow the same steps. To mimic the outdoor flavor, use a dry rub that includes smoked paprika or add a few drops of liquid smoke to the beef broth during the braising phase. The texture will be identical, even if the smoke profile is slightly more subtle.
Why are my burnt ends dry despite the sauce?
This usually happens if the meat was over-rendered before it was wrapped, or if it was cooked too long after the foil was removed. If the internal fat completely escapes the meat, you’re left with dry muscle fibers. To prevent this, ensure you wrap the meat tightly as soon as it hits 165°F and don’t let the final “tacking up” stage go longer than 30 minutes.
How do I scale this for a large crowd?
You can easily double or triple this recipe, but keep an eye on your smoker’s airflow. If the racks are too crowded, the smoke won’t circulate evenly, which can lead to uneven bark formation. You may need to add an extra hour to the initial smoke time if the smoker is completely packed. Always use multiple pans for the braising stage to ensure the cubes aren’t stacked too deep.
What is the best wood for smoking beef?
Beef can handle strong smoke profiles, so hardwoods like Oak, Hickory, or Mesquite are the top choices. Oak provides a classic, balanced smoke, while Hickory adds a distinct “bacon-like” aroma. Mesquite is very strong and should be used sparingly. Fruitwoods like apple or cherry are great for color but might be too mild to stand up to the rich flavor of the beef and BBQ sauce.
Can I skip the mustard binder?
You can skip it, but you’ll need another way to help the rub stick. A light coating of olive oil or a simple spritz of water or apple juice will work. However, mustard is the professional choice because it creates a better surface for the bark to grip onto. Since the mustard flavor completely disappears during the long cook, there is really no downside to using it.
Beef Burnt Ends
Course: Main CourseCuisine: AmericanDifficulty: mediumYields6
servingsPrep Time20
minutesCook Time5
hoursCalories485
kcalTotal Time320
MinutesA foolproof method for beef burnt ends using a tight foil seal to break down connective tissue and a high-heat glaze for a sticky, caramelized finish.
Ingredients
4 pounds beef brisket point or chuck roast, cut into 1.5 inch cubes
3 tablespoons yellow mustard (as a binder)
1/2 cup beef dry rub (brown sugar, paprika, garlic powder, onion powder, salt, and black pepper)
1 cup high-quality BBQ sauce
1/4 cup honey
2 tablespoons unsalted butter, cubed
1/4 cup beef broth
Directions
- Preheat your smoker or oven to 250 degrees F.
- Place the beef cubes in a large bowl and coat them evenly with yellow mustard. This acts as a binder and will not leave a mustard taste.
- Toss the cubes in the dry rub until every side is heavily coated.
- Arrange the beef on a wire rack or directly on the smoker grates. Smoke for about 3 hours or until the internal temperature reaches 165 degrees F and a dark crust (bark) has formed.
- Transfer the meat cubes into a disposable aluminum foil pan. This is the critical step to solve the chewiness issue.
- Add the butter cubes, honey, and beef broth to the pan. Cover the pan tightly with heavy-duty aluminum foil. The tight seal creates a braising environment that softens the muscle fibers.
- Return the covered pan to the heat for another 1.5 to 2 hours, or until the meat is fork-tender (around 200 degrees F internal).
- Remove the foil, drain most of the excess liquid, and pour the BBQ sauce over the meat. Toss to coat.
- Leave the pan uncovered and cook for a final 30 minutes. This allows the sauce to tack up and caramelize into a sticky glaze while the interior remains perfectly tender.
- Let rest for 10 minutes before serving to allow the juices to redistribute.
Notes
- The yellow mustard acts as a binder for the rub and will not leave a mustard taste after the long cooking process. Ensure a tight foil seal during the braising stage to guarantee a buttery texture.