Rich Glazed Chicken: The Secret to Juicy Perfection
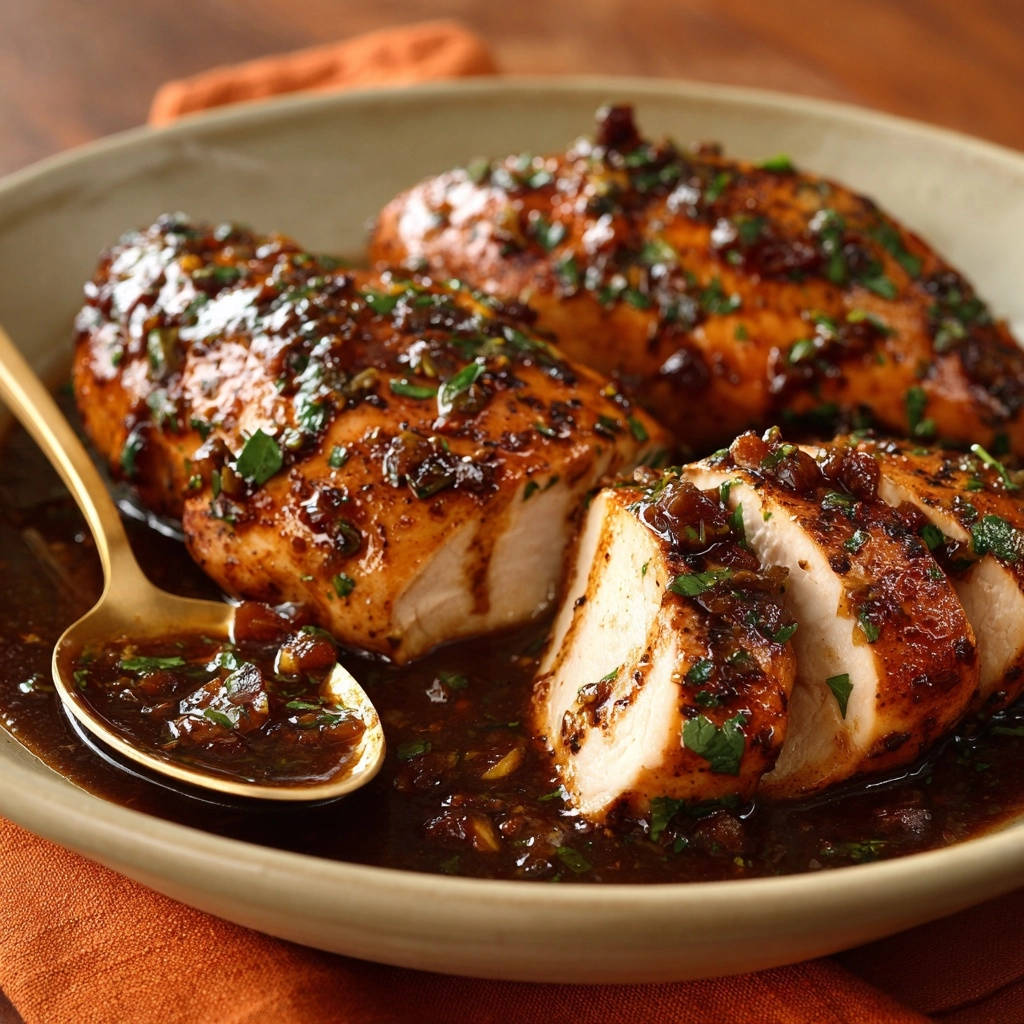
There’s nothing quite as disheartening as biting into what looks like perfectly cooked chicken, only to find it dry and bland. I’ve experienced that disappointment too many times, but I’ve finally cracked the code to consistently juicy, flavorful chicken every single time.
This Rich Glazed Chicken recipe isn’t just about a delicious sweet and savory sauce; it’s a masterclass in moisture retention, ensuring succulent results that will impress anyone at your table. Get ready to transform your weeknight dinners into a restaurant-worthy experience.
Why This Rich Glazed Chicken Will Be Your New Favorite
Mastering Moisture: The “Never Dry” Promise
Many home cooks struggle with dry chicken breasts, which can easily become overcooked and stringy. This recipe’s secret weapon is a crucial resting technique that guarantees succulent, tender meat every time.
By allowing the chicken to rest, the internal juices redistribute throughout the meat, resulting in an incredibly moist and flavorful bite.
Effortless Elegance: Weeknight Meal, Restaurant Feel
Despite its sophisticated flavor profile and impressive presentation, this Rich Glazed Chicken recipe is surprisingly simple to prepare. It involves straightforward steps perfect for busy weeknights.
Yet, the rich, glossy glaze and perfectly cooked chicken elevate it to a dish suitable for entertaining guests or a special occasion.
Flavor Depth: A Harmonious Sweet & Savory Glaze
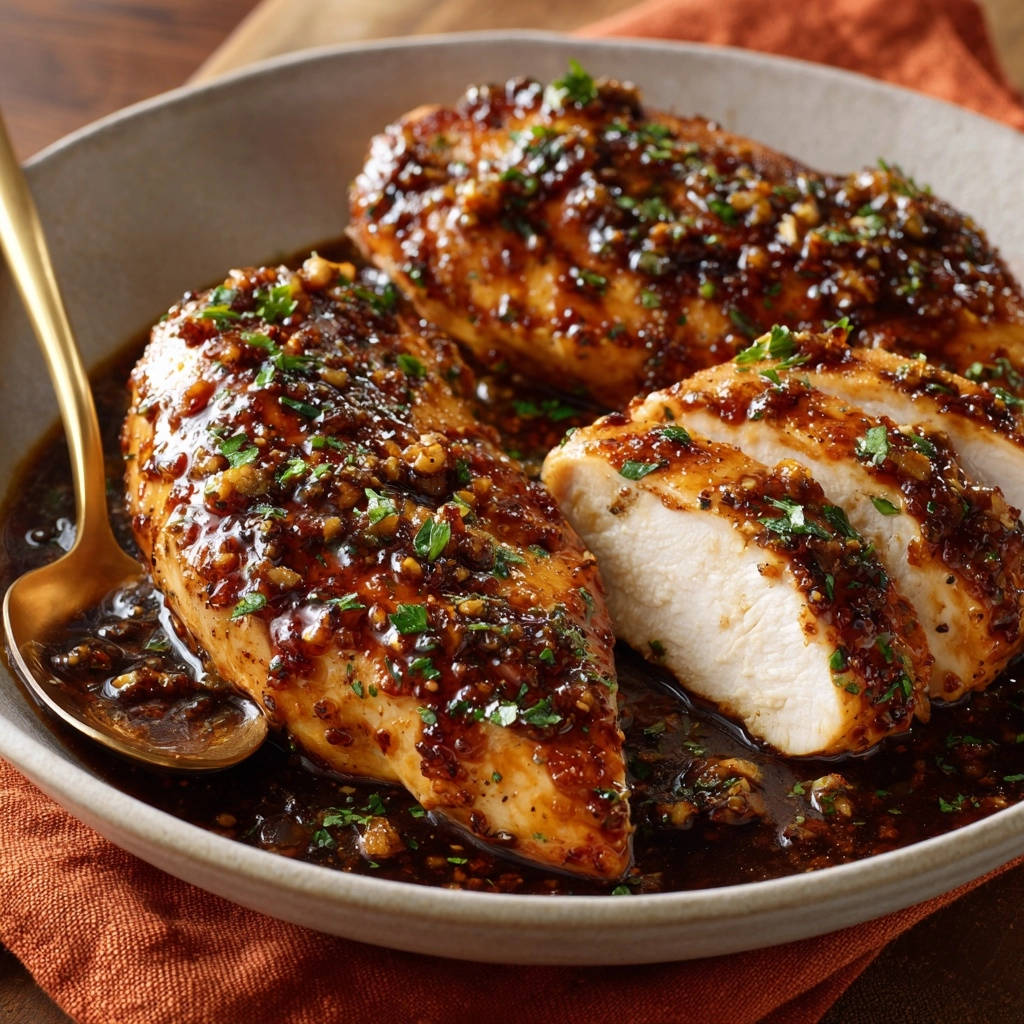
The star of this dish, beyond the perfectly cooked chicken, is its incredible glaze. It strikes a beautiful balance between sweet, savory, and tangy notes.
The interplay of balsamic vinegar, brown sugar, and soy sauce creates a complex, irresistible sauce that coats every piece of chicken beautifully.
Customizable for Your Kitchen
This recipe is designed with flexibility in mind, allowing you to adapt it to your preferences and pantry staples. Whether it’s a slight adjustment to the glaze or a simple ingredient swap, it’s easy to make your own.
You can fine-tune the sauce’s consistency or substitute aromatics, ensuring this Rich Glazed Chicken always fits your taste.
Gather Your Ingredients: The Building Blocks of Flavor
Every exceptional dish begins with quality ingredients. Here’s a closer look at what makes this Rich Glazed Chicken so special and how to choose the best for your kitchen.
The Star: Boneless, Skinless Chicken Breasts
Opt for boneless, skinless chicken breasts of similar size, ideally around 6-8 ounces each. This ensures they cook evenly and quickly.
Their lean profile is perfect for absorbing the rich flavors of the glaze, and the absence of skin allows for direct flavor adherence.
Aromatics & Seasoning: Shallots, Garlic, Salt, Pepper
Finely chopped shallots provide a delicate, sweet onion flavor that forms the aromatic base of the glaze. If unavailable, half a small onion, very finely minced, makes an excellent substitute.
Fresh minced garlic adds a pungent warmth, while a generous seasoning of salt and black pepper on the chicken is crucial for building foundational flavor from the start.
The Rich Glaze Components: Broth, Balsamic, Brown Sugar, Soy Sauce
Low-sodium chicken broth adds savory depth and helps deglaze the pan, capturing all those delicious browned bits. Using low-sodium allows you to control the overall saltiness.
Balsamic vinegar introduces a wonderful tangy sweetness and complexity, deepening the glaze’s color and character. Packed brown sugar contributes a molasses-rich sweetness, balancing the vinegar’s acidity.
Low-sodium soy sauce delivers essential umami and a salty kick to the glaze. Again, low-sodium is key for flavor control.
The Finishing Touch: Fresh Parsley & Cornstarch Slurry
Fresh chopped parsley is added at the end, providing a vibrant pop of color and a fresh, herbaceous contrast to the rich glaze. It brightens the entire dish.
A cornstarch slurry, a mixture of cornstarch and cold water, is an optional yet effective way to thicken the glaze to your preferred consistency, giving it a luxurious mouthfeel.
Essential Kitchen Tools for Success
Large Skillet: Choose a skillet with a heavy bottom to ensure even heat distribution for a perfect sear. This prevents hot spots and promotes consistent cooking.
Meat Thermometer: Absolutely crucial for ensuring the chicken is cooked through to 165°F without overcooking. This is your best friend for juicy chicken, removing all guesswork.
Cutting Board & Foil: For resting the chicken, which is a critical step for moisture retention. The foil loosely tents the chicken, keeping it warm while juices redistribute.
Whisk: Essential for combining glaze ingredients smoothly and for incorporating the cornstarch slurry without lumps, ensuring a silky finish.
Your Step-by-Step Guide to Irresistible Rich Glazed Chicken
- Prep & Season the Chicken:
Pat the chicken breasts thoroughly dry with paper towels. This crucial step aids in achieving a golden, crispy sear, preventing the chicken from steaming in the pan.
Season generously all over with salt and pepper. Don’t be shy; this builds the foundational flavor for your delicious Rich Glazed Chicken from the inside out.
- Sear for a Golden Crust:
Heat the olive oil in a large skillet over medium-high heat until shimmering. Ensure the oil is hot enough for an immediate sizzle when the chicken is added.
Carefully place the chicken breasts in the hot skillet and sear for 5-7 minutes per side, until deeply golden brown. This initial sear creates a rich, flavorful crust and locks in initial moisture.
- Finish Cooking & Check Temperature:
Reduce the heat to medium-low, cover the skillet, and continue cooking for another 5-8 minutes, or until an internal temperature of 165°F is reached. Use a reliable meat thermometer inserted into the thickest part to confirm doneness.
Cooking with the lid on helps the chicken cook through gently and evenly, preventing dryness and ensuring tenderness.
- The Golden Rule: Rest the Chicken!
This is the most critical step for juicy chicken: Immediately transfer the cooked chicken breasts to a cutting board and tent loosely with foil.
Let them rest for at least 5-10 minutes. This essential resting period allows the muscle fibers to relax and the juices to redistribute throughout the meat, guaranteeing a tender, moist result. Do not skip this for truly succulent chicken!
- Craft the Rich, Savory Glaze:
While the chicken rests, add the chopped shallots to the same skillet (add a tiny bit more oil if needed) and cook over medium heat for 2-3 minutes until softened and translucent.
Stir in the minced garlic and cook for another 30 seconds until fragrant, being careful not to burn it, as burnt garlic can taste bitter.
Pour in the chicken broth, balsamic vinegar, brown sugar, and soy sauce. Bring the mixture to a simmer, scraping up any browned bits from the bottom of the pan to incorporate all that delicious “fond” into your Rich Glazed Chicken sauce.
Let it simmer for 3-5 minutes, until slightly reduced and thickened. If you prefer a noticeably thicker glaze, stir in the cornstarch slurry (cornstarch mixed with cold water) and cook for another minute until it reaches your desired consistency.
- Return & Coat:
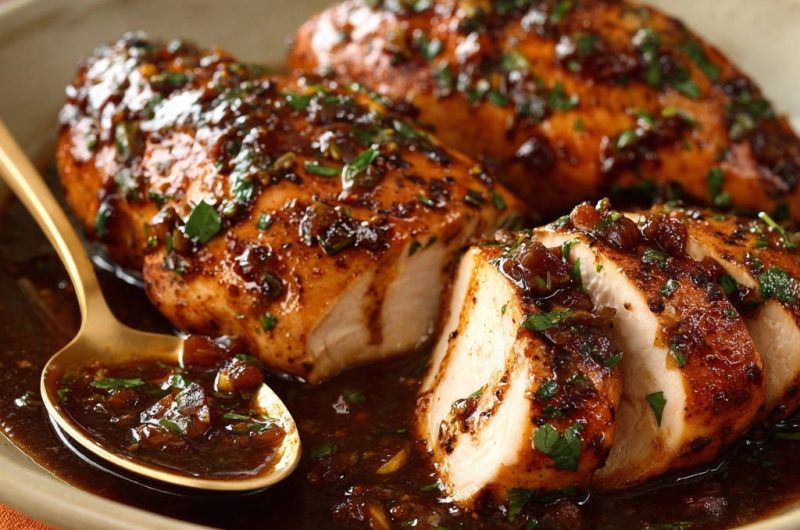
Return the rested chicken breasts to the skillet with the glaze. Spoon the rich glaze generously over them, turning to coat each piece thoroughly and evenly.
Cook for just 1 minute to warm the chicken through and ensure it’s beautifully enrobed in the luscious sauce, maximizing flavor.
- Garnish & Serve:
Garnish with fresh chopped parsley before serving for a pop of color and fresh flavor. This adds a vibrant, appealing finish to your Rich Glazed Chicken.
Slice the chicken against the grain to reveal its juicy interior, and spoon extra glaze over each piece for an exquisite presentation and taste. Enjoy every succulent bite!
Chef’s Secrets: Elevating Your Rich Glazed Chicken
Unlock even greater success and flavor with these expert tips, ensuring your Rich Glazed Chicken is always a standout dish.
Achieving the Perfect Chicken Sear
The key to a beautiful sear is a dry chicken breast and a hot pan. Excess moisture prevents browning, so patting the chicken thoroughly dry is non-negotiable.
Avoid overcrowding the skillet; cook the chicken in batches if necessary. Overcrowding lowers the pan temperature, leading to steamed rather than seared chicken.
Customizing Your Glaze’s Flavor & Consistency
Taste the glaze before adding the chicken back and adjust as needed. For more tang, add a splash more balsamic; for increased sweetness, a pinch more brown sugar can work wonders.
If you desire a thinner glaze, a touch more broth can thin it out. For a thicker, more luxurious sauce, don’t hesitate to use the cornstarch slurry, adding it slowly until your desired consistency is achieved.
Ingredient Substitutions & Adaptations
If shallots are unavailable, a finely minced yellow or red onion works well. For a gluten-free version of this Rich Glazed Chicken, simply use tamari instead of regular soy sauce.
You can also experiment with different vinegars, like red wine vinegar or apple cider vinegar, for subtle flavor variations in the glaze.
The Magic of Resting: A Deeper Dive
Resting the chicken allows the muscle fibers, which contract and tighten during cooking, to relax. This relaxation enables the juices that have migrated to the center of the meat to redistribute throughout.
Skipping this step means when you slice the chicken, those precious juices will simply run out onto your cutting board, leaving you with dry meat. Always give your chicken the rest it deserves.
Perfect Pairings: What to Serve with Rich Glazed Chicken
Complement your delicious Rich Glazed Chicken with sides that enhance its flavors without overpowering them.
If you enjoy this sweet glaze approach, try these sticky pineapple chicken thighs for a fruity twist.
Simple Starches & Grains
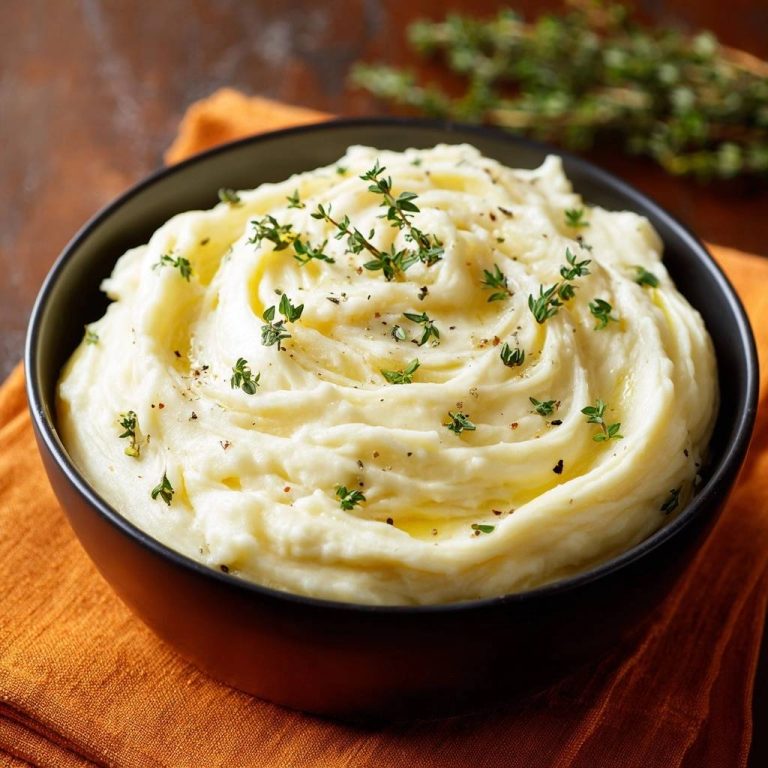
Fluffy white rice, quinoa, or creamy mashed potatoes are excellent choices for absorbing every drop of the luscious glaze. They provide a comforting base that pairs beautifully with the rich chicken.
Consider a simple couscous or farro for a slightly more textural grain option that still allows the main dish to shine.
Fresh & Vibrant Vegetables
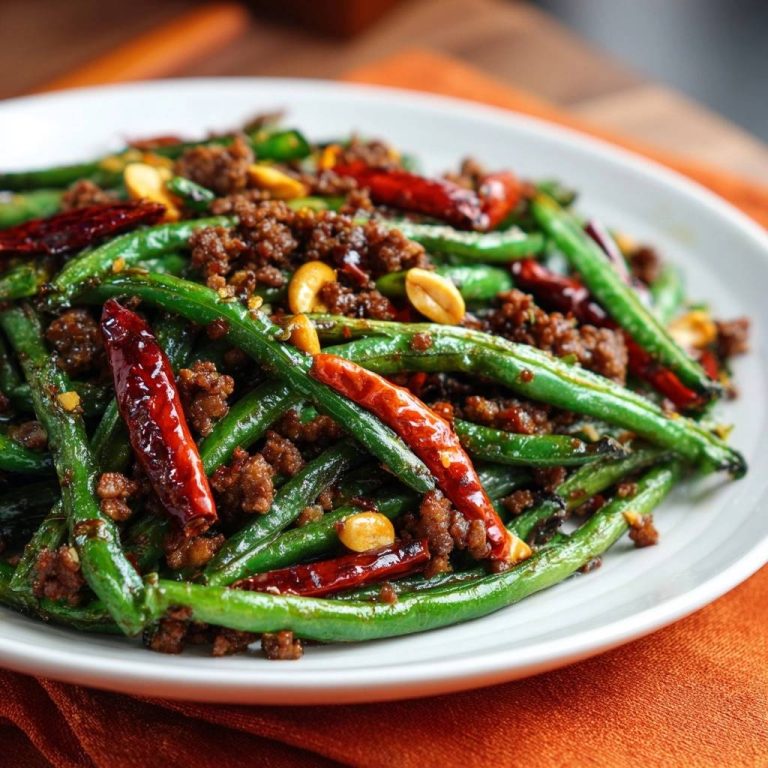
Lightly steamed green beans, roasted asparagus spears, or tender broccolini add freshness and a welcome textural contrast. A simple side salad with a vinaigrette also provides a bright, acidic counterpoint.
Roasted carrots or sweet potatoes can offer a delightful sweetness that harmonizes with the glaze.
Hearty Bread for Sopping Up Glaze
A crusty baguette or soft dinner rolls are perfect for soaking up any leftover glaze from your plate. This ensures not a single drop of that incredible flavor goes to waste.
Beverage Pairings
For a refreshing option, a crisp sparkling grape juice would complement the sweet and savory notes. For non-alcoholic options, sparkling cider, lemonade, or iced tea are refreshing choices.
For a perfect pairing, try our Mastering Pan-Seared Blackberry Balsamic Chicken.
Troubleshooting Common Rich Glazed Chicken Challenges
Problem: My Chicken is Dry!
Solution: The most common culprit is overcooking. Always use a meat thermometer to ensure chicken reaches exactly 165°F (74°C) and no higher. Additionally, make sure you rest the chicken for the full 5-10 minutes after cooking; this allows juices to redistribute.
Problem: The Glaze is Too Thin/Thick
Solution: If your glaze is too thin, continue simmering for a few more minutes to allow it to reduce further. If it’s too thick, add a tablespoon or two of chicken broth or water to thin it out to your desired consistency.
Remember, the cornstarch slurry is optional; use it only if you desire a noticeably thicker sauce. Ensure you mix cornstarch with cold water before adding to prevent lumps.
Problem: My Glaze Lacks Flavor
Solution: Ensure you’re scraping up all the “fond” (browned bits) from the bottom of the pan after searing the chicken; these are packed with flavor. Taste and adjust seasonings – you might need a pinch more salt, a dash more balsamic vinegar for tang, or a spoonful of brown sugar for sweetness.
Problem: Chicken Skin is Not Crispy (If using skin-on)
Solution: Although this recipe uses skinless chicken, if adapting, ensure the chicken is very dry before searing and that the skillet is hot enough. Don’t overcrowd the pan, as this lowers the temperature and steams the chicken instead of searing.
Rich Glazed Chicken FAQs
Can I make Rich Glazed Chicken ahead of time?
While best served fresh, you can cook the chicken and prepare the glaze separately. Store them in airtight containers in the refrigerator for up to 3 days. Reheat gently in a skillet over low heat, adding a splash of broth if needed, until warmed through.
Is this recipe freezer-friendly?
Cooked Rich Glazed Chicken can be frozen for up to 2-3 months. Cool completely, then store in an airtight, freezer-safe container. Thaw overnight in the refrigerator and reheat gently.
Can I use chicken thighs instead of breasts?
Absolutely! Chicken thighs will work beautifully and are often more forgiving due to their higher fat content. Adjust cooking times slightly; thighs may require a few extra minutes to reach 165°F (74°C).
How can I make this recipe gluten-free?
The primary ingredient to watch for is soy sauce. Simply substitute regular soy sauce with a tamari or a certified gluten-free soy sauce alternative.
What if I don’t have shallots?
Finely chopped onion, particularly a sweet onion, can be used as a direct substitute for shallots in the glaze. The flavor will be slightly different but still delicious.
Ready to Impress? Share Your Rich Glazed Chicken Masterpiece!
With this recipe, you now possess the secret to consistently juicy, profoundly flavorful Rich Glazed Chicken that will earn rave reviews. Say goodbye to dry, bland chicken and hello to a dish that feels both elegant and effortlessly achievable.
What to Serve With Rich Glazed Chicken
To round out your chicken dinner, these two recipes bring complementary textures and flavors without stealing the spotlight.
- Soak up every bit of the glaze with a batch of soft buttery garlic herb dinner rolls — their gentle garlic and tender crumb are made for
We encourage you to try this recipe, experiment with your own twists, and most importantly, share your culinary success! Don’t forget to leave a comment below with your experience or any delicious serving ideas. Happy cooking!
Glazed Chicken
Course: Main CourseCuisine: AmericanDifficulty: easyServings2
servingsPrep time15
minutesCooking time25
minutesCalories350
kcalTotal time50
minutesDiscover the secret to perfectly juicy, flavorful chicken breasts every time with this simple trick. Paired with a rich, delicious balsamic glaze, this dish will transform your weeknight dinners. Say goodbye to dry chicken forever!
Ingredients
2 boneless, skinless chicken breasts (about 6-8 oz each)
1 tablespoon olive oil
1/2 teaspoon salt
1/4 teaspoon black pepper
2 tablespoons finely chopped shallots (or half a small onion)
2 cloves garlic, minced
1/2 cup chicken broth (low sodium)
2 tablespoons balsamic vinegar
1 tablespoon brown sugar (packed)
1 tablespoon soy sauce (low sodium)
1 teaspoon cornstarch mixed with 1 tablespoon cold water (optional, for thicker sauce)
2 tablespoons fresh parsley, chopped
Directions
- Pat the chicken breasts thoroughly dry with paper towels. Season generously all over with salt and pepper. This helps create a beautiful sear and locks in moisture.
- Heat the olive oil in a large skillet over medium-high heat until shimmering. Carefully place the chicken breasts in the hot skillet and sear for 5-7 minutes per side, until deeply golden brown. This initial sear creates a flavorful crust.
- Reduce the heat to medium-low, cover the skillet, and continue cooking for another 5-8 minutes, or until an internal temperature of 165°F is reached. Using a meat thermometer is key here to avoid overcooking.
- This is the most crucial step for juicy chicken: Transfer the cooked chicken breasts to a cutting board and tent loosely with foil. Let them rest for at least 5-10 minutes. This allows the juices to redistribute throughout the meat, guaranteeing a tender, moist result. Do not skip this!
- While the chicken rests, make the glaze. Add the chopped shallots to the same skillet (add a tiny bit more oil if needed) and cook over medium heat for 2-3 minutes until softened. Stir in the minced garlic and cook for another 30 seconds until fragrant.
- Pour in the chicken broth, balsamic vinegar, brown sugar, and soy sauce. Bring the mixture to a simmer, scraping up any browned bits from the bottom of the pan. Let it simmer for 3-5 minutes, until slightly reduced. If you prefer a thicker glaze, stir in the cornstarch slurry and cook for another minute until it thickens.
- Return the rested chicken breasts to the skillet and spoon the rich glaze over them, turning to coat. Cook for 1 minute to warm through and ensure they are well coated in the sauce.
- Garnish with fresh chopped parsley before serving. Slice the chicken against the grain to reveal its juicy interior, and spoon extra glaze over each piece.
Notes
- Resting the chicken is crucial for moist, tender results.