Sticky Glazed Chicken Bites: Juicy Perfection in Every Bite
There’s nothing quite as disappointing as biting into what you hope are perfectly glazed chicken bites, only to find them dry and tough inside. I’ve certainly faced that culinary challenge more times than I care to admit!
Through countless tests, I’ve finally mastered the art of creating truly succulent chicken that’s coated in an irresistible, sticky, and caramelized glaze. This recipe for Sticky Glazed Chicken Bites delivers on both flavor and tenderness, making it a guaranteed favorite for any occasion.
Why This Sticky Glazed Chicken Bites Recipe Will Change Your Dinner Game
The Secret to Consistently Juicy Chicken
Unlike chicken breast, which can dry out quickly, this recipe utilizes boneless, skinless chicken thighs. Their higher fat content ensures the chicken stays incredibly juicy and flavorful, even when cooked at higher temperatures to achieve that beautiful sear.
The cooking method involves a quick sear for browning, followed by a gentle simmer in the glaze. This two-step process allows the chicken to finish cooking through slowly, locking in moisture and tenderness.
Achieving That Irresistibly Sticky, Caramelized Glaze
The magic of this glaze lies in the careful balance of sweet and savory ingredients, combined with a precise thickening technique. Using a cornstarch slurry ensures a smooth, glossy consistency that perfectly coats each piece of chicken.
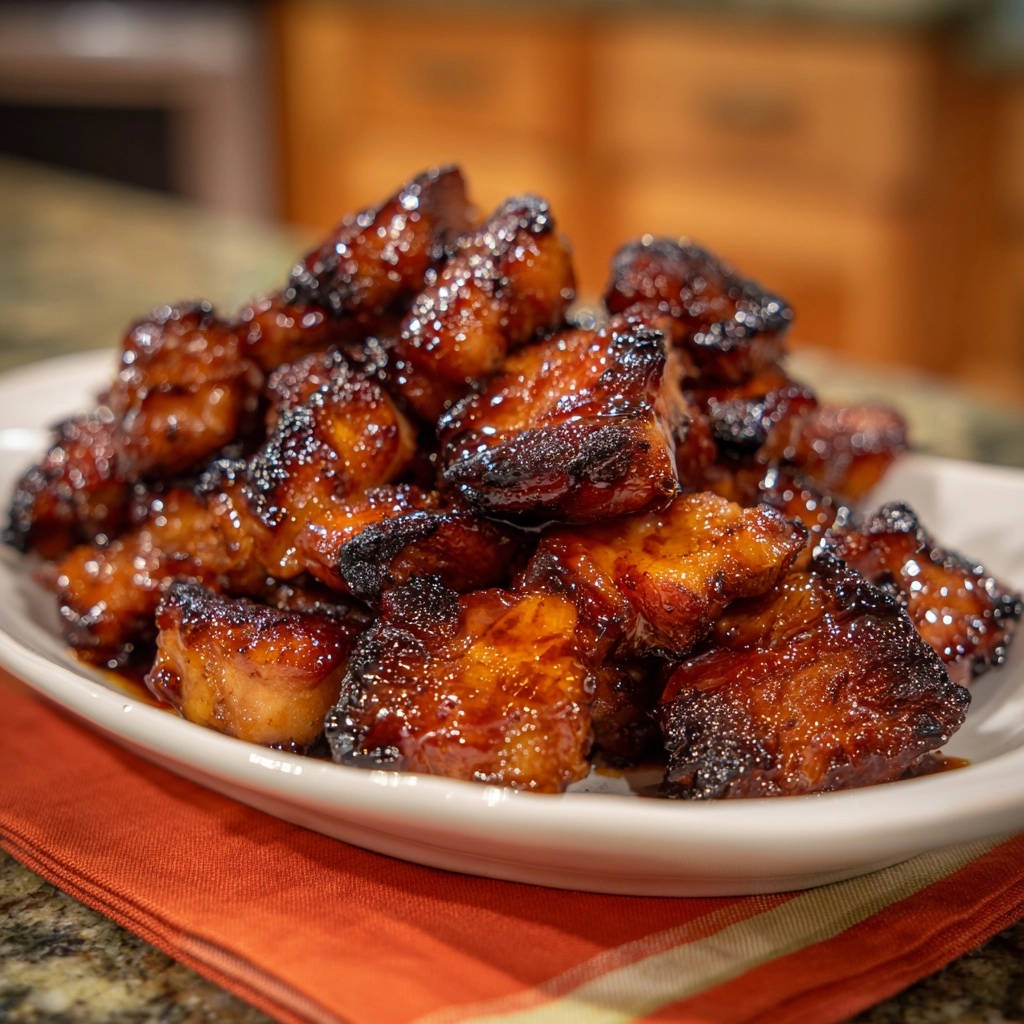
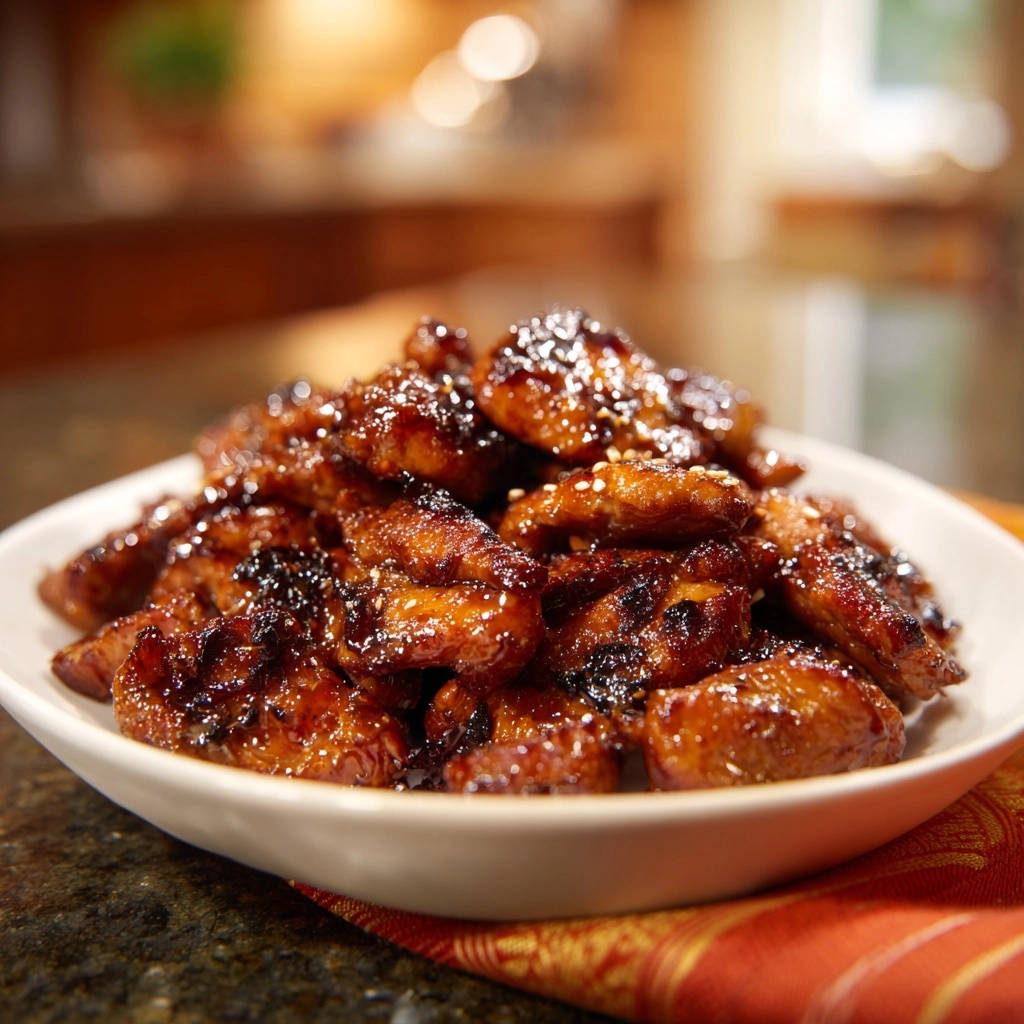
The final high-heat caramelization phase is crucial. As the sauce reduces, it transforms into a rich, clinging glaze, developing those coveted sticky, slightly charred edges that are bursting with flavor.
Effortless Elegance: Weeknight Win or Party Favorite?
This recipe is designed for both speed and impressive results. It comes together quickly enough for a busy weeknight meal, yet it’s elegant and delicious enough to serve as an appetizer or main course for guests.
What to Serve With These Chicken Bites
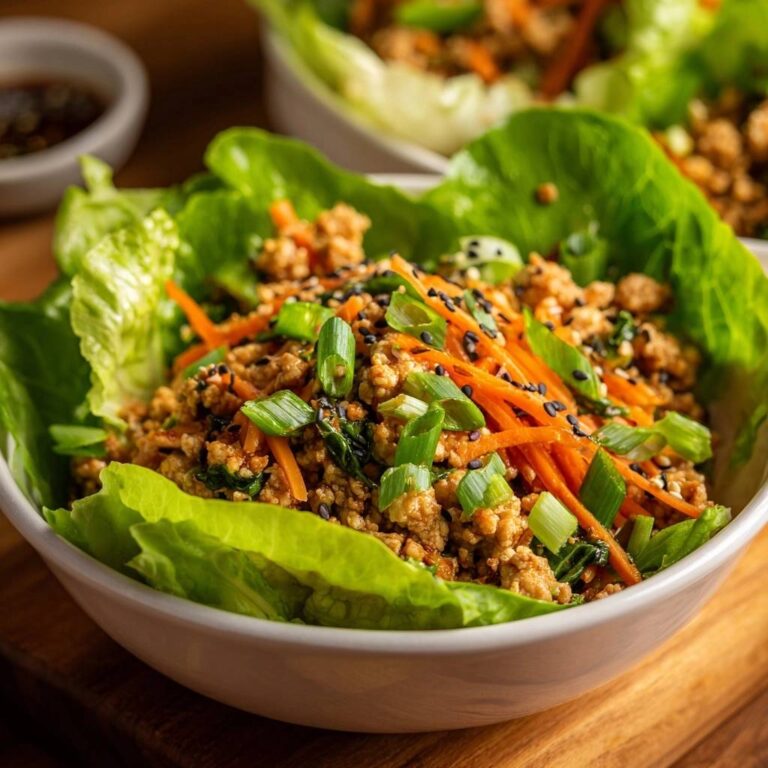
If you want more sticky, spicy-sweet action alongside the chicken bites, these two recipes share the same gochujang-based glaze and are great for a Korean-inspired spread.
- Double down on glazed chicken with these Spicy Sticky Gochujang Chicken Wings — the same kick, different cut.
- For a vegetable option that soaks up the sticky glaze, try Gochujang Corn Ribs with No-Burn Sticky Glaze; the sweet corn balances the heat.
The simple preparation belies the complex, satisfying flavors, making these Sticky Glazed Chicken Bites a versatile and reliable choice for any home cook looking to impress without the fuss.
Your Shopping List: Crafting Flawless Sticky Glazed Chicken Bites
The Foundation: Chicken Thighs & Oil
Chicken Thighs: Boneless, skinless chicken thighs are essential for their natural juiciness and rich flavor. They stand up well to the cooking process, ensuring your bites remain tender.
Vegetable Oil: A high smoke point oil like vegetable, canola, or grapeseed oil is perfect for searing. It creates a beautiful golden-brown crust without burning.
Building the Signature Sweet & Savory Glaze
Low Sodium Soy Sauce: This forms the savory backbone of the glaze. Opt for low sodium to better control the overall saltiness of the dish.
Honey or Maple Syrup: These natural sweeteners provide the essential sticky quality and balance the savory notes, contributing to the glaze’s beautiful caramelization.
Rice Vinegar: Adds a subtle tang that cuts through the richness, brightening the entire flavor profile of the glaze.
Brown Sugar: Enhances the sweetness and depth, helping create that deep, glossy finish on your Sticky Glazed Chicken Bites.
Fresh Aromatics for Depth of Flavor
Fresh Ginger: Grated fresh ginger provides a warm, slightly peppery zing that is characteristic of many delicious Asian-inspired glazes.
Garlic: Minced fresh garlic offers an aromatic punch that complements the ginger and rounds out the savory elements of the sauce.
The Magic Thickener: Cornstarch Slurry
Cornstarch: This acts as a reliable thickening agent for the sauce. When mixed with cold water, it creates a slurry that, when heated, transforms the thin sauce into a rich, clinging glaze.
The slurry ensures a smooth, non-lumpy consistency for your Sticky Glazed Chicken Bites, making the glaze velvety and appealing.
Essential Tools for Glazed Chicken Bites Success
Pans, Bowls, and Whisk: Your Kitchen Arsenal
Large Skillet or Nonstick Pan: A spacious pan is crucial for searing the chicken without overcrowding, allowing for proper browning and even cooking.
A good quality nonstick surface ensures the chicken releases easily and the glaze doesn’t stick too much during the final caramelization, making cleanup a breeze.
Medium and Small Mixing Bowls: You’ll need one for whisking together the main sauce ingredients and a separate small bowl for preparing the cornstarch slurry.
Whisk: An essential tool for thoroughly combining the sauce ingredients and for smoothly incorporating the cornstarch slurry, preventing lumps in your glaze.
Step-by-Step Guide to Perfect Sticky Glazed Chicken Bites
- Whisk the Sauce Base:
In a medium bowl, combine soy sauce, honey or maple syrup, rice vinegar, brown sugar, grated ginger, minced garlic, and black pepper.
Whisk well until thoroughly mixed and the brown sugar has dissolved. This creates the foundational sweet and savory flavor for your sticky glaze.
- Prepare the Cornstarch Slurry:
In a separate small bowl, dissolve the cornstarch in 2 tablespoons of water.
Whisk vigorously until no lumps remain. This slurry is crucial for thickening the sauce later, so ensure it’s completely smooth before setting it aside.
- Sear the Chicken:
Heat the vegetable oil in a large skillet or nonstick pan over medium-high heat. Add the chicken cubes in a single layer, working in batches if necessary to avoid overcrowding the pan.
Cook for 3-4 minutes per side, just until nicely browned and seared on the exterior. The chicken does not need to be cooked through at this stage; this step is all about building flavor and texture.
- Remove Chicken & Deglaze Pan:
Once browned, remove the chicken from the pan and set it aside. Reduce the heat to medium.
Pour the prepared sauce mixture into the pan and bring to a gentle simmer. Cook for 2-3 minutes, stirring occasionally, to allow the flavors to meld and any flavorful browned bits from the chicken to loosen into the sauce.
- Thicken the Glaze:
Give the cornstarch slurry a quick whisk again to ensure it’s still well mixed, then slowly pour it into the simmering sauce while stirring continuously.
Continue stirring for about 1 minute until the sauce visibly thickens and becomes glossy. This transforms the liquid sauce into the rich, sticky glaze for your chicken bites.
- Return Chicken to Sauce:
Return the browned chicken pieces to the pan with the thickened sauce. Toss the chicken gently to coat each piece thoroughly in the rich, glossy glaze.
- Finish Cooking & Caramelize:
Increase the heat back to medium-high. Continue to cook for 5-7 minutes, stirring and flipping the chicken frequently.
If you enjoy the caramelized finish here, the same technique works beautifully for this garlic ginger chicken and broccoli.
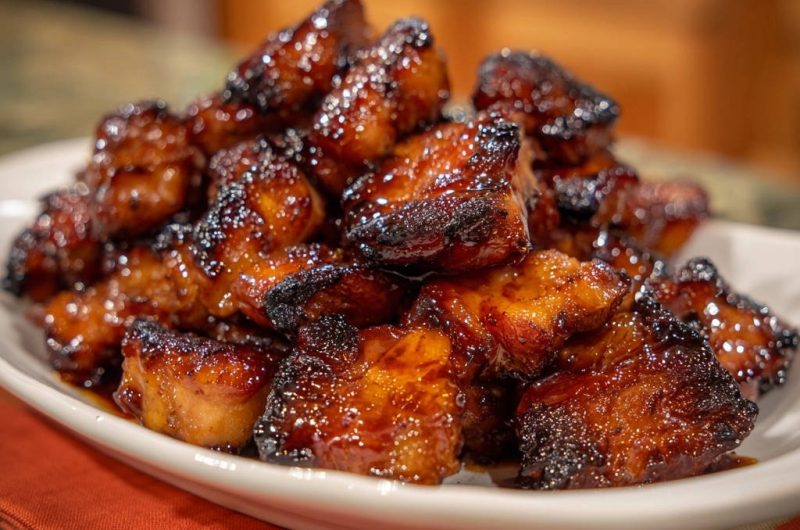
The chicken will cook through, and the sauce will reduce further, caramelizing into a thick, sticky glaze that beautifully clings to every piece. Some bites will develop wonderfully charred edges, adding an extra layer of flavor and texture.
- Serve Immediately:
Remove from heat and serve your delicious Sticky Glazed Chicken Bites right away, while the glaze is at its most appealingly sticky.
Pro Tips: Elevate Your Sticky Glazed Chicken Bites
Don’t Crowd the Pan for the Best Sear
Overcrowding the skillet significantly lowers the pan temperature, which steams your chicken instead of searing it. Work in batches to ensure each piece gets that coveted golden-brown crust, essential for building deep flavor and texture in your Sticky Glazed Chicken Bites.
Mastering Glaze Consistency
If your glaze appears too thick, simply thin it out by adding a tablespoon of water or chicken broth at a time until your desired consistency is reached. Conversely, if it’s too thin after simmering, create a tiny additional cornstarch slurry (1/2 tsp cornstarch + 1 tbsp cold water) and slowly whisk it into the simmering sauce until it thickens to perfection.
Flavor Boosters and Garnishes
For those who love a bit of heat, consider adding a pinch of red pepper flakes to the sauce mixture. To elevate presentation and freshness, garnish your finished Sticky Glazed Chicken Bites with toasted sesame seeds and thinly sliced green onions or fresh cilantro just before serving.
Fixing Common Challenges: Glazed Chicken Bites Troubleshooting
Why is My Chicken Dry or Tough?
This is often a sign of overcooking. While chicken thighs are more forgiving than breasts, it’s crucial to avoid cooking them too long. The initial browning phase is only to develop color; the chicken finishes cooking through in the simmering sauce.
Keep a close eye during the final caramelization step, flipping frequently. The chicken should be cooked just until the internal temperature reaches 165°F (74°C) and the sauce has reduced.
My Sauce Isn’t Sticky Enough!
Ensure your cornstarch slurry was well-whisked and fully incorporated into the simmering sauce. Sometimes, the sauce simply needs a bit more time to simmer and reduce, allowing the cornstarch to fully activate and the liquids to evaporate.
If it’s still too thin after a few minutes of simmering, mix an additional teaspoon of cornstarch with a tablespoon of cold water. Slowly whisk this into the simmering sauce until it reaches your desired thick, sticky consistency.
Too Salty? Too Sweet? Adjusting the Glaze
Achieving the perfect balance in your glaze is key. If your Sticky Glazed Chicken Bites taste too salty, a squeeze of fresh lime juice, a splash of apple cider vinegar, or a touch more honey/maple syrup can effectively balance the flavor.
Conversely, if the glaze is overly sweet, a splash more rice vinegar or a tiny pinch of salt can help cut through the sweetness and round out the flavors.
Delicious Pairings for Your Sticky Glazed Chicken Bites
Classic Sides That Complement the Flavor
These incredibly flavorful bites are perfectly complemented by simple, absorbent sides. Serve them over fluffy white or brown rice to ensure every last drop of the luscious glaze is savored. The rice acts as a neutral canvas, allowing the chicken’s bold flavors to shine.
If you enjoy the savory ginger and soy sauce flavors in these bites, you’ll want to check out these ginger chicken lettuce wraps for another great option.
Crisp, steamed vegetables like broccoli, asparagus, or green beans also make fantastic companions. Their freshness and slight crunch provide a wonderful contrast to the rich, sticky chicken. You might also enjoy them alongside skillet street-style corn for a vibrant side dish.
Creative Ways to Enjoy Your Bites
Beyond traditional rice, consider serving your Sticky Glazed Chicken Bites in vibrant lettuce wraps for a lighter, refreshing meal. Their bite-sized nature also makes them ideal for tossing with noodles for a quick and satisfying stir-fry.
They can also transform a simple green salad into a hearty main course, or even be tucked into a warm tortilla for a unique taco night. For another great chicken main, consider making a pan-seared chicken rice bowl for a complete meal.
Plan Ahead: Storing & Reheating Sticky Glazed Chicken Bites
Keeping Leftovers Fresh
Any leftover Sticky Glazed Chicken Bites can be stored in an airtight container in the refrigerator for up to 3-4 days. Ensure they have cooled completely before sealing and refrigerating to prevent excess condensation, which can affect texture.
Best Methods for Reheating
For optimal results, gently reheat the chicken bites in a skillet over medium-low heat until warmed through. If the sauce has thickened significantly in the fridge, add a splash of water or broth to loosen it slightly.
Alternatively, you can microwave them, but be aware that this method might slightly alter the texture, making the chicken less crispy and the glaze less sticky. Reheating low and slow helps maintain juiciness.
Can You Prepare This Dish in Advance?
While these Sticky Glazed Chicken Bites are best enjoyed fresh off the stove, you can certainly do some prep work ahead of time. Cube your chicken and whisk together all the sauce ingredients (excluding the cornstarch slurry) a day in advance.
Store these components separately in the refrigerator. This allows for a quicker cooking process when you’re ready to make the dish, minimizing active kitchen time.
Your Top Sticky Glazed Chicken Bites Questions Answered
Can I Substitute Chicken Breast?
Yes, you can use boneless, skinless chicken breast as a substitute, but be mindful that it tends to cook faster and can dry out more easily than thighs. Cut the chicken breast into similar 1-inch cubes and reduce the cooking time slightly, especially during the initial browning phase, to help maintain its juiciness.
Is This Recipe Kid-Friendly?
Absolutely! The balance of sweet and savory flavors in this glaze makes it broadly appealing, and it’s generally a huge hit with children. For very young children or those sensitive to strong flavors, you can slightly reduce the amounts of grated ginger and minced garlic, though they do contribute significantly to the overall depth of the dish.
Making it Gluten-Free or Low-Sodium
To ensure this recipe is gluten-free, simply substitute regular soy sauce with tamari or a certified gluten-free soy sauce alternative. For a lower sodium version, opt for low-sodium soy sauce and consider reducing the overall amount slightly, tasting and adjusting as you go. You can always add a tiny pinch more salt at the end if needed to reach your desired flavor.
Exploring Alternative Cooking Methods (Baking/Air Frying)
While this recipe is optimized for stovetop perfection, you can explore other cooking methods for the chicken. For baking, toss the chicken cubes with a little oil and bake them until nearly cooked through, then transfer them to the skillet with the simmering sauce to finish coating and caramelizing. Similarly, for air frying, cook the chicken until browned and then combine it with the prepared sauce in a pan to complete the dish. Be aware that the texture and glaze adherence may vary slightly with these methods.
Your Turn! Share Your Sticky Glazed Chicken Bites Creation
Now that you have all the insider secrets to crafting the most incredibly juicy and perfectly glazed chicken, it’s time to get cooking! This recipe for Sticky Glazed Chicken Bites is more than just a meal; it’s a guaranteed crowd-pleaser that delivers on flavor and tenderness every single time, making weeknight dinners and entertaining truly effortless.
We’d absolutely love to see your culinary creations! Share your Sticky Glazed Chicken Bites photos and experiences with us on social media using #StickyGlazedChickenBites. Happy cooking!
Sticky Glazed Chicken
Course: Main CourseCuisine: AsianDifficulty: easy4
servings20
minutes20
minutes370
kcal40
minutesAchieve incredibly juicy chicken bites with a perfect sticky, caramelized crust. This game-changing recipe delivers irresistible flavor and texture.
Ingredients
2 pounds boneless, skinless chicken thighs, cut into 1 inch cubes
1 tablespoon vegetable oil
1/2 cup low sodium soy sauce
1/4 cup honey or maple syrup
2 tablespoons rice vinegar
1 tablespoon brown sugar
1 teaspoon grated fresh ginger
2 cloves garlic, minced
1/4 teaspoon black pepper
2 tablespoons water
1 tablespoon cornstarch
Directions
- In a medium bowl, whisk together the soy sauce, honey or maple syrup, rice vinegar, brown sugar, grated ginger, minced garlic, and black pepper.
- In a separate small bowl, dissolve the cornstarch in 2 tablespoons of water to create a slurry. Set aside.
- Heat the vegetable oil in a large skillet or nonstick pan over medium high heat. Add the chicken cubes in a single layer, working in batches if necessary to avoid overcrowding the pan. Cook for 3-4 minutes per side, just until browned on the exterior. The chicken does not need to be cooked through at this stage.
- Remove the chicken from the pan and set aside. Reduce the heat to medium. Pour the prepared sauce mixture into the pan and bring to a gentle simmer. Cook for 2-3 minutes, stirring occasionally, to allow the flavors to meld.
- Give the cornstarch slurry a quick whisk again, then slowly pour it into the simmering sauce while stirring continuously. Continue stirring for about 1 minute until the sauce thickens and becomes glossy.
- Return the browned chicken pieces to the pan with the thickened sauce. Toss the chicken gently to coat each piece thoroughly.
- Increase the heat back to medium high and continue to cook for 5-7 minutes, stirring and flipping the chicken frequently, until the chicken is cooked through and the sauce has reduced and caramelized into a thick, sticky glaze that clings to the chicken. Some pieces will develop wonderfully charred edges.
- Remove from heat and serve immediately.
Notes
- Cook chicken in batches for best results and even browning.