Sweet Potato Pie Perfection: The Secret to a Flawless Top

I remember the frustration of pulling a beautifully fragrant sweet potato pie from the oven, only to watch dreaded cracks spread across its surface. Achieving true Sweet Potato Pie Perfection, with that coveted smooth, unblemished top, felt like a baking enigma for years.
But I’ve finally cracked the code, and this recipe delivers not just incredible flavor, but a flawless, picture-perfect pie every single time. Get ready to bake a pie that looks as magnificent as it tastes, solving that common baking heartbreak.
This gentle baking method also ensures perfectly soft centers for a batch of pumpkin spice whoopie pies.
Beyond Basic: Why Our Sweet Potato Pie Perfection Stands Out
This isn’t just another sweet potato pie recipe; it’s a meticulously crafted guide to an unparalleled dessert experience. We focus on techniques that elevate a simple pie into a show-stopping masterpiece.
The Promise of a Perfectly Smooth, Crack-Free Surface
Our recipe specifically addresses the most common sweet potato pie woe: cracking. By following precise baking cues and a unique cooling method, we guarantee that silky-smooth, crack-free surface you’ve always desired, making your pie a true visual delight.
A Flavor Profile That Delights Every Palate
We’ve fine-tuned the balance of sweetness and warming spices-cinnamon, nutmeg, and ginger-to create a rich, comforting, and deeply satisfying flavor. Each bite offers a harmonious blend that’s not overly sweet, allowing the natural goodness of the sweet potato to shine.
Simple Secrets for Baker Success
This guide demystifies the baking process with straightforward, actionable tips integrated into every step. From recognizing doneness to achieving a creamy filling, we provide the insights that lead to professional-quality results, even for novice bakers.
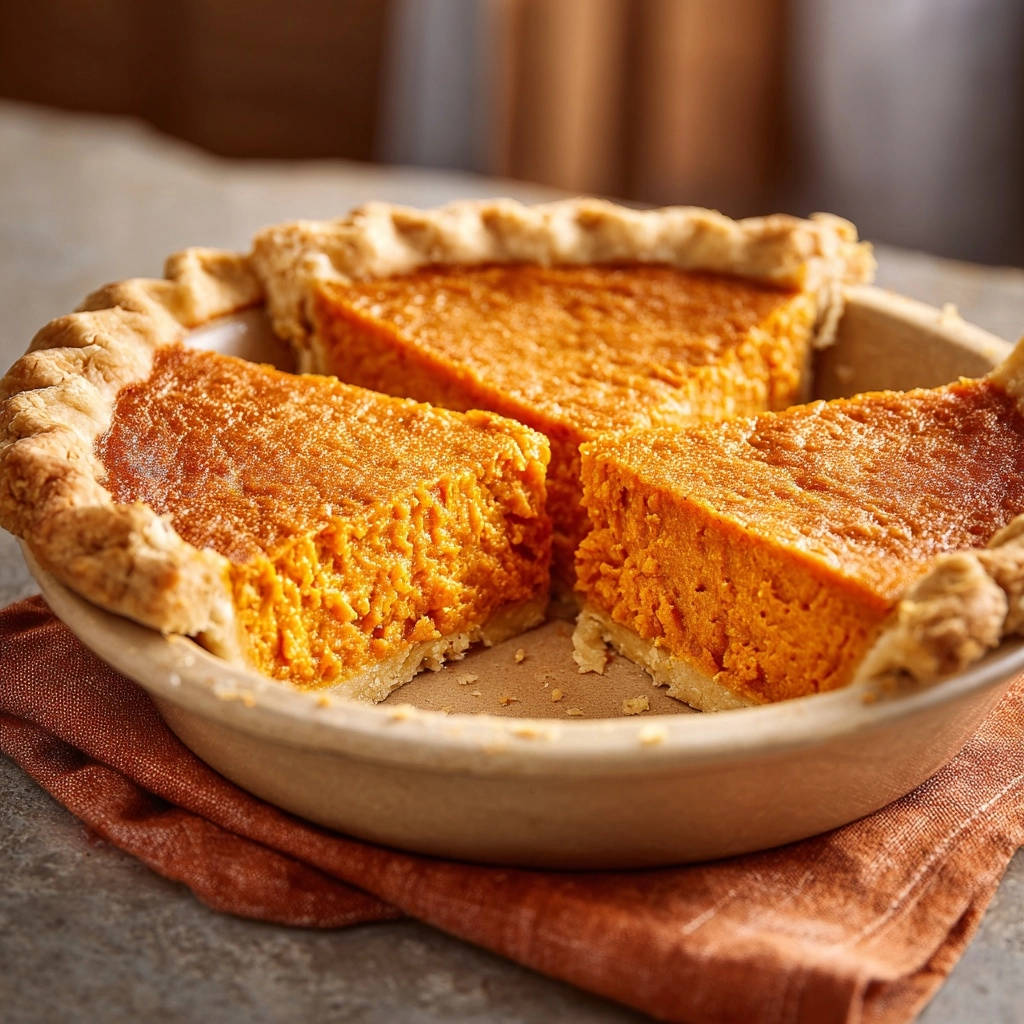
Gather Your Essentials: Ingredients for Sweet Potato Pie Perfection
Quality ingredients form the foundation of any exceptional dish. Here’s what you’ll need, with insights into selection and preparation.
The Star: Selecting and Preparing Sweet Potatoes
Choose firm, unblemished sweet potatoes like Beauregard or Jewel varieties, known for their creamy texture and vibrant color. Properly cooking and mashing them until absolutely lump-free is critical for a smooth filling.
Sweeteners & Spices: A Harmonious Blend
Granulated sugar provides clean sweetness, while light brown sugar adds a deeper, molasses-rich note and moisture. Cinnamon, nutmeg, and ginger are expertly balanced to create that quintessential warming, aromatic, and comforting sweet potato pie flavor.
Dairy & Eggs: The Binding Foundation
Evaporated milk is crucial here, contributing a concentrated creaminess and richness that regular milk cannot match, without adding excess moisture. Large eggs provide the essential structure and help create the custardy, silky texture of the filling.
The Crust: Unbaked Convenience or Homemade Flair?
An unbaked 9-inch pie crust offers excellent convenience, allowing you to focus on the filling. For those who love to bake from scratch, a homemade all-butter crust will elevate the pie’s overall texture and flavor profile beautifully.
Equipping Your Kitchen: Tools for Sweet Potato Pie Perfection
Having the right tools simplifies the baking process and contributes to consistent, successful results.
Basic Baking Essentials
You’ll need large mixing bowls for combining ingredients, a sturdy whisk for aeration, and accurate measuring cups and spoons. An electric mixer, while not strictly essential, makes achieving a lump-free potato base much easier.
The Pie Pan Advantage
A standard 9-inch pie pan, whether glass, ceramic, or metal, is suitable. Glass and ceramic pans tend to bake more evenly and retain heat well, contributing to a nicely browned crust and fully set filling.
Precision Matters: Thermometers and Timers
An oven thermometer is invaluable for verifying your oven’s actual temperature, as many ovens run hot or cold. A reliable kitchen timer ensures you stick to the recommended baking durations, though the “jiggle test” remains the ultimate indicator of doneness.
Crafting Your Sweet Potato Pie Perfection: A Step-by-Step Guide
- Preheat Your Oven:
Set your oven to 350°F (175°C) to ensure it’s perfectly heated before the pie goes in. Consistent temperature from the start is absolutely key for even baking and proper setting.
- Combine Sweet Potatoes and Sugars:
In a large bowl, mix the thoroughly mashed sweet potatoes, granulated sugar, brown sugar, and melted butter. Stir until everything is well combined and the mixture is perfectly smooth.
A lump-free, creamy base at this stage is essential for the silkiest filling texture in your finished pie.
- Whisk the Wet Ingredients:
In a separate bowl, whisk together the evaporated milk, large eggs, vanilla extract, ground cinnamon, nutmeg, ginger, and salt until they are thoroughly blended and uniform.
This step ensures all the spices and liquids are evenly distributed throughout the mixture before they meet the sweet potatoes, preventing pockets of unmixed flavor.
- Gentle Mixing for a Flawless Filling:
Pour the whisked milk mixture into the sweet potato mixture. Stir gently with a spoon or spatula, just until everything is fully incorporated and the filling looks smooth and cohesive.
Critical Tip: Do not overmix! Excessive stirring introduces too much air, which can cause the pie to puff up excessively in the oven and then collapse, leading to cracks during cooling.
- Fill the Pie Crust:
Carefully pour the smooth sweet potato filling into your chosen unbaked 9-inch pie crust.
Distribute the filling evenly, gently shaking the pan if needed, to ensure a level surface for consistent baking and a beautiful presentation.
- Bake to “Jiggle” Perfection:
Bake for 50 to 60 minutes, or until the edges are beautifully set and slightly puffed. The very center of the pie should still have a slight, delicate jiggle when you gently shake the pan – this is absolutely paramount for preventing cracks!
A knife inserted near the edge should come out clean, but a completely firm center means you’ve overbaked it. Trust the jiggle more than the timer.
- The Slow Cooling Secret for Crack-Free Pie:
Once your pie reaches the “jiggle” stage, turn off the oven. Leave the pie inside with the oven door propped slightly ajar for at least 30 minutes.
This gradual cooling process is the second key step to achieving a perfectly smooth, crack-free surface, as it prevents sudden temperature shock which often causes pies to crack.
- Cool Completely Before Slicing:
Remove the pie from the oven and transfer it to a wire rack to cool completely at room temperature for several hours (ideally 3-4 hours) before slicing and serving.
Allowing the pie to cool fully ensures it sets properly, achieving its ideal texture and allowing the flavors to deepen and meld beautifully.
Chef’s Secrets: Elevate Your Sweet Potato Pie Perfection
Perfect Sweet Potato Preparation: For the silkiest filling, ensure your sweet potatoes are thoroughly cooked-boiled or roasted until extremely tender. Mash them until absolutely lump-free; using a food mill or ricer can achieve an unparalleled smoothness.
The Art of Gentle Mixing: As highlighted, once wet and dry ingredients are combined, avoid overmixing the filling. Over-aerating the mixture introduces excess air that expands during baking and contracts upon cooling, leading to unsightly cracks.
Mastering the “Jiggle Test”: This is your ultimate guide to a perfectly baked, crack-free pie. The slight jiggle in the center indicates the pie is set but not overbaked, preserving its creamy texture and preventing dryness. Trust this visual cue implicitly!
The Gradual Cool-Down Advantage: Do not rush to remove your pie from the oven. The crucial gradual cooling process, with the oven door ajar, prevents thermal shock, a primary cause of cracks forming on the surface.
Crust Protection: If your pie crust edges begin to brown too quickly during baking, gently cover them with strips of aluminum foil. This prevents burning while the filling continues to bake to perfection.
Enhance with Vanilla Bean: For an extra layer of gourmet flavor, consider scraping the seeds from half a vanilla bean into your wet ingredients alongside the vanilla extract. It adds remarkable depth to your creamy sweet potato filling.
Common Challenges & Simple Solutions for Sweet Potato Pie Perfection
Why Did My Pie Crack?
Cracking is almost always a result of overbaking or cooling the pie too quickly. Ensure you meticulously follow the “jiggle test” for doneness and the crucial slow-cooling step, leaving the pie in the oven with the door slightly ajar.
My Pie is Undercooked/Overcooked
An undercooked pie will be excessively wobbly throughout and won’t set properly; simply return it to the oven for 5-10 minute increments. An overcooked pie will be completely firm and potentially dry; next time, reduce baking time and prioritize the jiggle test for perfect doneness.
Is My Pie Too Wet or Lumpy?
A wet pie often results from not thoroughly draining your sweet potatoes after cooking. Lumps indicate insufficient mashing; ensure your sweet potatoes are perfectly smooth and creamy before incorporating them into the filling mixture.
Serving, Storing, & Making Ahead: Maximize Your Pie Enjoyment
Perfect Pairings: What to Serve With Your Pie
Sweet potato pie is wonderfully versatile and delicious on its own. For an extra touch of indulgence, serve it with a generous dollop of fresh whipped cream, a scoop of premium vanilla bean ice cream, or a drizzle of warm caramel sauce. For other delightful spiced desserts, consider whipping up some decadent pumpkin pie truffles to complement your spread.
Storing Leftovers: Keeping It Fresh
To maintain freshness, cover any leftover sweet potato pie tightly with plastic wrap or aluminum foil. Store it in the refrigerator for up to 3-4 days. It tastes equally delicious served chilled or gently warmed in the microwave.
Make-Ahead Magic: Enjoying Pie Stress-Free
Sweet potato pie is an excellent make-ahead dessert, perfect for holidays or entertaining. You can bake it up to 2 days in advance and store it, covered, in the refrigerator. This allows the flavors to deepen and meld beautifully, often enhancing the overall taste.
Your Sweet Potato Pie Perfection Questions Answered
Can I use canned sweet potatoes?
Yes, you can use canned sweet potatoes, but it’s crucial to drain and rinse them extremely well to remove any excess syrup or salt. Mash them thoroughly to achieve the desired smooth texture for your filling.
Can I make this dairy-free?
Absolutely! For a dairy-free version, substitute the evaporated milk with full-fat canned coconut milk (not “light” coconut milk). Also, ensure you use a good quality dairy-free butter alternative for the filling. Expect a subtle, delicious coconut undertone in the final pie.
What about a gluten-free crust?
This recipe works perfectly with a store-bought gluten-free pie crust. Just be sure to follow the specific baking instructions provided for your chosen crust, as some gluten-free varieties may require a pre-bake or slightly different handling.
How do I know when it’s done without the “jiggle test”?
While the jiggle test is highly recommended, you can also use an instant-read thermometer. The center of the pie should register between 175-180°F (80-82°C) when inserted near the middle. The edges should appear set and slightly puffed.
Can I freeze sweet potato pie?
Yes, baked sweet potato pie freezes exceptionally well. Once completely cooled, wrap the entire pie tightly in plastic wrap, then enclose it in aluminum foil. It can be frozen for up to 2 months. Thaw it overnight in the refrigerator before serving.
Ready to Create Your Own Sweet Potato Pie Perfection?
With these tried-and-true techniques and expert tips, you’re now equipped to bake a sweet potato pie that will impress every guest and satisfy every craving. Say goodbye to cracked surfaces and hello to the silkiest, most flavorful Sweet Potato Pie Perfection you’ve ever tasted, making it a true comfort food classic.
Don’t wait any longer! Gather your ingredients, embrace these secrets, and prepare to make a holiday staple or a comforting everyday dessert that truly shines. We can’t wait to hear about your crack-free baking success and how this recipe brings joy to your table, perhaps alongside a slice of classic carrot cake for ultimate dessert indulgence!
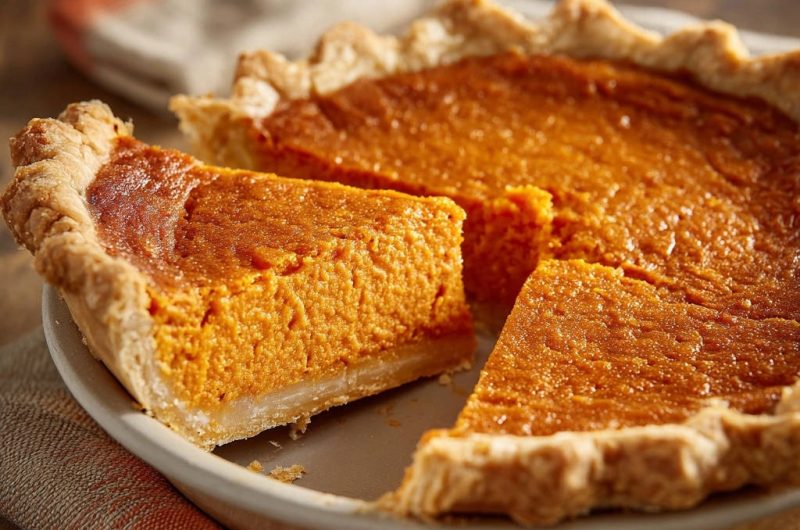
Sweet Potato Pie
Course: DessertCuisine: AmericanDifficulty: medium1
(9-inch) pie15
minutes50
minutes550
kcal65
minutesAchieve a perfectly smooth, crack-free sweet potato pie with this simple recipe. Follow our expert tips for a flawless top and incredible taste every single time. Get ready to impress with this beautiful dessert!
Ingredients
3 cups cooked and mashed sweet potatoes (about 3 medium sweet potatoes)
1 cup granulated sugar
1/2 cup packed light brown sugar
1/2 cup unsalted butter, melted
1 cup evaporated milk
2 large eggs
1 teaspoon vanilla extract
1 teaspoon ground cinnamon
1/2 teaspoon ground nutmeg
1/4 teaspoon ground ginger
1/4 teaspoon salt
1 unbaked 9-inch pie crust
Directions
- Preheat oven to 350°F (175°C).
- In a large bowl, combine the mashed sweet potatoes, granulated sugar, brown sugar, and melted butter. Mix until well combined and smooth.
- In a separate bowl, whisk together the evaporated milk, eggs, vanilla extract, cinnamon, nutmeg, ginger, and salt until thoroughly blended.
- Pour the milk mixture into the sweet potato mixture and stir until everything is fully incorporated and the filling is smooth. Be careful not to overmix, as too much air can sometimes lead to cracking.
- Pour the sweet potato filling into the unbaked pie crust.
- Bake for 50 to 60 minutes, or until the edges are set, but the very center of the pie still has a slight jiggle when gently shaken. This is critical for preventing cracks! A knife inserted near the edge should come out clean, but the center should not be completely firm.
- Once baked, turn off the oven and leave the pie inside with the oven door slightly ajar for at least 30 minutes. This slow, gradual cooling is the second key step to a crack-free surface.
- Remove the pie from the oven and let it cool completely on a wire rack at room temperature for several hours before slicing and serving.
Notes
- Slow, gradual cooling is critical for preventing cracks. Ensure the center has a slight jiggle when removed from the oven.