Zesty Passion Fruit Pops: Unmold Perfectly Every Time!
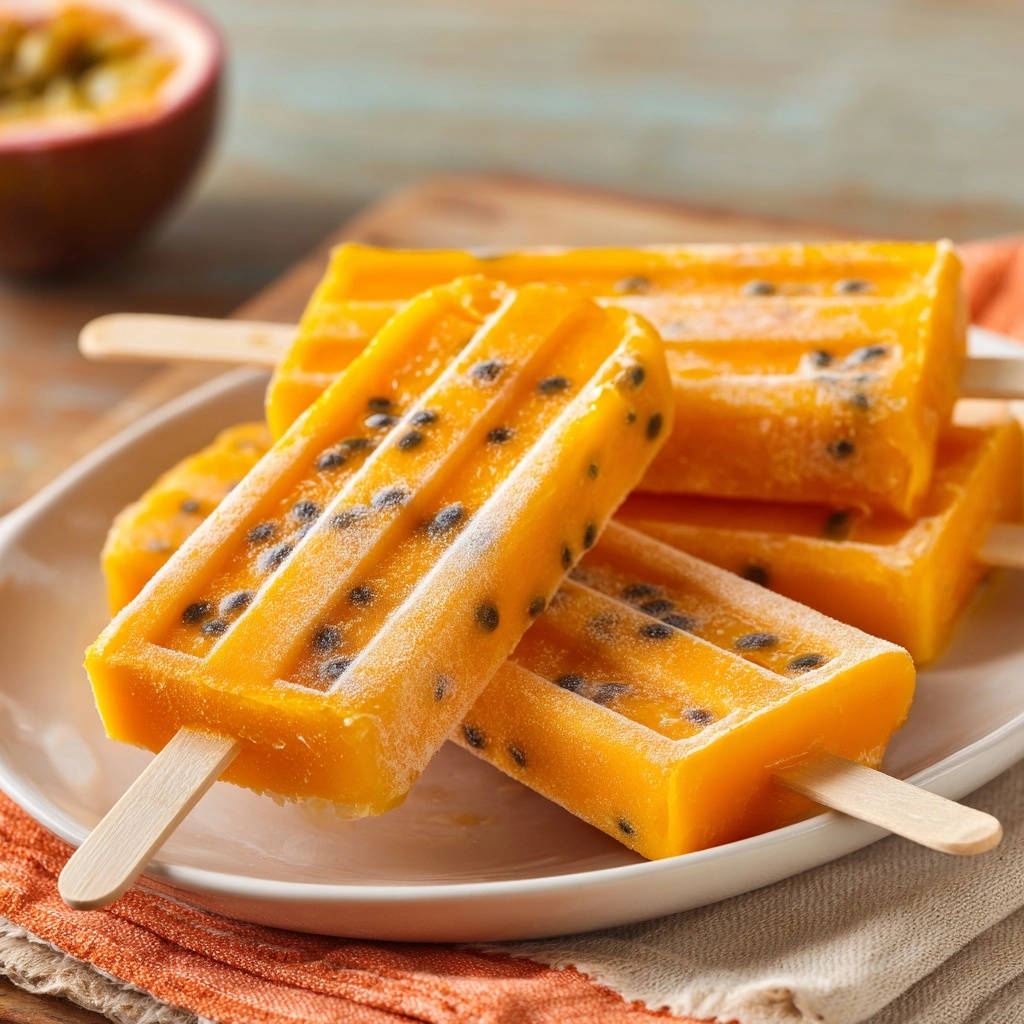
There’s nothing quite as frustrating as crafting a batch of beautiful homemade Zesty Passion Fruit Pops, only to have them stubbornly cling to their molds! I’ve been there, pulling and twisting, until I discovered a simple trick that ensures these vibrant, tropical treats slide out effortlessly every single time. Get ready for juicy, tangy-sweet perfection without any of the struggle.
Why These Zesty Passion Fruit Pops Will Be Your New Favorite Treat
The Unmolding Trick That Changes Everything
The core genius of this recipe lies in its incredibly simple, yet highly effective, unmolding technique. No more broken popsicles or frustrating struggles; a quick warm water bath ensures your treats release flawlessly, preserving their perfect shape.
This effortless release means you can focus purely on enjoying the burst of tropical flavor, rather than wrestling with stubborn molds.
A Burst of Tropical Flavor, Naturally
These Zesty Passion Fruit Pops truly capture the essence of the tropics. They deliver a vibrant, tangy-sweet explosion of flavor that’s both exhilarating and deeply refreshing.
Made with fresh passion fruit, this recipe celebrates natural goodness without artificial additives, offering a pure and invigorating taste experience.
Simple Ingredients, Stunning Results
You’ll be amazed at the depth of flavor achieved with such a minimalist ingredient list. This recipe proves that you don’t need a pantry full of obscure items to create something truly delicious.
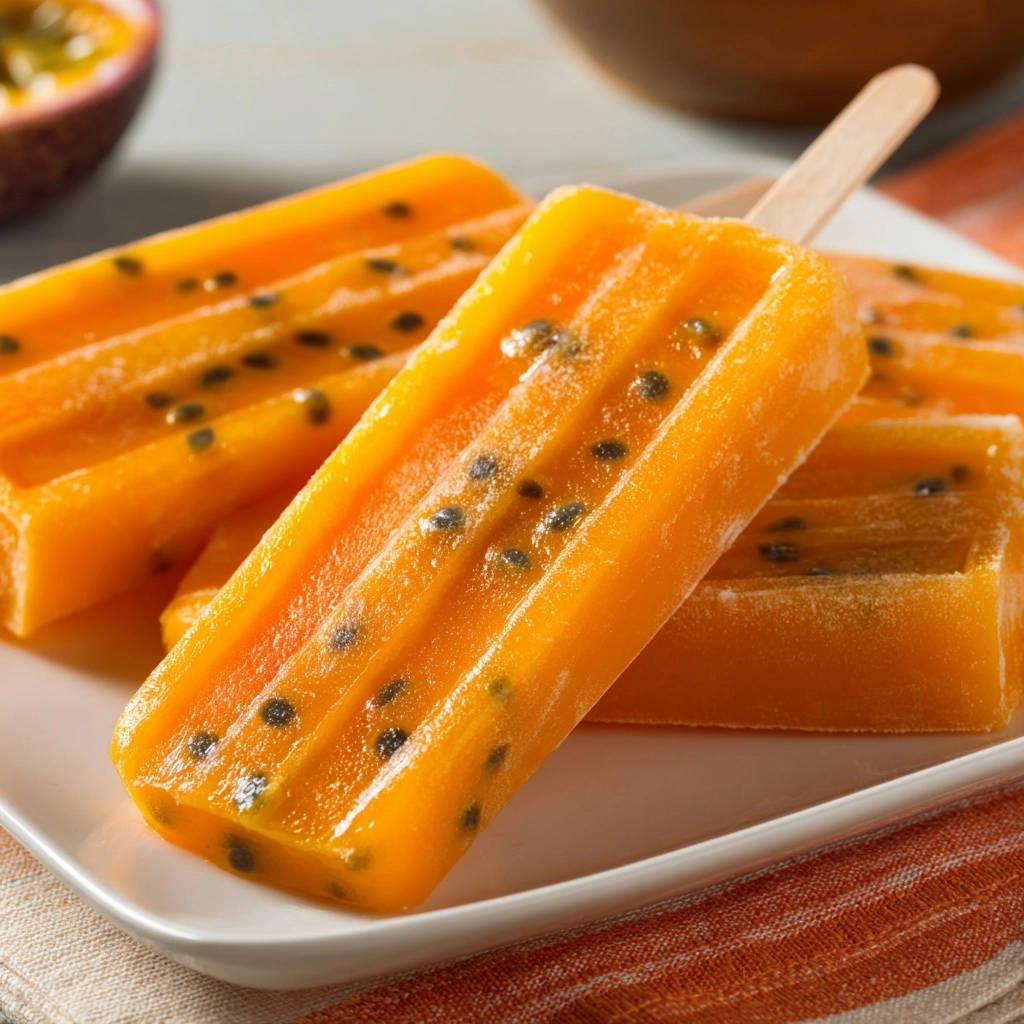
The simplicity of the ingredients contributes to the ease and accessibility of the recipe, making it perfect for novice and experienced home cooks alike.
Perfect for Any Occasion (or No Occasion!)
Whether you’re hosting a summer gathering, seeking a healthy everyday snack, or simply craving a spontaneous cool-down, these fruit pops fit the bill perfectly. Their bright flavor and refreshing nature make them suitable for any time.
They’re an ideal way to beat the heat, satisfy a sweet craving, or add a touch of tropical flair to your day.
Gathering Your Essentials: The Zesty Passion Fruit Pops Pantry
The Star: Fresh Passion Fruit Pulp
Fresh passion fruit is paramount for the most authentic and intense flavor in these pops. Look for fruits that feel heavy for their size and have slightly wrinkled skin, indicating ripeness.
To extract the pulp, simply halve the fruit and scoop out the juicy, seed-filled interior with a spoon. You’ll want about 6-8 medium passion fruits for 1 cup of pulp.
Sweetness & Balance: Water and Sugar
Water helps achieve the perfect popsicle consistency, ensuring a smooth texture that isn’t overly dense. It’s the base that carries the vibrant passion fruit flavor.
Granulated sugar balances the inherent tartness of passion fruit, allowing its tropical notes to shine. The amount is adjustable, so you can tailor the sweetness precisely to your preference.
Beyond the Basics: Essential Equipment
Good quality popsicle molds are key for consistent results. Silicone molds are flexible and often make unmolding even easier, but traditional plastic molds work perfectly with the warm water trick.
Popsicle sticks are, of course, essential for easy handling. A small funnel can also be incredibly useful for mess-free pouring into narrow molds.
Crafting Your Zesty Passion Fruit Pops: A Detailed Journey
- Scoop the Pulp:
Carefully halve each fresh passion fruit. Use a small spoon to scoop out all the vibrant pulp and edible seeds into a medium-sized bowl. Try to avoid scraping the bitter white membrane lining the fruit.
- Combine & Dissolve:
Add the measured water and granulated sugar to the bowl containing the passion fruit pulp. Stir the mixture vigorously until the sugar is fully dissolved, ensuring no granular residue remains at the bottom.
Now is the critical time to taste! Passion fruit tartness varies, so add extra sugar, a teaspoon at a time, if you desire a sweeter pop. Conversely, a tiny squeeze of lime juice can amplify the zest if needed.
- Fill the Molds:
Carefully pour the prepared Zesty Passion Fruit Pops mixture into your chosen popsicle molds. It’s important to leave a small space at the top of each mold, approximately 1/4 to 1/2 inch.
This allowance prevents overflow when the liquid expands during the freezing process. A funnel can make this step much tidier.
- Insert Sticks:
Gently place a popsicle stick into the center of each filled mold. Ensure the sticks are straight and inserted deep enough to provide a stable handle once the pops are frozen solid.
- Freeze to Perfection:
Carefully transfer the filled molds to your freezer. Allow them to freeze for a minimum of 4-6 hours, or ideally, overnight, until they are completely solid and firm to the touch. Patience here guarantees fully set frozen treats.
- Prepare for Release:
When you’re ready to enjoy your Zesty Passion Fruit Pops, fill a shallow bowl or your kitchen sink with warm, but not hot, tap water. The water should be comfortably warm to the touch, not scalding.
- Dip & Unmold Effortlessly:
Dip the bottom half of the popsicle molds into the warm water for approximately 15-20 seconds. This brief warmth creates a thin, liquid buffer layer just beneath the mold’s surface.
After dipping, gently pull on the popsicle sticks. The Zesty Passion Fruit Pops should slide out with ease due to the melted outer layer. If they still feel stuck, dip them again for another few seconds until they release effortlessly.
- Enjoy Immediately or Store:
Savor your perfectly released, refreshing Zesty Passion Fruit Pops immediately for the best taste and texture. They’re a delightful way to cool down.
For storage, place any remaining pops in an airtight container or individual freezer bags. This prevents freezer burn and helps maintain their fresh flavor for up to 2-3 weeks in the freezer.
Step 1-2: Preparing the Passion Fruit Base
Step 3-5: Filling Molds & Freezing
Step 6-7: The Unmolding Magic (The Secret Revealed!)
Step 8: Serving & Storing Your Tropical Delight
Elevate Your Pops: Expert Tips for Zesty Perfection
Selecting the Perfect Passion Fruit
Always opt for passion fruits that feel surprisingly heavy for their size. Look for skin that is slightly dimpled or wrinkled, as this is a strong indicator of a ripe, juicy, and intensely flavorful interior. Avoid smooth, unblemished fruit, which is often underripe.
Achieving Your Ideal Sweetness
The tartness of passion fruit can vary significantly between batches. Always taste your mixture before pouring it into the molds for freezing. If it’s too tart for your preference, add extra granulated sugar one teaspoon at a time until the balance is just right. For a refreshing counterpoint to sweetness, a tiny squeeze of fresh lime juice can brighten the flavor without adding more fruit.
Creative Flavor Swaps & Additions
To enhance your Zesty Passion Fruit Pops, consider playful additions. A few drops of pure vanilla extract can add a warm depth. For a creamier, more exotic twist, replace a quarter cup of water with light coconut milk. You can also layer the passion fruit mixture with purees of other tropical fruits like mango or pineapple for a multi-flavored delight.
Mastering the Unmolding Technique
The success of the unmolding technique hinges on using the right water temperature and duration. The water should be warm enough to gently heat the mold’s exterior but not so hot that it rapidly melts the entire pop. Aim for water that feels comfortably warm to the touch, not scalding. A quick 15-20 second dip is usually sufficient; patience here prevents a messy outcome.
Preventing Freezer Burn
To ensure your Zesty Passion Fruit Pops remain fresh and free of ice crystals during storage, wrap each individual pop tightly in parchment paper or plastic wrap after unmolding. Then, place the wrapped pops in a heavy-duty freezer bag or an airtight container. This double barrier minimizes air exposure, which is the primary cause of freezer burn, keeping your pops pristine for longer enjoyment.
Common Questions & Quick Fixes for Your Zesty Passion Fruit Pops
Why are my popsicles stuck in the mold?
This is the most common issue, usually due to skipping or rushing the warm water bath. Ensure the water is truly warm (not cold) and dip the molds for the recommended 15-20 seconds, allowing that crucial outer layer to soften.
My popsicles are too icy/hard.
An overly icy texture often indicates too high a water-to-fruit ratio. Ensure your passion fruit pulp is concentrated. Adding a tiny bit more sugar can also help, as sugar acts as an anti-freeze, lowering the freezing point and promoting a smoother texture.
The flavor isn’t strong enough.
The intensity of passion fruit can vary seasonally. If your pops lack punch, next time try using slightly less water or ensure your passion fruits are very ripe and fragrant. A small amount of citrus zest, like lime or orange, can also brighten and amplify the tropical notes.
Enjoying Your Zesty Passion Fruit Pops: Storage & Longevity
Storing Leftover Pops
After enjoying a Zesty Passion Fruit Pop, any remaining treats should be stored properly to maintain their quality. Once unmolded, wrap each pop individually in plastic wrap or parchment paper to prevent freezer burn and keep them from sticking together. Then, place them in an airtight freezer-safe bag or container.
Making Ahead for Future Enjoyment
These Zesty Passion Fruit Pops are perfect for meal prepping! You can make a large batch and store them for up to 2-3 weeks in the freezer. Simply pull one out whenever a craving for a refreshing, tropical treat strikes. They’re always ready for a quick cool-down or a delightful dessert, much like preparing a batch of no-bake strawberry cheesecake for later enjoyment.
Your Zesty Passion Fruit Pops FAQs Answered
Can I use frozen passion fruit pulp?
Yes, absolutely! If fresh passion fruits are hard to find or out of season, high-quality frozen passion fruit pulp is an excellent alternative. It’s often available in specialty or international grocery stores. Thaw the pulp completely before incorporating it into the recipe, and remember to adjust the sugar level to your taste, as frozen pulps can sometimes have varying sweetness.
What if my popsicles are too tart/sweet?
The key to perfect flavor balance is to taste the mixture before it goes into the molds for freezing. If you find it too tart, gradually add more sugar, one teaspoon at a time, until you achieve your desired sweetness. If, on the other hand, it’s too sweet, a small squeeze of fresh lime or lemon juice can brilliantly cut through the sweetness and introduce a refreshing, balancing tartness.
Are there sugar-free options for Zesty Passion Fruit Pops?
Yes, you can certainly make a sugar-free version of these delightful fruit pops. Substitute granulated sugar with your preferred sugar alternative, such as stevia, erythritol, or xylitol. Be mindful that artificial sweeteners might slightly alter the texture, sometimes making the pops a bit icier or softer. Also, their sweetness level can vary, so always taste and adjust to your preference before freezing. For other dessert ideas, you might enjoy our decadent pumpkin pie truffles, which can also be adapted.
How do I prevent air bubbles in my pops?
Air bubbles can sometimes form when pouring the liquid mixture into the molds, leading to a less smooth popsicle texture. To minimize these, pour the passion fruit mixture slowly and steadily into each mold. After filling, gently tap the filled molds a few times on the counter. This action helps any trapped air bubbles rise to the surface and escape before the popsicles begin to freeze.
Can I add other fruits to these pops?
Absolutely! Passion fruit is incredibly versatile and pairs wonderfully with a variety of other tropical and berry fruits. Consider blending in a small amount of smooth mango puree for added sweetness, pineapple juice for more tang, or a handful of mashed raspberries for a vibrant color and berry twist. Just ensure any added fruit is well-pureed and free of large chunks to maintain a smooth popsicle texture, similar to how fruit can enhance a zesty lemon bundt cake.
Ready to Dive Into Tropical Bliss? Share Your Creation!
Now that you’re armed with the secret to perfectly unmolded Zesty Passion Fruit Pops, there’s no stopping your tropical culinary adventures! This recipe isn’t just about making delicious treats; it’s about making them with joy and without the common frustrations. The vibrant flavor and smooth release will make these a guaranteed hit every time.
Don’t keep this sunshine to yourself! We’d love to see your beautiful creations. Share your Zesty Passion Fruit Pops on social media and tag us, or leave a comment below to let us know how your batch turned out. Happy popping!
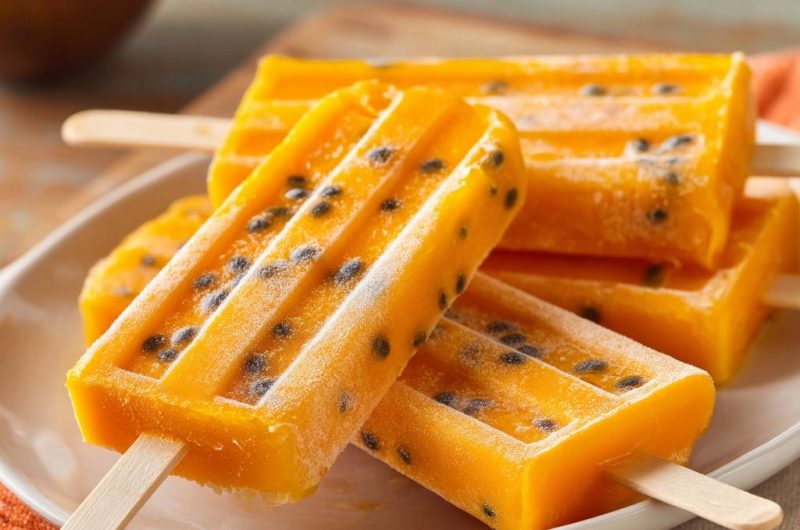
Passion Fruit Pops
Course: DessertCuisine: InternationalDifficulty: easy4
pops15
minutes120
kcal240
minutesDiscover the secret to perfectly unmolding homemade popsicles every time with these bright, tropical passion fruit treats. This recipe guides you through creating delicious, zesty frozen delights, ensuring they slide out of their molds effortlessly. Enjoy refreshing homemade pops without the frustration.
Ingredients
1 cup fresh passion fruit pulp (from about 6-8 passion fruits)
1/2 cup water
1/4 cup granulated sugar (or to taste)
Popsicle molds and sticks
Directions
- Scoop the pulp from the fresh passion fruits into a medium bowl.
- Add the water and granulated sugar to the bowl with the passion fruit pulp. Stir well until the sugar is fully dissolved. Taste and adjust sweetness if desired; passion fruit can be quite tart!
- Carefully pour the passion fruit mixture into your popsicle molds, leaving a small space at the top for expansion during freezing.
- Insert popsicle sticks into each mold.
- Place the filled molds in the freezer and freeze for at least 4-6 hours, or until completely solid.
- To unmold your popsicles effortlessly, fill a shallow bowl or your sink with warm, not hot, water. Dip the bottom half of the popsicle molds into the warm water for about 15-20 seconds. This gentle warmth allows the very outer layer of the popsicle to slightly melt, creating a thin buffer that makes for a smooth release.
- After dipping, gently pull the sticks to remove the popsicles from their molds. If they still feel stuck, dip them again for another few seconds until they slide out easily.
- Enjoy your perfectly released, refreshing passion fruit pops immediately, or store them in an airtight container in the freezer.
Notes
- Features a simple trick for effortless popsicle unmolding.