Cheesy Bell Pepper Bake: Never Watery, Always Flavorful!
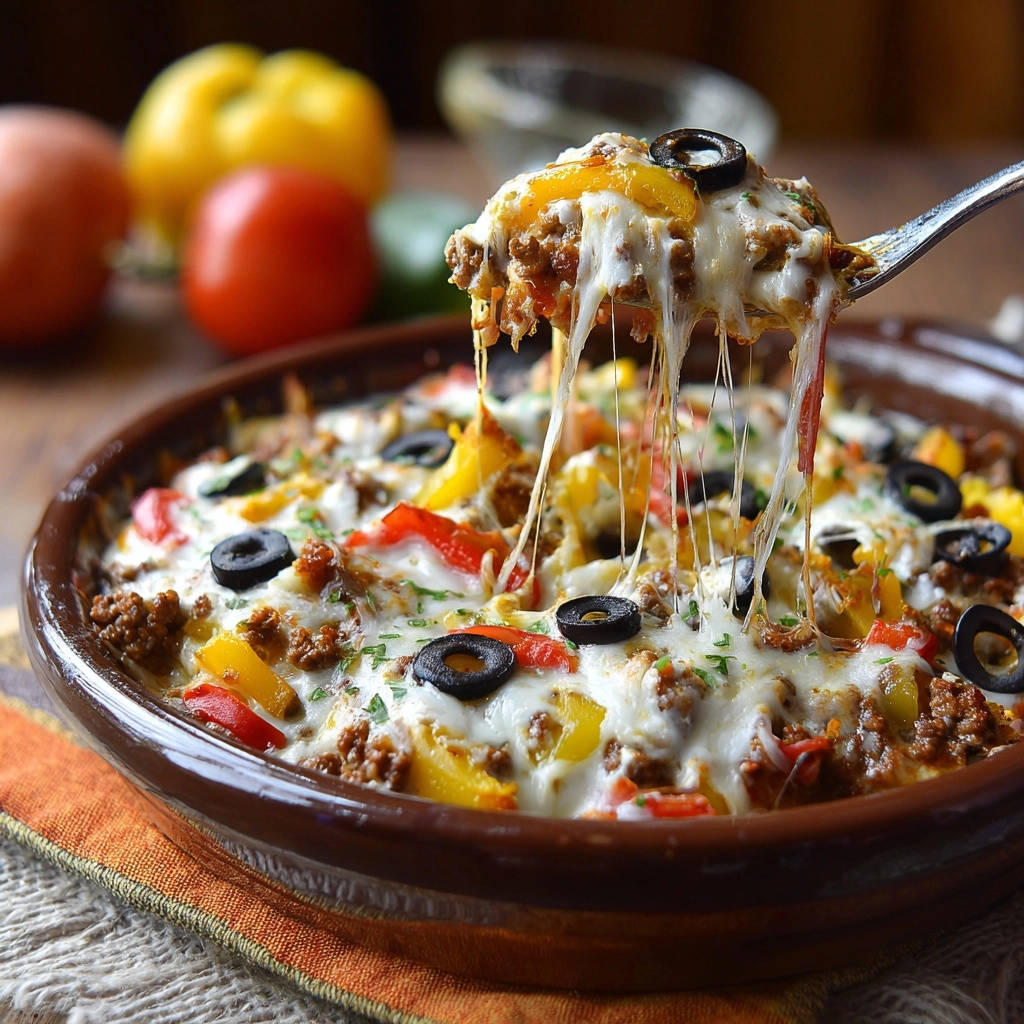
There’s nothing more frustrating than serving a beautiful bake only to find it’s swimming in excess liquid. I’ve been there, and after perfecting countless versions, I’m thrilled to share my ultimate Cheesy Bell Pepper Bake recipe that guarantees a consistently flavorful and, most importantly, never watery result.
This dish is a testament to how simple techniques can elevate everyday ingredients into a truly spectacular and reliable family meal.
Why This Cheesy Bell Pepper Bake is a Must-Try
The “No More Watery Bakes” Secret Revealed
Many home cooks struggle with bakes that turn out watery, diluting flavors and textures. This Cheesy Bell Pepper Bake recipe meticulously addresses this common issue, focusing on two critical steps that eliminate excess moisture.
You can finally bid farewell to soggy bottoms and bland flavors, enjoying a perfectly rich and satisfying dish every time.
Effortless Weeknight Meal Perfection
Balancing busy schedules with nutritious home-cooked meals is a constant challenge. This bake is designed for efficiency, offering a straightforward preparation that yields impressive results with minimal fuss.
It’s the ideal solution for a hearty, family-friendly dinner that doesn’t compromise on taste or quality, making weeknights genuinely easier.
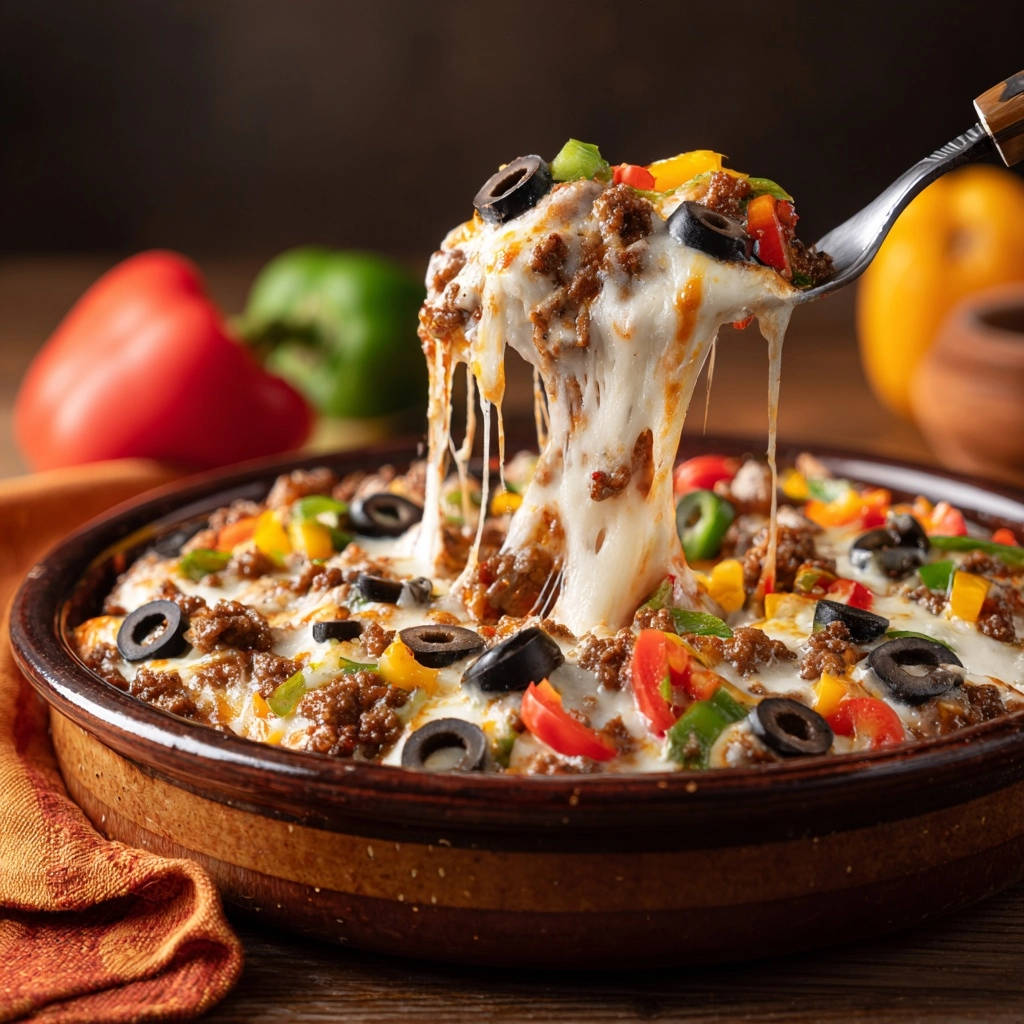
Simple Ingredients, Impressive Flavor
You don’t need exotic ingredients to create something truly delicious. This recipe harnesses the power of everyday pantry staples and fresh produce to build layers of savory goodness.
Each component plays a vital role in contributing to a deeply satisfying flavor profile that will have everyone asking for seconds.
Gathering Your Culinary Arsenal: Key Ingredients for the Perfect Cheesy Bell Pepper Bake
The Heart of the Dish: Ground Beef & Bell Peppers
Choosing lean ground beef is crucial here. It reduces the amount of excess fat and liquid, contributing to a less watery bake without sacrificing flavor.
Red and yellow bell peppers not only add vibrant color but also a wonderful natural sweetness and essential nutrients. Select firm, brightly colored peppers for the best results.
Aromatics & Spices: Building the Flavor Base
Onion and garlic are the foundational aromatics, providing depth and savory complexity to the beef mixture. Freshly minced garlic offers a more pungent and robust flavor than pre-minced versions.
Chili powder and cumin introduce a warm, earthy spice blend that perfectly complements the beef and peppers without overpowering them. Salt and black pepper ensure every bite is perfectly seasoned.
The Cheesy Crown: Mozzarella and Olives
Shredded mozzarella cheese melts beautifully, creating that irresistible golden, bubbly top and creamy texture throughout. Its mild flavor allows other ingredients to shine.
Sliced black olives add a briny, savory counterpoint to the richness of the cheese and beef, enhancing the overall umami. Fresh chopped parsley provides a bright, herbaceous finish, both in flavor and visual appeal.
- Full Ingredient List:
- 1 tablespoon olive oil
- 1 pound lean ground beef
- 1 small onion, chopped
- 2 cloves garlic, minced
- 1 teaspoon chili powder
- 1/2 teaspoon cumin
- 1/4 teaspoon black pepper
- 1/2 teaspoon salt
- 1 red bell pepper, diced
- 1 yellow bell pepper, diced
- 1/2 cup sliced black olives
- 2 cups shredded mozzarella cheese
- 2 tablespoons fresh parsley, chopped
Essential Tools for a Smooth Baking Experience
Your Skillet & Spatula: Sautéing Success
A large, heavy-bottomed skillet is your best friend for evenly browning the ground beef and sautéing the vegetables. This ensures consistent heat distribution.
A sturdy spatula is essential for breaking up the beef and stirring ingredients, making your cooking process efficient and mess-free.
The Baking Dish: Choosing the Right Vessel
A 9×13 inch baking dish is ideal for this recipe, allowing the ingredients to spread evenly and ensuring uniform cooking and a perfectly golden cheese crust.
If you don’t have a 9×13, any oven-safe casserole dish of a similar volume will work effectively. Just ensure it’s deep enough to hold all the delicious contents.
- Quick Tool Checklist:
- Large Skillet
- Sturdy Spatula
- Large Mixing Bowl
- 9×13 inch Baking Dish (or similar oven-safe casserole dish)
- Measuring Spoons and Cups
Mastering the Art of the Cheesy Bell Pepper Bake: Step-by-Step
Phase 1: Browning the Beef (The Foundation)
- Prepare the Skillet and Brown the Beef:
Start by heating olive oil in a large skillet over medium-high heat. Add your lean ground beef and chopped onion, breaking up the beef as it cooks. Continue until the beef is thoroughly browned and the onion has softened, typically about 7-8 minutes.
Phase 2: The Crucial Water-Prevention Step (Drain & Sauté)
- Thoroughly Drain Excess Grease:
This is the absolute most critical step to prevent a watery bake! After browning, transfer the cooked beef and onion to a separate bowl, leaving behind all excess grease in the skillet. This ensures your bake stays rich and flavorful, not diluted.
- Pre-Cook Bell Peppers to Release Moisture:
Return the skillet to medium heat and add the diced red and yellow bell peppers. Sauté for 5-7 minutes, stirring occasionally, until they begin to soften and release their moisture. This pre-cooking prevents them from releasing water into your bake during the oven time.
Phase 3: Aromatics and Spices (Building Layers)
- Infuse with Garlic and Spices:
To the softened bell peppers, add the minced garlic, chili powder, cumin, salt, and black pepper. Cook for just an additional minute, stirring continuously, until the spices become wonderfully fragrant. This short cooking time helps to bloom their flavors.
Phase 4: Assemble and Bake (The Grand Finale)
- Preheat Your Oven:
Preheat your oven to 375 degrees F (190 degrees C). This ensures the oven is at the correct temperature for even baking and melting of the cheese.
- Combine and Transfer to Baking Dish:
In a large mixing bowl, combine the thoroughly drained ground beef mixture with the sautéed bell peppers and seasonings. Stir in the sliced black olives, then transfer the entire mixture evenly into your 9×13 inch baking dish.
- Top Generously with Mozzarella:
Spread the shredded mozzarella cheese generously over the top of the beef and pepper mixture. This will create that irresistible golden, bubbly crust.
- Bake Until Golden and Bubbly:
Bake in the preheated oven for 15-20 minutes, or until the cheese is beautifully melted, bubbling, and slightly golden brown around the edges. Keep an eye on it to prevent over-browning.
Phase 5: The Perfect Finish (Resting for Perfection)
- Garnish and Rest Before Serving:
Once baked, remove the Cheesy Bell Pepper Bake from the oven. Sprinkle generously with fresh chopped parsley for a burst of color and flavor. Let it rest for a few minutes before serving; this allows the cheese to set slightly, making for cleaner scoops.
Pro Tips & Chef’s Secrets for Your Cheesy Bell Pepper Bake
Don’t Skip the Drain: The Ultimate Watery Bake Fix
Master the Drain: Ensure you truly get all the excess grease and liquid out of your ground beef. This is the single most important factor in preventing a watery Cheesy Bell Pepper Bake. A fine-mesh sieve or paper towels pressed into the pan can help.
Pre-Cooking Peppers: Why It Matters
Evaporate Moisture First: Bell peppers hold a lot of water. Pre-cooking them helps to sweat out much of this moisture before they go into the bake, ensuring they contribute flavor and texture, not liquid, to your dish.
Customize Your Spice Level
Heat It Up or Tone It Down: Feel free to adjust the chili powder to your taste. For more heat, add a pinch of cayenne pepper. For a milder flavor, reduce the chili powder or omit it entirely.
Cheese Choices: Beyond Mozzarella
Explore Cheese Blends: While mozzarella is classic, a blend of Monterey Jack, cheddar, or even a little provolone can add different dimensions of flavor and melt beautifully. Experiment with your favorites!
Herbs for Freshness: A Final Flourish
Fresh Herbs Make a Difference: Don’t underestimate the power of fresh parsley. It adds a vibrant, fresh note that cuts through the richness of the bake. Fresh cilantro or chives could also be interesting additions.
Troubleshooting Your Cheesy Bell Pepper Bake
“My Bake is Still Watery!”
If your Cheesy Bell Pepper Bake is still watery, the most common culprit is insufficient draining of the ground beef or not pre-cooking your bell peppers enough. Ensure you’re really getting all the liquid out in those initial steps. For future attempts, you might also consider adding a tablespoon of flour or cornstarch to the beef mixture before baking to absorb excess moisture.
“My Bell Peppers Are Too Hard/Too Mushy”
The texture of your bell peppers largely depends on the pre-cooking step. For softer peppers, sauté them a few minutes longer. If you prefer a bit more bite, reduce the pre-cook time. Remember, they will continue to soften slightly in the oven, so aim for just tender-crisp during the sauté.
“The Cheese Didn’t Brown Evenly”
Uneven cheese browning can happen if your oven has hot spots or if the cheese isn’t spread uniformly. Try rotating your baking dish halfway through the baking time. For a deeper golden crust, you can also place the dish under the broiler for 1-2 minutes at the very end, watching it carefully to prevent burning.
Serving Suggestions & Pairing Perfection
Ideal Sides for Your Cheesy Bell Pepper Bake
This savory Cheesy Bell Pepper Bake pairs beautifully with a light, crisp green salad tossed in a vinaigrette to cut through the richness. Fluffy white rice or quinoa can also be excellent choices to soak up all the delicious juices.
For a heartier meal, serve it with warm, crusty bread to mop up every last bit! If you’re looking for another comforting ground meat dish, you might enjoy our fantastic Cheesy Beef Shells Skillet.
Complementary Drinks
For drinks, consider a light-bodied red grape juice like a sparkling grape juice, or a crisp, white grape juice such as sparkling grape juice. Non-alcoholic options like sparkling water with a hint of lemon or a classic iced tea would also be refreshing choices.
Make Ahead, Storage, & Reheating Tips
Can You Prepare Cheesy Bell Pepper Bake in Advance?
Yes, you can absolutely prepare this Cheesy Bell Pepper Bake ahead of time! Assemble the entire dish (without the cheese topping) and cover it tightly. Store it in the refrigerator for up to 24 hours. Add the cheese just before baking. This makes it perfect for entertaining or busy weeknights.
Storing Leftovers Safely
Store any leftover Cheesy Bell Pepper Bake in an airtight container in the refrigerator for up to 3-4 days. Ensure it cools completely before refrigerating to maintain freshness and prevent bacterial growth.
Reheating for Optimal Flavor
To reheat, cover the baking dish loosely with foil and warm in a 300°F (150°C) oven until heated through, about 20-25 minutes. You can also microwave individual portions, though the cheese may not be as crispy. Avoid over-reheating, which can dry out the dish.
Your Burning Questions Answered: Cheesy Bell Pepper Bake FAQs
Can I Use Different Ground Meats?
Yes, you can easily substitute the lean ground beef with ground turkey, chicken, or even a plant-based ground meat alternative. Adjust cooking times slightly as needed, and ensure proper draining for all meat types. For more inspiration, explore other ground meat creations such as our flavorful Glazed Meatball Veggie Bowl.
What About Vegetarian Options?
To make this Cheesy Bell Pepper Bake vegetarian, simply substitute the ground beef with a plant-based ground crumble, cooked lentils, or a mixture of finely diced mushrooms and zucchini. You could also increase the amount of bell peppers and add other vegetables like corn or black beans.
Can I Freeze This Dish?
Yes, this Cheesy Bell Pepper Bake freezes well! Assemble the dish (without baking), wrap it tightly in plastic wrap and then foil, and freeze for up to 3 months. Thaw overnight in the refrigerator before baking as directed. You can also freeze baked leftovers in individual portions for quick meals.
Is This Recipe Kid-Friendly?
Absolutely! The mild spices and cheesy topping make this Cheesy Bell Pepper Bake a hit with most kids. If your children are sensitive to bell peppers, you can finely mince them, or even grate them into the beef mixture to make them less noticeable.
How to Make It Spicier (or Milder)?
To amp up the heat, add a pinch of cayenne pepper, a dash of hot sauce, or some finely diced jalapeños along with the bell peppers. For a milder version, simply reduce or omit the chili powder. The cumin provides a warm, earthy flavor without significant heat.
Share Your Cheesy Bell Pepper Bake Success!
We hope this Cheesy Bell Pepper Bake becomes a new family favorite in your kitchen, delivering perfectly flavorful, non-watery bites every time. Don’t forget to share your culinary creations with us on social media using #CheesyBellPepperBake and tag us!
If you loved this recipe, explore our site to discover more quick and delicious cheesy dishes like our irresistible Cheesy Pepper Bites for more inspiration and meal ideas.
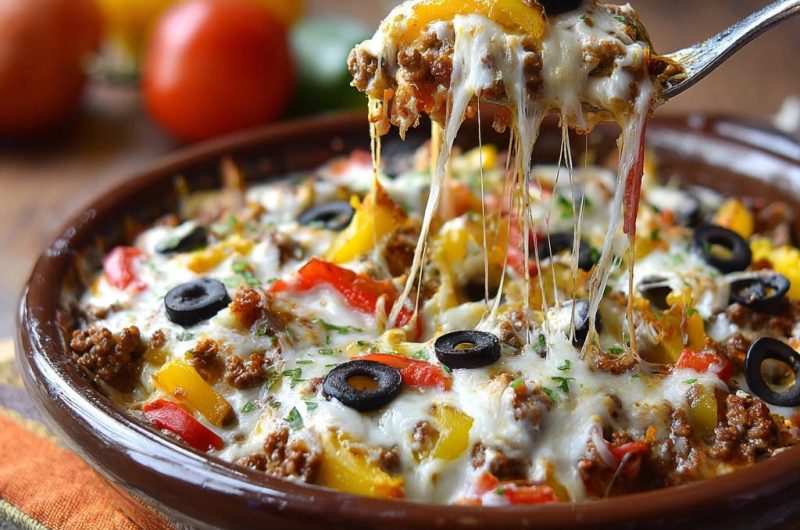
Cheesy Bell Pepper Bake
Course: Main CourseCuisine: AmericanDifficulty: easy6
servings20
minutes30
minutes450
kcal55
minutesDiscover the secret to a perfectly non-watery cheesy bell pepper bake, featuring savory ground beef, colorful bell peppers, and melted mozzarella. This dish is packed with flavor in every scoop, guaranteeing a delicious and satisfying meal without any excess liquid.
Ingredients
1 tablespoon olive oil
1 pound lean ground beef
1 small onion, chopped
2 cloves garlic, minced
1 teaspoon chili powder
1/2 teaspoon cumin
1/4 teaspoon black pepper
1/2 teaspoon salt
1 red bell pepper, diced
1 yellow bell pepper, diced
1/2 cup sliced black olives
2 cups shredded mozzarella cheese
2 tablespoons fresh parsley, chopped
Directions
- Heat olive oil in a large skillet over medium-high heat. Add ground beef and onion. Cook, breaking up the beef with a spoon, until browned and cooked through, about 7-8 minutes.
- This is the crucial step for preventing a watery dish: Thoroughly drain all excess grease from the beef. Transfer the cooked beef and onion to a bowl, leaving any remaining oil in the skillet.
- Return the skillet to medium heat. Add the diced red and yellow bell peppers. Cook for 5-7 minutes, stirring occasionally, until they start to soften and release some of their moisture. This pre-cooking helps ensure they don’t dump water into your bake later.
- Add the minced garlic, chili powder, cumin, salt, and black pepper to the skillet with the peppers. Cook for an additional 1 minute until fragrant.
- Preheat your oven to 375 degrees F (190 degrees C).
- Combine the drained ground beef mixture with the cooked bell peppers and seasonings in a large mixing bowl. Stir in the sliced black olives.
- Transfer the mixture to a 9×13 inch baking dish or an oven-safe casserole dish. Spread evenly.
- Top generously with the shredded mozzarella cheese.
- Bake for 15-20 minutes, or until the cheese is melted, bubbly, and slightly golden.
- Remove from oven, sprinkle with fresh chopped parsley, and let rest for a few minutes before serving to allow the cheese to set slightly. Enjoy your perfectly non-watery bake!
Notes
- Key steps included to prevent a watery dish.