Cherry Hazelnut Whipped Cream Cake Recipe
Why Cherry Hazelnut Whipped Cream Cake Stands Out
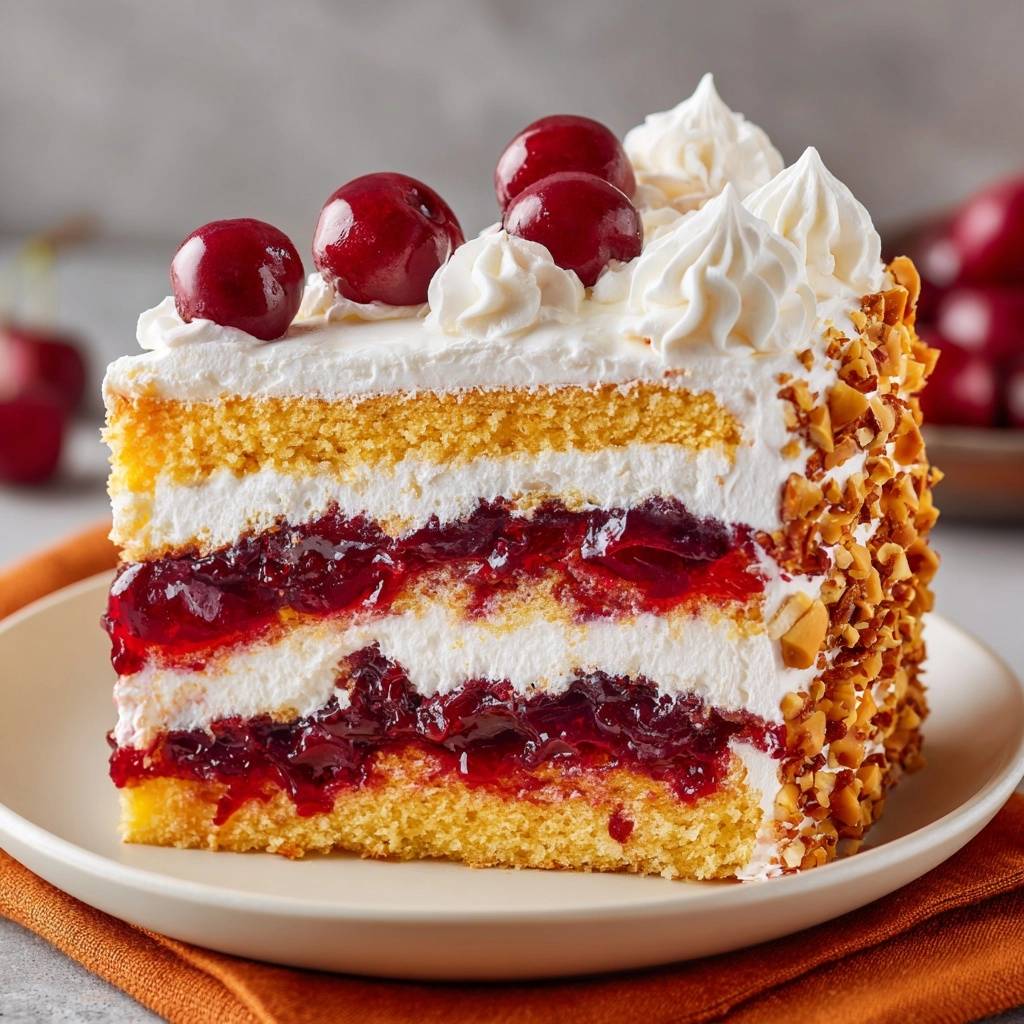
Picture this: you slice into a stunning layer cake, only to watch cherry filling ooze everywhere, turning neat slices into a soggy mess. I’ve been there, staring at a ruined birthday cake that slid apart on the plate. But this Cherry Hazelnut Whipped Cream Cake fixes that nightmare with a double whipped cream dam technique. It locks in two full layers of cherries, so every cut stays picture-perfect.
That’s why this recipe shines. You get tart cherries bursting against nutty hazelnut crunch, all wrapped in airy whipped cream that holds its shape. No more disasters at parties or dinners. Plus, it serves 12 with just 1.5 hours active time, plus chilling.
Here’s the pro tip that seals the deal: pipe those dams thick and high, about half an inch, using freshly whipped cream straight from the cold bowl. That fat structure traps the juicy filling tight. Oh man, the first bite melts in your mouth with that perfect balance.
Leak-Proof Slicing Every Time
Runny fruit fillings soak through cake layers fast, making everything collapse. However, this Cherry Hazelnut Whipped Cream Cake uses two whipped cream dams to build barriers. Therefore, the cherries stay contained, and your slices look pro-level gorgeous.
In addition, the technique relies on whipped cream’s stable fat network. It outperforms buttercream here because it’s lighter yet firm enough under pressure.
Nutty, Tart, and Creamy Balance
Bright, juicy cherries cut through the rich whipped cream. Earthy toasted hazelnuts add crunch on the sides. Together, they create harmony in every forkful of this Cherry Hazelnut Whipped Cream Cake.
Cake Layers: Building Stable Bases
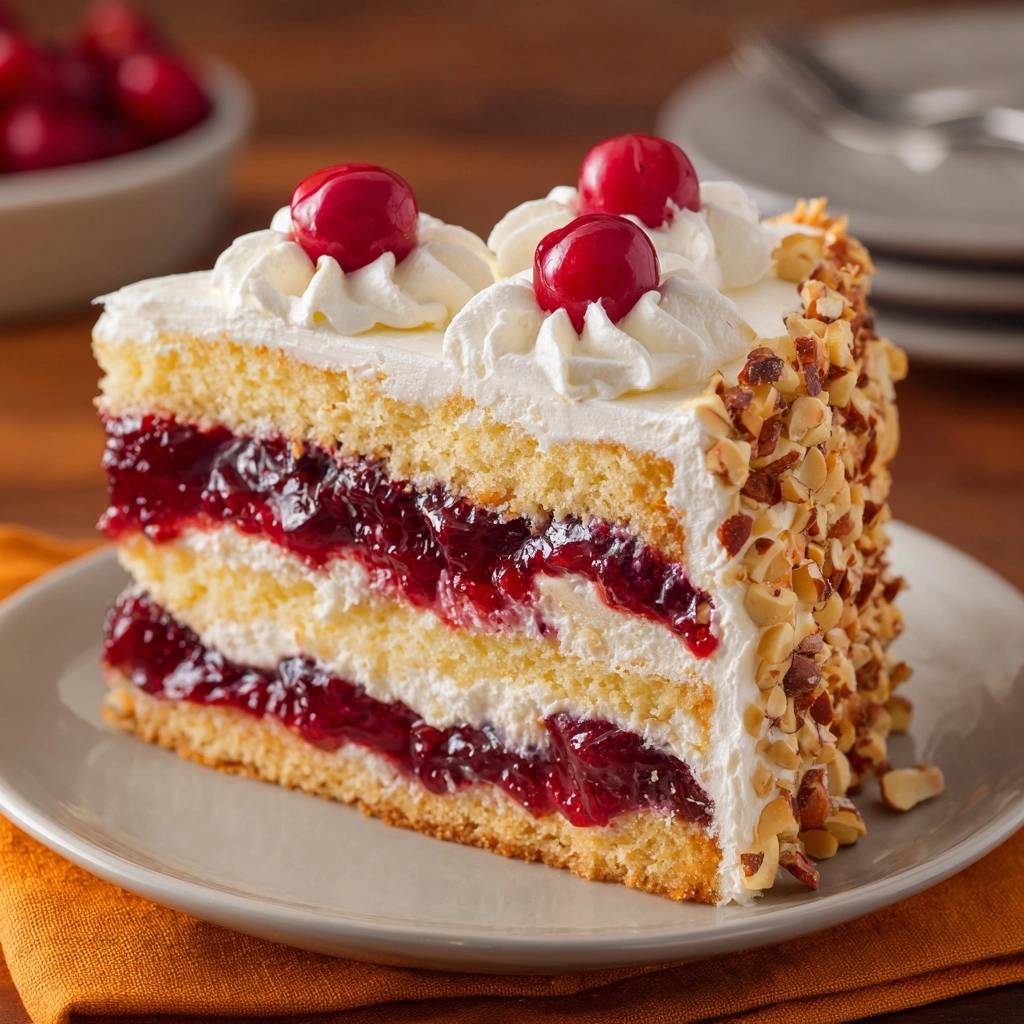
Start with 2 cups all-purpose flour, 2 teaspoons baking powder, and 1/4 teaspoon salt for tender, even layers. Whole milk keeps the crumb moist without heaviness; alternatives like almond milk work but thin it out. Room-temp butter ensures smooth emulsion, so no lumps form.
These ratios prevent gumminess. In addition, the baking powder lifts without big air tunnels. You’ll love how the cake holds up to all that filling.
Flour, Leavening, and Salt Ratios
Whisk dry ingredients first. The 2 teaspoons baking powder gives just-right rise. Therefore, your two 8-inch layers bake flat and stable.
Creaming Butter, Sugar, Eggs Perfectly
Beat softened butter and 1 1/2 cups sugar for 3 full minutes until fluffy. Add 4 eggs one at a time to avoid curdling. That aeration traps air for lightness.
Alternating Wet-Dry for Even Texture
Alternate flour mix and 1 cup milk, starting and ending with flour. This prevents tough gluten. Your batter stays velvety smooth.
Cherry Filling: Thickening Without Runny Mess
Combine 4 cups pitted cherries with 1/2 cup sugar and 2 tablespoons lemon juice. Fresh cherries release pectin naturally, but frozen ones work too; they just need extra simmer time for juice. Cornstarch slurry thickens it glossy and sliceable.
Divide into two portions after cooling. Therefore, each dam gets its perfect fill. Pro tip: taste the brightness from that lemon; it wakes up the fruit.
Cooking Cherries to Juicy Perfection
Heat over medium for 10 minutes until juicy and bubbling. Lemon juice adds acid to brighten flavors. You’ll smell that sweet-tart aroma filling your kitchen.
That same whipped cream technique would work beautifully for a glazed blueberry lemon bundt cake.
Cornstarch Slurry for Stability
Mix 2 tablespoons cornstarch with 2 tablespoons water first. Stir in and simmer 2-3 minutes. It activates fully, no lumps or runny mess.
Whipped Cream Frosting: Stability Secrets
Chill your bowl and beaters, then whip 3 cups cold heavy cream with 1/2 cup powdered sugar and 2 teaspoons vanilla to stiff peaks. Cold start prevents separation into butter. Pipe dams right away with a large round tip.
Reserve some for crumb coat and swirls. In addition, this frosting stays firm even with dual cherry layers inside your Cherry Hazelnut Whipped Cream Cake.
Chilling Equipment Before Whipping
Pop bowl and beaters in the freezer 15 minutes. Cold fat whips to double volume fast. No deflating here.
High-Speed Beating to Peaks
Beat on high for exactly 3 minutes to stiff peaks. Stop there; overbeating turns it grainy. Perfect for piping.
Science of Whipped Cream Dams in Layer Cakes
Whipped cream’s fat globules and air bubbles form a barrier that cherry juices can’t penetrate. In a Cherry Hazelnut Whipped Cream Cake, this locks in the filling tight. Double dams handle two layers better than one, containing pressure from the top cake.
Buttercream works too, but it’s denser and sweeter. However, whipped cream’s proteins stabilize against fruit acids. Therefore, slices hold shape after chilling.
Press gently when stacking. That air structure flexes without breaking, unlike runny fillings that squish out.
Fat Emulsion Locking in Juices
Cream proteins bind fats into a network. They resist cherry acidity. Your dams stay solid.
Double Dam for Extra Insurance
First dam holds bottom cherries; second tops the cream layer. Top cake pressure stays contained. No leaks.
Layering Cherry Hazelnut Whipped Cream Cake
Level cooled cakes if domed. Pipe first thick dam on bottom layer, add one cherry portion, spread even. Cover with whipped cream to dam height, then pipe second dam and add remaining cherries. Top with second cake, press gently.
Crumb coat thin, chill 30 minutes. Frost fully, press 1 cup crushed toasted hazelnuts into sides. Chill 1.5 hours for firm slices.
First Dam and Cherry Portion
Pipe 1/2-inch high border. Spoon and spread first filling inside. Stay within the cream wall.
If you enjoy cakes that stay fresh at room temperature, try this glazed lemon blueberry loaf for a similar approach to keeping frosting firm.
Second Dam Over Cream Layer
Spread cream over first filling. Pipe second dam, add cherries. Top with cake gently.
Crumb Coat and Final Swirls
Thin coat traps crumbs; chill sets it. Swirl top for elegance, nuts on sides.
Equipment Essentials for Flawless Results
Grease and flour two 8-inch metal pans for even heat. Wire racks prevent soggy bottoms. Stand mixer creams butter fast; piping bag or ziplock makes dams precise. Offset spatula smooths frosting even.
Toothpick tests doneness at 22-25 minutes. Saucepan simmers cherries glossy. These tools make your Cherry Hazelnut Whipped Cream Cake foolproof.
Pans and Racks for Even Baking
Metal pans conduct heat best. Racks cool without condensation. Cakes release clean.
Piping Tools for Precise Dams
Large round tip like #808 works best. Ziplock with snipped corner substitutes fine.
Avoiding Mistakes in Cherry Hazelnut Whipped Cream Cake
Underbake layers and they sink under filling. Always chill after crumb coat to set structure. Skipping final 1.5-hour chill lets dams soften and slide.
Overcook cherries to mush; watch the clock. Warm cream whips flat. Follow steps, and you’ll nail it.
Testing Doneness Precisely
Toothpick clean at 22-25 minutes; edges spring back. No wet batter.
Preventing Frosting Wilting
All chills are key; serve at room temp. Frosting holds firm.
Flavor Variations for Cherry Hazelnut Whipped Cream Cake
Swap hazelnuts for toasted almonds or pecans. Try blackberries or raspberries, but up cornstarch slightly for less pectin. Almond extract amps nutty vibe.
Dairy-free? Coconut cream whips stable if cold. Keep dams thick either way.
Berry Swaps Keeping Thickness
Raspberries need extra 1/2 tablespoon cornstarch slurry. Simmer same time. Juices thicken glossy.
What’s Next?
Try these delicious pairings:
- Classic Swedish Meatballs: Unlocking Juicy Perfection
- Coconut Dream Muffins: The Secret to Light & Fluffy Bites
Nut Alternatives and Extracts
Toast pistachios or walnuts 10 minutes at 350F. Crush fine for sides.
Make-Ahead and Storage Guide
Make filling up to 3 days ahead in fridge. Unfrosted layers freeze 1 month, wrapped tight. Assemble fully, store fridge 3 days.
Freeze assembled slices up to 2 weeks; thaw overnight. Pro tip: cherries hold without weeping.
Component Freezing Tips
Wrap layers airtight. Thaw cherries in fridge; juices stay thick.
Perfect Pairings for Cherry Hazelnut Whipped Cream Cake
Coffee cuts the creaminess just right. Herbal tea enhances tart cherries. Sparkling water with lemon refreshes between bites.
Side platter of fresh berries echoes the filling. Simple and perfect.
Beverage Matches Enhancing Tartness
Chamomile tea or citrus sodas brighten cherries. Keeps it light.
Cherry Hazelnut Whipped Cream Cake FAQ
Can I Use Frozen Cherries?
Yes, no need to thaw. They release extra liquid that simmers off in 10-12 minutes. Thickens perfectly with the slurry for leak-proof dams.
How to Level Cake Layers Evenly?
After full cool on racks, use a serrated knife or leveling tool. Mark height with toothpick guides. Slice slowly for flat tops that stack stable.
Substitute for Hazelnuts?
Toasted pecans, walnuts, or almonds crush and press the same. Toast at 350F for 8-10 minutes for flavor. Adds great crunch without changing structure.
Why Chill Before Slicing?
Chilling 1.5 hours firms whipped cream dams and sets thickened cherries. Prevents sliding or leaks on first cut. Room temp serving softens just right.
Dairy-Free Version Possible?
Yes, use full-fat coconut cream chilled overnight. Whip with powdered sugar and vanilla to stiff peaks. Test dams for stability; chill longer if needed.
How Long Do Leftovers Last?
Store assembled Cherry Hazelnut Whipped Cream Cake in fridge up to 3 days airtight. Do not freeze whole; slices freeze 2 weeks best. Thaw overnight; whipped cream holds shape well.
Why Is My Filling Runny?
Usually under-simulated slurry or warm assembly. Simmer cherries 2-3 extra minutes after adding cornstarch slurry. Cool fully before dams; double-check thickness like jam.
Cherry Hazelnut Cake
Course: DessertCuisine: AmericanDifficulty: medium12
servings45
minutes30
minutes550
kcal180
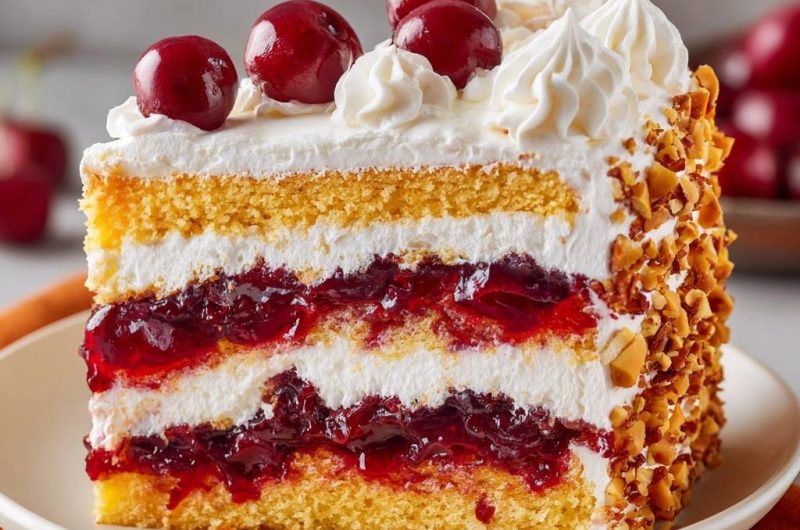
MinutesTired of fruit fillings oozing out? This cake uses a double whipped cream dam technique to keep cherry layers secure, ensuring neat slices every time.
Ingredients
Cake Layers:
2 cups all-purpose flour
2 teaspoons baking powder
1/4 teaspoon salt
1 cup unsalted butter, softened
1 1/2 cups granulated sugar
4 large eggs
1 tablespoon vanilla extract
1 cup whole milk
Cherry Filling:
4 cups pitted fresh or frozen cherries
1/2 cup granulated sugar
2 tablespoons cornstarch
2 tablespoons lemon juice
Whipped Cream Frosting:
3 cups heavy whipping cream, cold
1/2 cup powdered sugar
2 teaspoons vanilla extract
Assembly:
1 cup crushed toasted hazelnuts
12 fresh cherries for topping
Directions
- Preheat oven to 350 degrees F. Grease and flour two 8-inch round cake pans.
- Whisk flour, baking powder, and salt in a bowl. Beat butter and sugar until fluffy, about 3 minutes. Add eggs one at a time, then vanilla. Alternate adding flour mixture and milk, starting and ending with flour. Divide batter evenly into pans.
- Bake 22 to 25 minutes until a toothpick comes out clean. Cool in pans 10 minutes, then transfer to wire racks to cool completely. Level tops if needed.
- For cherry filling: Combine cherries, sugar, and lemon juice in a saucepan over medium heat. Cook 10 minutes until juicy. Mix cornstarch with 2 tablespoons water to make slurry. Stir into cherries and simmer 2 to 3 minutes until thickened. Cool completely. Divide into two equal portions.
- For whipped cream: Beat cold heavy cream, powdered sugar, and vanilla on high speed until stiff peaks form, about 3 minutes. Transfer to a piping bag fitted with a large round tip (or ziplock with corner snipped). Use immediately, reserving some for final frosting.
- Assemble: Place one cake layer on a serving plate. Pipe a thick border (dam) of whipped cream around the edge, 1/2-inch high. Spoon one portion of cherry filling into the center, spreading evenly but staying inside the dam. Spread a generous layer of whipped cream evenly over the cherry filling, filling up to the dam height. Pipe a second thick whipped cream dam on top of the whipped cream layer, around the edge. Spoon remaining cherry filling into the center, spreading evenly within the second dam. Top with second cake layer, pressing gently.
- Apply a thin crumb coat of remaining whipped cream over top and sides. Chill 30 minutes to set.
- Frost top and sides generously with any leftover whipped cream, creating swirls on top. Gently press crushed hazelnuts into sides.
- Chill cake at least 1.5 hours to firm up layers. Top with fresh cherries before serving. Slice and enjoy leak-free perfection!
Notes
- Chill the cake for at least 1.5 hours before slicing to ensure the whipped cream sets firmly and prevents any leaking. Use cold heavy cream for best whipping results.