Mastering Skillet Baked Macaroni and Cheese
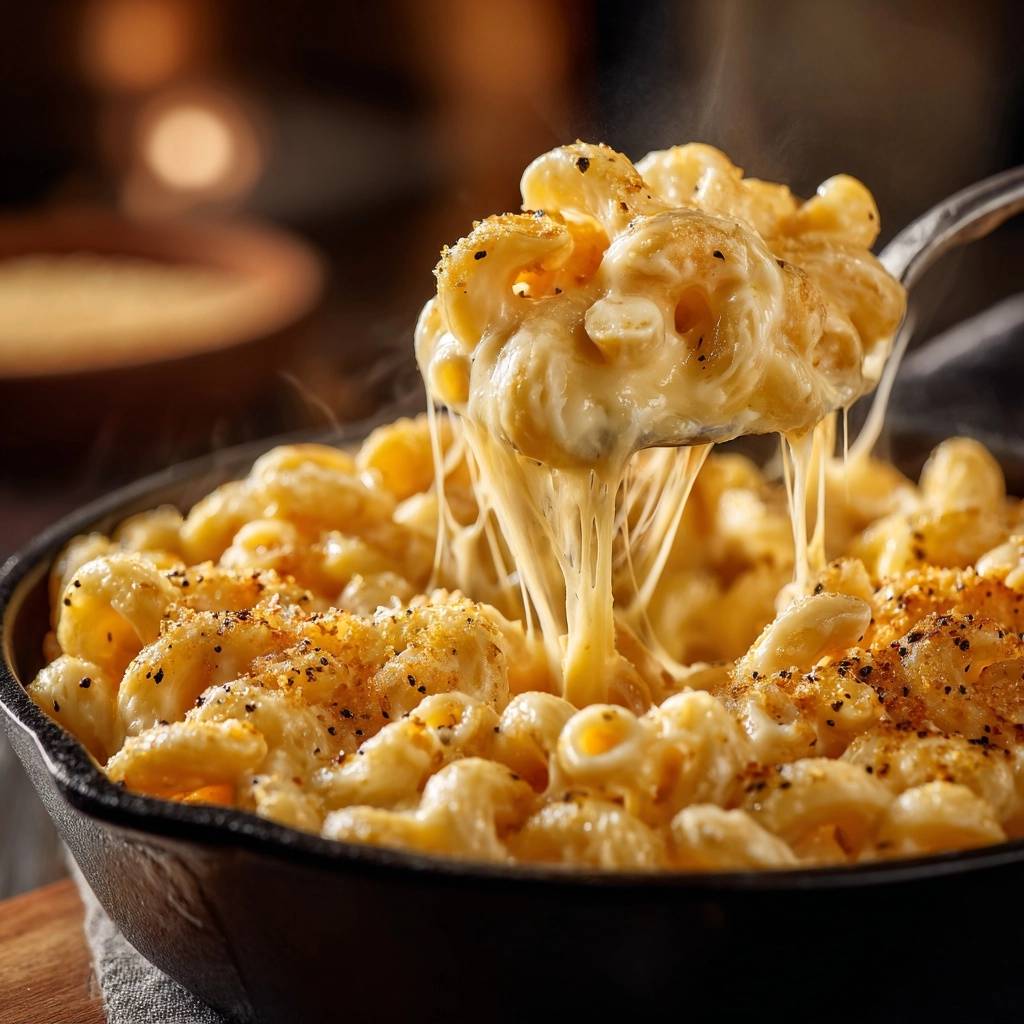
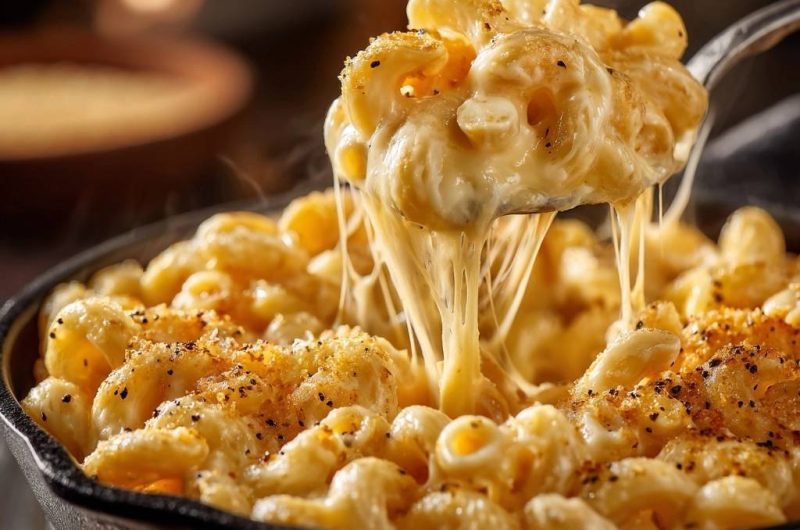
Imagine diving your spoon into a skillet where the top layer shatters with a buttery crunch, revealing a sea of glowing, molten cheese underneath. We’ve all been disappointed by macaroni and cheese that looks beautiful but tastes like sand or leaves a pool of oil on the plate. Those grainy, dry results happen because of a few scientific slip-ups that are actually very easy to fix once you know the secrets.
The real villains in a failed mac and cheese are high heat and cold dairy. When cold milk hits a hot pan, or when cheese is tossed into boiling liquid, the proteins seize up and separate from the fats. This creates that gritty texture we all hate. By using a cast iron skillet and room-temperature ingredients, you control the heat perfectly, ensuring every bite is as smooth as silk.
The secret to that professional, liquid-gold finish is all in the tempering. I always pull my milk and cream out of the fridge at least thirty minutes before I start cooking. This small step prevents thermal shock, allowing the flour and fats to bond into a stable, velvety emulsion that won’t break, even under the intense heat of the broiler.
The Anatomy of a Non-Grainy Cheese Sauce
Creating a sauce that stays creamy requires understanding how cheese behaves when it melts. Cheese is essentially a complex matrix of protein, fat, and water. If you heat it too quickly or use the wrong additives, that matrix collapses. This is why your sauce might look “broken” or oily. A stable emulsion keeps those fats trapped within the liquid, resulting in a glossy coating that clings to every noodle.
Most people reach for the convenience of pre-shredded cheese, but that is the primary cause of graininess. Those bags are packed with potato starch or cellulose to keep the shreds from sticking together in the store. However, those anti-caking agents also prevent the cheese from melting into a cohesive sauce. They act like tiny bits of grit that thicken the sauce in an uneven, unappealing way.
To keep things silky, you must respect the “breaking point” of the fats. Once you add your cheese to the skillet, you should never let the sauce come back to a boil. High heat causes the proteins to tighten into rubbery clumps, squeezing out the fat. Keep your burner on the lowest setting and let the residual heat of the skillet do the heavy lifting.
Why Block Cheese Outperforms Pre-Shredded Bags
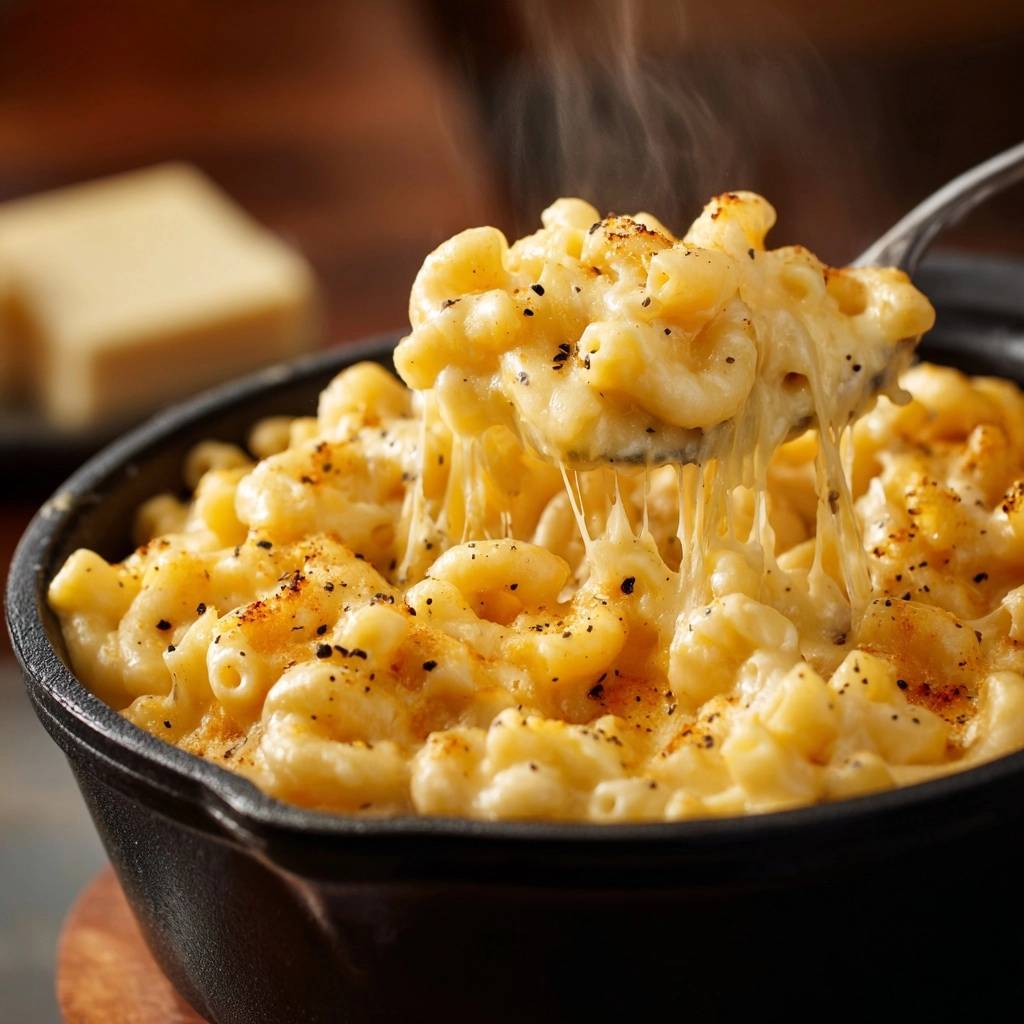
When you grate your own cheese from a block, you are getting pure dairy without the chemical fillers. Sharp cheddar provides that classic, punchy flavor we crave, but it has a relatively low melting point. Mozzarella, on the other hand, is the king of the “cheese pull” because of its high moisture content and elastic protein structure.
Combining these two creates a powerhouse duo. The cheddar brings the depth and the golden color, while the mozzarella ensures the sauce remains fluid and stretchy. Because block cheese retains its natural moisture, it integrates into the roux much faster and more smoothly than the dried-out shreds found in a bag.
The Role of Room Temperature Dairy
Think of your roux—the mixture of butter and flour—as the foundation of your house. If you pour ice-cold milk into a hot roux, the butter chills instantly and the flour clumps up. This creates a lumpy base that no amount of whisking can truly save. It’s a jarring temperature shift that prevents a smooth molecular bond.
Using room temperature milk and heavy cream allows the liquids to incorporate gradually. As you pour the dairy in one splash at a time, the sauce transforms from a thick paste into a smooth, heavy cream. This stability is vital because it protects the cheese later on, acting as a buffer that keeps the sauce from separating under the broiler.
Essential Components for Skillet Baked Macaroni and Cheese
Every ingredient in this recipe serves a specific purpose beyond just flavor. We aren’t just making a meal; we are engineering a texture. For example, using kosher salt instead of table salt allows for better control over the seasoning without that harsh, metallic aftertaste. Every element works together to balance the heavy fats with bright, savory notes.
I choose smoked paprika over regular paprika because it adds a subtle, wood-fired depth that mimics the flavor of an outdoor smoker. It cuts through the richness of the heavy cream. Similarly, garlic powder provides a consistent, savory backbone that distributes evenly through the sauce, ensuring you don’t bite into a raw chunk of garlic in the middle of a creamy bite.
Selecting the Right Pasta Shape
While standard elbow macaroni is traditional, I highly recommend using cavatappi. These corkscrew-shaped noodles have a much larger surface area and deep ridges that act like little traps for the cheese sauce. You want a noodle that can hold onto the weight of a heavy Mornay sauce without letting it all slide to the bottom of the pan.
The spiral shape also provides a better “mouthfeel” and structural integrity. Since we are baking this in a skillet, the pasta needs to be sturdy enough to withstand the heat without turning into mush. Cavatappi stays firm and provides a satisfying chew that contrasts beautifully with the creamy sauce and the crunchy panko topping.
The Fat Profile: Butter, Milk, and Heavy Cream
Using only whole milk often results in a sauce that feels thin or watery once it hits the pasta. By introducing heavy cream, we increase the fat percentage just enough to create a luxurious, coating consistency. This higher fat content also makes the sauce more “forgiving” and less likely to break if the temperature fluctuates slightly.
This same trick of swapping in a richer dairy option helps avoid a watery filling in my cheesy beef stuffed peppers.
The unsalted butter allows you to control the salt levels yourself. Since different brands of cheese have varying levels of sodium, starting with a neutral fat base is a smart move. This combination of fats ensures that the final dish feels rich and decadent, rather than just heavy and greasy.
The Importance of the Cast Iron Skillet
A cast iron skillet is the ultimate tool for this dish because of its incredible heat retention. Unlike thin stainless steel or aluminum pans, cast iron distributes heat evenly across the entire surface. This means you won’t have “hot spots” where the cheese sauce might scorch or break while you are stirring in the noodles.
Furthermore, the skillet allows for a seamless transition from the stovetop to the oven. You build the sauce and toss the pasta right in the pan, then slide the whole thing under the broiler. The heavy iron walls keep the macaroni hot while the top browns, ensuring that the cheese stays in its “liquid gold” state until it reaches the table.
Step-by-Step: Building the Perfect Skillet Base
Building this dish is a three-phase process that requires your full attention for about fifteen minutes. You aren’t just mixing things together; you are creating a series of chemical reactions. If you follow these phases carefully, you will achieve a result that looks like it came out of a high-end bistro kitchen.
The transition from a dry flour mixture to a glossy sauce is the most satisfying part of the process. You will see the texture change right before your eyes. Pay close attention to the smells and the way the whisk moves through the pan. These sensory cues are more reliable than any kitchen timer.
Phase 1: The Strategic Under-Cook
You must boil your pasta for exactly three minutes less than the package’s “al dente” instructions. This is non-negotiable. The pasta should feel slightly too firm to eat comfortably at this stage. This is because the noodles will continue to cook once they are submerged in the hot cheese sauce and placed under the broiler.
If you cook the pasta fully in the water, it will absorb too much moisture from the sauce during the baking phase. This results in bloated, soggy noodles and a dry, tight sauce. By under-cooking them, the noodles finish their hydration by soaking up the flavorful cheese sauce itself, locking the flavor inside the pasta.
Phase 2: Developing the Blonde Roux
When you melt the butter and whisk in the flour, you are looking for a “blonde” roux. Cook it for about two minutes. You should smell a faint, nutty aroma, similar to toasted bread. This step is crucial because it cooks out the “raw” taste of the flour, which can ruin the flavor of your sauce if left unaddressed.
Be careful not to let the mixture turn brown or dark. A dark roux is great for gumbo, but for macaroni and cheese, it will make the sauce look muddy and taste too toasted. The mixture should look like a thick, pale gold paste that bubbles gently at the edges of the skillet.
Phase 3: Tempering the Cheese and Sauce
Once your milk and cream have thickened the roux into a velvety base, turn your heat to the lowest possible setting. Add your freshly grated cheese one handful at a time. Stir constantly and wait until the first handful is completely melted and incorporated before adding the next. This is the secret to a smooth finish.
The sauce will transform from a thin white liquid into a thick, glossy, and stretchy coating. If you see the sauce start to bubble aggressively, pull the skillet off the heat immediately. You want the cheese to melt gently into the sauce, not cook. Once all the cheese is in, the sauce should look like liquid silk.
This same cheesy sauce technique works wonders in a jalapeno popper stuffed meatloaf if you want another dinner idea.
Achieving the Golden Panko Crust
Texture contrast is what separates a good mac and cheese from a great one. While traditional breadcrumbs are fine, panko is superior because the flakes are larger and more jagged. This creates more surface area, which leads to a much crunchier topping that doesn’t get soggy as it sits on the moist cheese sauce.
Mixing the panko with melted butter is essential for even browning. Without the fat, the breadcrumbs will simply dry out and burn under the broiler. The butter helps them toast to a perfect mahogany color. Adding a generous crack of black pepper to the crumbs adds a final pop of flavor that balances the creamy interior.
Troubleshooting Common Macaroni and Cheese Issues
If your sauce feels too thick after adding the pasta, don’t panic. Simply whisk in an extra splash of room-temperature milk or a tablespoon of the reserved pasta water. The starches in the pasta water can actually help re-stabilize a sauce that is starting to look a little tight or heavy.
If the sauce looks gritty, it usually means the heat was too high or you used pre-shredded cheese. While you can’t “un-grit” the sauce entirely, you can sometimes smooth it out by adding a tiny splash of heavy cream and whisking vigorously off the heat. If you see oil pooling on top, that’s a sign of separation; whisking in a teaspoon of warm water can often help pull the emulsion back together.
Flavor Variations and Ingredient Swaps
Once you master the base, you can get creative. If you want a more sophisticated flavor, swap the mozzarella for Gruyère or Fontina. These cheeses melt beautifully and offer a nutty, earthy profile. You can also add a teaspoon of dry mustard powder to the roux; the acidity in the mustard helps cut through the fat and makes the cheddar flavor pop.
For those who like a bit of heat, whisking in some chopped pickled jalapeños or a dash of hot sauce into the Mornay sauce works wonders. Just remember to keep your ratios of butter and flour the same. As long as your roux and dairy measurements stay consistent, you can swap the cheeses and spices to suit your mood.
What to Serve with Skillet Baked Macaroni and Cheese
Because this dish is incredibly rich and decadent, you want to pair it with something that offers high acidity or a bit of bitterness. A bright arugula salad tossed in a sharp lemon vinaigrette is the perfect companion. The peppery greens and citrus juice cleanse your palate between bites of cheesy pasta.
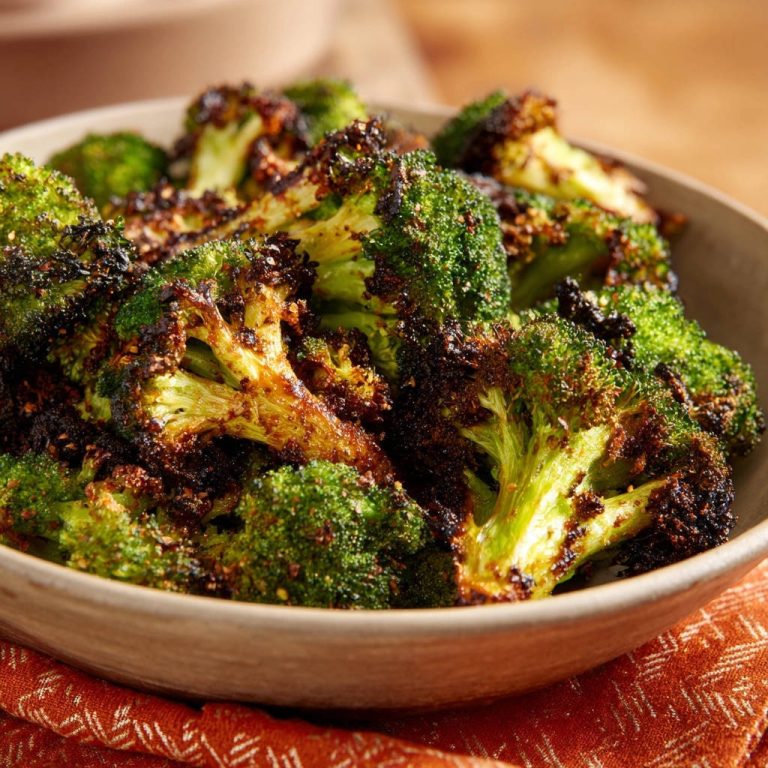
Roasted broccoli or charred Brussels sprouts also work beautifully. The slight bitterness of charred vegetables cuts through the heavy cream and butter. Avoid serving this with other heavy, starchy sides like mashed potatoes. Instead, focus on fresh, vibrant flavors that make the macaroni and cheese feel like the star of the show.
Try These Alongside Your Mac and Cheese
If you are serving that skillet baked macaroni and cheese for a crowd or a cozy dinner, a couple of extra cheesy vegetable dishes fit right in without stealing focus.
- For a similar creamy, baked texture with roasted cauliflower, add a creamy roasted cauliflower gratin to the table.
- A cheesy shredded potato casserole brings the same comforting, golden cheese topping in a different
Make Ahead and Reheating Instructions
You can prepare this dish up to the point of baking. Follow the steps until the pasta is folded into the sauce, then let the skillet cool completely. Cover it tightly with foil and refrigerate. When you are ready to eat, let it sit on the counter for 20 minutes to take the chill off, then add the panko and pop it under the broiler.
Reheating leftovers can be tricky because the pasta continues to absorb moisture in the fridge. To restore the creaminess, place a portion in a small pan with a splash of milk. Heat it gently over low heat, stirring constantly. The extra milk will loosen the tightened sauce and bring back that velvety texture without making the dish oily.
Expert Tips for the Perfect Cheese Pull
The “cheese pull” is all about the mozzarella-to-cheddar ratio. While cheddar provides the flavor, it doesn’t have the long protein strands needed for that visual stretch. By using a 2:1 ratio of cheddar to mozzarella, you get the best of both worlds. The mozzarella acts as the “glue” that keeps the sauce stretchy and fun.
Timing is everything. You must serve the skillet immediately after it comes out from under the broiler. As the skillet cools, the proteins in the cheese begin to set and firm up. For that Instagram-worthy stretch, get it to the table while the edges are still bubbling and the cast iron is still radiating heat.
How do I store leftovers so they don’t get dry?
Store leftovers in an airtight container in the refrigerator for up to 3 to 4 days. To prevent the pasta from drying out, press a piece of plastic wrap directly onto the surface of the macaroni before sealing the lid. This prevents a “skin” from forming. When reheating, always add a tablespoon of milk per cup of pasta to loosen the sauce back into a creamy state.
Why did my cheese sauce turn out gritty or grainy?
Graininess is usually caused by two things: using pre-shredded bagged cheese or overheating the sauce. Bagged cheese is coated in cellulose (wood pulp) which doesn’t melt. Additionally, if the sauce boils after the cheese is added, the proteins clump together and separate from the fat. Always grate your own cheese and keep the heat on the lowest setting during the melting phase.
Can I use a different type of pasta?
Yes, you can use penne, shells, or traditional elbows. However, look for pasta with ridges (rigate) or holes. These shapes are designed to “trap” the sauce. Avoid long, thin noodles like spaghetti or linguine, as they don’t provide enough surface area to hold the heavy cheese sauce and will likely clump together in the skillet.
Can I make this without a cast iron skillet?
You can use a heavy-bottomed stainless steel pan or a Dutch oven, provided they are oven-safe. If you don’t have an oven-safe pan, you can make the sauce and pasta on the stove and then transfer the mixture to a ceramic baking dish before adding the panko and broiling. Just be aware that ceramic doesn’t hold heat as well as cast iron, so it may cool down faster.
What can I use instead of panko breadcrumbs?
If you don’t have panko, you can crush up buttery crackers or use traditional breadcrumbs. However, panko is preferred for its superior crunch. If using regular breadcrumbs, you may need to use a bit more melted butter to ensure they don’t turn into a sandy texture. Crushed pretzels also make a fantastic, salty alternative for a unique twist.
Is it possible to freeze this recipe?
It is not recommended to freeze this dish after it has been baked, as the dairy emulsion will likely break upon thawing, resulting in a grainy and oily mess. If you must freeze it, do so before the baking step. Thaw it completely in the refrigerator for 24 hours before adding the panko topping and broiling. Note that the pasta may be slightly softer after freezing.
Skillet Baked Macaroni and Cheese
Course: Main CourseCuisine: AmericanDifficulty: mediumYields6
servingsPrep Time15
minutesCook Time20
minutesCalories750
kcalTotal Time35
MinutesA foolproof skillet macaroni and cheese that stays silky and liquid gold. By using room temperature dairy and freshly grated blocks of cheddar and mozzarella, this recipe avoids the common pitfalls of oily or dry baked pasta.
Ingredients
1 pound cavatappi or large elbow pasta
4 cups sharp cheddar cheese, freshly grated from a block
2 cups low-moisture mozzarella cheese, freshly grated (for the cheese pull)
4 tablespoons unsalted butter
1/4 cup all-purpose flour
3 cups whole milk, room temperature
1 cup heavy cream, room temperature
1 teaspoon garlic powder
1 teaspoon smoked paprika
1 teaspoon kosher salt
1 teaspoon coarse ground black pepper (plus extra for topping)
1/2 cup panko breadcrumbs
2 tablespoons melted butter for topping
Directions
- Boil the pasta in heavily salted water for 3 minutes less than the package directions for al dente. The pasta must be firm and undercooked as it will absorb the sauce and finish softening under the broiler. Drain and set aside.
- In a large cast iron skillet over medium heat, melt 4 tablespoons of butter. Whisk in the flour and cook for 1-2 minutes until the mixture smells slightly nutty but does not brown.
- To solve the graininess problem, slowly pour in the room temperature milk and cream one splash at a time, whisking constantly until smooth. Using room temperature dairy prevents the fats from seizing, creating a stable emulsion.
- Continue whisking until the sauce thickens enough to coat the back of a spoon. Season with garlic powder, smoked paprika, salt, and pepper. Turn the heat to the lowest setting.
- Add the cheddar and mozzarella one handful at a time, stirring until completely melted before adding more. Never add cheese to boiling liquid or it will break and become gritty.
- Fold the undercooked pasta into the cheese sauce until every noodle is submerged and the sauce is thick and glossy.
- In a small bowl, mix the panko breadcrumbs with 2 tablespoons of melted butter and a generous amount of coarse black pepper. Sprinkle evenly over the top of the skillet.
- Place the skillet under the broiler for 3 to 5 minutes, watching closely, until the breadcrumbs are golden brown and the cheese is bubbling at the edges. Serve immediately to maintain the creamy texture and the visual cheese pull.
Notes
- To prevent graininess, use room temperature milk and cream and avoid pre-shredded bagged cheese. Ensure the pasta is undercooked by 3 minutes before mixing with sauce to prevent it from becoming mushy during the broiling process.