Classic Baked Mac and Cheese: Golden, Crispy Perfection
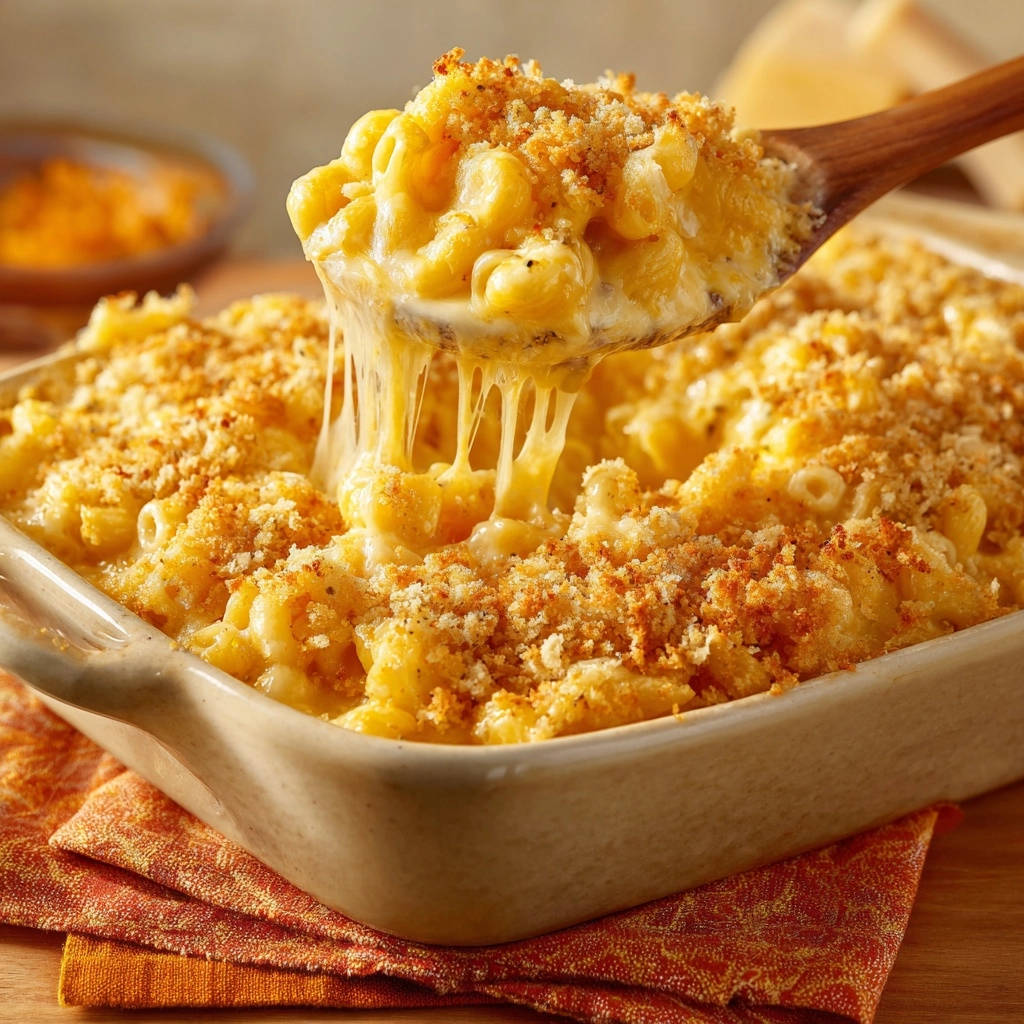
There’s a special place in everyone’s heart for a truly great Classic Baked Mac and Cheese. We all crave that perfect creamy interior and, crucially, a topping that actually stays crispy-not soggy. This recipe guarantees that satisfying golden crunch every single time, elevating a beloved comfort food to an irresistible masterpiece.
The Secret to Unbeatable Crispy Topping: No More Soggy Crumb!
Why Our Breadcrumb Method Changes Everything
Many baked mac and cheese recipes simply sprinkle raw breadcrumbs on top, leading to a steamed, soft crust. Our method involves pre-toasting the panko breadcrumbs in butter until deeply golden. This crucial step renders them shatteringly crisp and resistant to moisture.
The pre-toasted panko provides a protective, flavorful layer that truly enhances every bite. It’s the difference between a good mac and cheese and an absolutely unforgettable one.
Beyond Basic: What Makes This Classic Baked Mac and Cheese Stand Out
Beyond the incredible topping, this Classic Baked Mac and Cheese offers a rich, velvety cheese sauce made with a proper roux. This foundation ensures a consistently creamy texture that never breaks or becomes oily.
The judicious blend of seasonings, including a touch of ground mustard, deepens the savory notes without overpowering the natural cheddar flavor. Every element works in harmony for perfect comfort food.
Gathering Your Flavor Arsenal: Key Ingredients for Perfection
The Creamy Foundation: Dairy & Roux Essentials
Unsalted Butter: Essential for building the roux and toasting the panko. Using unsalted butter allows you to control the overall saltiness of the dish.
All-Purpose Flour: The thickening agent for our classic roux. It ensures a smooth, stable, and luxurious cheese sauce.
Whole Milk: Crucial for the ultimate creamy texture and rich flavor. The higher fat content of whole milk creates a more indulgent and cohesive sauce.
The Cheese Factor: Choosing Your Sharp Cheddar
Sharp Cheddar Cheese: The quintessential choice for Classic Baked Mac and Cheese, offering a robust, tangy flavor. Look for a block of good quality sharp cheddar.
Always shred your own cheese from a block. Pre-shredded varieties often contain anti-caking agents that can hinder smooth melting and lead to a slightly gritty sauce.
The Flavor Enhancers: Seasoning & Spice Depth
Salt and Black Pepper: Fundamental seasonings that enhance all the other flavors. Season generously but taste as you go.
Ground Mustard: While optional, a pinch of ground mustard powder is highly recommended. It doesn’t add a mustard flavor but rather subtly boosts the “cheesiness” and depth of the cheddar.
The Star Topping: Unleashing Panko Power
Panko Breadcrumbs: These Japanese-style breadcrumbs are coarser and absorb less oil than traditional breadcrumbs. Their unique flaky texture ensures an exceptionally light and crispy topping.
The Heart of the Dish: Elbow Macaroni
Elbow Macaroni: The traditional choice for Classic Baked Mac and Cheese. Its small, curved shape perfectly cradles the rich cheese sauce.
Cooking the pasta al dente is crucial. It will finish cooking in the oven, ensuring a tender but not mushy texture.
Essential Tools for Your Classic Baked Mac and Cheese Masterpiece
Must-Have Kitchen Gear for Success
9×13 Inch Baking Dish: Ideal size for this recipe, ensuring even baking and bubbling.
Large Saucepan or Dutch Oven: Essential for building your rich cheese sauce without crowding.
If you enjoy working with a creamy, cheesy base, you might also love this jalapeno popper meatloaf for a spicy twist.
Sturdy Whisk: Crucial for a smooth roux and lump-free cheese sauce.
Small Skillet: Dedicated to our secret crispy breadcrumb topping, ensuring even toasting.
Measuring Cups and Spoons: Accuracy is key for consistent, reliable results every time.
Crafting Your Classic Baked Mac and Cheese: A Step-by-Step Guide
Preparation & Pasta Perfection
Preheat your oven to 375°F (190°C) and lightly grease a 9×13 inch baking dish. This prepares your vessel for baking, ensuring a clean release and preventing sticking.
Cook the elbow macaroni according to package directions until perfectly al dente. It’s important not to overcook here, as the pasta will continue to cook and soften in the oven. Drain the pasta thoroughly and set it aside.
Building the Silky Cheese Sauce (The Roux Method)
In a large saucepan or Dutch oven, melt 1/4 cup of the unsalted butter over medium heat. This starts the foundation for our classic, creamy roux.
Whisk in the all-purpose flour and cook for 1 to 2 minutes, stirring constantly. This step creates the roux, cooking out the raw flour taste and ensuring a smooth, thick sauce.
Gradually whisk in the warm whole milk until smooth. Adding warm milk helps prevent lumps and incorporates more easily into the hot roux. Continue to cook, stirring frequently, until the sauce thickens to a consistency that coats the back of a spoon, typically about 5 to 7 minutes.
Infusing Flavor: Seasoning and Cheese Melt
Remove the saucepan from the heat to prevent the cheese from scorching. Stir in the salt, black pepper, and ground mustard (if using). These seasonings are vital for enhancing the savory profile of the dish.
Add the shredded sharp cheddar cheese, a handful at a time, stirring continuously until completely melted and smooth. Incorporating the cheese gradually helps it melt evenly and creates that desirable silky texture without clumping.
Bringing it All Together: Macaroni Meets Sauce
Add the cooked elbow macaroni to the glorious, velvety cheese sauce and stir gently to combine everything thoroughly. Ensure every piece of pasta is beautifully coated in the rich, creamy sauce.
Pour the macaroni and cheese mixture evenly into the prepared 9×13 inch baking dish. Spread it out gently to ensure even distribution for baking.
The Golden Touch: Toasting Your Panko Topping (The Key Step!)
Now for the secret to those perfectly crispy breadcrumbs! In a small skillet, melt the remaining 1/4 cup of unsalted butter over medium heat. This butter will infuse flavor into our topping.
Add the panko breadcrumbs and cook, stirring frequently, until they are beautifully golden brown and toasted, about 3 to 5 minutes. This crucial pre-toasting step prevents soggy topping later by crisping the panko before it even touches the mac and cheese.
Assembly and the Final Bake
Evenly sprinkle the toasted panko breadcrumbs over the top of the macaroni and cheese in the baking dish. Make sure the layer is consistent for a uniform crunch.
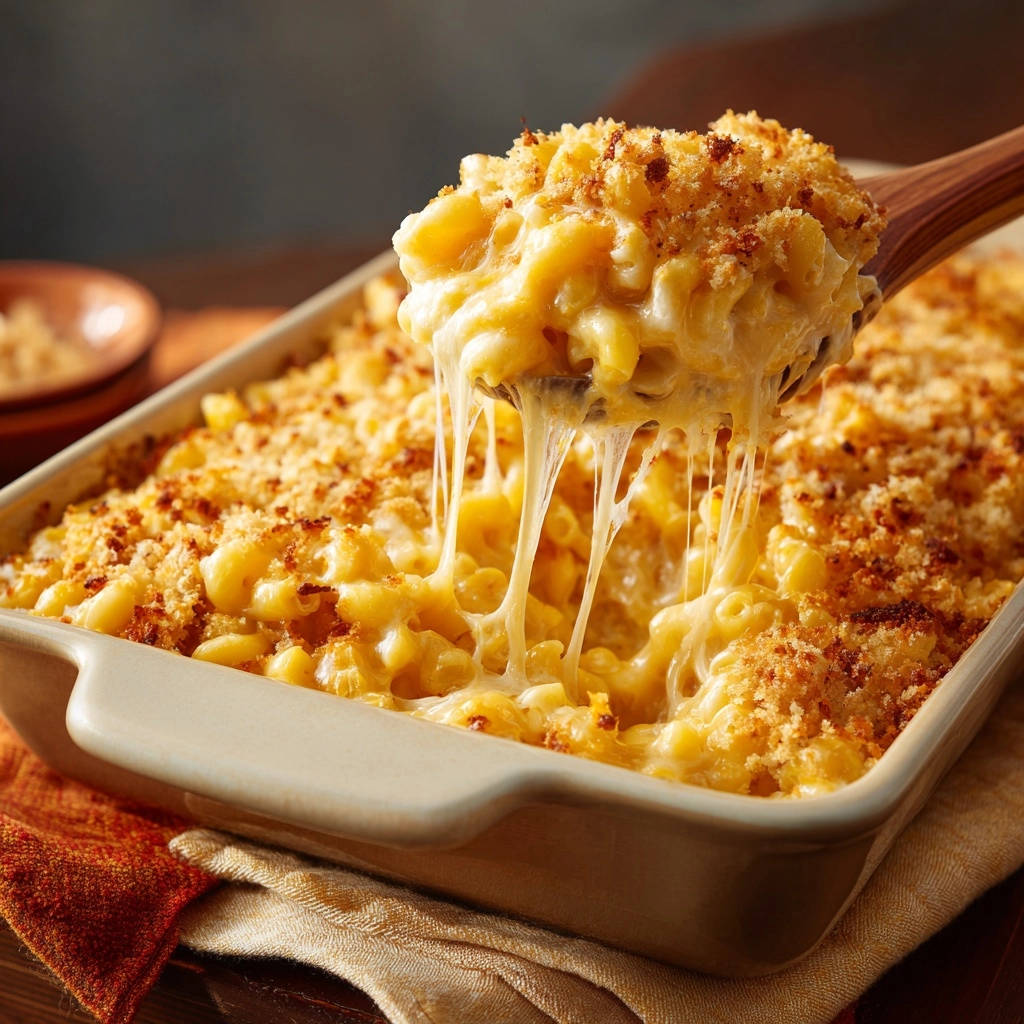
Bake for 20 to 25 minutes, or until the mac and cheese is visibly bubbly around the edges and the breadcrumb topping is deeply golden and deliciously crispy. Keep a close eye on the topping during the last few minutes to prevent any burning.
If you love the creamy texture of this chicken mac and cheese, check out this Southern style baked mac and cheese for a richer, custard-like variation.
Let it rest for a few minutes before serving. This allows the creamy sauce to set slightly, making for easier, cleaner scoops and a more enjoyable texture.
Chef’s Wisdom: Elevating Your Baked Mac and Cheese
Shred Your Own Cheese: Pre-shredded cheese often contains anti-caking agents that can make your sauce gritty or less smooth. Freshly shredded cheese melts beautifully and tastes superior.
Don’t Rush the Roux: Properly cooking the flour in butter for a minute or two removes any raw flour taste. This foundational step is essential for a delicious, well-thickened sauce.
Warm Milk is Your Friend: Adding cold milk to a hot roux can cause the flour to seize and create lumps. Warming the milk slightly before adding makes for a consistently smoother, easier-to-whisk sauce.
Gentle Folding: When combining the cooked macaroni with the cheese sauce, stir gently. Over-mixing can break up the pasta, leading to a mushy texture.
Rest is Best: Allowing your mac and cheese to rest for 5-10 minutes after baking allows the sauce to set slightly. This prevents it from being too runny when served, giving you perfect, neat portions.
Beyond Classic: Creative Twists & Variations for Your Mac and Cheese
Add-Ins for Extra Indulgence
Elevate your Classic Baked Mac and Cheese with savory additions. Consider folding in cooked, crispy bacon bits for a smoky flavor and textural contrast.
Caramelized onions offer a sweet, deeply savory note, while roasted vegetables like broccoli florets or wilted spinach add color and a touch of freshness.
Spice It Up!
For a subtle kick, add a pinch of cayenne pepper or smoked paprika to the cheese sauce. A dash of your favorite hot sauce stirred in can also provide a pleasant warmth.
Cheese Blend Adventures
Experiment with other cheeses that complement sharp cheddar. Gruyere adds a nutty, earthy depth, while Monterey Jack offers a milder, extra-melty quality.
A touch of Colby or even a smoked gouda can introduce new layers of flavor to your Classic Baked Mac and Cheese.
Protein Power-Ups
Transform this side dish into a hearty main course. Shredded rotisserie chicken or tender pulled beef are fantastic additions.
For a delicious meatless option, sautéed mushrooms or roasted chickpeas can provide a satisfying texture and rich flavor.
Serving, Storing, and Enjoying Your Leftovers
Perfect Pairings: What to Serve With Classic Baked Mac and Cheese
Classic Baked Mac and Cheese pairs beautifully with a fresh, crisp green salad dressed with a vinaigrette. This offers a bright counterpoint to the richness.
Roasted asparagus, steamed green beans, or grilled chicken breasts also make excellent accompaniments, creating a balanced and satisfying meal.
Storing Leftovers for Lasting Deliciousness
Allow any leftover Classic Baked Mac and Cheese to cool completely before transferring it to an airtight container. Refrigerate promptly within two hours of baking.
What to Serve Alongside Mac and Cheese
Balance that rich, cheesy pasta with a cool, creamy side and a shareable bread.
- For a tangy, cool contrast to the warm mac, try this
Get the full recipe in your inbox in seconds – perfect for shopping and cooking.
Baked Mac and Cheese
Course: Main CourseCuisine: AmericanDifficulty: easy6
servings20
minutes25
minutes650
kcal45
minutesDiscover the secret to perfectly golden, crispy breadcrumbs on your classic baked mac and cheese! This recipe guarantees an irresistible topping that won’t get soggy, making every scoop a delight.
Ingredients
1 pound elbow macaroni
1/2 cup unsalted butter, divided
1/2 cup all-purpose flour
4 cups whole milk, warmed
1 teaspoon salt
1/2 teaspoon black pepper
1/4 teaspoon ground mustard (optional, but recommended for flavor depth)
4 cups shredded sharp cheddar cheese
1 cup panko breadcrumbs
Directions
- Preheat your oven to 375 degrees Fahrenheit (190 degrees Celsius). Grease a 9×13 inch baking dish.
- Cook the elbow macaroni according to package directions until al dente. Drain well and set aside.
- In a large saucepan or Dutch oven, melt 1/4 cup of the unsalted butter over medium heat. Whisk in the flour and cook for 1 to 2 minutes, stirring constantly, to create a roux.
- Gradually whisk in the warm milk until smooth. Continue to cook, stirring frequently, until the sauce thickens, about 5 to 7 minutes.
- Remove the saucepan from the heat. Stir in the salt, black pepper, and ground mustard (if using). Add the shredded cheddar cheese, a handful at a time, stirring until completely melted and smooth.
- Add the cooked macaroni to the cheese sauce and stir gently to combine everything thoroughly. Pour the macaroni and cheese mixture into the prepared baking dish.
- Now for the secret to those perfectly crispy breadcrumbs! In a small skillet, melt the remaining 1/4 cup of butter over medium heat. Add the panko breadcrumbs and cook, stirring frequently, until they are golden brown and toasted, about 3 to 5 minutes. This step is key to preventing soggy topping later.
- Evenly sprinkle the toasted panko breadcrumbs over the top of the macaroni and cheese in the baking dish.
- Bake for 20 to 25 minutes, or until the mac and cheese is bubbly around the edges and the breadcrumb topping is deeply golden and crispy. Let it rest for a few minutes before serving.
Notes
- Toasting the panko breadcrumbs before baking ensures a perfectly crispy, non-soggy topping.