Crispy Potato Latkes: Ultra-Crispy Edges, Fluffy Centers
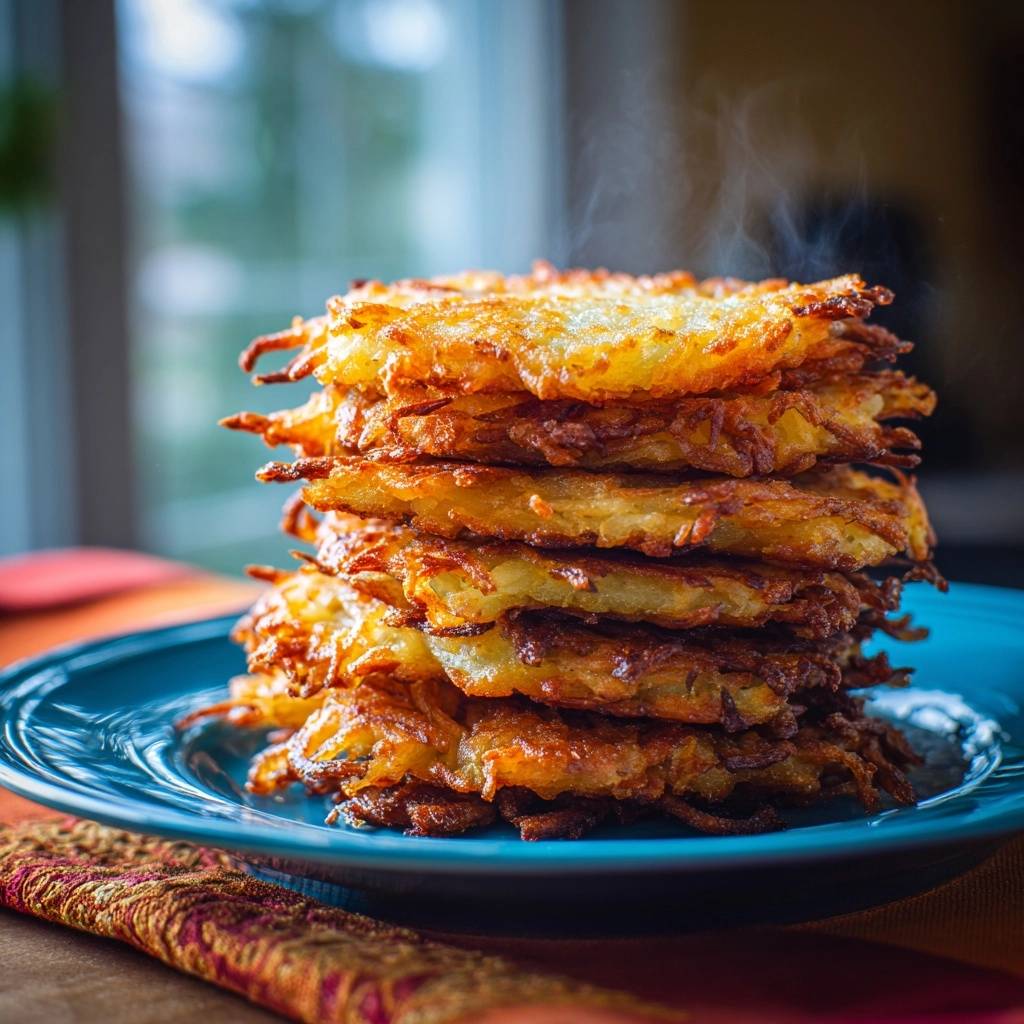
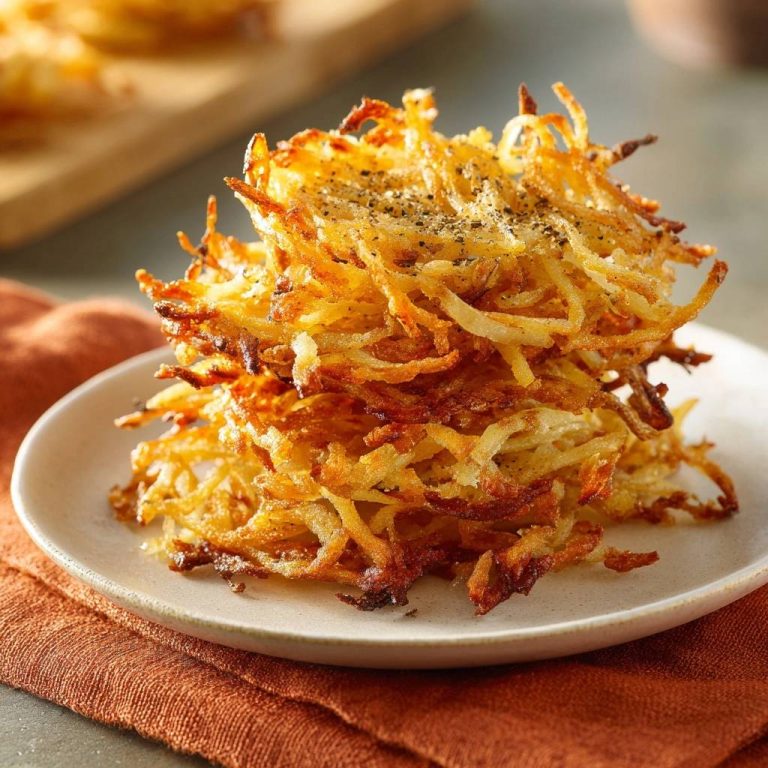
Nothing ruins latkes faster than that greasy, soggy center after they soak up all the oil. You’ve probably bitten into one that starts crisp but turns mushy quick. This crispy potato latkes recipe fixes that with one dead-simple step home cooks rave about.
Therefore, you get ultra-crispy edges and fluffy, airy insides every time. It makes about 12-16 latkes in just 30 minutes of active prep. Russet potatoes deliver that unmatched crispiness thanks to their high starch content.
The same wringing technique that removes extra moisture is key for achieving latkes with crunch instead of soggy centers.
The secret? Wring out every drop of moisture before mixing. That single move prevents sogginess and locks in perfect texture contrast. Trust me, it’ll change how you make crispy potato latkes forever.
Core Ingredients for Crispy Potato Latkes
Russet potatoes form the backbone here. They pack high starch that crisps up exteriors while keeping centers light. Use 4 large ones for 12-16 latkes; their low moisture means less oil absorption.
In addition, grated onion adds sharpness that binds everything without sogginess. One medium yellow onion does the trick. It releases enzymes that tenderize the potatoes gently.
Eggs act as emulsifiers for structure, so beat 2 large ones first. Then, 1/4 cup all-purpose flour gives a light coating. Finally, 1 teaspoon salt and 1/2 teaspoon black pepper boost flavor evenly.
Why Russet Potatoes Rule Latkes
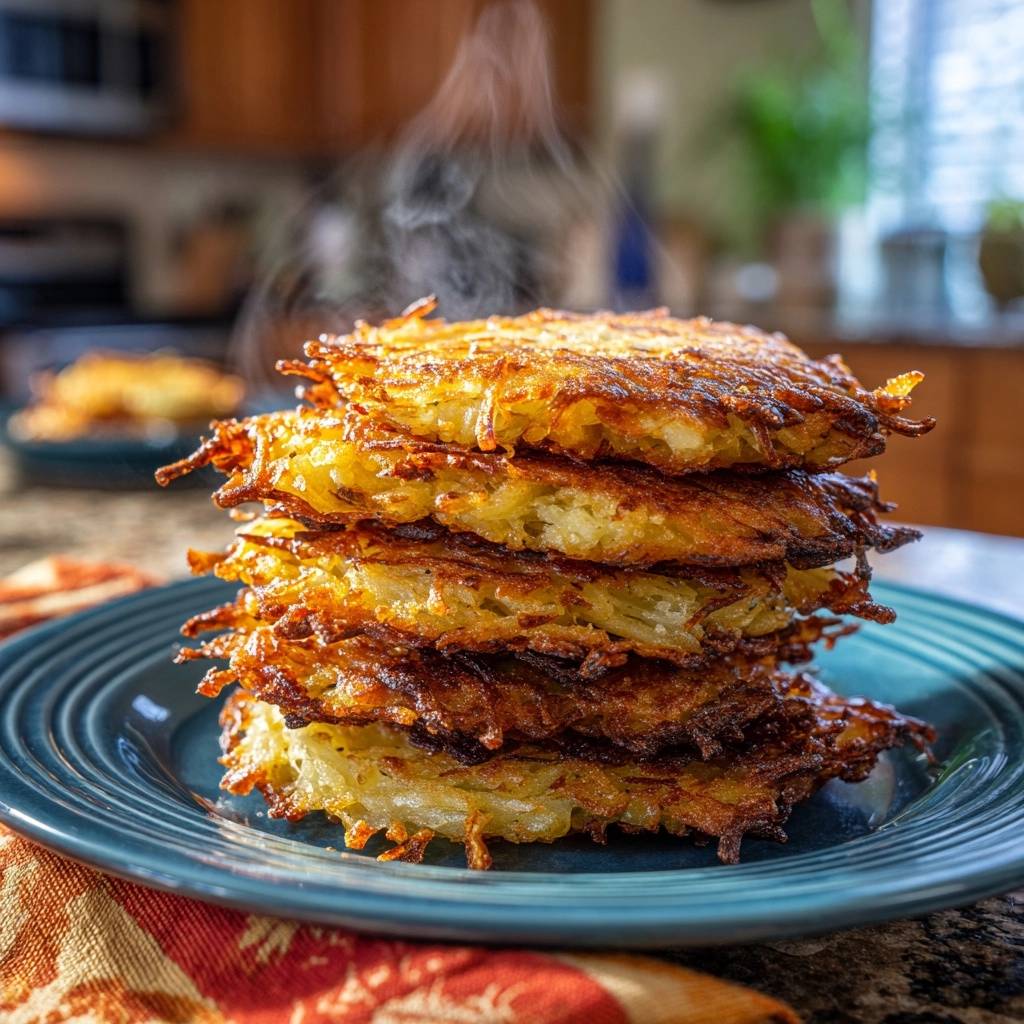
Russets shine because their high starch content absorbs less oil during frying. Therefore, you avoid greasy results. Grate them with large box grater holes for fluffy shreds that stay separate.
Peel them first; skins can make textures uneven. Skip Yukon Golds, though. They hold more water and lead to denser latkes.
Onion and Binding Agents Breakdown
Grated onion tenderizes via enzymes, but wring it dry too. Eggs and flour in this ratio coat shreds evenly without gumminess. Add salt last to prevent early moisture draw.
That balance holds patties together perfectly. Taste the mix before frying if you want; adjust pepper boldly.
Science of Crispy Potato Latkes Texture
Starch gelatinizes in hot oil, creating that golden crust via Maillard reaction. However, excess moisture competes with starch and blocks crispiness. Wringing lets starch retrograde for airy centers.
Oil at 350°F forms a vapor barrier right away. Test with a potato shred; it should sizzle instantly. Home cooks, try this: wrung potatoes fry fluffier every time.
Therefore, moisture is enemy number one. Skipping the squeeze means steam ruins your shell.
Moisture Extraction Transforms Results
Potatoes rupture cells during grating, releasing water via osmosis. Wringing yields about 1/2 cup liquid from 4 russets. Before, shreds clump wet; after, they’re light and separate.
The same wringing technique is essential for keeping the centers fluffy in these crispy sweet potato latkes.
Twist that towel tight. You’ll feel the difference immediately.
Oil Heat and Fry Dynamics
Shimmering oil at 350°F seals the outside fast. Medium-high heat prevents burning edges. Drop in a shred; constant sizzle means go time.
Too low, and they soak oil. Precision here nails it.
Equipment Essentials for Perfect Crispy Potato Latkes
Grab a box grater for those large-hole shreds. A clean kitchen towel or cheesecloth wrings best. Use a cast-iron skillet for even heat retention.
In addition, an instant thermometer hits 350°F spot-on. Slotted spatula flips cleanly, and paper towels drain excess oil. Skip non-stick; it can’t handle the heat.
Budget tip: any heavy skillet works if you watch the temp.
Grating and Wringing Tools
Box grater beats food processors, which gum up shreds. Line a colander with cheesecloth over a bowl to catch starchy water. Twist hard for bone-dry results.
It’s worth the arm workout.
Skillet and Oil Management
Cast-iron holds steady at 350°F. Pour 1/2-inch oil depth for full submersion. Visual shimmer plus thermometer keeps you precise.
Step-by-Step: Mastering Crispy Potato Latkes
Oh man, these come together fast for 12-16 golden beauties. Total active time hits 30 minutes. Safety first: hot oil splatters, so use long tongs.
Here’s how to make crispy potato latkes that stay crisp.
Phase 1: Grate and Drain Thoroughly
Peel and grate 4 russets and 1 onion on large holes. Bundle in a towel over the sink. Twist tightly 2-3 minutes until no liquid squeezes out; expect 1/2 cup.
Shreds turn from wet clumps to fluffy dry bits. Game-changer step.
Phase 2: Mix Batter Uniformly
Toss drained mix with 2 beaten eggs, 1/4 cup flour, salt, and pepper. Fold gently to coat evenly. Rest 5 minutes; starch activates for better bind.
Taste a pinch raw if bold.
Phase 3: Heat Oil Precisely
Pour 1/2-inch vegetable oil in skillet, heat to medium-high until 350°F and shimmering. Test with a shred; immediate sizzle means ready.
Phase 4: Form and Fry Patties
Scoop 1/4-cup mounds into oil. Flatten to 1/2-inch thick patties. Fry 3-4 minutes per side till deep golden, flipping once. Batch to avoid crowding; steam kills crisp.
Edges bubble vigorously. Pro tip: don’t press down.
Phase 5: Drain and Stack Hot
Lift to paper towels with slotted spatula. Sprinkle salt while hot. Stack them; it steams lightly to keep centers fluffy.
Serve right away for peak crunch.
Avoiding Soggy Crispy Potato Latkes Mistakes
Top pitfalls kill texture fast. Skipping the wring leads to soggy centers that absorb oil. Overcrowding steams them soft.
Low oil temp makes greasy latkes; overmixing turns dense. Cold batter? Let it rest briefly before frying.
Overcoming Excess Moisture Traps
Double-wring if shreds feel damp. Avoid waxy potatoes; russets only. Wet mix falls apart in oil.
Fry Timing and Temp Errors
Underfried looks pale; overdone burns edges. Flip when bottoms hit deep gold. Steady 350°F prevents grease.
Flavor Variations for Crispy Potato Latkes
Keep the crispy focus with smart add-ins. Grate in zucchini or carrots for color and crunch; use 1 cup max, wring same. Fresh dill or chives brighten each bite.
Try smoked paprika or cumin for smoky depth. Those twists elevate without sogginess.
Vegetable and Herb Twists
1:1 ratio veggies to potato, grated fine. Wring extra since they hold water. Dill pairs perfect with sour cream.
Gluten-Free and Vegan Adaptations
Swap flour for gluten-free blend; same amount holds crisp shell. For vegan, mix 2 flax eggs (flaxseed + water). Texture stays spot-on.
Pairing Sides with Crispy Potato Latkes
Sour cream cuts richness with tang; applesauce adds sweet cool contrast. Dollop generously. For modern, yogurt-dill sauce refreshes.
Pair with roasted chicken or brisket as mains. Breakfast stack? Top with eggs. Serves 4 easily at 3-4 per person.
Make-Ahead Guide for Crispy Potato Latkes
Mix batter up to 1 day ahead; re-wring before frying. Cooked latkes freeze great between parchment layers. Reheat at 375°F for 5 minutes to re-crisp.
Holiday pro tip: batch-fry for 50+ and freeze. Oven method beats microwave sogginess.
Origins and Traditions of Crispy Potato Latkes
Latkes tie to Hanukkah’s oil miracle, frying in oil for eight days. Ashkenazi version hit in 1800s Eastern Europe with grated potatoes. Grating kept them light.
Modern tweaks like wringing amp crispiness. Serve stacked high at gatherings; it’s ritual.
What’s Next?
If you enjoyed these crispy potato latkes, here are two more potato-forward dishes to round out your meal.
- For latke lovers who want to dig into the technique behind that perfect crunch, check out this Golden Crispy Potato Latkes guide that breaks down the science of temperature and shred size.
- For a soft, comforting contrast to the latkes’ crispy edges, these Potato Dumplings with Gravy make a great side, offering a pillowy texture and rich gravy that pairs nicely with the latkes’ salty, fried exterior.
Troubleshooting Crispy Potato Latkes Issues
How do I store leftovers and do they freeze well?
Store cooled latkes in an airtight container in the fridge for up to 3 days. They re-crisp best in a 375°F oven for 5 minutes, not microwave. Freeze cooked ones in single layers with parchment between; thaw and reheat same way for up to 2 months. Avoid freezing raw batter; moisture shifts ruin texture.
Why are my latkes still soggy in the center?
Incomplete wringing is the culprit; potatoes release water that steams insides during frying. Squeeze until the towel won’t give more liquid, even if it takes 3 minutes. Double-wring if needed, and use starchy russets. Fry hotter at 350°F to evaporate any trace moisture fast.
Can I make crispy potato latkes gluten-free?
Yes, swap all-purpose flour for a 1:1 gluten-free blend like rice or almond-based. It binds shreds without gumminess if you keep the 1/4 cup amount. Wring extra dry since GF flours absorb differently; test-fry one patty first for adjustments.
Why do my latkes break apart when flipping?
Too little binder or overmixing releases starch unevenly. Stick to 2 eggs and 1/4 cup flour, folding gently. Let batter rest 5 minutes for starch to activate. If still fragile, add 1 tablespoon more flour next batch.
Why are my latkes greasy or pale?
Oil below 350°F lets them soak instead of crisp. Heat to shimmering and test with a shred for instant sizzle. Use 1/2-inch depth fresh oil; change if it darkens. Drain well on layered paper towels right after frying.

Potato Latkes
Course: Side DishCuisine: Jewish-AmericanDifficulty: easy12
latkes20
minutes20
minutes80
kcal40
MinutesTired of latkes that soak up oil and turn mushy inside? This recipe nails ultra-crispy edges and fluffy centers every time with one simple moisture-busting step that home cooks swear by. Stack them high and watch them disappear.
Ingredients
4 large russet potatoes, peeled and grated
1 medium yellow onion, grated
2 large eggs, beaten
1/4 cup all-purpose flour
1 teaspoon salt
1/2 teaspoon black pepper
Vegetable oil, for frying
Sour cream and applesauce, for serving (optional)
Directions
- Grate potatoes and onion using the large holes of a box grater. Place in a clean kitchen towel or cheesecloth lined colander over a bowl.
- Gather the edges and squeeze out every last drop of moisture over the sink or bowl, twisting tightly until no liquid remains. This is the game-changer: excess potato water causes sogginess, so wring until bone-dry for guaranteed crisp exteriors and airy insides.
- In a large bowl, mix drained potatoes and onion with eggs, flour, salt, and pepper until evenly coated.
- Heat 1/2 inch vegetable oil in a large skillet over medium-high heat until shimmering hot (about 350 degrees F; test with a shred of potato, it should sizzle immediately).
- Scoop 1/4 cup portions into the oil, flatten slightly with a spatula to 1/2-inch thick patties. Fry 3-4 minutes per side until deep golden and crispy, flipping only once. Work in batches to avoid crowding.
- Drain on paper towels. Serve hot, stacked high, with sour cream and applesauce if desired. Perfect crispiness locked in!
Notes
- The key to crispiness is squeezing out every drop of moisture from the grated potatoes and onion using a kitchen towel or cheesecloth.