Mastering Cheesy Bacon Smothered Chicken Without Drying the Meat
We’ve all been there. You pull a beautiful piece of chicken out of the pan, only to find it has the texture of a pencil eraser. It’s the great “dry chicken” epidemic that plagues home kitchens everywhere, but it doesn’t have to be your reality.
The secret to this Cheesy Bacon Smothered Chicken lies in a professional two-step dance. We start with a high-heat sear to lock in flavor, then finish with a pan-sauce steam that keeps the interior incredibly succulent. It’s a rich, comforting meal that feels like a high-end bistro dish right in your own dining room.
I’ve found that the real magic happens when you deglaze the pan. Those little browned bits stuck to the bottom are flavor gold, and when they’re lifted by the broth, they create a glossy jus that hydrates the meat. This isn’t just chicken with cheese on top; it’s a fully integrated flavor experience.
The Science of Succulent Pan-Seared Poultry
When you drop a seasoned chicken breast into a hot skillet, you’re looking for the Maillard reaction. This is the chemical process where proteins and sugars transform into that savory, dark golden crust we all crave. However, that high heat is a double-edged sword because it can quickly zap the moisture from the lean breast meat.
To combat this, we use the principle of thermal carryover. We pull the chicken off the heat when it hits 160°F rather than the standard 165°F. During the five-minute resting period, the internal temperature will naturally climb those last five degrees, ensuring the meat is safe to eat but still dripping with juice.
Why Pounding Chicken Breasts is Non-Negotiable
Chicken breasts are naturally teardrop-shaped, meaning the fat end takes much longer to cook than the thin tip. If you cook them as-is, the thin part turns to rubber before the center is even warm. Pounding the meat to a uniform one-inch thickness solves this physics problem instantly.
By creating an even surface, every square inch of the chicken hits the pan at the same time. This ensures the entire breast reaches the finish line together. You’ll notice a massive difference in the texture of the edges, which stay tender instead of becoming tough and stringy.
Essential Components for Cheesy Bacon Smothered Chicken
Quality ingredients are the backbone of this dish. I always recommend using a sharp cheddar because it has a higher acid content than mild versions. That slight tang is necessary to cut through the richness of the bacon and the buttery potatoes waiting underneath.
Smoked paprika is another heavy hitter here. It adds a deep, wood-fired aroma that mimics the flavor of a grill, even though we’re staying strictly on the stovetop. For the spinach side, please skip the jarred garlic; fresh cloves provide a sharp, spicy bite that balances the heavy fats in the rest of the meal.
Selecting the Right Bacon and Cheese Pairing
The texture of your bacon matters more than you might think. While thick-cut strips are great for breakfast, a fine mince is better for “smothering.” Small bits of crispy bacon integrate into the melting cheese, ensuring you get a smoky crunch in every single bite.
Pairing that bacon with a sharp cheddar creates a classic flavor profile. The cheese acts as a blanket, trapping the bacon against the chicken so it doesn’t fall off when you’re slicing into it. It’s a salty, savory combination that never fails to satisfy.
The Role of Chicken Broth in Deglazing
After searing the meat, your pan will be covered in “fond,” which are those caramelized protein bits. Pouring chicken broth into the hot pan is called deglazing. This process instantly lifts those flavors and incorporates them into a thin, savory jus.
This broth serves a dual purpose. First, it creates a humid environment under the lid, which gently steams the chicken to its final temperature. Second, it prevents the cheese from sticking to the pan, keeping all that gooey goodness right where it belongs—on the chicken.
Step-by-Step: Executing the Perfect Sear and Smother
Success starts with a shimmering pan. You want your olive oil to be just at the point of smoking before the chicken goes in. This high heat creates an immediate sear, which prevents the meat from sticking and helps develop that professional-looking crust.
Once the chicken hits the oil, leave it alone. It’s tempting to poke and prod, but the meat will actually “release” itself from the pan once the crust is properly formed. If you try to flip it too early, you’ll tear the beautiful golden surface you’ve worked so hard to build.
Phase 1: Achieving the Golden Crust
Place your seasoned chicken in the skillet and listen for that aggressive sizzle. You’re looking for a deep, dark golden-brown color after about five or six minutes. This isn’t just for looks; that crust provides the structural integrity to hold up the heavy cheese and bacon toppings.
If the pan seems to be getting too smoky, turn the heat down just a hair, but don’t lose that sizzle. The goal is a robust exterior that can withstand the upcoming steaming phase without becoming soggy or pale.
Phase 2: The Broth Reduction and Melting Process
After flipping the chicken, pour in the broth. You’ll see a massive cloud of aromatic steam—this is exactly what we want. Quickly mound the cheese and bacon on top of each breast. Don’t be shy with the cheese; you want it to drape over the sides like a delicious velvet curtain.
Cover the pan immediately with a tight lid. This traps the heat and moisture, melting the cheese in record time while the broth reduces into a concentrated sauce. In about three or four minutes, you’ll have perfectly melted cheese and chicken that is tender enough to cut with a fork.
Troubleshooting Common Smothered Chicken Mistakes
If you find your sauce is too oily, your cheese might have “broken.” This usually happens if the heat is too high during the melting phase. To fix this, keep the heat on low once the lid goes on. If you have too much liquid at the end, just simmer the juices for an extra minute after removing the chicken.
For rubbery meat, the culprit is almost always overcooking. Invest in a digital meat thermometer and pull the chicken at 160°F. It might feel early, but the carryover heat is your best friend for maintaining that succulent, juicy interior.
How to Prevent the Cheese from Breaking
The chemistry of melting cheese is delicate. Pre-shredded cheese is often coated in potato starch to prevent clumping in the bag, which can sometimes lead to a grainy texture when melted. For the smoothest results, grate a block of sharp cheddar yourself.
Freshly grated cheese melts much more fluidly and integrates better with the pan juices. If you do use the bagged stuff, just be sure to add it at the very last minute so it doesn’t spend too much time under intense heat, which causes the fats to separate from the solids.
The Foundation: Crafting Buttery Mashed Potatoes
To get that beautiful yellow hue seen in professional plating, I always reach for Yukon Gold potatoes. They have a naturally buttery flavor and a creamy texture that Russets just can’t match. They provide a sturdy base that can soak up all the extra pan drippings.
Don’t hold back on the cream and butter here. You want the potatoes to be rich enough to stand up to the bold flavors of the bacon and cheddar. A smooth, velvety mash acts as the perfect foil to the crispy bacon and the bright, garlicky spinach.
Quick-Sautéed Garlic Spinach: The Essential Green Side
Spinach is the perfect partner for this dish because its slight bitterness cuts through the heavy fats. Instead of using a separate pan, toss the spinach directly into the skillet after you’ve removed the chicken. It will pick up the leftover garlic, bacon bits, and chicken juices.
This sauté only takes about two minutes. You want the leaves to be wilted but still vibrant green. This quick cook time preserves the nutrients and ensures the garlic stays sweet and fragrant rather than becoming bitter and burnt.
Plating Techniques for a Professional Presentation
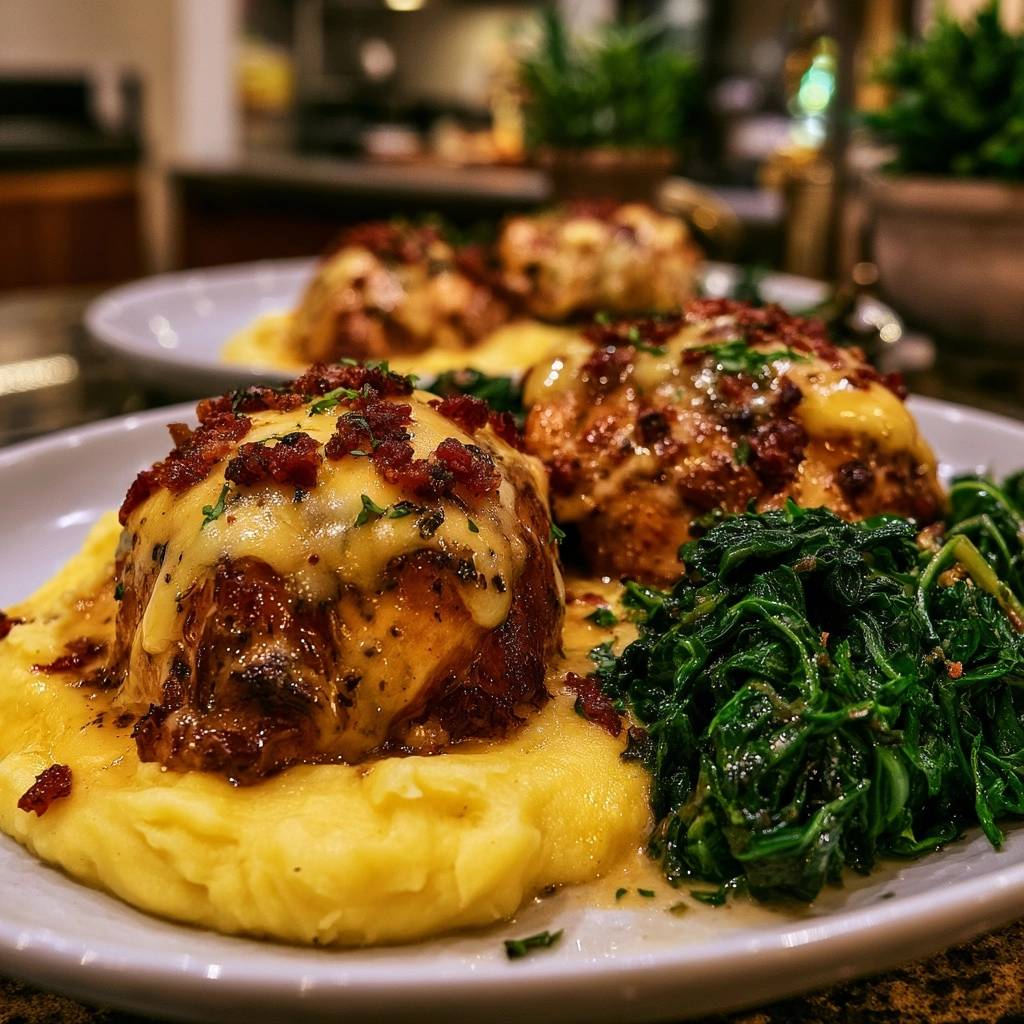
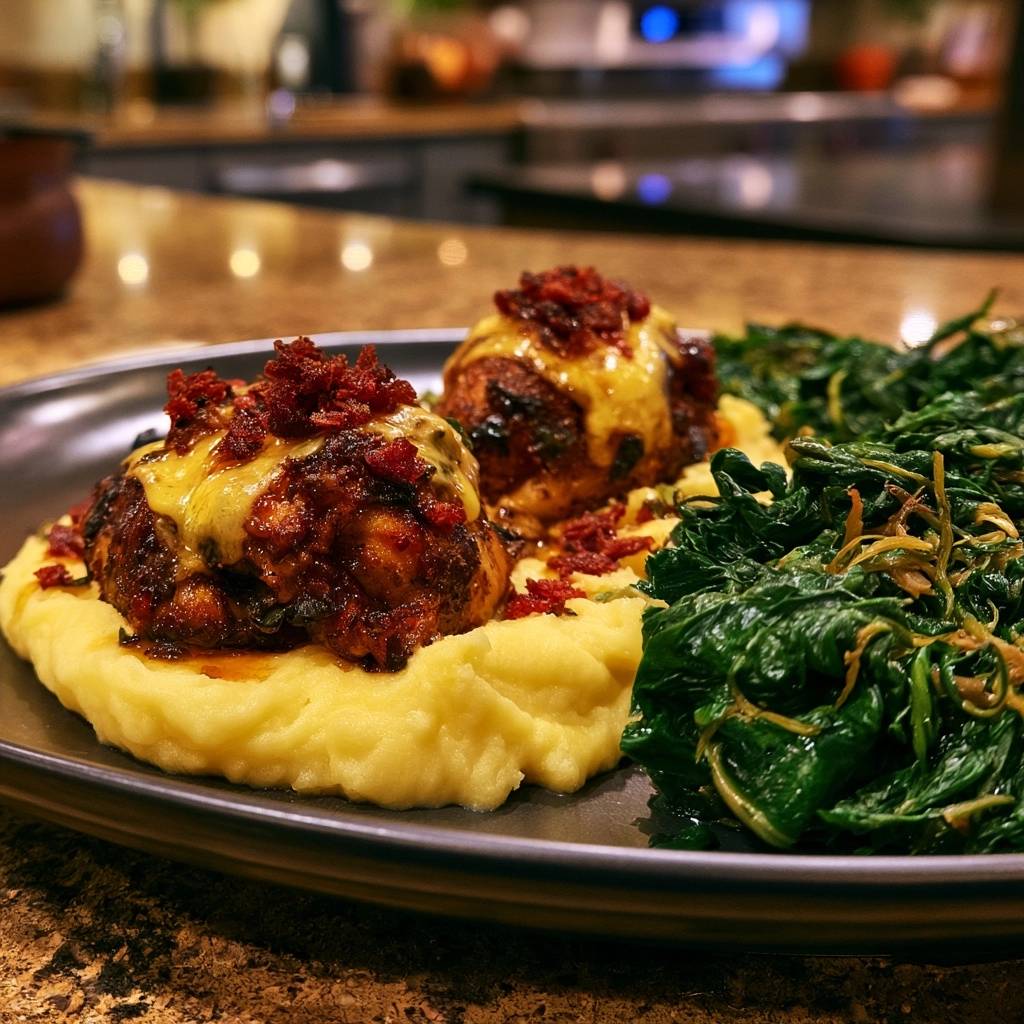
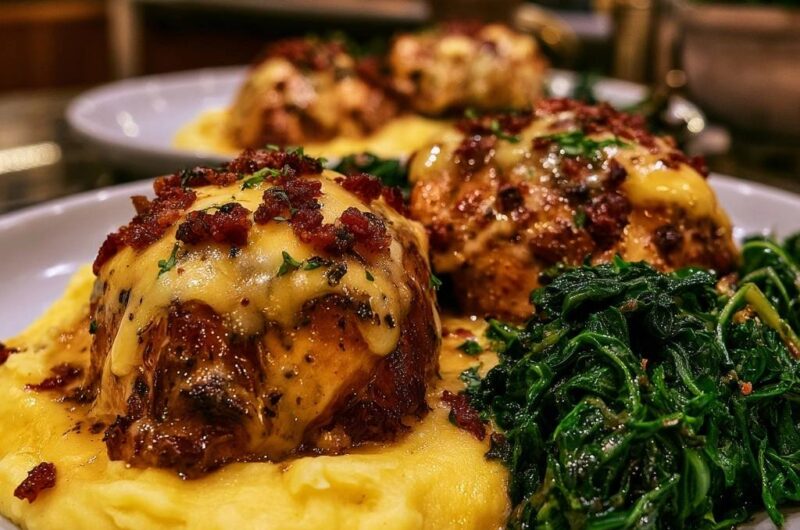
To plate this like a pro, start with a large, flat mound of those creamy potatoes. Use the back of a spoon to create a small well in the center. Nestle the chicken breast directly into that well so the juices naturally flow into the potatoes, flavoring them from the inside out.
Place a generous pile of the garlic spinach to the side, making sure the colors pop against each other. Drizzle any remaining pan drippings over the top and finish with a shower of fresh parsley. The green herbs provide a necessary visual contrast to the warm tones of the chicken and cheese.
Make-Ahead Strategies and Storage Logistics
You can easily prep for this meal by pounding the chicken and mincing the bacon a day in advance. Store them in airtight containers in the fridge so you’re ready to cook the moment you walk through the door. The potatoes can also be made ahead and reheated with a splash of milk.
If you have leftovers, store them in an airtight container for up to three days. To reheat without drying out the chicken, place it in a skillet with a tablespoon of water, cover it with a lid, and warm it over low heat. This recreates the steaming environment and keeps the meat tender.
Expert Tips for Flavor Customization
If you want to add a little extra zing, try whisking a teaspoon of Dijon mustard into the chicken broth before deglazing. It adds a sophisticated depth that pairs beautifully with the cheddar. For those who like a bit of heat, swap the smoked paprika for chipotle powder.
You can also experiment with different cheeses. A smoked gouda or a pepper jack can completely change the vibe of the dish while still following the same “smothered” technique. Just remember to keep the bacon fine-minced so it stays integrated with whatever cheese you choose.
Frequently Asked Questions
Can I use chicken thighs instead of breasts?
Yes, you can certainly use boneless, skinless chicken thighs. Thighs are naturally more moist and forgiving than breasts, but they do take a bit longer to cook. You’ll want to sear them for about 7-8 minutes per side to ensure the fat renders out properly and the meat reaches an internal temperature of 175°F for the best texture.
What if I don’t have a tight-fitting lid?
If you don’t have a lid that fits your skillet, you can use a large piece of aluminum foil to create a “tent” over the pan. Just crimp the edges around the rim of the skillet to trap as much steam as possible. This is vital for melting the cheese quickly and finishing the center of the chicken without overcooking the bottom.
How do I know the chicken is done without a thermometer?
While a digital thermometer is the only way to be 100% sure, you can use the “finger test.” Press the center of the chicken breast; it should feel firm but have a slight spring to it, similar to the feel of the fleshy part of your palm when you touch your thumb to your middle finger. If it feels soft, it needs more time; if it’s hard, it’s likely overcooked.
Why is my bacon not staying crispy under the cheese?
The steaming process naturally softens the bacon slightly, which is why a fine mince is so important. Smaller bits of bacon distribute their crunch more effectively throughout the cheese layer. If you want maximum crunch, you can reserve a tablespoon of the crispy bacon bits and sprinkle them on top of the cheese after it has melted.
Is there a substitute for chicken broth in the pan?
If you’re out of chicken broth, you can use vegetable stock or even a splash of water mixed with a little bouillon base. In a pinch, plain water will work to create the necessary steam, though you’ll lose out on the extra layer of savory flavor that broth provides. If using water, you might want to add an extra pinch of salt to the pan juices.
Cheesy Bacon Smothered Chicken
Course: Main CourseCuisine: AmericanDifficulty: easy4
servings15
minutes25
minutes40
Minutes620
kcalAmerican
Ingredients
4 large boneless skinless chicken breasts
2 tablespoons olive oil
1 teaspoon garlic powder
1 teaspoon onion powder
1/2 teaspoon smoked paprika
Salt and black pepper to taste
1/2 cup chicken broth (for deglazing)
1 cup shredded sharp cheddar cheese
1/2 cup crispy cooked bacon bits (finely minced)
4 cups buttery mashed potatoes (prepared with cream and butter for the yellow hue)
4 cups fresh spinach
2 cloves garlic, minced
Fresh parsley, finely chopped for garnish
Directions
- To ensure even cooking and prevent dryness, place chicken breasts between plastic wrap and pound to a uniform 1-inch thickness. Season both sides generously with salt, pepper, garlic powder, onion powder, and smoked paprika.
- Heat olive oil in a large skillet over medium-high heat. Once the oil is shimmering and near smoking point, add the chicken. Sear for 5-6 minutes without moving them until a deep, dark golden-brown crust forms.
- Flip the chicken. Immediately pour the chicken broth into the skillet. The steam will help cook the center of the chicken quickly without drying out the exterior.
- Once the broth has reduced by half (about 3 minutes), top each breast with a thick mound of shredded cheddar and the minced bacon bits.
- Cover the skillet with a tight-fitting lid and reduce heat to low. Let sit for 3-4 minutes until the cheese is fully melted and draped over the sides of the chicken, and the internal temperature reaches 160°F.
- Remove the chicken from the pan and let it rest on a plate for 5 minutes. While the chicken rests, toss the fresh spinach and minced garlic into the remaining pan juices over medium heat for 2 minutes until wilted.
- To plate like the image: Place a large, flat mound of creamy mashed potatoes on the plate. Nestle the chicken breast directly into the center of the potatoes so the juices run into them. Place a generous portion of the garlic spinach to the side. Garnish the entire dish with fresh parsley and any remaining pan drippings.
Notes
- Pounding the chicken to a uniform thickness is essential for even cooking. Let the meat rest for 5 minutes after cooking to allow the juices to redistribute for maximum tenderness.