Mastering Cheesy One Pot Chicken and Rice Without the Mush
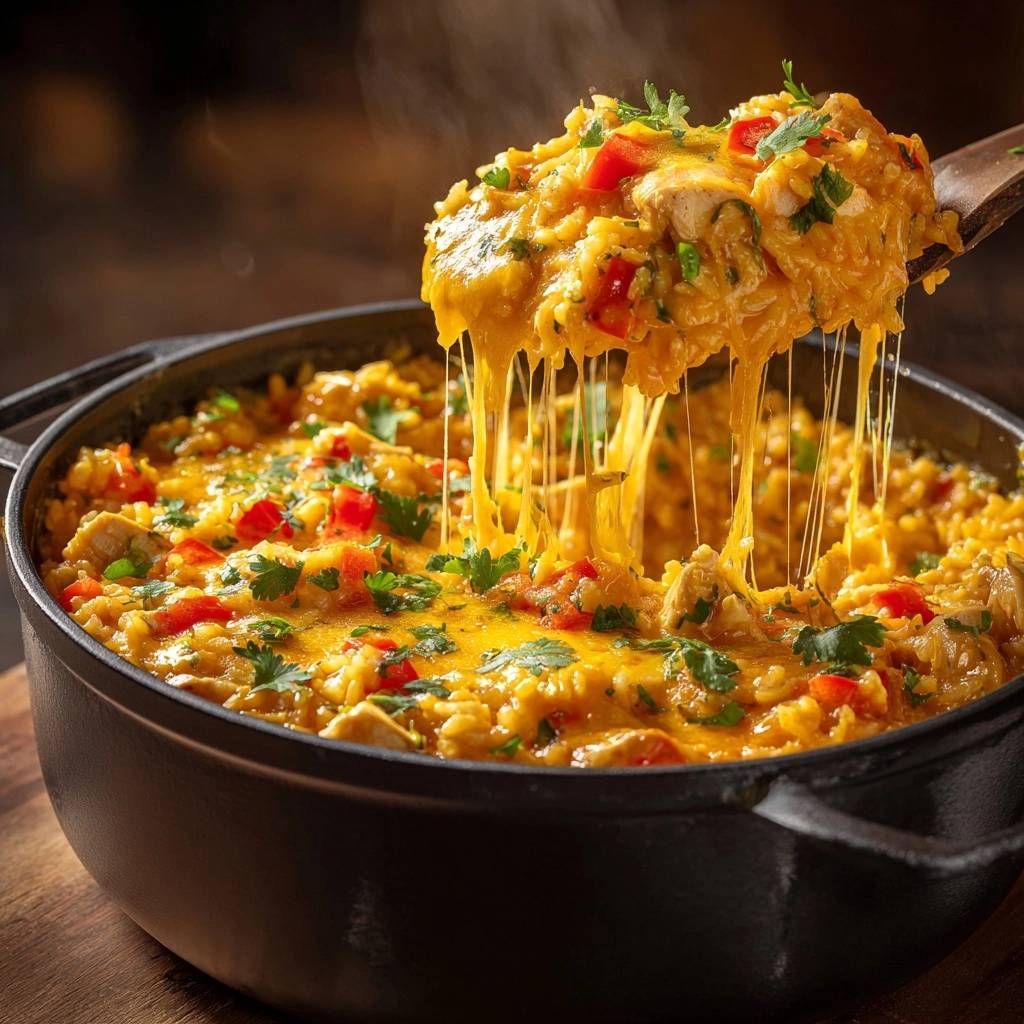
Imagine a forkful of fluffy, distinct rice grains enveloped in a velvety, golden cheddar sauce with tender bits of seared chicken. Most of us have tried making a one-pot meal only to end up with a gummy, porridge-like mess that lacks any structural integrity. It’s frustrating when you want a comforting dinner but get a bowl of mush instead.
This Cheesy One Pot Chicken and Rice recipe changes the game by focusing on texture first. You get all the “Sunday vibes” of a slow-simmered casserole in just about 35 minutes, making it a perfect weeknight hero. It’s the kind of meal that has everyone heading back to the stove for a second scoop before the pot even hits the table.
The secret to this success isn’t a fancy gadget; it’s the “toast and simmer” method. By sautéing the dry rice in fat before adding any liquid, you create a protective starch barrier. This prevents the grains from bursting and releasing too much starch, which is exactly how we keep the dish creamy rather than sticky. Trust me, once you smell that nutty aroma of toasting rice, you’ll never go back to the old way.
The Science of Non-Mushy Rice Grains
To understand why this method works, we have to look at the starch chemistry of long-grain white rice. These grains are high in amylose, which helps them stay separate and fluffy after cooking. However, if you simply boil them in liquid, the outer layers soften too quickly and turn into a gluey paste.
When you toast the rice in butter and oil, you are essentially “parching” the grain. This heat-treatment modifies the surface starches, creating a physical shield that regulates how much moisture the rice absorbs. It ensures the center of the grain cooks through while the outside remains firm and distinct.
Interestingly, you should skip washing the rice for this specific recipe. While rinsing is usually great for steamed rice, we need those surface starches to bond with the fats during the toasting phase. Washing the rice adds unwanted moisture too early, which would prevent the grains from reaching that critical “nutty” toasted state in the pan.
Essential Components for Flavor and Color
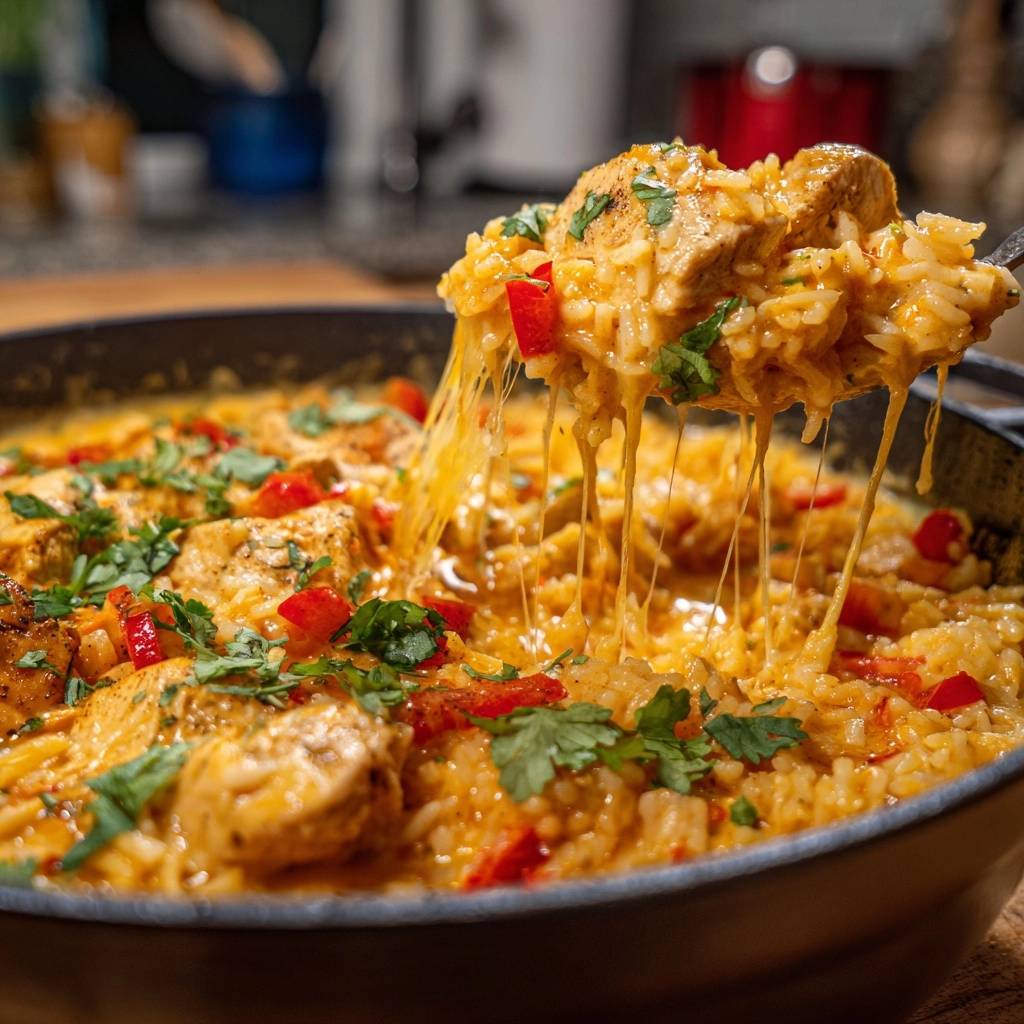
Quality ingredients make a massive difference when the list is this short. I always recommend using sharp cheddar cheese rather than mild or medium. Sharp cheddar has a lower moisture content and a more intense flavor profile, which means you get a punchy cheese taste without making the rice greasy.
The vibrant, “sunshine-in-a-bowl” color comes from a humble pantry staple: turmeric. While it offers a very subtle earthy undertone, its primary job here is to provide that gorgeous golden aesthetic that makes the dish look as rich as it tastes. It works beautifully alongside the smoked paprika to create a complex, warm hue.
Using a high-quality chicken broth instead of plain water is non-negotiable for the best flavor base. The rice acts like a sponge, soaking up every drop of liquid. If you use water, the rice will taste bland; if you use broth, every single grain becomes a tiny vessel of savory goodness.
Choosing the Right Poultry Cut
I prefer chicken breast for this recipe because it cooks quickly and stays lean against the richness of the cheese. However, the key is in the prep. You must cube the chicken into uniform 1-inch pieces. This size allows the meat to sear beautifully on the outside while remaining juicy on the inside during the short simmering window.
If you prefer chicken thighs, they work wonderfully too and are even more forgiving if you accidentally simmer the pot a few minutes too long. Whichever you choose, ensure the pieces are bite-sized so they distribute evenly throughout the rice, giving you a bit of protein in every single mouthful.
The Role of Aromatics and Spices
Smoked paprika and garlic powder are the heavy lifters in the spice cabinet for this dish. The smoked paprika adds a hint of “cooked over a campfire” depth that balances the creamy cheese. It’s much more effective than sweet paprika, which can sometimes get lost in the richness.
Finely dicing your onion and red bell pepper is a small task that pays off in the final texture. You want these aromatics to almost melt into the rice. If the pieces are too large, they release pockets of water that can interfere with the rice’s texture; finely diced, they provide a consistent sweetness in every bite.
Phase One: Searing and Building the Base
We start by heating olive oil in a heavy-bottomed pot until it’s shimmering. When you add the chicken, you’re looking for the Maillard reaction—that beautiful brown crust that develops on the meat. This isn’t just for looks; those browned bits (called fond) stick to the bottom of the pot and provide the flavor foundation for the entire meal.
Once the chicken is browned, remove it from the pot. This is a crucial step to prevent the meat from becoming rubbery. If you leave the chicken in while you sauté the vegetables and toast the rice, it will overcook. We want to keep it tender, so we’ll bring it back later once the liquid is ready.
In the same pot, melt the butter into the chicken juices and toss in your onions and peppers. Sauté them for about three minutes. You aren’t looking for deep browning here; you just want them to become soft, translucent, and fragrant, which signals that they’ve released their natural sugars.
Phase Two: The Critical Rice Toasting Step
Now comes the most important part of the entire process. Add your dry, unwashed rice directly into the pot with the softened vegetables and butter. You need to stir this constantly for about three minutes. Watch the grains closely; they will transition from a solid white to a slightly translucent look at the edges.
As the rice toasts, you’ll notice a distinct nutty aroma filling your kitchen. This is the smell of success! The fat is coating every single grain, creating that barrier we talked about earlier. If you skip this or rush it, you’re much more likely to end up with gummy rice.
Once the rice looks shiny and smells toasted, stir in your garlic powder, smoked paprika, turmeric, salt, and pepper. Toasting the spices for just 30 seconds before adding the liquid “blooms” their oils, making the flavors much more vibrant and ensuring the turmeric dyes the rice evenly.
Phase Three: The Absorption and Simmering Process
Pour in the chicken broth and return the browned chicken to the pot. Give it one good stir to make sure nothing is stuck to the bottom, then bring it to a rolling boil. A rolling boil means the bubbles are vigorous and cannot be stirred away. This ensures the entire pot is at the right temperature before you drop the heat.
As soon as it hits that boil, turn the heat down to your lowest setting and clamp on a tight-fitting lid. Now, here is the cardinal sin of rice cooking: do not lift that lid! Every time you peek, you release the steam and pressure required to cook the rice evenly. Set a timer for 15 to 18 minutes and walk away.
The “low and slow” approach allows the rice to absorb the broth at a steady pace. If the heat is too high, the liquid will evaporate before the rice is tender, leading to burnt bottoms and crunchy centers. Trust the process and let the steam do the heavy lifting.
Phase Four: Achieving the Perfect Cheese Melt
Once the timer goes off, turn off the heat and remove the lid. The rice should be tender and the liquid mostly absorbed. Now we use a two-stage cheese method. Quickly fold in the first half of the shredded cheddar. This melts into the residual moisture to create a creamy, sauce-like base that binds the chicken and rice together.
After the base is creamy, smooth out the top with a spoon and sprinkle the remaining cheese in an even layer over the surface. Do not stir it this time! We want this layer to sit on top. Put the lid back on for three minutes with the heat still off.
For a perfect pairing, try our Creamy Cheesy Chicken Rice Casserole Recipe.
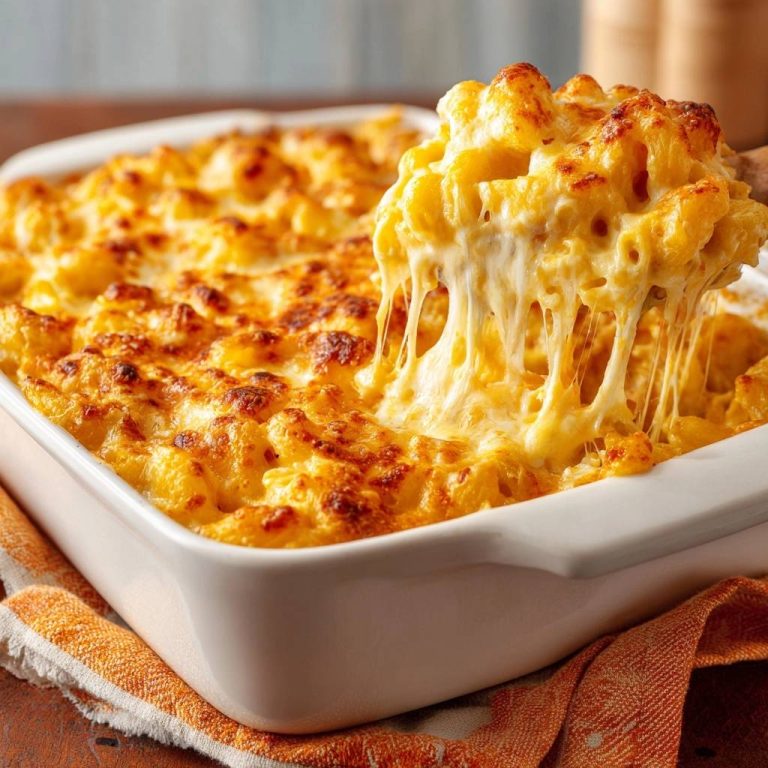
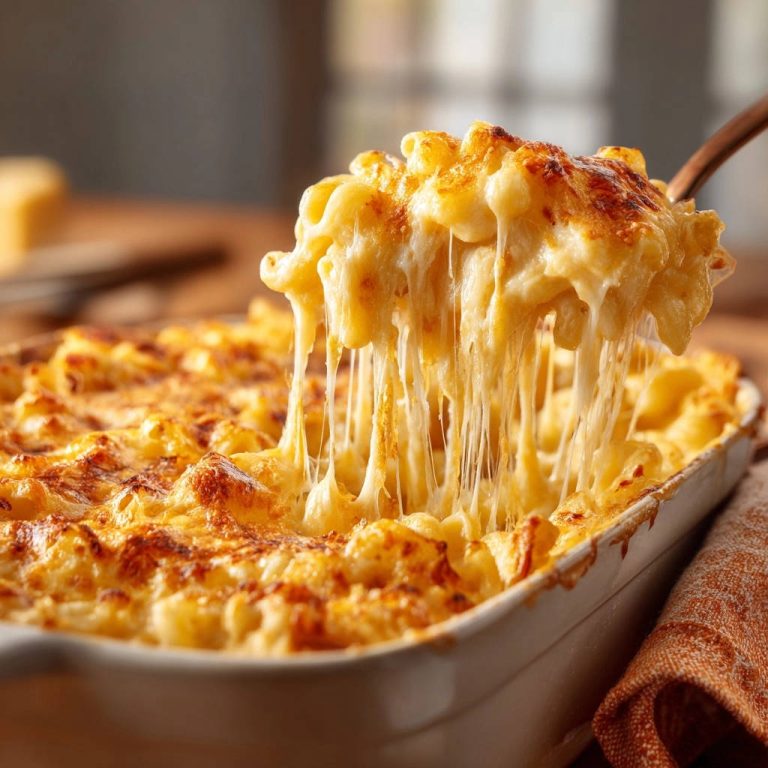
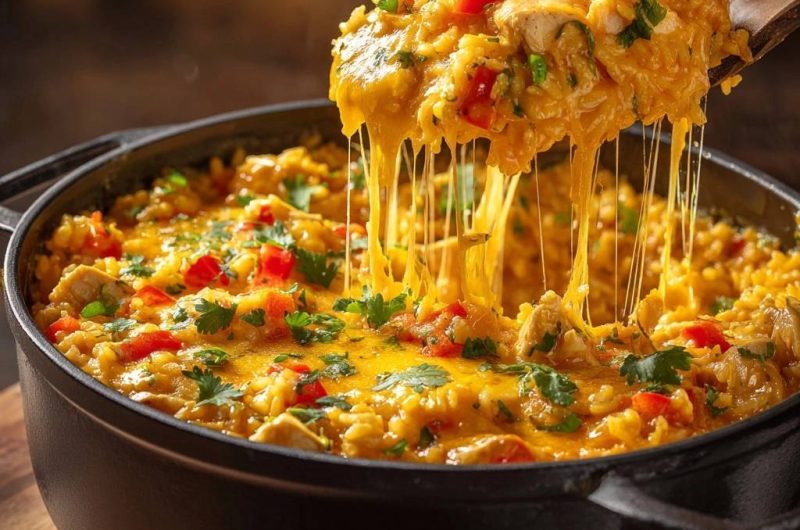
The residual steam trapped inside the pot will melt that top layer into a thick, stretchy, bubbling blanket of cheese. This creates that classic “casserole” look without ever having to turn on your oven. Garnish with plenty of fresh parsley to cut through the richness, and you’re ready to serve.
Troubleshooting Common One-Pot Obstacles
If you find your rice is still a bit crunchy after the timer goes off, don’t panic. This usually happens if your lid isn’t perfectly tight or your “low” heat was a bit too low. Simply splash in that extra 1/2 cup of broth, put the lid back on, and let it sit on low heat for another 5 minutes.
On the flip side, if you notice a burnt smell, your heat was likely too high. A heavy-bottomed pot like a Dutch oven is the best defense against this because it distributes heat evenly. If you’re using a thin stainless steel pot, you may need to use a heat diffuser or the absolute lowest setting on your burner to prevent scorching.
Pot material matters significantly. Cast iron holds heat longer, which is great for the final cheese melt, but it can also continue cooking the rice after you turn the heat off. If using cast iron, be sure to move the pot off the hot burner as soon as you start the final cheese-melting stage.
Flavor Variations and Ingredient Swaps
You can easily customize this dish based on what’s in your fridge. If you want to add vegetables like broccoli or peas, add them during the last 5 minutes of simmering. This ensures they steam through but stay bright green and snappy rather than turning into mush along with the rice.
For those who need a dairy-free version, there are many plant-based shreds that melt well today. Just ensure you choose one labeled “melting” or “mozzarella style” for the best texture. You can also swap the butter for more olive oil or a dairy-free butter alternative without losing the integrity of the toasting step.
If you want to use brown rice, keep in mind that it requires more liquid and a much longer cook time (usually 40-45 minutes). You’ll need to increase the broth by about a cup and be extra patient. The toasting method still works for brown rice and actually enhances its naturally nutty flavor even further.
Optimal Pairings for a Balanced Meal
Since this dish is quite rich and savory, I always recommend pairing it with something high in acid to cleanse the palate. A crisp green salad with a sharp lemon vinaigrette is the perfect companion. The acidity of the lemon cuts right through the heavy cheddar and butter, making the whole meal feel lighter.
Roasted green beans with a squeeze of lime or a side of quick-pickled cucumbers also work beautifully. I generally avoid serving this with other starchy sides like bread or potatoes. The rice is the star of the show here, and you want the side dishes to provide a crunchy, fresh contrast to the creamy texture of the main pot.
Storage and Reheating for Best Texture
Rice is notorious for drying out in the fridge because the starches undergo a process called retrogradation, where they crystallize and get hard. To store leftovers, place them in an airtight container as soon as they reach room temperature. They will stay fresh for up to three days.
When reheating, don’t just pop it in the microwave as-is. Add a splash of chicken broth or even a tablespoon of milk to the bowl first. This extra moisture helps “unlock” the cheese sauce and steams the rice grains back to their original fluffiness. Cover the bowl with a damp paper towel while microwaving for the best results.
I don’t recommend freezing this dish. Rice often becomes grainy and crumbly after being frozen and thawed, and the cheese sauce can break, leaving you with an oily mess. This is definitely a dish that is best enjoyed fresh or within a few days of cooking.
Expert Tips for Success
Using a heavy-bottomed Dutch oven is my number one tip for this recipe. The thick walls prevent hot spots that cause the rice to stick and burn. If you only have thin pots, you’ll need to be much more vigilant about your heat levels during the simmering phase.
Don’t settle for “mild” cheddar. The “Sharp” or “Extra Sharp” varieties contain less water and more flavor, which is essential for a sauce that tastes like real cheese rather than just melted plastic. Also, grating your own cheese from a block will always result in a smoother melt than using pre-shredded bags.
Fresh parsley isn’t just a garnish for a pop of color; it provides a necessary hit of herbal freshness that wakes up the heavier flavors of the chicken and broth. I like to tear it by hand for a more rustic look and a bigger burst of aroma right before serving.
Finally, respect the resting period. Those 3 minutes of sitting with the lid on at the very end are mandatory. It allows the moisture to redistribute evenly through the pot, ensuring that the grains at the top are just as tender as the ones at the bottom. Patience is the final ingredient for the perfect pot!
How do I prevent the rice from sticking to the bottom of the pot?
Sticking usually happens for two reasons: the heat is too high or the pot is too thin. Use a heavy-bottomed pot and ensure your burner is on the lowest possible setting during the simmer. Also, make sure you “deglaze” the pot by stirring well when you first add the broth to loosen any bits stuck from searing the chicken.
Can I use minute rice or instant rice for this recipe?
No, I don’t recommend using instant rice here. This recipe is specifically designed for the cook time and liquid ratio of long-grain white rice. Instant rice is pre-cooked and would turn into a liquid paste long before the chicken and aromatics have a chance to develop their flavors.
Why is my cheese sauce oily instead of creamy?
This usually happens if the cheese gets too hot and “breaks.” To prevent this, always turn off the heat before adding your cheese. The residual heat of the rice is more than enough to melt the cheddar into a smooth sauce without overheating the milk fats and causing them to separate into oil.
What is the best substitute for chicken broth?
If you’re out of chicken broth, you can use vegetable broth or even water mixed with a bouillon cube or “Better Than Bouillon” paste. If you must use plain water, be sure to increase the salt and spices significantly, as you’ll be losing the savory depth that the broth normally provides.
Can I add more vegetables like broccoli or carrots?
Absolutely! For hard vegetables like carrots, dice them small and sauté them with the onions. For softer vegetables like broccoli florets or frozen peas, tuck them into the rice during the last 5-7 minutes of the simmering time so they steam perfectly without becoming mushy.
How do I store and reheat leftovers?
Store leftovers in an airtight container in the refrigerator for up to 3 days. To reheat, add a small splash of water or broth to the rice to help it loosen up, then microwave or heat on the stovetop until steaming. Avoid freezing this dish, as the rice texture becomes grainy once thawed.
Chicken and Rice
Course: Main CourseCuisine: AmericanDifficulty: easy4
to 6 servings10
minutes25
minutes650
kcal35
MinutesA comforting, one-pot meal featuring browned chicken, sautéed vegetables, and perfectly textured rice coated in a rich, melted cheddar cheese sauce. The recipe uses a specific toasting technique to prevent the rice from becoming gummy.
Ingredients
1.5 pounds chicken breast, cubed
2 cups long grain white rice, unwashed
1 large red bell pepper, diced
1 small onion, finely chopped
3.5 cups chicken broth (extra 1/2 cup for the cheese sauce consistency)
3 cups shredded sharp cheddar cheese (divided)
2 tablespoons olive oil
1 tablespoon butter
1 teaspoon garlic powder
1 teaspoon smoked paprika
1/2 teaspoon turmeric (for the vibrant golden color shown in the image)
Salt and black pepper to taste
Fresh parsley for garnish
Directions
- Heat the olive oil in a large heavy-bottomed pot or Dutch oven over medium-high heat. Add the cubed chicken and cook until browned on all sides. Remove chicken from the pot and set aside. The chicken is done when it reaches 165°F (74°C) in the thickest part.
- In the same pot, melt the butter into the remaining juices. Add the diced onion and red bell pepper. Sauté for 3 minutes until softened.
- Add the dry rice directly to the pot with the vegetables. This is the critical step. Stir the rice constantly for 3 minutes until the edges of the grains look translucent and smell slightly nutty. This toasting process prevents the rice from becoming mushy later.
- Stir in the garlic powder, smoked paprika, turmeric, salt, and pepper.
- Pour in the chicken broth and return the chicken to the pot. Bring the mixture to a rolling boil.
- Once boiling, turn the heat down to the lowest setting. Cover the pot with a tight-fitting lid and simmer for 15 to 18 minutes. Do not lift the lid during this time.
- Turn off the heat. Remove the lid and quickly fold in 1.5 cups of the shredded cheddar cheese, stirring gently to create a creamy base.
- Smooth the top of the rice and sprinkle the remaining 1.5 cups of cheddar cheese in an even layer over the surface.
- Place the lid back on for 3 minutes to allow the residual steam to melt the cheese into the thick, stretchy, bubbling layer seen in the image.
- Garnish heavily with fresh torn parsley and serve immediately directly from the pot.
Notes
- The secret to the perfect texture is the toast and simmer method. Sautéing the dry rice in oil before adding liquid prevents the grains from bursting. Do not lift the lid during the simmering process to ensure even cooking.