Mastering Crispy Loaded Chicken Wraps Without the Soggy Bottom
We’ve all been there. You’re craving a hearty, handheld meal, but by the time you take your second bite, the bottom of the tortilla has turned into a limp, mushy mess. It’s a common kitchen heartbreak where the juices from the meat and the steam from the heat conspire to ruin your lunch. These Crispy Loaded Chicken Wraps are the definitive cure for that soggy-bottom blues.
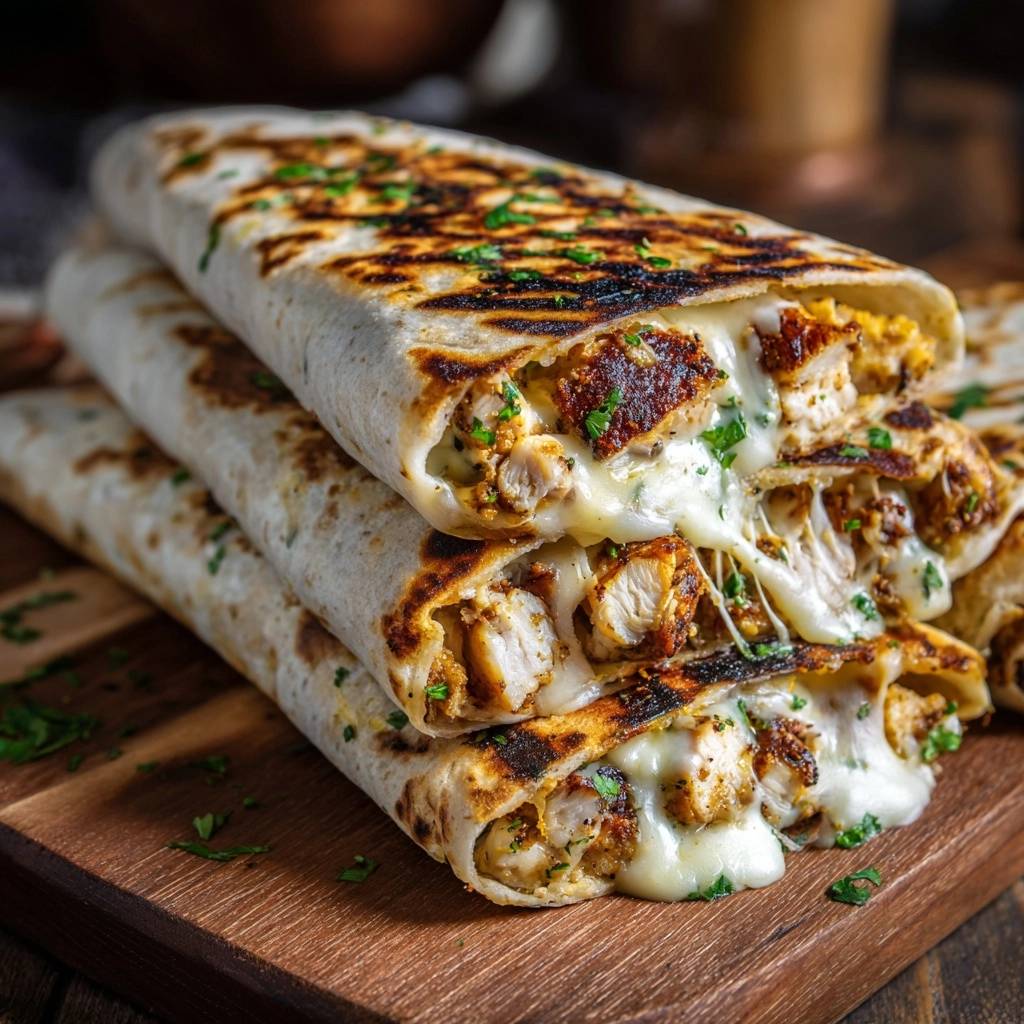
The secret isn’t just in the ingredients; it’s in the structural engineering of the wrap itself. We’re aiming for a specific sensory contrast: a shatter-crisp, toasted exterior that gives way to a molten, gooey center. By treating the tortilla like a canvas and the cheese like a waterproof sealant, you can achieve a professional-grade crunch that holds up until the very last bite.
I’ve found that the real trick to success lies in the “dry-sear” technique. Most people make the mistake of adding more oil to the pan when toasting the wrap, which actually softens the flour. Instead, using a dry, heavy skillet and a weighted press creates those beautiful charred ridges and a cracker-like texture. Trust me, once you hear that first crunch, you’ll never go back to a standard rolled burrito again.
The Science of the Moisture Barrier
When you trap hot chicken inside a flour tortilla, physics works against you. The heat releases steam, and that steam has nowhere to go but into the fibers of the bread. This process, known as starch gelatinization, is exactly what causes that unappealing gummy texture we’re trying to avoid.
To fight this, we use the fat in the cheese to our advantage. By placing a thick layer of shredded Monterey Jack or Mozzarella directly against the tortilla, you create a hydrophobic moisture barrier. As the cheese melts, it coats the inner surface of the wrap, preventing the chicken juices from migrating into the flour. This is why “extra cheese” isn’t just a luxury here; it’s a functional requirement for structural integrity.
Why Traditional Wraps Fail
Most wraps fail because they are assembled with “wet” components sitting directly against the bread. If you add salsa, tomatoes, or even freshly cooked meat that hasn’t rested, the moisture immediately begins to soak in. Even a few minutes of sitting on a plate can turn a great wrap into a soggy one if the layering logic is ignored.
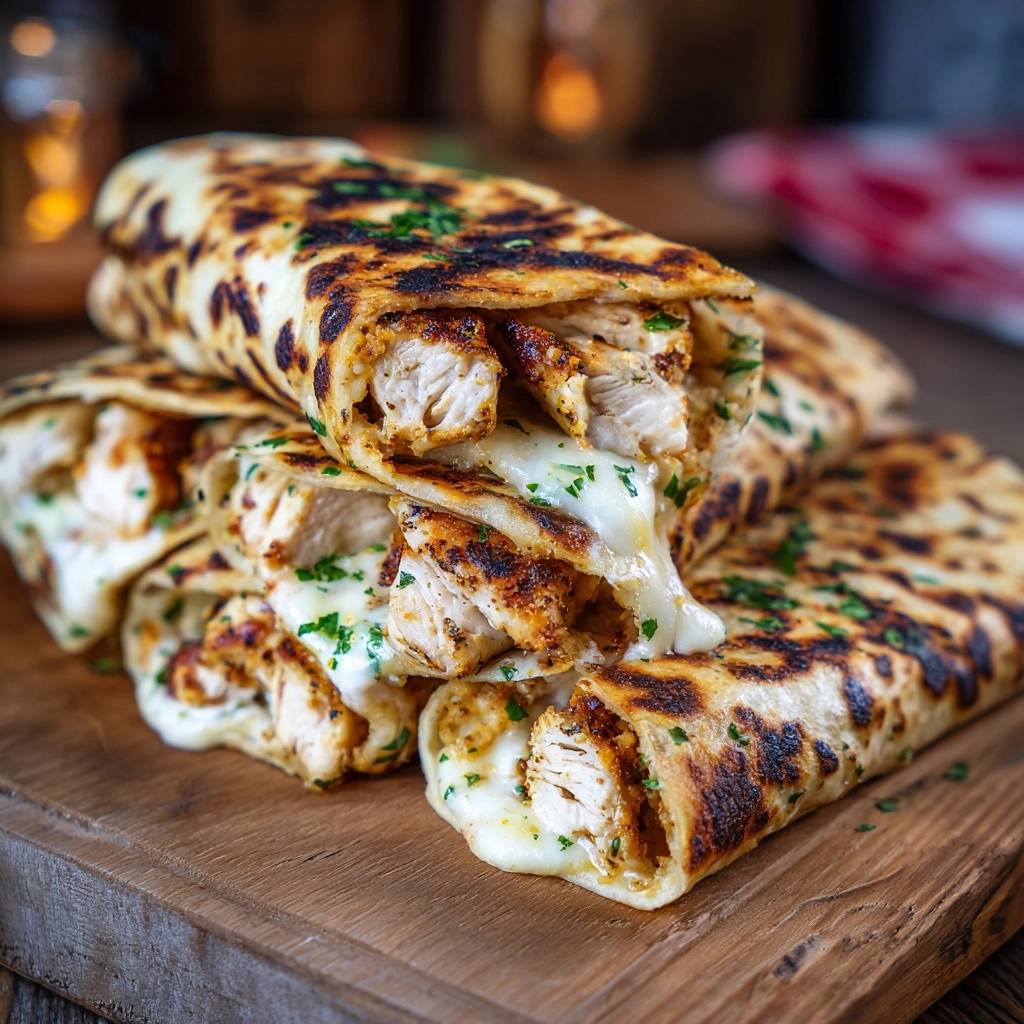
Essential Components for Crispy Loaded Chicken Wraps
The protein-to-fat ratio is the heartbeat of this dish. You want a lean protein like chicken breast so the wrap doesn’t become overly greasy, but you need a high-moisture, low-aging cheese for the perfect melt. Monterey Jack and Mozzarella are the champions here because they have a lower melting point and a superior “stretch” factor compared to aged cheddars, which can sometimes break and become oily.
If you enjoy the smoky depth from paprika in these wraps, you will love how it complements the gooey texture in these easy cheesy chicken wraps.
Selecting the Right Flour Tortilla
Not all tortillas are created equal when it comes to the “crunch-to-chew” ratio. Standard grocery store tortillas work fine, but look for “burrito size” to ensure you have enough surface area for a secure fold. If you can find high-fat flour versions or uncooked tortillas that you sear yourself first, the final result will be even flakier and more reminiscent of a pastry.
The Role of Smoked Paprika and Spices
Smoked paprika does more than just add a hint of wood-fired flavor. It is a powerhouse for the Maillard reaction. Because it contains natural sugars and a deep pigment, it helps the chicken develop a rich, dark golden hue very quickly. This ensures your meat looks professionally seared and appetizing even with a short cook time in the skillet.
Phase One: Preparing the High-Heat Chicken Sear
Uniformity is your best friend in the kitchen. Cut your chicken into small, half-inch cubes so they cook quickly and evenly. When you hit the pan, make sure the chicken is in a single layer. If you crowd the skillet, the meat will release its juices and “stew” in its own liquid rather than searing, which robs you of that essential crust.
The Paper Towel Resting Technique
This is the most overlooked step in wrap history. After you sear the chicken, transfer it to a plate lined with paper towels for at least two minutes. This isn’t just about removing excess oil; it’s about managing “carry-over steam.”
As the meat rests, it continues to release moisture. If that moisture is released inside the tortilla, your wrap is doomed. The paper towel absorbs that initial burst of steam and juice, ensuring that only the flavorful, seared protein makes it into your assembly. It’s a small step that makes a massive difference in the final texture.
Phase Two: Structural Assembly and Layering Logic
Think of your wrap like a sandwich with a “Cheese-Chicken-Cheese” blueprint. Start with a generous layer of cheese on the bottom to protect the base. Add your rested chicken and herbs in the middle, then top it with another layer of cheese. This second layer acts as the “glue” that holds the top of the fold together once it hits the heat.
If you enjoy the creamy chicken filling here, this same shredded meat works beautifully in a slow cooked pulled chicken sandwich.
Folding for Maximum Structural Integrity
To get that perfect rectangular shape, fold the sides in first, then roll tightly from the bottom. You want to eliminate as many air pockets as possible. Air pockets cause the tortilla to “balloon” or brown unevenly. A tight, compact wrap ensures that every square inch of the surface makes contact with the hot pan.
Phase Three: The Dry-Sear and Weighted Press Method
Forget the butter or oil for this stage. A dry, preheated skillet is the secret to a toasted, cracker-like exterior. If you add oil now, the tortilla will fry and become greasy. A dry sear creates a clean, toasted flavor that perfectly complements the rich, cheesy interior.
Using a Cast-Iron Press or Heavy Weight
The “press” is what separates a good wrap from a great one. By placing a heavy weight—like another skillet or a foil-wrapped brick—on top of the wraps, you force the tortilla against the heat. This mechanical advantage increases surface area contact, resulting in those signature charred ridges and a compact, “loaded” feel that won’t fall apart when you bite into it.
Troubleshooting Common Texture Issues
If your tortilla cracks while folding, it’s likely too cold or too dry. You can fix this by microwaving the stack of tortillas for 10 seconds under a damp paper towel to make them pliable. If the outside is burning before the cheese melts, your heat is too high. Switch to a medium-low flame and let the residual heat of the pan do the work.
Managing Heat for Thick Wraps
A “loaded” wrap is thick, which means the heat has a long way to travel to reach the center. If you’re worried about a cold middle, use medium heat instead of medium-high. This slower sear gives the cheese enough time to reach the molten stage without scorching the flour on the outside.
Flavor Variations and Protein Swaps
You can easily swap the chicken for thinly sliced steak or even seasoned chickpeas. The golden rule remains the same: whatever protein you use must be seared and rested to remove excess moisture. For flavor, try dry-spice variations like Zatar or Lemon Pepper. Avoid adding liquid-heavy sauces like buffalo sauce or salsa inside the wrap before searing; save those for dipping!
Pair These with Your Chicken Wraps
Loaded chicken wraps need something cool and crunchy on the side. Both coleslaw options bring texture and tang that work well with the crispy wrap filling.
- Try the creamy poppy seed coleslaw for a sweet, creamy contrast that balances the savory chicken.
- Go with crunchy creamy Southern style coleslaw if you want more crunch and a vinegar kick alongside the wraps.
Optimal Side Dishes and Dipping Textures
Since these wraps are rich and savory, you want a side dish or dip that provides a sharp contrast. A lime-heavy crema or a vinegar-based slaw works beautifully. The acidity cuts through the fat of the cheese and refreshes your palate between those crunchy, cheesy bites.
Expert Tips for Batch Cooking and Storage
While these are best served immediately, you can make them ahead of time. If you have leftovers, avoid the microwave at all costs, as it will turn the tortilla into rubber. Instead, re-crisp them in an air fryer at 350°F for 3-5 minutes or on a wire rack in the oven. This allows the air to circulate and restores that “shatter-crisp” finish.
Frequently Asked Questions
Can I use corn tortillas for this method?
Corn tortillas are generally too brittle for the rectangular “burrito fold” required for this recipe. They tend to crack under the pressure of a weighted press. If you prefer corn, it is better to make stacked quesadillas using the same moisture barrier techniques rather than attempting a rolled wrap.
How do I prevent the cheese from leaking out?
The key is to leave at least a 1-inch border of empty tortilla around the edges during assembly. When you fold the wrap, this creates a seal. Always place the wrap seam-side down in the skillet first. The initial heat will “weld” the seam shut with the melting cheese, acting as a natural adhesive.
What is the best substitute for a cast-iron press?
You don’t need fancy equipment to get a great sear. A heavy tea kettle, a second smaller frying pan weighted down with a few large cans of soup, or even a clean brick wrapped in aluminum foil will work perfectly. The goal is simply to provide even, downward pressure.
Why is my chicken dry even with the cheese?
Chicken breast cubes cook incredibly fast because of their small size. If the meat is dry, it was likely overcooked during the initial sear. Aim to remove the chicken from the pan the moment it reaches an internal temperature of 165°F. Remember, it will continue to heat up slightly once it is inside the wrap and back in the skillet.
Can I add vegetables like peppers and onions?
Yes, but be careful! Vegetables like peppers and onions have a very high water content. If you add them raw, they will steam inside the wrap and cause sogginess. Always “hard-sear” your vegetables in a hot pan first to evaporate their moisture before adding them to your assembly.
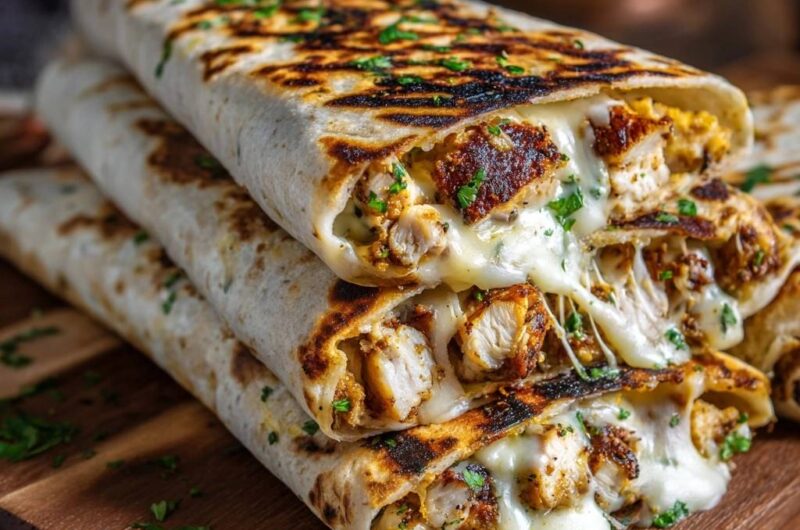
Crispy Chicken Wraps
Course: Main CourseCuisine: AmericanDifficulty: easy4
servings15
minutes15
minutes510
kcal30
MinutesThese chicken wraps feature a shatter-crisp exterior and a molten cheese center. By using a weighted press and layering cheese as a protective shield, you achieve a professional-grade toasted tortilla filled with seasoned seared chicken.
Ingredients
1.5 lbs chicken breast, cut into small bite-sized cubes
2 tablespoons olive oil
1 tablespoon taco seasoning or poultry rub
1/2 teaspoon garlic powder
1/2 teaspoon smoked paprika (for the deep golden color shown)
4 large flour tortillas
2.5 cups shredded Monterey Jack or Mozzarella cheese (extra cheese is required for the “molten” visual)
1/4 cup fresh parsley or cilantro, finely chopped
Salt and pepper to taste
Directions
- In a bowl, toss the chicken cubes with olive oil, taco seasoning, garlic powder, smoked paprika, salt, and pepper until every piece is thoroughly coated.
- Heat a large cast-iron skillet or heavy pan over medium-high heat. Add the chicken in a single layer. Sear undisturbed for 3 minutes to develop a dark, crispy crust, then toss and cook until fully done. The chicken is done when it reaches 165°F (74°C) in the thickest part.
- Crucial Step: Transfer the cooked chicken to a plate lined with paper towels. Let it rest for 2 minutes. This allows excess steam and juices to escape so they don’t soak into the tortilla later.
- Wipe the skillet completely clean of any leftover oil or burnt spices.
- Lay a tortilla flat. Place a thick, even layer of shredded cheese across the center. This cheese layer acts as a waterproof moisture barrier.
- Top the cheese with a generous portion of the seared chicken and a sprinkle of fresh herbs. Add a second layer of cheese over the chicken to act as the “glue” for the top of the wrap.
- Fold the sides of the tortilla in and roll tightly into a rectangular burrito shape.
- Place the wraps seam-side down in the dry, preheated skillet.
- The Press: Place a heavy weight (like a second cast-iron skillet or a foil-wrapped brick) directly on top of the wraps. Sear for 2-3 minutes per side. The weight forces the tortilla against the hot metal, creating the deep charred ridges and “shatter-crisp” texture seen in the image.
- Slice on a sharp diagonal. Serve immediately while the cheese is molten and flowing from the ends.
Notes
- Resting the chicken on paper towels is a crucial step to prevent steam from making the tortilla soggy. Use a heavy weight like a second skillet to achieve deep charred ridges.