Mastering Roasted Vegetable Stuffed Peppers Without the Soggy Bottom
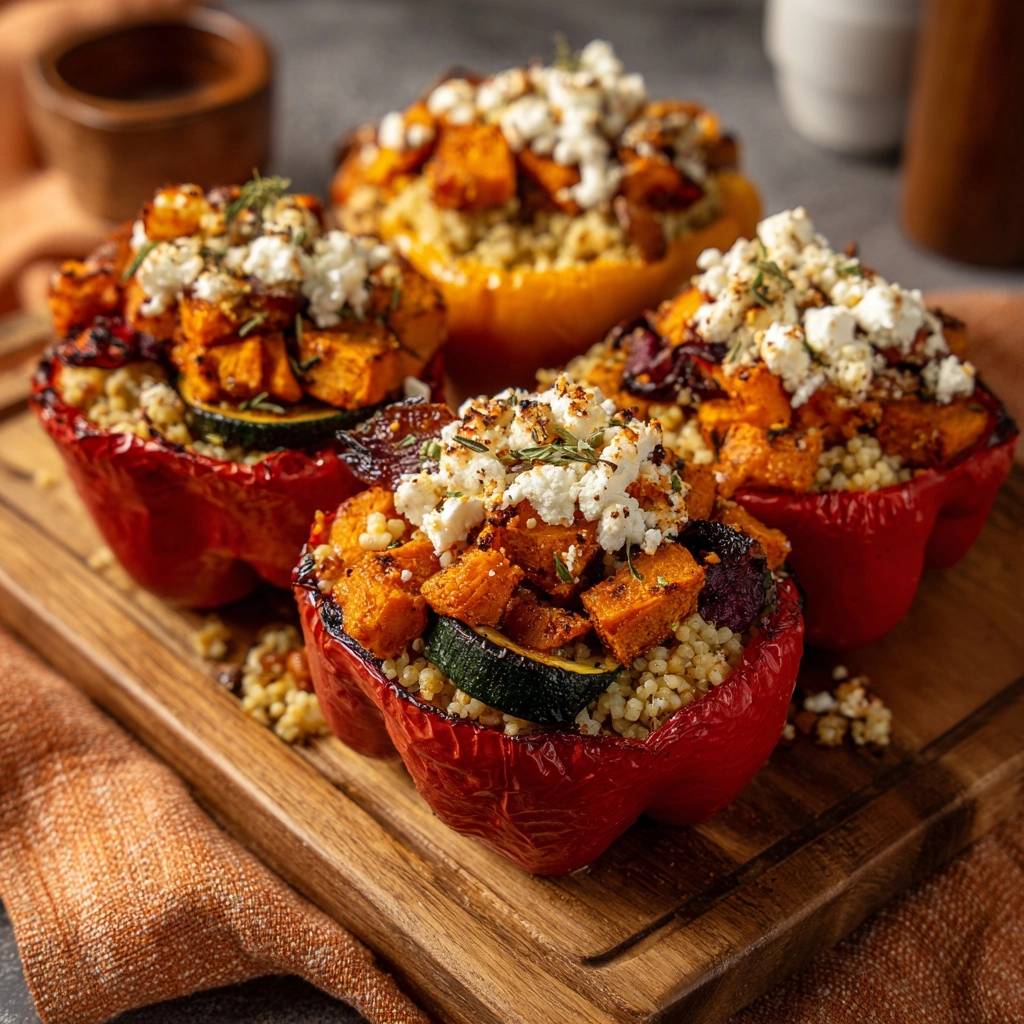
We’ve all been there: you pull a tray of beautiful stuffed peppers out of the oven only to find a pool of watery liquid at the bottom and a mushy, limp pepper shell. It’s a common kitchen heartbreak that turns a vibrant meal into a soggy mess. This recipe solves that frustration once and for all with a specific pre-roasting and venting technique that ensures your peppers stay firm and your filling stays perfectly textured.
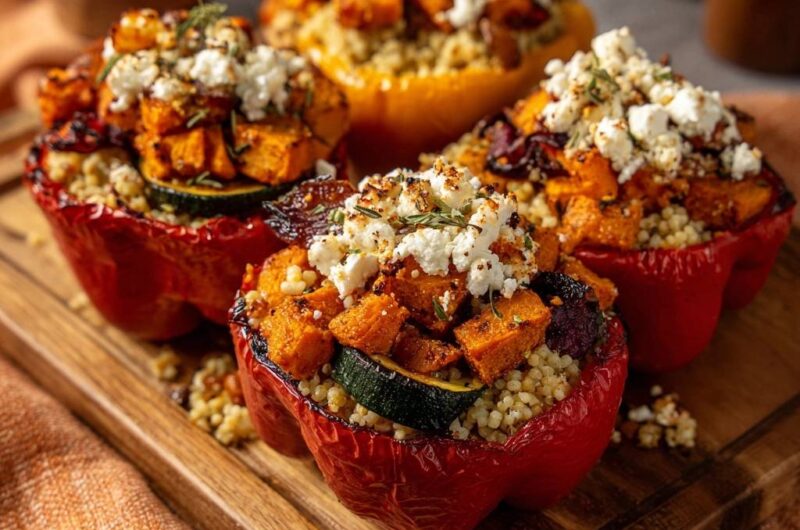
The secret lies in treating the pepper as a structural vessel rather than just a container. By focusing on moisture management, you get a Roasted Vegetable Stuffed Pepper that boasts a slight char on the outside and a fluffy, savory interior. You’ll love how the sweetness of the roasted sweet potato plays against the salty tang of the feta cheese.
I’ve found that the real trick to professional-grade stuffed peppers is the “drainage hole” method. By making tiny incisions at the base of the pepper, you allow steam to escape during the final bake. This prevents the filling from boiling in the pepper’s natural juices, which is exactly what causes that dreaded mushy texture. Let’s dive into how you can master this technique at home.
The Science of Moisture Control in Bell Peppers
Bell peppers are roughly 92% water, which makes them a challenge for roasting. When you apply heat, the cellular structure of the pepper breaks down and releases that internal moisture. If you stuff a raw pepper with a moist filling, that water has nowhere to go but into your grain mixture, resulting in a soggy bottom.
If you want to try a meatier take on this same technique, check out these cheesy beef stuffed peppers.
Traditional methods often fail because they rely on the filling to cook inside the pepper. This creates a steaming environment rather than a roasting one. To get that perfect “tender-crisp” bite, you have to manage how that water exits the vegetable. Therefore, we use a two-stage cooking process to dry out the pepper walls before the filling ever touches them.
Heat interacts with the pepper’s skin to create a beautiful blistered texture, but only if the surface is dry. By using a wire rack during the pre-roast, you allow hot air to circulate entirely around the pepper. This prevents the base from sitting in a puddle of its own juices, maintaining the structural integrity of the pepper wall.
Why Pre-Roasting Changes the Texture Profile
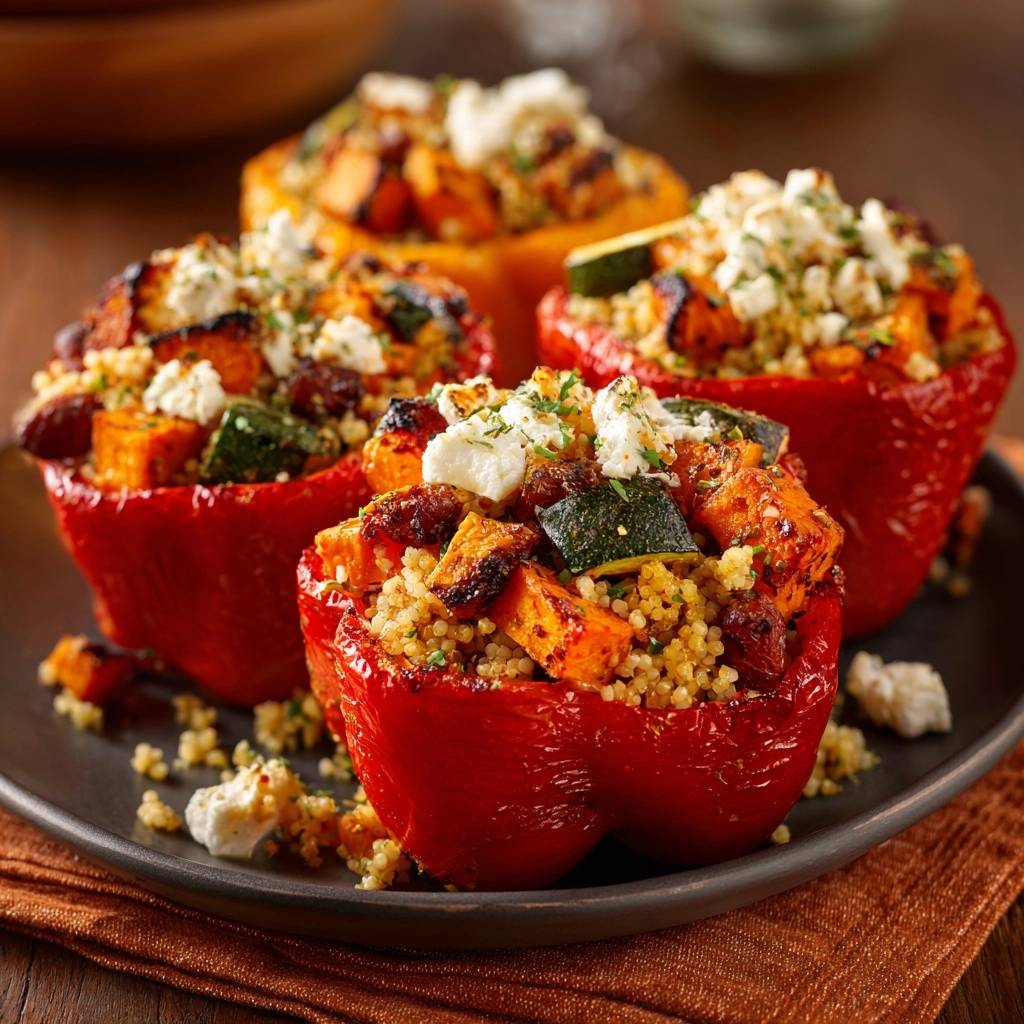
Pre-roasting for 12 minutes initiates the Maillard reaction on the pepper skin, which develops deep, smoky flavors you simply can’t get from steaming. This short burst of high heat softens the pepper just enough so it’s easy to eat, but not so much that it collapses under the weight of the filling. It’s the difference between a sturdy vegetable “bowl” and a limp wrapper.
During this phase, the pepper begins to lose its raw, grassy edge. The sugars in the red and yellow skins start to caramelize, providing a sweet contrast to the savory roasted vegetables inside. You’ll notice the color becomes more vibrant and the skin takes on a slight sheen from the olive oil, which is a clear sign of a successful roast.
The Drainage Hole Technique Explained
Think of the drainage holes as a chimney for your pepper. By poking three tiny holes in the bottom with a paring knife, you create an escape route for excess liquid. As the vegetables inside release steam, it flows out the bottom instead of soaking into the couscous. This keeps the filling light and airy.
This technical fix is a game-changer for anyone who prefers a rustic, textured stuffing. It allows the heat to penetrate the center of the pepper more efficiently. You won’t end up with a cold, wet center; instead, every bite will be consistently hot and perfectly seasoned from top to bottom.
Essential Components for Roasted Vegetable Stuffed Peppers
Quality ingredients are the backbone of this dish. I always recommend using red, orange, or yellow bell peppers because they have a higher sugar content than green ones. When they hit the 400°F oven, those sugars caramelize beautifully, whereas green peppers can sometimes turn bitter when roasted for long periods.
The olive oil you choose also matters. Since we are roasting at a high temperature, a standard extra virgin olive oil works perfectly. It coats the vegetables and helps the spices stick, ensuring that every cube of sweet potato and every round of zucchini is a flavor bomb. Don’t be shy with the salt and pepper; roasted vegetables need aggressive seasoning to truly shine.
Selecting the Right Sweet Potato and Zucchini
Uniformity is your best friend in the kitchen. You want to dice your sweet potato into 1/2-inch cubes so they cook at the same rate as the zucchini. If the pieces are too large, you’ll end up with crunchy potatoes; too small, and they’ll turn into mush. Aim for bite-sized pieces that hold their shape after being tossed with the couscous.
For the zucchini, I like to slice them into thick rounds. Zucchini has a very high water content and can disintegrate if sliced too thin. Thick rounds can withstand the initial sheet pan roast and the secondary bake inside the pepper. They provide a nice, meaty texture that makes this vegetarian meal feel incredibly satisfying.
Couscous vs. Other Grains: The Texture Debate
Couscous is the ideal medium for this recipe because it’s incredibly light. Unlike rice, which can become gummy if overcooked, or quinoa, which has a distinct nutty crunch, couscous acts like a sponge. It absorbs the residual juices and the flavors of the smoked paprika and oregano without losing its fluffy “pearl” feel.
If you’re looking for a heartier bite, you could use bulgur or farro, but keep in mind they require longer cooking times. Couscous is a fantastic time-saver that keeps the prep work manageable. Just make sure you fluff it well with a fork before mixing it with the roasted vegetables to avoid any large clumps.
The Role of Feta and Mediterranean Spices
The spice blend of smoked paprika, dried oregano, and garlic powder creates a Mediterranean-inspired profile that feels both earthy and bright. The smoked paprika is particularly important here; it mimics the flavor of a charcoal grill, adding depth to the roasted vegetables. It’s a simple combination that packs a massive punch.
Feta is the superior cheese choice for this dish because of its high melting point. While mozzarella or cheddar would turn into a greasy puddle, feta softens and browns on the edges. This maintains the rustic, chunky aesthetic of the dish. The salty, tangy kick of the feta is the perfect foil for the sweet roasted onions and potatoes.
Phase One: Preparing the Pepper Vessels
Start by slicing the tops off your peppers and removing the seeds and white membranes. I prefer the “top-off” method because it creates a deep cup that holds more filling. Use a small paring knife to carefully poke three small holes in the base. Be gentle; you only need tiny slits to let the moisture out.
Rub the outside of each pepper with a little olive oil and a pinch of salt. Place them upright on a wire rack set over a baking sheet. This setup is crucial. Pre-roast them at 400°F for about 12 minutes. You’re looking for the peppers to look slightly wilted and vibrant, with just the beginning of some blistering on the skin.
Phase Two: Roasting the Vegetable Filling
While the peppers are in the oven, spread your diced sweet potatoes, zucchini, and red onion wedges on a large sheet pan. Drizzle with olive oil and toss with all your spices. Make sure the vegetables are in a single layer. If you overcrowd the pan, they will steam instead of roast, and you’ll miss out on those charred, caramelized edges.
Roast the vegetables for about 20 minutes. You’ll know they’re ready when the sweet potatoes are fork-tender and the red onions have developed dark, crispy tips. The smell in your kitchen at this point will be incredible. Once they’re done, let them cool for just a minute before folding them into your cooked couscous.
Phase Three: Assembly and the Final Bake
Gently combine the roasted vegetables and couscous in a large bowl. Use a light hand here; you don’t want to mash the sweet potatoes or break the zucchini rounds. The goal is a chunky, colorful mixture where every ingredient is visible. This creates a much more appetizing presentation than a uniform mash.
Stuff the pre-roasted peppers generously. I like to push the filling down slightly to make sure there are no air pockets, then pile it high at the top. Place a few choice pieces of zucchini or sweet potato right on top for visual appeal. Sprinkle the crumbled feta over the top and add a final tiny drizzle of olive oil to help the cheese brown.
Return the peppers to the oven for another 10 to 15 minutes. You are looking for the pepper walls to be tender but still holding their shape. The feta should be soft and slightly golden. Once you pull them out, let them rest for five minutes. This allows the internal temperatures to stabilize so the peppers don’t fall apart the moment you cut into them.
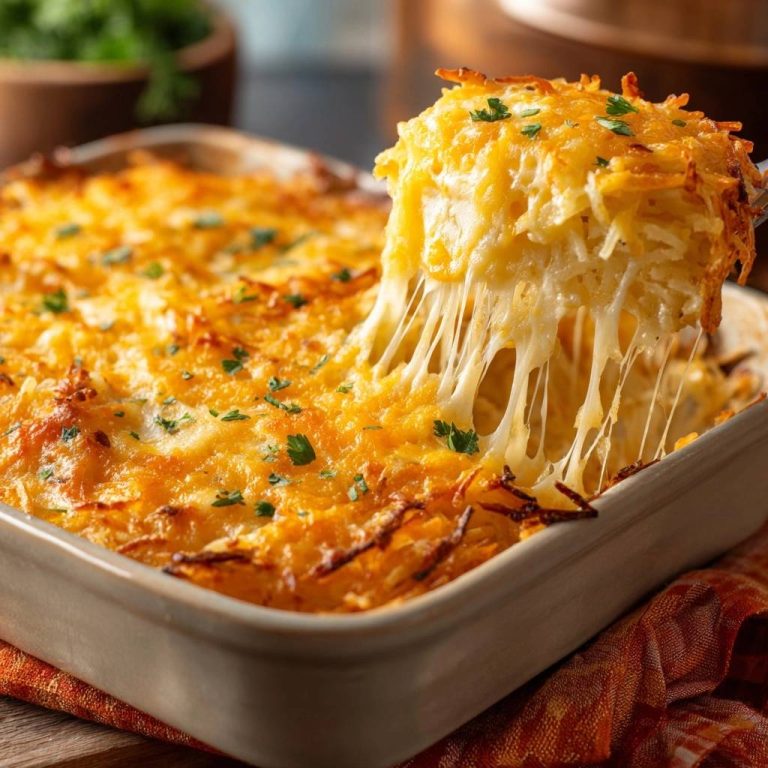
If you like the idea of layering ingredients to prevent a watery base, this cheesy sweet potato beef bake uses the same smart technique.
Troubleshooting Common Stuffed Pepper Issues
If your peppers are leaning over or won’t stay upright on the tray, don’t panic. You can create a small “ring” out of crumpled aluminum foil to act as a stand for each pepper. This keeps them perfectly vertical so the filling doesn’t spill out during the final bake. It’s a simple trick that makes a big difference in presentation.
If you find your vegetables are still a bit firm after the initial sheet pan roast, simply leave them in for an extra five minutes. Every oven runs a little differently. If the tops of your peppers are browning too quickly during the final bake, you can loosely tent them with foil to protect the cheese while the pepper walls finish softening.
Flavor Variations and Ingredient Swaps
This recipe is incredibly versatile. If you want to boost the protein, a can of rinsed chickpeas is a fantastic addition to the filling. They roast beautifully alongside the sweet potatoes and add a nice nutty texture. You could also swap the sweet potato for roasted butternut squash or pumpkin during the fall months.
For those who prefer a different grain, quinoa or pearled farro are excellent substitutes for couscous. Just ensure they are fully cooked before mixing. If you want a dairy-free version, you can omit the feta and top the peppers with toasted pine nuts or a dollop of hummus after baking for that creamy, salty element.
Optimal Side Dish Pairings
Since these peppers are quite hearty and earthy, I love pairing them with something bright and acidic. A simple arugula salad with a lemon-tahini dressing cuts through the richness of the roasted vegetables perfectly. The peppery bite of the greens balances the sweetness of the peppers and onions.
Another great option is a cold cucumber yogurt dip, similar to a Greek tzatziki. The cool, creamy yogurt provides a refreshing contrast to the warm, spiced filling. If you want to keep it simple, a few wedges of fresh lemon squeezed over the peppers right before serving will wake up all the flavors and make the spices pop.
What to Serve with Stuffed Peppers
These roasted vegetable stuffed peppers are hearty on their own, but a cool, creamy side balances the meal. Try one of these potato salads alongside.