Easy Cheesy Chicken Wraps: The Secret to Gooey Perfection
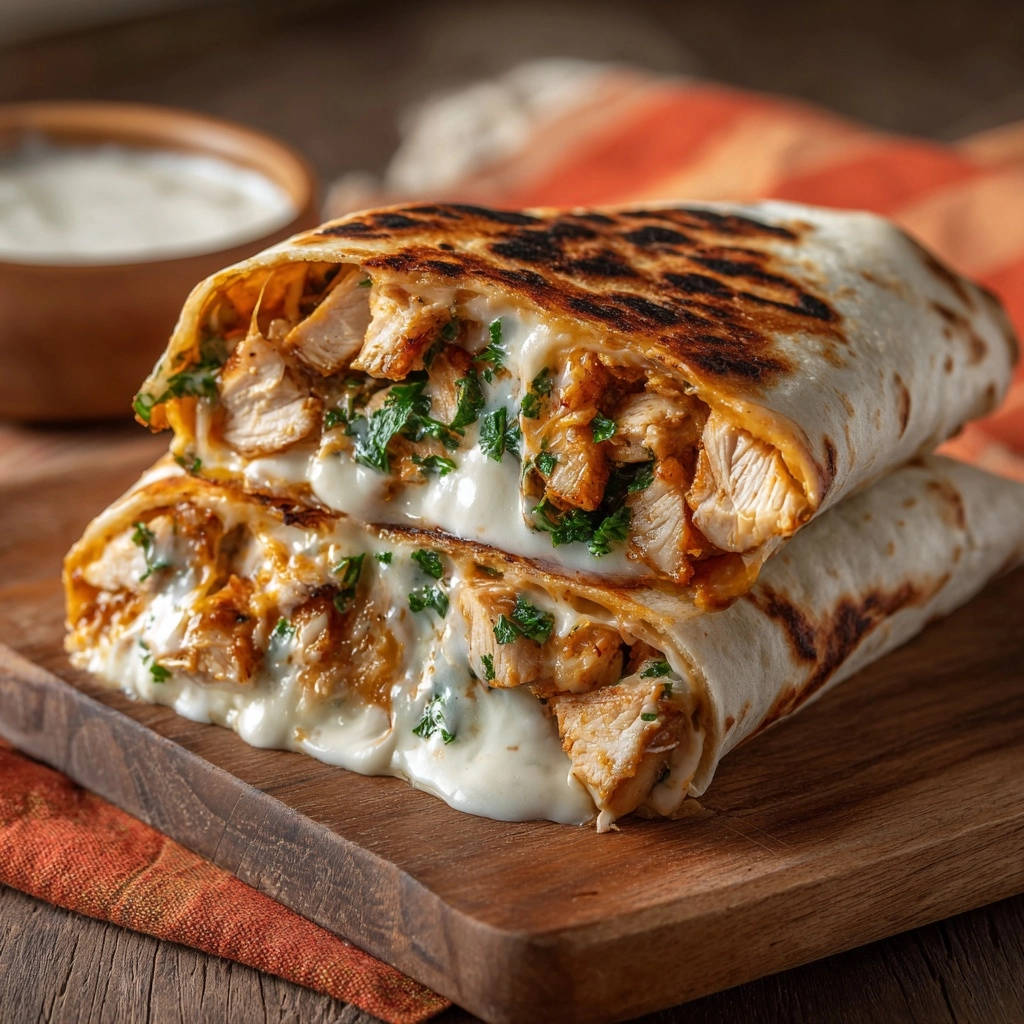
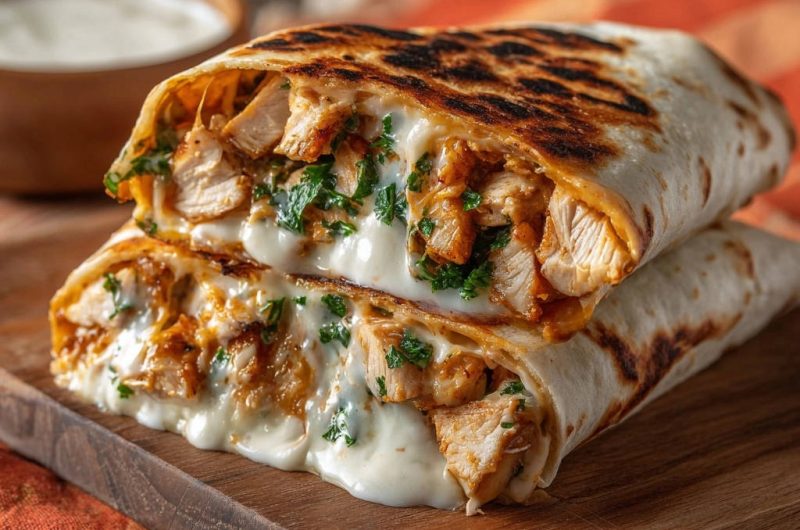
Have you ever craved that perfect, gooey cheese pull in your chicken wrap, only to be disappointed by a lackluster melt? I’ve been there too, which is why I perfected these Easy Cheesy Chicken Wraps – designed to deliver an absolutely irresistible, stretchy cheese experience every single time.
This isn’t just another weeknight meal; it’s a simple, game-changing technique that transforms a basic wrap into a truly special dish your whole family will adore, making it a reliable and delicious solution for busy evenings.
Beyond the Basic Wrap: Why This Easy Cheesy Chicken Wraps Recipe is a Weeknight Win
What truly sets this Easy Cheesy Chicken Wraps recipe apart is its foolproof method for achieving the ultimate, irresistible cheese melt.
No more chunky, unmelted cheese; instead, prepare for glorious, stretchy layers that perfectly encase your seasoned chicken, transforming a simple wrap into a sensational culinary delight.
It’s the ideal solution for busy weeknights, delivering maximum flavor and satisfaction with minimal effort, ensuring a delicious and hassle-free meal.
If you want to keep that cheese pull without a wet tortilla, check out these crispy loaded chicken wraps for the same gooey payoff.
Gathering Your Gooey Goodness: Essential Easy Cheesy Chicken Wrap Ingredients
The Heart of the Wrap: Cooked Chicken Preparation
For the core of our wraps, we use cooked chicken breast, diced into uniform bite-sized pieces.
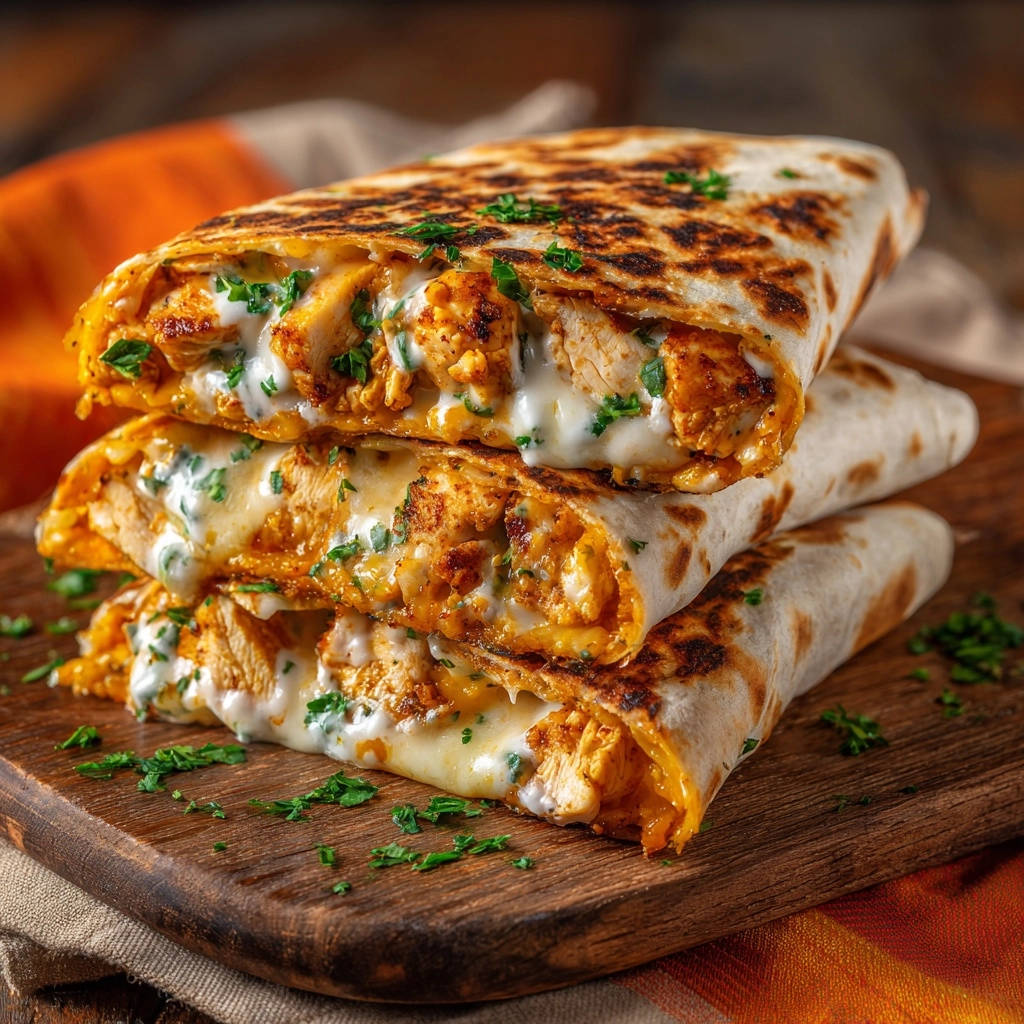
Pre-seasoning with salt, black pepper, and paprika is crucial; it infuses flavor directly into the chicken, ensuring richness in every mouthful of these chicken wraps.
The Star of the Show: Choosing Your Cheese for the Perfect Melt
The secret to that coveted gooey stretch lies in your cheese choice: a blend of Monterey Jack and mozzarella is ideal.
These cheeses boast excellent melting properties, delivering both creaminess and that satisfying, long pull. Feel free to explore Colby Jack or even a mild cheddar for subtle variations in flavor in your cheesy chicken wraps.
Freshness & Flavor: The Parsley Touch
Fresh chopped parsley isn’t just for garnish; it introduces a bright, herbaceous note that beautifully cuts through the richness of the cheese and chicken.
Its vibrant flavor adds an essential layer of freshness, elevating the entire chicken wrap experience.
If you love the creamy chicken filling in these wraps, you have to try this loaded BBQ pulled chicken sandwich for a smoky twist.
The Foundation: Flour Tortillas and Cooking Medium
Large flour tortillas provide the perfect flexible canvas for our substantial filling, holding everything together securely.
A small amount of olive oil or cooking spray is vital for greasing the skillet, preventing sticking and ensuring a beautifully golden-brown exterior on your cheesy chicken wraps.
Pantry Staples for Punchy Seasoning
Beyond our initial paprika, salt and black pepper are fundamental flavor enhancers, providing the base seasoning for our chicken.
These simple pantry staples ensure a well-rounded and deeply satisfying taste profile for your quick dinner.
Your Kitchen Arsenal: Tools for Perfect Easy Cheesy Chicken Wraps
Non-Stick Skillet or Griddle: Essential for even heating and preventing sticking, crucial for browning without burning.
Lid for the Skillet: The absolute secret weapon for trapping heat and creating that “mini oven” effect for ultimate cheese melt.
Cutting Board & Knife: For prepping your chicken and other ingredients efficiently.
Spatula: For gently pressing the wraps and carefully flipping them during cooking.
Mastering the Melt: Step-by-Step to Irresistible Easy Cheesy Chicken Wraps
- Prep Your Protein for Flavor:
Ensure your cooked chicken breast is diced uniformly into bite-sized pieces.
Season generously with salt, black pepper, and paprika at this stage to build flavor from the ground up, making every bite delicious.
- Layering for Lavish Melt:
Lay a large flour tortilla flat on a clean surface. Spread an even layer of your seasoned diced chicken across one half.
Here’s the trick to that irresistible gooeyness: Generously sprinkle half of your shredded cheese directly over the chicken.
Add a handful of fresh chopped parsley. Then, top with the remaining cheese.
This thoughtful layering ensures the cheese gets direct heat and melts beautifully, encapsulating the chicken in a glorious, stretchy embrace.
- Gentle Heat, Big Flavor:
Lightly grease a non-stick skillet or griddle with olive oil or cooking spray. Preheat it over medium-low heat.
This lower temperature is absolutely crucial; it allows the cheese to melt slowly and thoroughly without the tortilla burning, guaranteeing perfection for your easy cheesy chicken wraps.
- Fold and Begin to Cook:
Carefully fold the empty half of the tortilla over the filling, creating a half-moon shape or a folded rectangular wrap.
Gently place the assembled wrap into your preheated skillet.
- The Ultimate Gooey Cheese Secret: Lid-Covered Perfection:
Immediately cover the skillet with a lid.
This traps heat and steam inside, creating a “mini oven” effect that quickly and evenly melts the cheese to glorious, oozing perfection.
Cook for 3-4 minutes per side, or until the tortilla is golden brown with nice grill marks and the cheese is completely melted and oozing.
If needed, you can gently press down on the wrap with a spatula to encourage even browning and melting.
- Serve and Savor:
Carefully remove the wrap from the skillet, cut it in half, and serve immediately with your favorite dipping sauce.
Prepare to enjoy that incredible, satisfying cheese pull from your easy cheesy chicken wraps!
Chef’s Corner: Pro Tips for Next-Level Easy Cheesy Chicken Wraps
Customizing Your Chicken: Flavor Variations: Don’t limit yourself to paprika! Experiment with taco seasoning, Italian herbs, or a pinch of cayenne for a kick. For a delicious twist, consider adding leftover spicy buffalo chicken to your wraps, or simply use pre-cooked rotisserie chicken for extra speed and convenience.
Perfecting the Tortilla Crunch: For extra crispiness, cook the wraps uncovered for an additional minute after the cheese has melted, ensuring you don’t burn them. This creates a delightful texture contrast in your easy cheesy chicken wraps.
Sauce It Up: Best Dips and Sides: Serve with a dollop of sour cream, salsa, guacamole, a zesty cilantro-lime crema, or even a simple hot sauce. For a quick, healthy side, consider pairing your wraps with some crispy baked asparagus or a vibrant side salad for a complete weeknight meal.
What to Serve Alongside
These chicken wraps have a rich, cheesy filling and a warm tortilla wrap. A few simple sides will round out the meal and add contrasting textures.
- Soak up any extra sauce with a batch of Soft Buttery Garlic Herb Dinner Rolls — the garlic and herbs match the savory notes of the chicken filling.
- A cool, creamy Loaded Creamy Potato Salad brings a tangy, chunky contrast to the hot, gooey wraps and adds a hearty starch to the plate.
Making it Ahead & Storage Secrets: You can prep the seasoned chicken ahead of time and store it in the fridge for up to 3 days. Assemble and cook wraps just before serving for the best texture and gooey cheese experience. Cooked wraps can be refrigerated for 2-3 days.
Troubleshooting Your Easy Cheesy Chicken Wraps: Common Woes & Quick Fixes
“My Cheese Isn’t Melting!”
Ensure your skillet is covered with a lid; this is the crucial step for trapping steam and melting the cheese evenly. Also, verify your heat is truly medium-low – too high and the tortilla burns before the cheese fully melts in your cheesy chicken wraps.
“The Tortilla is Burning Too Fast!”
Your heat is likely too high. Reduce the flame or setting to medium-low. This recipe prioritizes a slow, gentle cook to allow the cheese to melt perfectly without sacrificing the tortilla for your easy cheesy chicken wraps.
“My Wrap is Soggy or Dry!”
If soggy, you might have too much filling or the heat was too low, causing it to steam excessively without browning. For dry, ensure you’re using enough oil/spray and not overcooking; the goal is golden, not crispy like a cracker.
Easy Cheesy Chicken Wraps FAQs: Your Questions Answered
Can I use different types of cheese?
Absolutely! While Monterey Jack and mozzarella are best for their melt, you can experiment with cheddar, Colby Jack, or a spicy pepper jack for extra flavor. Just ensure they are good melting cheeses for these easy cheesy chicken wraps.
What if I don’t have a lid for my skillet?
No problem! You can use a baking sheet or a larger bowl inverted over the skillet to create a similar dome effect, trapping the heat and steam needed for that perfect melt in your chicken wrap recipe.
Can these be made vegetarian?
Yes! Simply substitute the cooked chicken with seasoned black beans, sautéed mushrooms, or a plant-based chicken alternative. The cheese melting technique remains the same for a delicious vegetarian version of these versatile skillet wraps.
How long do cooked Easy Cheesy Chicken Wraps last in the fridge?
Cooked wraps can be stored in an airtight container in the refrigerator for up to 2-3 days. Reheat gently in a skillet or microwave until warmed through, though the fresh-cooked texture and gooey cheese pull is always best.
Wrap It Up! Your Next Favorite Weeknight Meal Awaits
There you have it – the secret to Easy Cheesy Chicken Wraps that don’t just promise, but deliver on that glorious, irresistible gooey cheese pull every single time. This recipe proves that a small adjustment can make a world of difference, transforming a simple meal into something truly special.
We encourage you to try this game-changing technique tonight and experience the magic for yourself. Don’t forget to share your creations and that perfect cheese pull on social media – we can’t wait to see them!
Chicken Wraps
Course: Main CourseCuisine: AmericanDifficulty: easy2
servings15
minutes10
minutes550
kcal25
minutesSay goodbye to chunky cheese! This recipe reveals a simple trick to achieve perfectly melted, gooey cheese in every bite of your chicken wraps. Quick to assemble and cook, it’s the ideal weeknight meal solution.
Ingredients
2 large flour tortillas
1 cup cooked chicken breast, diced (seasoned with salt, pepper, paprika)
1.5 cups shredded Monterey Jack or mozzarella cheese blend
2 tablespoons fresh parsley, chopped
1 teaspoon olive oil or cooking spray
Salt and black pepper to taste (for chicken seasoning)
Directions
- Prep your chicken: Make sure your cooked chicken breast is diced into bite-sized pieces. Season the chicken well with salt, black pepper, and paprika.
- Assemble your wraps: Lay a large flour tortilla flat on a clean surface. On one half of the tortilla, spread an even layer of your seasoned diced chicken. Now, here’s the magic for that gooey cheese: generously sprinkle about half of your shredded cheese directly over the chicken. Add a handful of fresh chopped parsley. Then, top with the remaining cheese. This layering ensures the cheese gets direct heat and melts beautifully around the chicken.
- Heat the pan: Lightly grease a non-stick skillet or griddle with a little olive oil or cooking spray. Preheat it over medium-low heat. This lower temperature is key to let the cheese melt slowly and thoroughly without burning the tortilla.
- Cook your wrap: Carefully fold the empty half of the tortilla over the filling, creating a half-moon shape or a folded rectangular wrap. Place it gently into your preheated skillet.
- The Secret to Gooey Cheese: Immediately cover the skillet with a lid. This traps the heat and steam inside, creating a mini oven effect that quickly and evenly melts the cheese to perfection. Cook for 3-4 minutes per side, or until the tortilla is golden brown with nice grill marks and the cheese is completely melted and oozing. If needed, you can gently press down on the wrap with a spatula to encourage even browning and melting. The chicken is done when it reaches 165°F (74°C) in the thickest part.
- Serve hot: Carefully remove the wrap from the skillet, cut in half, and serve immediately with your favorite dipping sauce. Enjoy that incredible, gooey cheese pull!
Notes
- The key to gooey cheese is covering the skillet to trap heat and steam, creating a mini oven effect for perfect melting.