Mastering Flaky Cranberry Apple Hand Pies
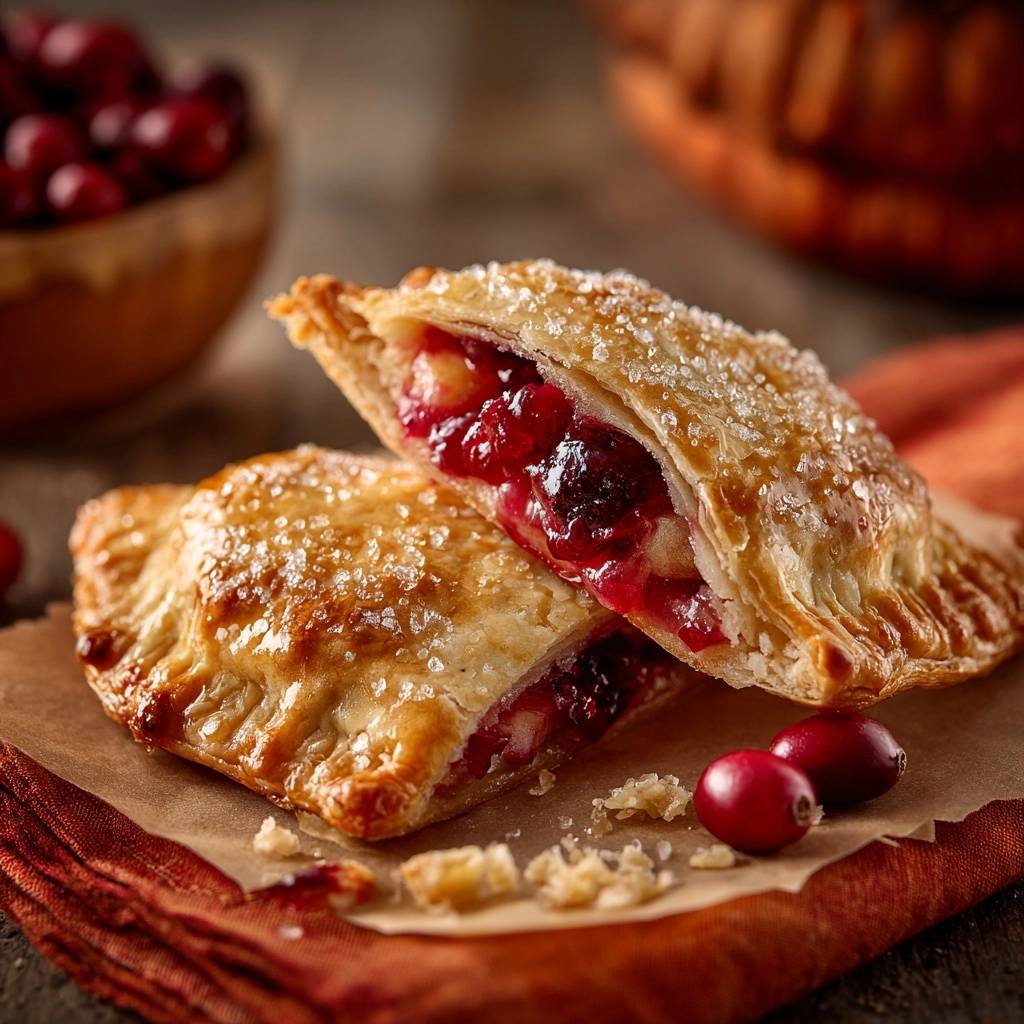
Imagine biting into a pastry that shatters with a distinct, audible crunch, revealing a steaming, jammy center of tart cranberries and sweet apples. There is nothing quite like the contrast between a crystalline, sugar-dusted crust and a vibrant fruit filling that hasn’t turned the dough into a sodden mess. Most hand pies suffer from the dreaded “soggy bottom,” where the fruit juices turn the base into a limp, pale layer of dough that falls apart before it even reaches your mouth.
The secret to avoiding this common kitchen heartbreak lies in moisture control and temperature management. By pre-reducing the fruit into a thick, concentrated compote, you eliminate the excess water that usually migrates into the crust during baking. This ensures that every single bite remains structurally sound and incredibly crisp, even hours after they come out of the oven.
I’ve found that the most critical step for success is the cooling phase of your filling. If you place warm fruit onto cold pastry, the fats in the dough will melt instantly, destroying those beautiful layers before the heat of the oven can set them. Always ensure your cranberry-apple mixture is completely cold to the touch before you even think about reaching for your rolling pin.
The Physics of a Non-Soggy Pastry
When you bake raw fruit inside a sealed pocket of dough, you’re essentially creating a miniature steam chamber. As the cell walls of the apples and cranberries break down under heat, they release a massive amount of liquid. In a standard pie, this liquid might thicken slowly, but in a small hand pie, it simply pools at the bottom, preventing the pastry from ever reaching the temperature needed to crisp up.
By pre-cooking the filling, you are performing a “pre-reduction” that evaporates that excess water on the stovetop rather than inside your crust. This process transforms the fruit into a stable, pectin-rich jam that stays exactly where you put it. The cornstarch slurry acts as a secondary insurance policy, binding any remaining moisture into a glossy, thick syrup that won’t migrate.
Furthermore, this method allows the pastry to bake from the outside in and the inside out simultaneously without the interference of raw steam. The result is a structural integrity that allows you to hold the pie in one hand without it bending or leaking. You’re essentially building a crisp shell around a finished product, which is the hallmark of professional-grade pastry work.
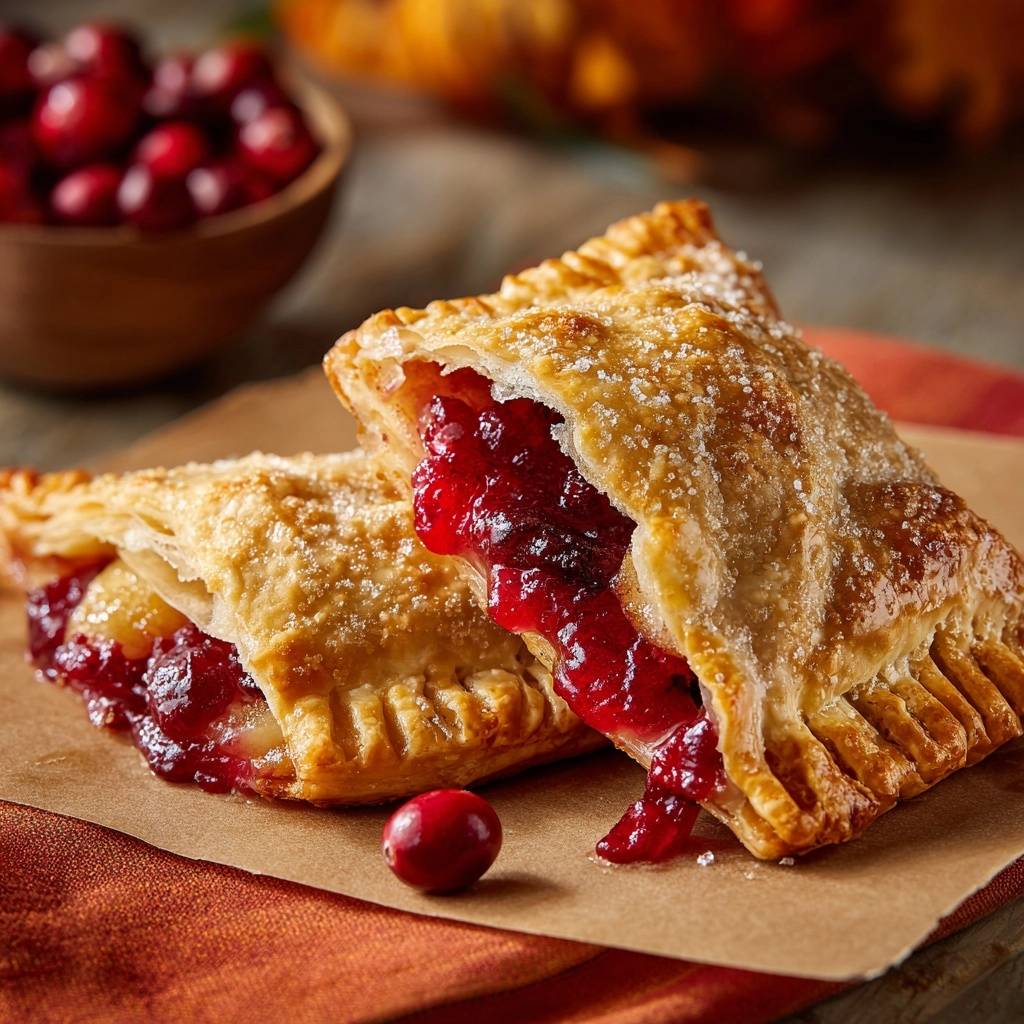
Essential Components for Flaky Cranberry Apple Hand Pies
The choice of fruit is the foundation of this recipe’s flavor profile. I always recommend Granny Smith apples because their high acidity and firm cellular structure allow them to hold their shape even after the pre-cooking process. They provide a necessary tartness that cuts through the buttery richness of the crust, ensuring the dessert isn’t cloyingly sweet.
Fresh cranberries are equally vital because they are packed with natural pectin, a thickening agent found in fruit skins. As the cranberries heat up and “pop,” they release this pectin, which naturally helps the filling set into a jam-like consistency. If you must use frozen cranberries, do not thaw them first; simply toss them straight into the pan to prevent them from becoming mushy too early.
Quality spices like cinnamon and ground ginger add a warm, aromatic depth that bridges the gap between the two fruits. The ginger, in particular, offers a subtle heat that complements the sharp tang of the cranberries. Using fresh, potent spices rather than that dusty jar from three years ago will make a world of difference in the final aroma.
Selecting the Right Pastry Base
While a homemade shortening-free crust is wonderful, high-quality refrigerated pie sheets are a fantastic time-saver that still delivers excellent lamination. The key is to keep the dough cold; if the pastry rises above 65°F, the fat begins to soften and merge with the flour, which results in a tough, cracker-like texture instead of delicate flakes. If the dough feels sticky or limp at any point, pop it back in the fridge for ten minutes.
The Role of Cornstarch and Sugar
Granulated sugar is the preferred sweetener here because it draws moisture out of the fruit quickly during the stovetop phase, allowing for a faster reduction. Unlike brown sugar, which adds moisture and molasses notes, granulated sugar keeps the fruit flavors bright and the liquid levels predictable. The cornstarch slurry must be mixed with cold water first to prevent clumping, ensuring a perfectly smooth, translucent filling.
The same egg wash technique works beautifully for sealing these caramel apple hand pies for a clean, leak-free bake.
Preparing the Concentrated Fruit Reduction
Start by combining your diced apples, cranberries, sugar, and spices in a saucepan over medium heat. As the mixture warms, you’ll hear the cranberries begin to sizzle and eventually “pop” as their skins burst. This is your cue that the juices are being released and the thickening process has begun. Stir frequently to ensure the sugar doesn’t scorch on the bottom of the pan.
You are looking for the liquid to transform into a heavy, bubbling syrup that coats the back of a spoon. Once you add the cornstarch slurry, the mixture will turn from cloudy to clear and become very thick almost instantly. It should look like a chunky, vibrant red jam. If it still looks runny, let it boil for an additional minute to fully activate the starch.
Once the filling is thick, remove it from the heat and spread it out on a shallow plate or baking sheet. This increases the surface area and allows it to cool much faster. Never attempt to fill your pastry with lukewarm filling. The contrast between the ice-cold dough and the cold filling is what creates the steam pockets necessary for a shatteringly flaky crust.
Step-by-Step: Assembly and The Double-Seal Technique
Roll out your chilled dough on a lightly floured surface and cut it into your desired shapes. I find that four-inch squares or circles work best for a manageable hand-held size. When placing the filling, stick to the “2-tablespoon rule.” It is incredibly tempting to overstuff these, but too much filling will cause the seams to burst during the expansion that happens in the oven.
The “Double-Seal” is your best defense against leaks. First, fold the dough over and press the edges together with your fingers to create an initial bond. Then, take a flour-dusted fork and press firmly around the entire perimeter. This creates a mechanical lock between the two layers of dough. If the dough is too dry to stick, a tiny drop of water on your fingertip run along the edge will act as a natural glue.
After sealing, use a sharp paring knife to cut two small slits in the top of each pie. These vents are non-negotiable. They allow the small amount of steam generated by the fruit to escape. Without these vents, the internal pressure will find the weakest point in your seal and blow it out, leading to a sticky mess on your baking sheet.
Venting for Structural Success
Venting isn’t just about function; it’s also an opportunity for a bit of flair. You can do simple diagonal slashes, a small “X,” or even use a tiny decorative cutter to punch a hole in the center of the top crust before assembly. Regardless of the style, ensure the vent is deep enough to go all the way through the top layer of pastry to the filling.
Achieving the Golden Crystalline Crust
To get that professional, bakery-style finish, the egg wash is your most important tool. The proteins in the egg facilitate the Maillard reaction, which is the chemical process that creates a deep, golden-brown color and savory flavor on the crust. Brush the wash all the way to the edges, covering every bit of exposed dough for an even tan.
Immediately after brushing, sprinkle the tops heavily with coarse sparkling sugar. This isn’t just for looks; the large sugar crystals don’t melt in the oven, providing a delightful crunch that contrasts with the soft pastry and jammy interior. It gives the hand pies a “finished” look and a hit of sweetness that hits the tongue first.
If you don’t have sparkling sugar, you can use turbinado or “sugar in the raw.” The goal is to use a sugar with a large grain size that can withstand the high heat of the oven without dissolving. This creates a textured, glittering surface that makes the pies look as good as they taste.
Baking Parameters and the Cooling Rack Rule
Bake your hand pies at 400°F. This high temperature is intentional. It “shocks” the water in the butter or shortening, turning it into steam instantly, which lifts the layers of dough before the fat has a chance to simply melt away. If you bake at a lower temperature, you’ll end up with a greasy, flat pastry rather than a puffy, flaky one.
Keep a close eye on them around the 20-minute mark. You are looking for a dark, burnished gold color. A pale hand pie is an undercooked hand pie, and it will likely be doughy in the center. Don’t be afraid of a little deep color; that’s where the flavor and the crunch live.
As soon as they come out of the oven, slide them onto a wire cooling rack. If you leave them on the hot baking sheet, the bottom of the pie will continue to cook and trap steam against the parchment paper. This residual moisture will quickly soften the bottom crust you worked so hard to keep crisp. Air circulation is the final step in the battle against the soggy bottom.
Flavor Variations and Seasonal Swaps
Once you master the base technique, you can easily tweak the flavors. Adding a teaspoon of fresh orange zest to the fruit reduction provides a bright, citrusy lift that pairs beautifully with cranberries. The oils in the zest offer an aromatic quality that fills the whole house while the pies are baking.
For a different spice profile, try swapping the ground ginger for cardamom or a pinch of ground cloves. Cardamom adds a sophisticated, floral note that makes the pies feel a bit more “gourmet.” Just remember to keep the moisture-to-solid ratio the same; if you add liquid flavorings like vanilla extract, add them during the reduction phase so the extra water can evaporate.
You can also experiment with the texture of the filling. If you prefer a smoother interior, you can lightly mash the apples and cranberries with a potato masher once they are cooked. However, I find that keeping the diced apple chunks intact provides a much more interesting mouthfeel and a better “homemade” appearance.
Make-Ahead Strategies and Freezing Instructions
These hand pies are perfect for make-ahead treats. You can assemble the pies completely, up to the point of the egg wash, and freeze them on a tray. Once they are frozen solid, transfer them to a freezer-safe bag. They will keep perfectly for up to three months, making them a great “emergency” dessert for unexpected guests.
When you’re ready to eat, you can bake them directly from frozen. Do not thaw them, as this will make the dough gummy. Simply brush with the egg wash, sprinkle with sugar, and add about 5 to 8 minutes to the total baking time. The high heat of the oven will handle the frozen center while crisping the outside beautifully.
For already baked pies, store them in a ventilated container or a cardboard box rather than a plastic bag. Plastic traps moisture and will turn your flaky crust soft within hours. If they do lose their crunch, a quick five-minute stay in a 350°F oven or toaster oven will revive that “just-baked” texture perfectly.
Troubleshooting Common Hand Pie Failures
If your filling is leaking out of the sides, it’s usually a sign of either overfilling or a weak seal. Ensure you are leaving at least a half-inch border of clean dough around the filling. If any juice gets on the edge where you’re trying to seal, the dough won’t bond. Use a damp paper towel to wipe the edges clean before crimping with your fork.
If your dough is tearing while you’re folding it, it’s likely too cold or has been rolled too thin. Let it sit at room temperature for just a minute to become more pliable. Conversely, if the dough is sticking to everything and losing its shape, it’s too warm. A quick trip to the freezer will firm up the fats and make it much easier to handle.
For those who find the filling too tart, remember that cranberries vary in acidity. You can always taste the filling (once it has cooled slightly!) before assembly. If it’s too sharp, stir in an extra tablespoon of sugar while it’s still warm. The balance of sweet and tart is subjective, so don’t be afraid to trust your palate.
Why is my pastry tough instead of flaky?
Tough pastry is almost always caused by over-handling the dough. When you work the dough too much, you develop gluten, which creates a chewy, bread-like texture instead of short, flaky layers. Handle the dough as little as possible, and make sure your work surface and hands stay cool to prevent the fat from melting into the flour.
Can I use dried cranberries instead of fresh?
Dried cranberries can be used in a pinch, but they won’t provide the same “jammy” texture or tart pop as fresh ones. If you use dried, you must rehydrate them in boiling water for 10 minutes first, then drain them thoroughly before adding them to the saucepan. You may also need to add a splash of water or apple juice to the pan to create enough liquid for the reduction.
How do I prevent the bottom from browning too fast?
If your oven runs hot on the bottom, place your baking sheet on the middle or upper-middle rack. You can also use the “double-pan” method: stack your parchment-lined baking sheet on top of a second baking sheet. This creates a thin layer of air between the two pans, providing insulation that protects the bottom of the pies from direct, intense heat.
What is the best way to reheat leftovers?
Never use a microwave to reheat hand pies, as it will turn the pastry soft and rubbery. Instead, place the pies in a 350°F oven or toaster oven for 5 to 7 minutes. This dry heat will re-crisp the fat in the crust and warm the filling evenly without compromising the structural integrity of the pastry.
Cranberry Apple Hand Pies
Course: DessertCuisine: AmericanDifficulty: easy8
hand pies20
minutes25
minutes285
kcal45
MinutesThese hand pies feature a shatteringly crisp crust and a concentrated fruit filling made from fresh cranberries and Granny Smith apples. By pre-cooking the filling to reduce moisture, these pies avoid the common pitfall of a mushy bottom pastry.
Ingredients
2 sheets refrigerated pie crust (thawed)
2 cups fresh cranberries
2 large Granny Smith apples, peeled and finely diced
3/4 cup granulated sugar
1 tablespoon cornstarch
1 teaspoon ground cinnamon
1/4 teaspoon ground ginger
1 egg (beaten with 1 tablespoon water for egg wash)
2 tablespoons coarse sparkling sugar for topping
Directions
- To solve the soggy bottom issue, place the cranberries, diced apples, sugar, cinnamon, and ginger in a medium saucepan over medium heat. Cook for 8 to 10 minutes, stirring occasionally, until the cranberries burst and the juices thicken into a heavy syrup.
- Stir the cornstarch into 1 tablespoon of cold water to make a slurry, then stir it into the fruit mixture. Boil for 1 minute until very thick and jam-like. Remove from heat and let the filling cool completely. This step is vital because hot filling will melt the fat in the pastry and cause it to become greasy and limp.
- Preheat your oven to 400 degrees F and line a baking sheet with parchment paper.
- Roll out the pie crusts and cut each into four equal squares or circles.
- Place 2 tablespoons of the cooled, thickened fruit mixture onto one side of each pastry piece. Fold the dough over the filling to create a triangle or semi-circle.
- Use a fork to firmly crimp the edges together. This double-seal prevents leaks that cause sticking. Cut two small slits in the top of each pie to allow steam to escape.
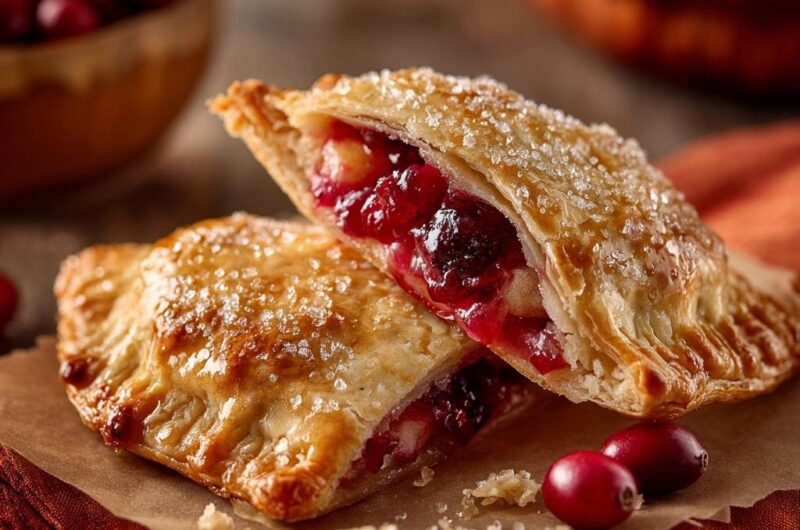
- Brush the tops generously with the egg wash and sprinkle heavily with the coarse sparkling sugar to achieve the textured, crystalline crust shown in the image.
- Bake for 22 to 25 minutes or until the crust is a deep, golden brown. Transfer to a wire rack immediately so the bottoms stay crisp as they cool.
Notes
- Ensure the filling is completely cool before placing it on the dough to prevent the pastry fat from melting. Transfer pies to a wire rack immediately after baking to maintain a crisp bottom.