Mastering Classic Chicken Fried Rice: The Science of Non-Mushy Grains
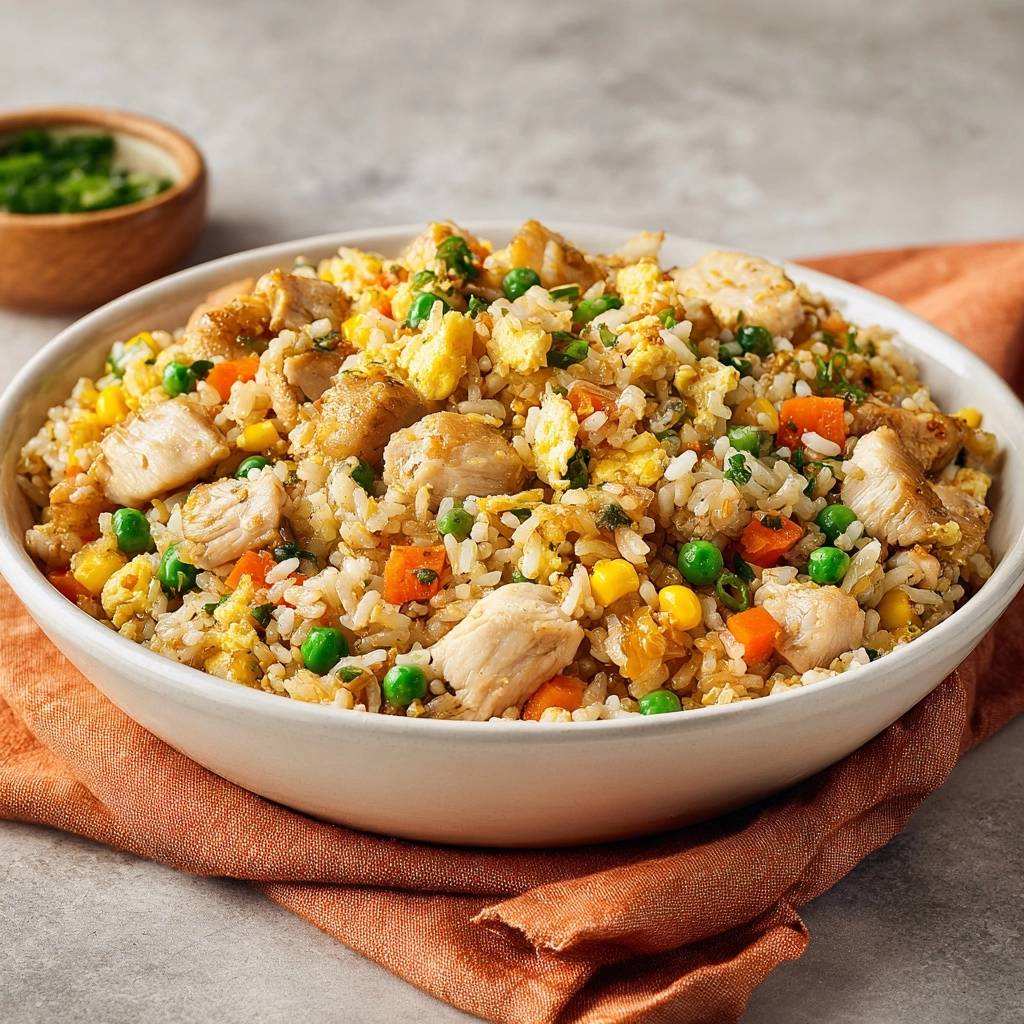
We’ve all been there. You’re craving that perfect, savory scoop of takeout, but when you try to make it at home, you end up with a gummy, pale pile of mush. It’s frustrating because the ingredients are so simple, yet the texture feels impossible to nail. The difference between a sad side dish and a professional-grade stir-fry isn’t a secret sauce; it’s all about moisture management and heat.
Classic Chicken Fried Rice relies on the Maillard reaction, which is the chemical process that browns proteins and sugars to create deep, complex flavors. When you sear your chicken and toast your rice at high temperatures, you’re creating a crust that locks in flavor while keeping the interior tender. If your pan is too cold or your rice is too wet, you’re essentially boiling your dinner instead of frying it.
The absolute secret to success is using rice that has spent at least 12 hours in the fridge. Chilling the rice allows the grains to dehydrate and the starches to firm up, ensuring they stay separate when they hit the hot oil. If you use fresh, steaming rice, the excess moisture will turn your meal into porridge the second you start stirring. Trust me, that overnight wait is the most important “ingredient” in your pantry.
The Physics of Perfect Classic Chicken Fried Rice
To understand why day-old rice is superior, we have to look at starch retrogradation. When rice is first cooked, the starch molecules absorb water and become soft and sticky. As the rice cools in the refrigerator, those molecules realign into a more rigid structure. This process makes the grains resilient enough to withstand the aggressive tossing and high heat of a wok without breaking apart.
Moisture is the ultimate enemy of a crisp stir-fry. When you add cold, dry rice to a shimmering pan, the heat can immediately evaporate any surface moisture, allowing the grain to “fry” in the oil. If the rice is damp, it creates a layer of steam that prevents browning and causes the grains to clump together. By chilling the rice, you’re essentially prepping it to handle the intense environment of the pan.
Think of each grain of rice as an individual component. In a perfect dish, you should be able to see every single grain. They should be coated in a thin, savory film of oil and soy sauce, but they shouldn’t be stuck to their neighbors. Achieving this requires a balance of high heat and low moisture that only aged rice can provide.
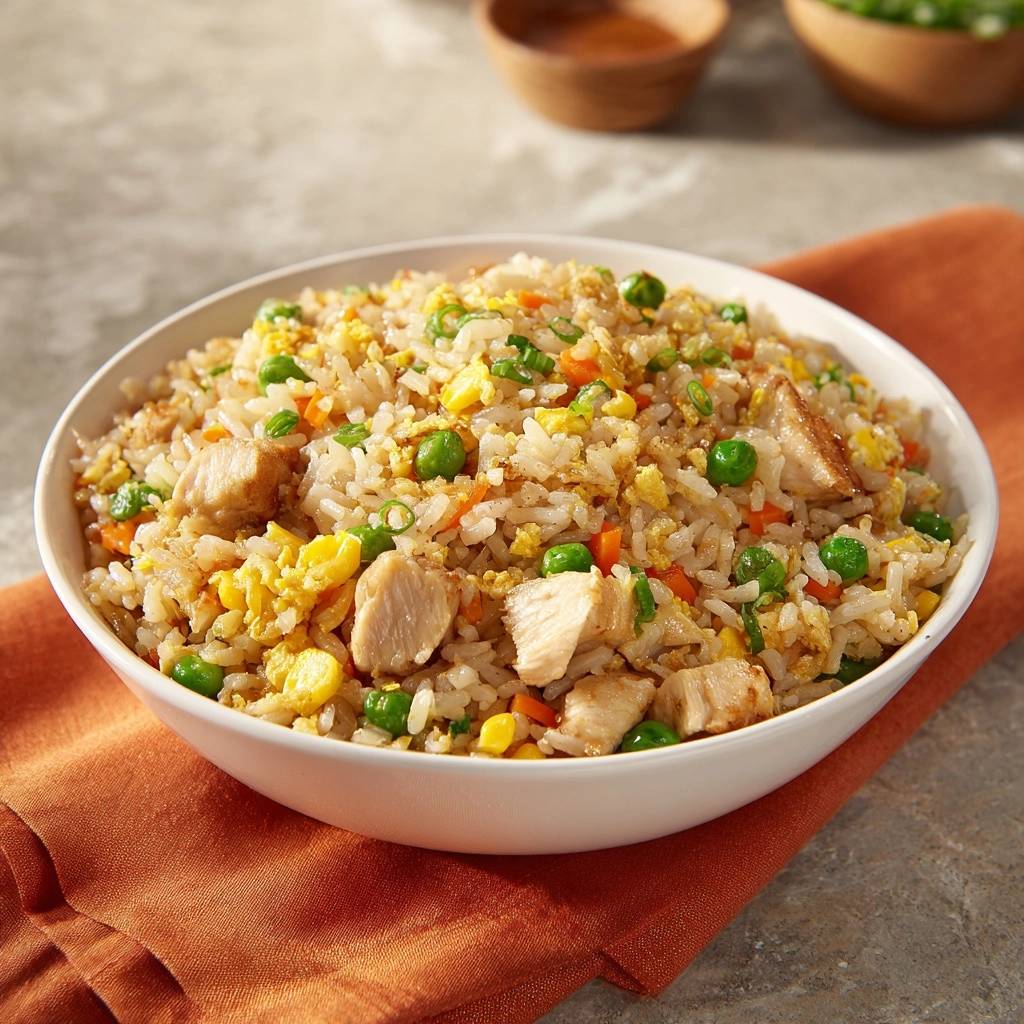
Essential Components for High-Heat Stir-Frying
Long-grain white rice, specifically Jasmine, is the gold standard for this dish. It has a lower starch content than short-grain varieties, meaning it’s naturally less sticky. When cooked and chilled, Jasmine rice maintains a floral aroma and a firm bite that holds up beautifully against the weight of the chicken and vegetables.
For the protein, cutting your chicken breast into uniform 1/2-inch cubes is a game-changer. This size provides the maximum surface area for searing, allowing the chicken to cook through in just a few minutes while developing a golden-brown exterior. If the pieces are too large, the outside will overcook before the center is safe to eat; if they’re too small, they’ll disappear into the rice.
Aromatics like garlic and the white parts of green onions provide the flavor foundation. While the green tops are great for a fresh garnish, the white bottoms have a sharper, more pungent flavor that mellows into a sweet, savory base when sautéed. Using frozen peas and carrots is actually a pro move here because they are flash-frozen at peak freshness and have a consistent moisture level that won’t water down your pan.
Choosing the Right Oil and Soy Sauce
You need an oil with a high smoke point, like vegetable or canola oil, to handle the intense heat required for a proper sear. Avoid using butter or olive oil for the main frying phase, as they will burn and turn bitter long before the rice gets toasted. Save the toasted sesame oil for the very end; its flavor is delicate and will vanish if exposed to high heat for too long.
The same high heat that prevents mushy rice is what gives this garlic ginger chicken and broccoli its signature texture.
When it comes to seasoning, light soy sauce is your best friend. It provides the necessary salt and umami without turning the rice a muddy, dark brown. It keeps the dish looking bright and vibrant, just like the best restaurant versions. If you want a deeper color, you can add a tiny splash of dark soy sauce, but be careful not to overdo it, as it’s much thicker and more intense.
Equipment: Why the Wok or Heavy Skillet Matters
Professional chefs use woks to achieve “Wok Hei,” or the breath of the wok. This is a smoky, charred flavor that comes from oil droplets hitting an open flame. While most home kitchens don’t have a high-output gas burner, you can simulate this effect by using a heavy-bottomed cast iron or carbon steel skillet. These materials hold onto heat much better than thin non-stick pans.
A thin pan will lose its temperature the moment you add the cold rice, leading to a soggy mess. A heavy skillet, however, stays screaming hot, ensuring that the rice sizzles and toasts the moment it touches the surface. If you’re using a standard stovetop, work in smaller batches if necessary to keep the pan temperature as high as possible.
Phase One: Preparing the Protein and Eggs
Start by getting your pan shimmering hot with a tablespoon of oil. When you add the chicken, resist the urge to stir it immediately. Let it sit undisturbed for about two minutes. This patience allows a crust to form, which prevents the meat from sticking and adds a massive boost of flavor. Once it’s browned on one side, toss it quickly until it’s just opaque, then get it out of the pan so it doesn’t dry out.
Next come the eggs. You want a “soft scramble” here. Pour the beaten eggs into the hot pan and let them set for just a few seconds before gently pushing them around. You’re looking for large, soft curds. Take them out while they still look a little wet; they will finish cooking later when you toss them back in with the hot rice. This keeps the eggs fluffy rather than rubbery.
Phase Two: The High-Heat Vegetable Sear
After wiping your pan clean to prevent any burnt bits, add a fresh splash of oil. Toss in your peas, carrots, corn, and the white parts of the green onions. The goal here is a quick, high-heat sear. You want the vegetables to be piping hot and perhaps even show a few tiny charred spots, which adds a wonderful smoky depth to the final dish.
Because these vegetables are small, this step only takes about two minutes. Keep them moving constantly so the garlic doesn’t burn. If the pan looks too dry, don’t be afraid to add a teaspoon of oil. You need enough fat to coat the vegetables and prepare the pan for the rice, but not so much that the dish becomes greasy.
Phase Three: Toasting the Grains for Texture
This is the most critical part of the entire process. Add your cold rice to the pan and use your spatula to break up any large clumps. Spread the rice out in an even layer across the bottom and sides of the pan. Now, wait. Let it sit for 30 to 45 seconds without touching it. You should hear a distinct crackling sound—that’s the sound of the rice actually frying.
Pressing the rice against the hot metal helps evaporate any lingering moisture and creates those coveted crispy bits. Toss the rice and repeat the “spread and sit” method one or two more times. You’ll notice the grains starting to look translucent and slightly golden. This toasting phase is what separates amateur fried rice from the stuff you’d pay twenty dollars for at a bistro.
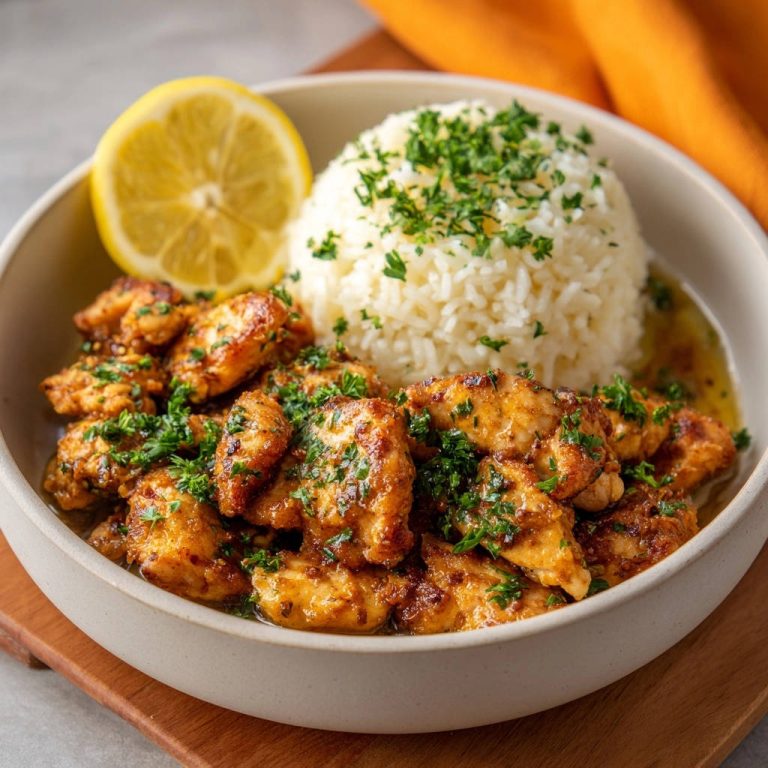
If you prefer a lighter, veggie-packed version, this chicken veggie fried rice keeps the grains just as fluffy.
Phase Four: Final Integration and Seasoning
Once the rice is toasted, it’s time for the seasoning. Instead of pouring the soy sauce directly onto the rice, drizzle it around the hot edges of the pan. This causes the sauce to caramelize and reduce instantly, creating a much deeper flavor than if it just soaked into the grains. Add the sesame oil and minced garlic now so they stay fragrant without burning.
Finally, fold the cooked chicken and eggs back into the pan. Use a gentle folding motion rather than a vigorous stir to avoid breaking the rice grains or smashing the eggs. Toss everything together for about a minute until the chicken is heated through and the green onion tops are just starting to wilt. Serve it immediately while the textures are at their peak.
Troubleshooting Common Fried Rice Failures
If your rice is still clumping together, you likely didn’t let it chill long enough, or you used too much oil. Next time, try spreading the cooked rice out on a baking sheet and putting it in the freezer for 20 minutes if you’re in a rush. This flash-chills the grains and dries the surface quickly. Also, make sure you are using high heat; low heat is the primary cause of “mushy” results.
Dry chicken is usually the result of overcooking it in the first phase. Remember, the chicken goes back into the pan at the end, so it will continue to cook. Pull it off the heat the second it turns white. If your dish is too salty, you might have used a “dark” soy sauce by mistake or added too much salt at the beginning. You can balance the saltiness with a tiny pinch of sugar or a squeeze of lime juice.
Flavor Variations and Protein Swaps
While chicken is the classic choice, this technique works for almost any protein. If you want to use shrimp, sear them for only 90 seconds per side so they stay snappy. For beef, use thinly sliced flank steak and sear it quickly over the highest heat possible. You can also add a teaspoon of freshly grated ginger with the garlic for a zesty, bright kick that cuts through the richness of the oil.
For a bit of heat, a dash of white pepper is traditional in many takeout spots. It provides a subtle, earthy burn that doesn’t overwhelm the other flavors. If you want to go meatless, extra-firm tofu is a great substitute. Just make sure to press the tofu well to remove excess water, then sear the cubes exactly like you would the chicken until they are golden and crisp.
What to Serve with Classic Chicken Fried Rice
Since fried rice is quite rich and savory, it pairs perfectly with something bright and acidic. A simple cucumber salad dressed with rice vinegar and a pinch of sugar provides a refreshing crunch. Steamed bok choy or broccoli with a light drizzle of oyster sauce (ensure it’s a vegetarian or seafood-based version) adds a nice hit of green to the meal.
If you want a full multi-course experience, a hot and sour soup or a simple egg drop soup makes a great starter. The light, brothy nature of the soup balances the dense, fried texture of the rice. Just remember to keep the sides simple so the “perfect grains” you worked so hard on remain the star of the show.
Make Ahead, Storage, and Reheating Protocols
Leftover fried rice is a gift. It stays fresh in an airtight container in the fridge for up to three days. However, the rice will continue to firm up as it sits, so reheating it properly is key. Avoid the microwave if you can; instead, toss the leftovers back into a hot skillet with a teaspoon of water. The water creates a tiny bit of steam to soften the grains while the skillet restores the fried texture.
What to Serve with Chicken Fried Rice
If you’ve got a batch of that fluffy, non-mushy chicken fried rice ready, here are two vegetable-forward dishes that round out the meal without stealing the spotlight.
- Steamed vegetable dumplings bring a soft, chewy contrast to the fried rice—try these Steamed Vegetable Dumplings for a light side that shares the same soy-sesame flavor family.
- Crispy eggplant cubes add a sweet-savory crunch next to the tender rice; the
Get the full recipe in your inbox in seconds – perfect for shopping and cooking.
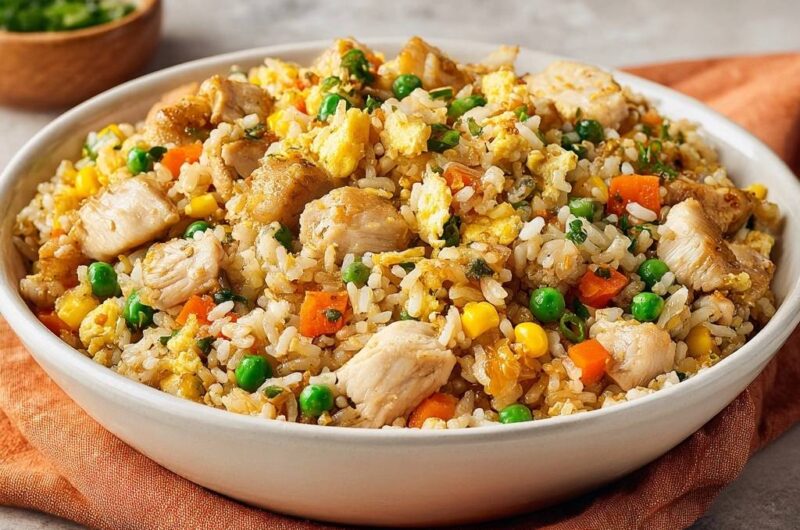
Chicken Fried Rice
Course: Main CourseCuisine: Asian AmericanDifficulty: easy4
servings15
minutes10
minutes420
kcal25
MinutesA foolproof method for creating fluffy, golden chicken fried rice. By using day-old rice and moisture control techniques, this dish avoids the common pitfall of gummy texture, resulting in a savory and professional-grade meal.
Ingredients
4 cups cooked long-grain white rice (chilled overnight is best)
1 lb chicken breast, cut into 1/2-inch cubes
3 large eggs, lightly beaten
1 cup frozen peas and carrots, thawed
1/2 cup canned corn, drained
3 green onions, thinly sliced (separate whites and greens)
2 cloves garlic, minced (or 1/2 tsp garlic powder)
3 tablespoons vegetable oil, divided
2 tablespoons soy sauce (use light soy sauce to maintain the bright color shown)
1 tablespoon toasted sesame oil
1/2 teaspoon salt
1/4 teaspoon black pepper
Directions
- The most critical step for avoiding mushy rice is using cold, dry grains. If your rice is clumped together, gently break it up with your hands into individual grains before starting.
- Heat one tablespoon of vegetable oil in a large skillet or wok over high heat until shimmering. Add the chicken cubes in a single layer. Season with salt and pepper and sear undisturbed for 2 minutes to get a golden crust. Stir and cook until opaque. Remove chicken from the pan and set aside. The chicken is done when it reaches 165°F (74°C) in the thickest part.
- In the same pan, add a teaspoon of oil if dry. Pour in the beaten eggs. Let them sit for 10 seconds, then scramble quickly until just set but still soft. Remove and set aside with the chicken.
- Wipe the pan clean and add the remaining oil. Turn the heat to its highest setting. Add the peas, carrots, corn, and the white parts of the green onions. Stir-fry for 2 minutes until the vegetables are hot and slightly charred.
- Add the cold rice to the pan. Spread it out across the surface and let it sit undisturbed for 30-45 seconds to develop a slight crisp. Toss and repeat. This high-heat sear is what locks in the texture and prevents gumminess.
- Drizzle the soy sauce and sesame oil over the rice, and add the garlic. Stir-fry vigorously for 2 minutes, ensuring the sauce is evenly distributed and the rice is toasted.
- Fold the cooked chicken, scrambled eggs, and the remaining green onion tops back into the pan. Toss for one final minute until everything is integrated and steaming hot. Serve immediately in a large bowl.
Notes
- The most critical step for avoiding mushy rice is using cold, dry grains. If your rice is clumped together, gently break it up with your hands into individual grains before starting. Use light soy sauce to maintain the bright golden color.