Mastering Garlic Herb Roasted Potatoes with the Anti-Soggy Secret
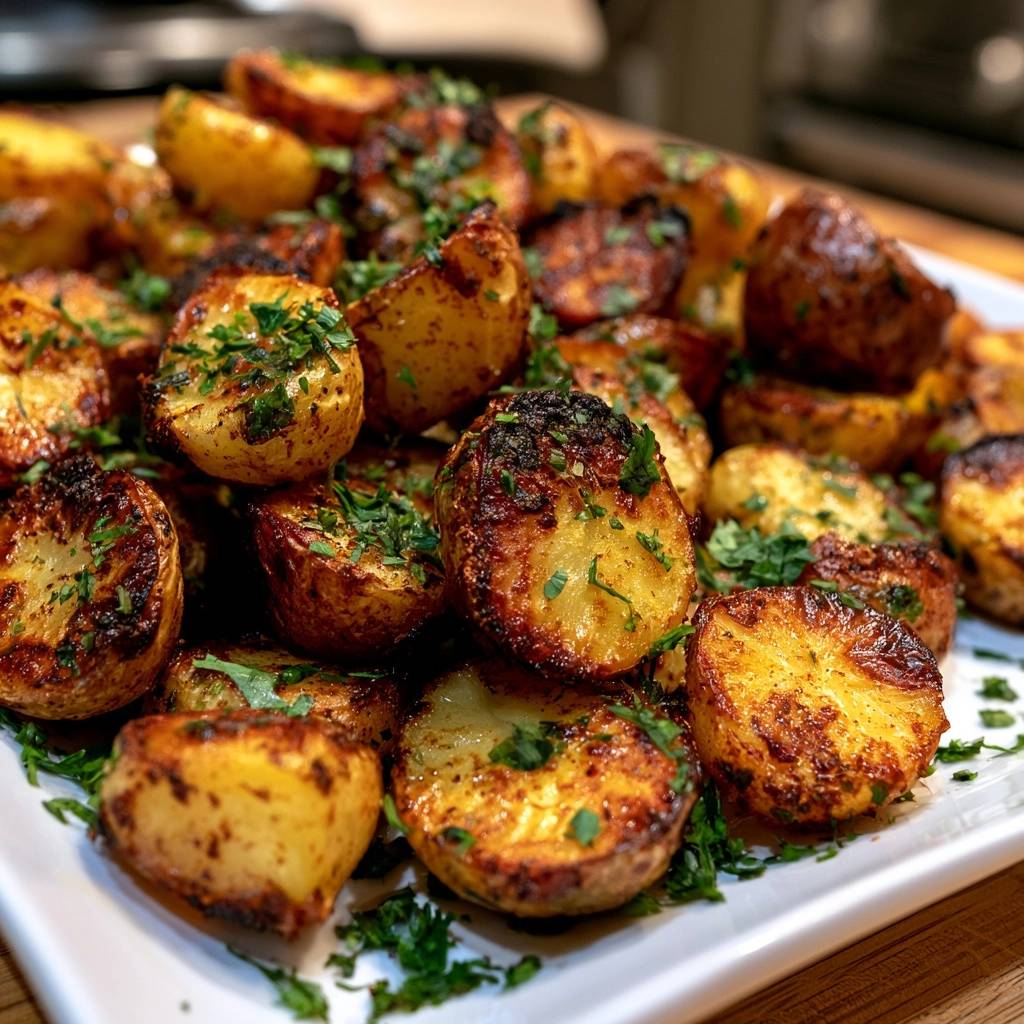
You’ve likely experienced the disappointment of a tray of roasted potatoes that looked promising but turned out limp, greasy, or stubbornly stuck to the pan. We all want that elusive shattered-glass crispness on the outside with a center as light as a cloud. Achieving that texture isn’t about luck; it’s about mastering the thermal mass of your equipment and the chemistry of the potato itself.
The secret to restaurant-quality results lies in a specific parboiling technique that prepares the surface for the oven. By manipulating the pH levels of your cooking water and utilizing a pre-heated roasting surface, you can guarantee a crunch that holds up even after the potatoes leave the heat. It’s a total game-changer for your weeknight side dish routine.
Expertise in roasting comes down to one specific tip: never put cold potatoes on a cold pan. When the starch hits a screaming hot, oiled surface, it sears instantly, creating a non-stick barrier and a deep golden crust. This thermal shock is the difference between a potato that steams and a potato that fries to perfection.
The Science of Starch and Baking Soda
Most home cooks simply toss raw spuds in oil and hope for the best, but science offers a better way. Adding baking soda to your boiling water creates an alkaline environment that breaks down the potato’s pectin. This pectin is the “glue” that holds the vegetable’s cells together, and when it weakens, the surface of the potato becomes starchy and frayed.
This breakdown is actually a good thing because it increases the surface area of the potato significantly. Instead of a smooth, hard skin, you get a layer of mashed-potato-like slurry clinging to the edges. Once this slurry hits the hot oil in the oven, it dehydrates and browns, forming a thick, craggy crust that is much crispier than a standard roasted potato.
Furthermore, the alkaline water accelerates the Maillard reaction, which is the chemical process responsible for browning and complex flavors. Therefore, your potatoes will achieve a deep mahogany color much faster and more evenly. This method beats the “toss and bake” style every time because it builds the crunch from the outside in before the oven even turns on.
Why Yukon Gold and Red Potatoes Win
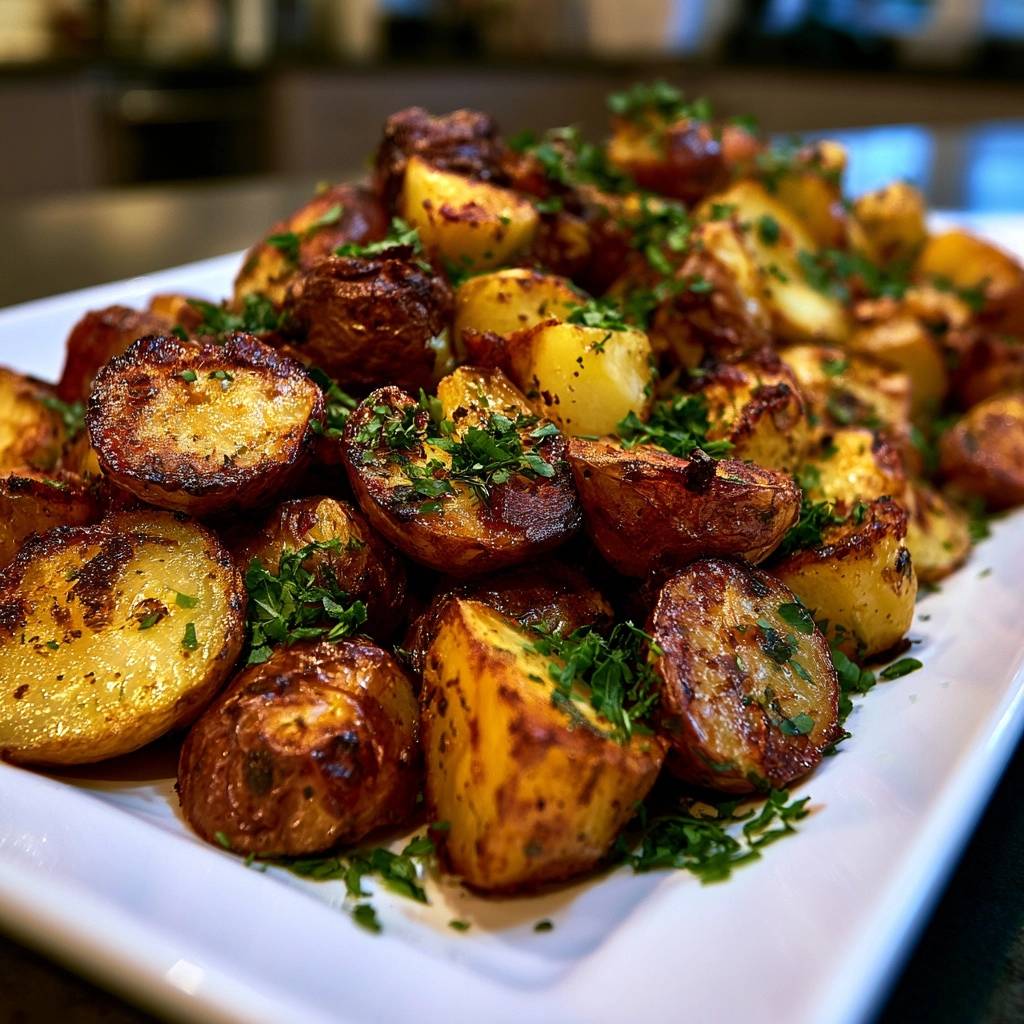
Choosing the right potato is the foundation of this recipe’s success. Yukon Golds are the gold standard here because they possess a naturally buttery flavor and a medium-starch content. They hold their shape beautifully during the parboiling phase but still offer a creamy, velvety interior once roasted.
Red potatoes are another excellent choice because their thin skins and waxy texture provide a great contrast to the crispy exterior. However, you should generally avoid Russets for this specific boiling-and-shaking method. Russets are very floury and high in starch, which means they often fall apart completely in the boiling water before they ever make it to the roasting pan.
The Role of Surface Area in Crunch
After parboiling, you’ll notice the potatoes look a bit “fuzzy” or rough around the edges. This is exactly what you want because those tiny ridges and bits of loose starch are the keys to the ultimate crunch. When you shake the pot, you are essentially creating a built-in breading made entirely of potato starch.
As the potatoes roast, the oil seeps into every one of those nooks and crannies. The heat of the oven evaporates the remaining moisture in that fuzzy layer, leaving behind a rigid, golden lattice. The more you rough them up in the pot, the more surface area you create for the oil to crisp up.
Essential Components for Garlic Herb Roasted Potatoes
Quality ingredients make a massive difference when the recipe is this simple. Use kosher salt rather than fine table salt because the larger grains help draw out moisture and provide a better “grip” on the potato surface. Smoked paprika adds a beautiful earthy depth and a vibrant red hue without adding any spicy heat.
Freshness matters for the finish, but dried seasonings have their place during the high-heat roast. You want a fat that can stand up to 450°F without smoking excessively. Extra virgin olive oil works perfectly here because it infuses the potatoes with a rich, fruity flavor while facilitating that deep-fried texture in the oven.
Fresh Herbs vs. Dried Seasonings
You might be tempted to toss fresh parsley into the oven, but high heat will only turn it bitter and black. Instead, use garlic powder during the roasting process. Garlic powder distributes evenly and won’t burn at high temperatures, whereas fresh minced garlic would turn into acrid charcoal bits during a 40-minute roast.
Save your fresh parsley for the very end. When you toss the hot, finished potatoes with freshly chopped herbs, the residual heat gently wakes up the volatile oils in the parsley. This provides a bright, grassy finish that cuts through the richness of the olive oil and the savory garlic.
Choosing the Right Fat: Olive Oil Properties
Extra virgin olive oil has a smoke point around 375°F to 410°F, but when combined with the moisture from the potatoes, it can handle a 450°F oven for roasting. The oil acts as a heat conductor, ensuring the bottom of the potato gets as much energy as the top. It essentially shallow-fries the potato surface while the interior steams to fluffiness.
If you want an even richer flavor, you can use a high-quality avocado oil or even a clarified butter (ghee). However, olive oil remains the classic choice for its ability to create a light, non-greasy finish. Just ensure you use enough to coat the pan thoroughly, as the oil is what prevents the starch from bonding to the metal.
Step-by-Step: Achieving the Perfect Potato Sear
Mastering this dish requires following three distinct phases: The Parboil, The Rough-Up, and The Thermal Shock. Each step is designed to maximize texture and flavor. If you skip the parboil, you lose the crunch; if you skip the thermal shock, you lose the golden color.
Start by preheating your oven to 450°F with the baking sheet already inside. This is vital. You want that metal to be radiating heat the moment the potatoes touch it. While the oven heats, prepare your potatoes by cutting them into uniform halves or quarters to ensure they all cook at the same rate.
Phase 1: The Alkaline Parboil
Drop your potatoes into boiling water with a teaspoon of baking soda. You aren’t looking to cook them all the way through yet. Boil them for about 8 to 10 minutes until the outsides are soft enough that a knife tip meets just a little resistance in the center. If you overcook them here, they will turn into mashed potatoes when you try to shake them.
Phase 2: The Steam-Dry and Shaking Technique
Drain the potatoes and let them sit in the colander for at least three minutes. This is a crucial step because water is the enemy of crispness. You want to see the steam rising off them; that’s moisture leaving the potato. Once they look dry and matte, put them back in the pot with your oil and spices.
Close the lid and shake the pot vigorously. Don’t be gentle! You want the potatoes to bash against each other until the edges are blunted and a thick, starchy paste coats every piece. This paste is what will eventually become your “shattered-glass” crust.
Phase 3: The Pre-Heated Sheet Pan Sizzle
Carefully pull the hot tray from the oven and add your remaining oil. Carefully dump the potatoes onto the tray. You should hear a loud, aggressive sizzle immediately. This sound is the starch setting instantly, which prevents the potatoes from sticking. Spread them out so they aren’t touching, ensuring the flat sides are facing down for maximum contact.
Avoiding Common Roasted Potato Mistakes
The biggest mistake people make is overcrowding the pan. If the potatoes are too close together, the moisture escaping from them will create steam. This results in a soggy, pale potato rather than a crisp one. Always use a large enough rimmed baking sheet to give every piece its own “personal space.”
Another common error is using a glass baking dish. Glass does not conduct heat as efficiently as metal, and it cannot handle the thermal shock of a 450°F oven as safely. Stick to a heavy-duty aluminum or steel rimmed baking sheet for the best heat distribution and browning.
Why Your Potatoes Are Sticking to the Pan
Potatoes stick when the starch hasn’t had a chance to “set” before it bonds with the surface of the pan. By using a pre-heated tray and plenty of oil, you create a physical barrier of steam and sizzling fat. If they do stick slightly, don’t force them; give them another five minutes in the oven, and they will usually release themselves once the crust is fully formed.
Correcting Uneven Browning
Every oven has hot spots, usually in the back corners. To ensure even browning, rotate your pan halfway through the cooking time. Additionally, make sure you flip the potatoes only once. Moving them too often prevents that deep, dark crust from developing on the side in contact with the pan.
Flavor Variations and Herb Swaps
While garlic and parsley are a classic duo, you can easily adapt this recipe to fit any meal. For a woody, autumnal profile, toss the potatoes with fresh rosemary and thyme during the last 10 minutes of roasting. The heat will crisp the herb leaves into delicious, savory chips.
If you want a bit of a kick, add a teaspoon of Aleppo pepper or red chili flakes to the spice mix. For a Mediterranean twist, use dried oregano and finish with a squeeze of fresh lemon juice and some crumbled feta cheese. Just remember to keep your additions dry during the roasting phase to maintain that crunch.
Optimal Pairings for Garlic Herb Roasted Potatoes
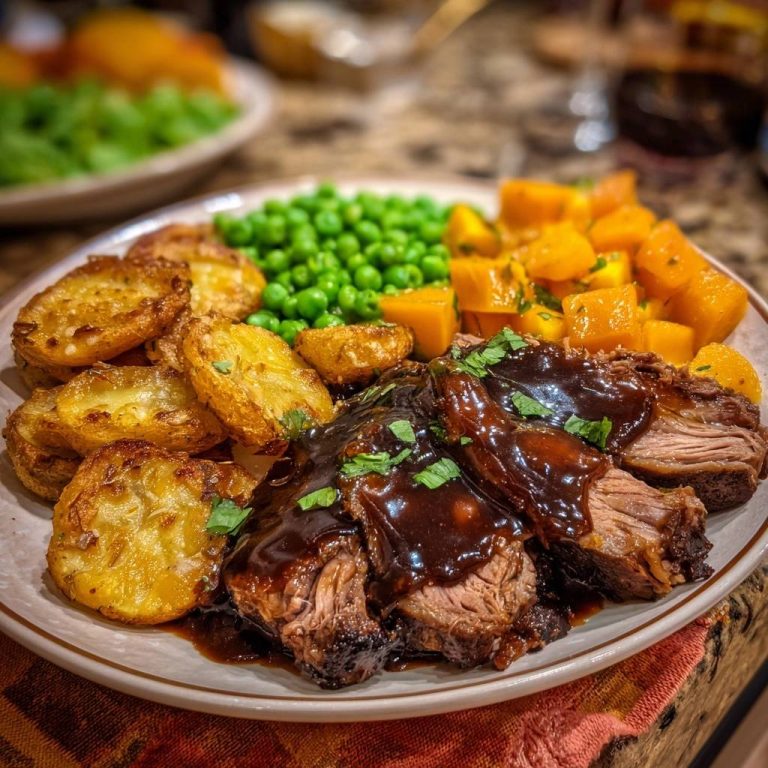
These potatoes are incredibly versatile and act as the perfect side for a variety of hearty mains. They pair beautifully with a simple roasted chicken or a pan-seared steak. The crunch of the potato provides a wonderful textural contrast to tender, juicy meats.
For a vegetarian feast, serve these alongside large grilled portobello mushrooms or a thick cauliflower steak. They also make a fantastic base for a breakfast hash; just top them with a couple of poached eggs and let the yolks create a rich sauce for the crispy edges.
Troubleshooting and Expert Tips
Can I use an Air Fryer for this specific baking soda method?
Yes, you absolutely can. Follow the parboiling and shaking steps exactly as written. Instead of the oven, place the “fuzzy” potatoes in the air fryer basket at 400°F. Shake the basket every 10 minutes. They will cook faster, usually in about 20-25 minutes, and get exceptionally crispy due to the high-velocity air.
How do I reheat these without losing the crunch?
Never use a microwave to reheat roasted potatoes, as it traps steam and makes them rubbery. Instead, pop them back into a 400°F oven or a dry skillet over medium heat for about 5-8 minutes. This reactivates the oils and crisps the starch back up to its original glory.
Can I prep these 24 hours in advance?
You can parboil and shake the potatoes a day ahead. After they have cooled completely, store them in an airtight container in the fridge. When you are ready to eat, proceed with the pre-heated pan step. They might actually get even crispier because the fridge helps dehydrate the surface starch further.
What if I only have Russet potatoes?
If Russets are your only option, shorten the parboiling time to about 5-6 minutes. They are much more delicate than Yukons and will turn to mush quickly. Be very gentle when shaking the pot so you don’t end up with a pile of broken pieces.
Why did my garlic powder turn bitter?
Garlic powder usually only turns bitter if it burns. If your oven runs very hot, or if you find the spices are browning too quickly, you can mix the spices with the oil and toss the potatoes in them halfway through the roasting time instead of at the beginning.
Storage and Reheating for Maximum Texture
If you have leftovers, store them in a shallow airtight container in the refrigerator for up to four days. Avoid stacking them too deep, as the weight can crush the crispy crust. Do not freeze these potatoes; the freezing process breaks down the cellular structure, and they will become grainy and watery upon thawing.
To get that “just-cooked” feel, the air fryer is your best friend for reheating. Just three minutes at 380°F will bring back the shattered-glass texture. If you don’t have an air fryer, a hot toaster oven works much better than a standard large oven for small leftover portions.
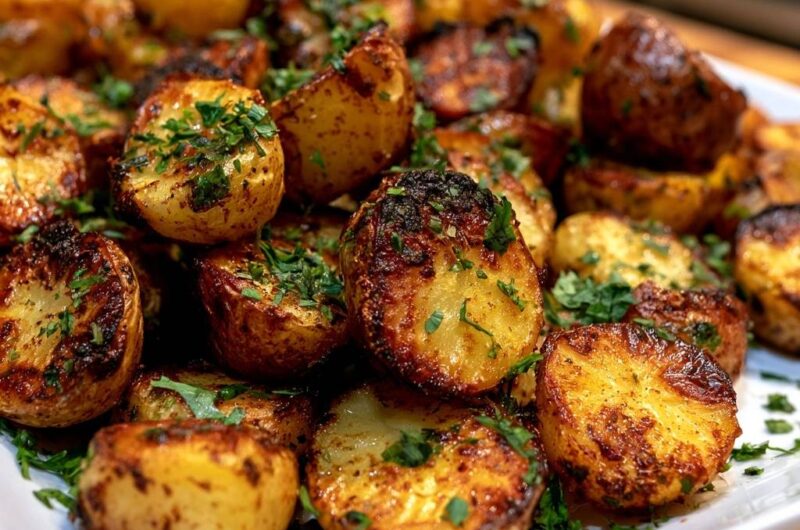
Garlic Herb Roasted Potatoes
Course: Side DishCuisine: AmericanDifficulty: easy4
servings10
minutes45
minutes55
Minutes210
kcalAmerican
Ingredients
2 pounds Yukon Gold or red potatoes, halved (or quartered if large)
4 tablespoons extra virgin olive oil (divided)
1 teaspoon garlic powder
1 teaspoon smoked paprika
1 teaspoon kosher salt
1/2 teaspoon cracked black pepper
3 tablespoons fresh parsley, finely chopped
1/2 teaspoon baking soda (the secret weapon)
Directions
- Preheat your oven to 450°F (230°C). Place a heavy, rimmed baking sheet inside the oven while it heats. A screaming hot pan is the first step to preventing sticking and ensuring an immediate sear.
- Bring a large pot of salted water to a boil. Add the baking soda and the potatoes. Parboil for 8 to 10 minutes, or until the exteriors are softened but the centers are still firm. The baking soda raises the pH of the water, breaking down the potato’s pectin and drawing starch to the surface.
- Drain the potatoes and let them sit in the colander for 3 minutes to allow steam to escape. This moisture loss is critical for the “Anti-Soggy Bottom” result.
- Return the potatoes to the dry pot. Add 2 tablespoons of olive oil, garlic powder, paprika, salt, and pepper. Close the lid and shake the pot vigorously for 10 seconds. The potatoes should look “fuzzy” with a thick layer of starchy paste coating the edges.
- Carefully remove the hot baking sheet from the oven. Pour the remaining 2 tablespoons of oil onto the sheet and tilt to coat. Spread the potatoes onto the hot metal in a single layer, flat side down. You should hear a loud sizzle immediately.
- Roast for 20 minutes without moving them. Flip the potatoes and roast for another 15 to 20 minutes until they are deep mahogany brown and exceptionally crisp.
- Transfer to a bowl and toss with fresh parsley immediately before serving so the residual heat releases the herb’s aroma without wilting them into the oil.
Notes
- The baking soda raises the pH of the water to break down pectin and draw starch to the surface, creating a fuzzy coating that crisps up intensely in the oven.