Mastering Glossy Dark Chocolate Peanut Clusters
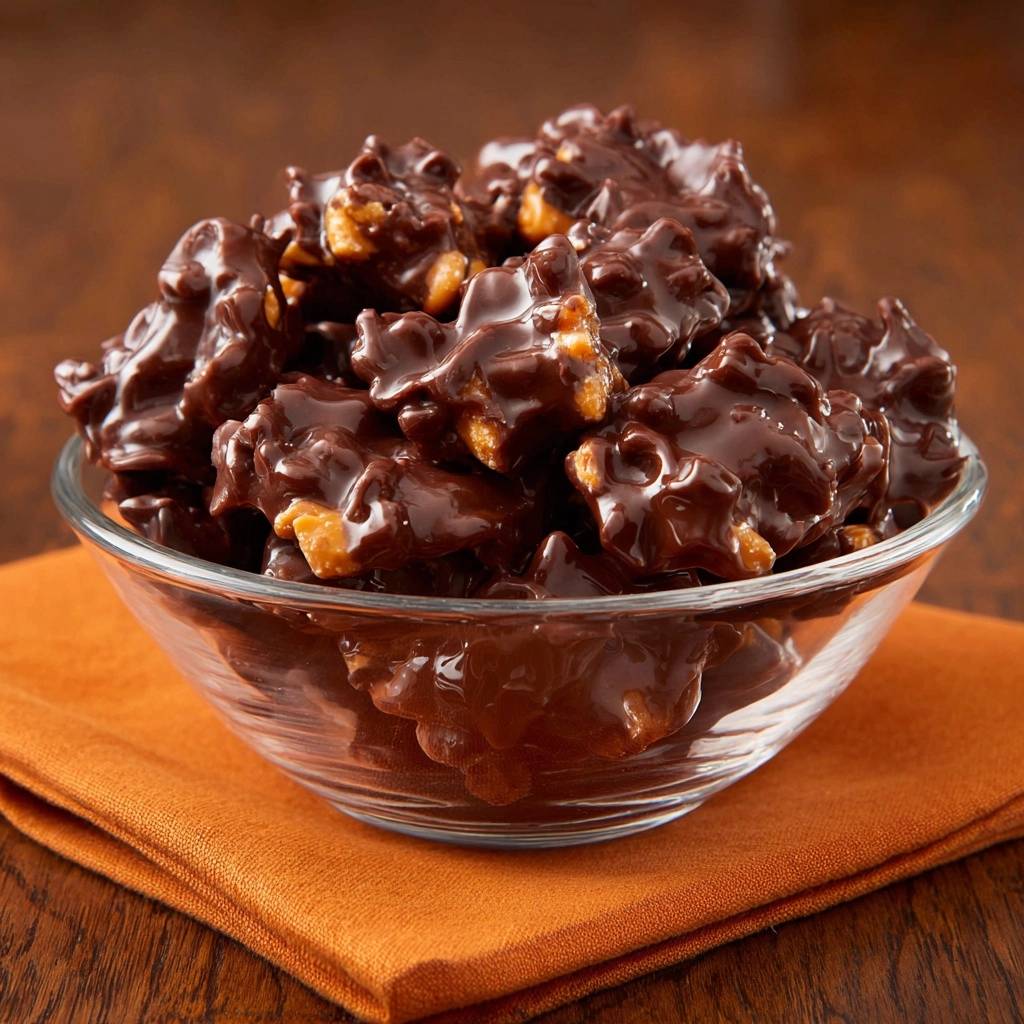
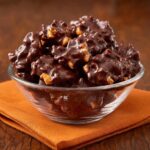
There is a specific, satisfying sound when you bite into a professional confection. It’s that audible “snap” that signals the chocolate was handled with care. When you combine that crisp texture with the deep, earthy crunch of roasted peanuts, you get the ultimate Dark Chocolate Peanut Clusters.
However, many home cooks struggle with chocolate that turns out soft, tacky, or covered in unappealing grey streaks. These issues happen because chocolate is a fickle ingredient that requires more than just heat to behave. This guide focuses on the physics of stability to ensure your treats look like they came from a high-end boutique.
That same constant stirring technique builds the perfect char on a plate of blistered beef green beans.
The secret to success lies in the seeding method. By introducing stable crystals back into melted chocolate, you force the entire batch to align perfectly. This technique ensures your clusters stay glossy and firm at room temperature without ever needing a refrigerator. It’s the difference between a messy snack and a professional-grade dessert.
The Chemistry of Chocolate Tempering and Bloom
Chocolate isn’t just a solid; it’s a complex arrangement of cocoa butter fats. When you melt chocolate, those fat crystals break apart and move randomly. If you simply let the chocolate cool on its own, it often forms unstable crystals. This results in “fat bloom,” those dusty white streaks that make the chocolate look old or chalky.
To get that signature shine, we want to encourage the formation of Type V crystals. These are the strongest and most stable structures cocoa butter can form. By using the seeding method, we are essentially giving the melted chocolate a “blueprint” to follow. The solid chocolate we add later acts as a seed, teaching the melted liquid how to harden into a tight, glossy lattice.
Sugar bloom is another common enemy, though it differs from fat bloom. Sugar bloom happens when moisture hits the surface of the chocolate, dissolving the sugar and leaving behind a gritty, white crust. This is why we avoid the refrigerator. The humidity in a fridge causes condensation, which can ruin the texture of your Dark Chocolate Peanut Clusters instantly.
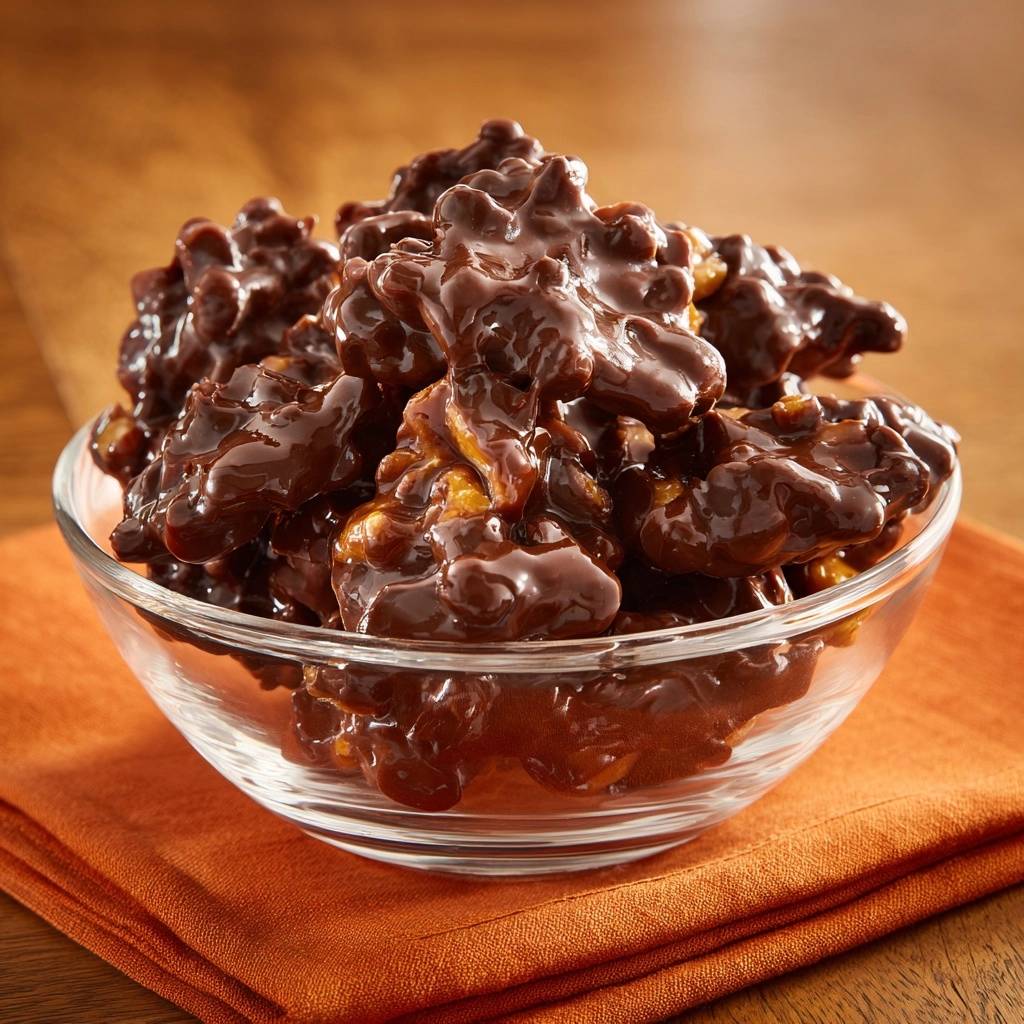
Understanding this chemistry helps you realize that tempering isn’t just a fancy chef term. It is a necessary step to keep the fat from separating. When you master this temperature control, your chocolate will have a beautiful sheen and a clean break every single time.
Selecting Premium Ingredients for Better Snap
Quality is everything when the ingredient list is this short. You should look for dark chocolate with a cocoa percentage between 60% and 70%. This range provides the perfect balance of bitterness and fat content, making it much easier to temper than milk or white chocolate.
Avoid standard chocolate chips found in the baking aisle. Those chips contain stabilizers and less cocoa butter because they are designed to hold their shape in a hot oven. For the best results, buy high-quality chocolate bars or professional couverture wafers. These melt more fluidly and result in a much thinner, crispier coating for your peanuts.
The peanuts also play a vital role in the structural integrity of the cluster. Use roasted, salted peanuts to provide a savory contrast to the rich dark chocolate. The roasting process brings out oils that complement the cocoa, while the salt enhances the chocolate’s hidden fruit notes. If your peanuts are raw, toast them in a dry pan first to ensure they stay crunchy inside the chocolate shell.
Why We Exclude Oil and Butter
Many “quick” recipes suggest adding a teaspoon of coconut oil or butter to make the chocolate look shiny. While this works temporarily, it actually ruins the tempering process. These added fats lower the melting point of the chocolate significantly. This means your clusters will melt the moment you touch them and will never achieve that professional, room-temperature stability.
Essential Tools for Confectionery Success
You don’t need a laboratory, but the right tools make a massive difference. Use a microwave-safe glass bowl rather than plastic. Glass retains heat much better, which gives you a longer “working window” to stir in your seed chocolate and fold in your peanuts before the mixture thickens too much.
A flexible rubber spatula is your best friend here. You need to scrape the sides of the bowl constantly to ensure every bit of chocolate is incorporated into the tempered mass. If you want to be precise, a digital thermometer is helpful. You are aiming for a final temperature between 88°F and 90°F before you start scooping.
Step-by-Step: Preparing the Chocolate Base
Start by finely chopping your chocolate bars. Uniformity is the goal here. If you have large chunks mixed with tiny shavings, the small bits will burn before the large pieces even begin to soften. Aim for pieces no larger than a pea to ensure a smooth, even melt.
Follow the “Two-Thirds Rule” by dividing your chocolate into two piles. Place 9 ounces in your glass bowl and keep the remaining 3 ounces separate. This reserved portion is your “seed” chocolate. It stays solid and cool, ready to be introduced to the hot chocolate to bring the temperature down rapidly.
When using the microwave, patience is mandatory. Set your microwave to 50% power. High power will scorch the cocoa solids, leaving you with a lumpy, bitter mess that cannot be saved. Heat in 30-second bursts and stir vigorously between each one. The friction from stirring actually helps melt the chocolate more gently than the microwave itself.
The Seeding Method: Achieving a Professional Finish
Once your 9 ounces of chocolate are smooth and melted, it’s time for the seeding step. Immediately dump the reserved 3 ounces of solid chocolate into the bowl. This might look like too much solid chocolate at first, but keep stirring. The heat from the melted batch will slowly coax the solids into a liquid state.
Agitation is the key to this entire process. You must stir constantly for 2 to 3 minutes. This movement isn’t just about melting; it’s about distributing those stable Type V crystals throughout the bowl. As you stir, you’ll notice the chocolate becoming slightly thicker and incredibly glossy. It should feel cool when you dab a tiny bit on your lower lip.
If you stop stirring too soon, the crystals won’t align, and you’ll end up with bloom. You are looking for a specific visual cue: the chocolate should look like liquid silk. Once it reaches that 88°F to 90°F range, it is officially tempered and ready for the peanuts. This is the moment where the “magic” of confectionery science happens.
Folding and Portioning Your Peanut Clusters
Gently fold your roasted peanuts into the tempered chocolate. You want to work efficiently but carefully. Ensure every single peanut is fully submerged and heavily coated. This thick layer of chocolate acts as an insulator, protecting the nuts from moisture and keeping them crunchy for weeks.
Use a small cookie scoop or a tablespoon to drop the mixture onto parchment paper. A scoop is better because it creates uniform mounds that set at the same rate. If you make some clusters huge and others tiny, the larger ones might develop bloom because they stay warm for too long. Work quickly so the chocolate doesn’t firm up in the bowl.
The Setting Phase: Why Temperature Matters
It is tempting to slide your tray into the fridge to speed things up, but you must resist. Rapid cooling causes the cocoa butter to contract too quickly, which can lead to a dull finish or condensation. Instead, let your Dark Chocolate Peanut Clusters sit in a cool, dry area of your kitchen, ideally between 65°F and 70°F.
Patience is your best ingredient during this phase. It takes about 2 hours for the tempering process to fully complete. During this time, the chocolate is building its internal structure. Once set, the clusters will release easily from the parchment paper with a beautiful, mirror-like shine on the bottom.
Troubleshooting Common Chocolate Issues
If your chocolate suddenly turns into a thick, grainy paste, it has “seized.” This usually happens because a single drop of water found its way into the bowl. Chocolate and water do not mix. If this happens, you cannot use it for clusters, but you can save it by adding warm cream to turn it into a chocolate sauce or ganache.
If your clusters are still soft after two hours, the temper likely failed. This usually means the chocolate got too hot or wasn’t stirred enough during the seeding phase. Don’t throw them away! You can simply scrape them back into a bowl, melt them down, and try the seeding process again with a fresh piece of solid chocolate.
Identifying and Fixing Seized Chocolate
Seized chocolate looks like wet sand. It happens because the water hitches onto the sugar particles, pulling them out of the fat suspension. To prevent this, always ensure your bowls and spatulas are bone-dry. Even the steam from a double boiler can cause this reaction, which is why the microwave method is often safer for beginners.
Flavor Variations and Texture Enhancements
Once you master the basic temper, you can get creative. Try adding a handful of dried cranberries or chopped dried apricots for a chewy contrast. The tartness of the fruit cuts through the richness of the dark chocolate beautifully. Just ensure any fruit you add is completely dry to avoid seizing the batch.
You can also experiment with different nuts. Marcona almonds or toasted hazelnuts offer a more sophisticated flavor profile. For a spicy kick, whisk a pinch of cayenne pepper or espresso powder into the melted chocolate before adding the nuts. These small additions don’t affect the temper but add a layer of complexity to the final taste.
Storage Solutions for Long-Term Freshness
To maintain that perfect snap, store your clusters in an airtight glass container. Glass is superior to plastic because it doesn’t hold onto old food odors that chocolate can easily absorb. Keep the container in a cool, dark pantry rather than on the counter in direct sunlight.
When stored correctly, these clusters will stay fresh and snappy for 2 to 3 weeks. If you live in a very humid climate, you can add a small food-safe desiccant pack to the container to absorb any stray moisture. This ensures your hard work stays glossy and delicious until the very last bite.
Frequently Asked Questions
How should I store these and do they freeze well?
Store your clusters in an airtight container at room temperature in a cool, dark place for up to 3 weeks. I do not recommend freezing them. Freezing causes extreme temperature shifts that lead to condensation and sugar bloom when thawed, which ruins the glossy finish and creates a grainy texture.
Why did my chocolate turn grey or white after it dried?
This is called fat bloom. It happens when the chocolate wasn’t properly tempered, meaning the cocoa butter crystals didn’t bond correctly. It usually occurs if the chocolate was too hot when you scooped it or if it wasn’t stirred enough during the seeding phase. It is still safe to eat, but it won’t have that professional snap.
Can I use chocolate chips instead of bar chocolate?
While you can use them, I don’t recommend it for this specific recipe. Chocolate chips contain soy lecithin and other stabilizers designed to prevent them from melting smoothly. This makes them very difficult to temper. For a glossy, professional result, high-quality bar chocolate or couverture wafers are much better options.
What do I do if my chocolate is too thick to scoop?
If the chocolate starts to thicken too much while you are working, it has likely dropped below 88°F. You can give it a very quick 5-to-10-second blast in the microwave at 50% power to loosen it up. Be very careful not to exceed 91°F, or you will break the temper and have to start the seeding process over again.
Can I use a different type of nut?
Absolutely. You can substitute the peanuts for almonds, pecans, walnuts, or macadamias. The most important thing is to ensure the nuts are roasted. Raw nuts contain more moisture and less flavor, which can result in a softer cluster that lacks the classic crunch you want in a chocolate treat.
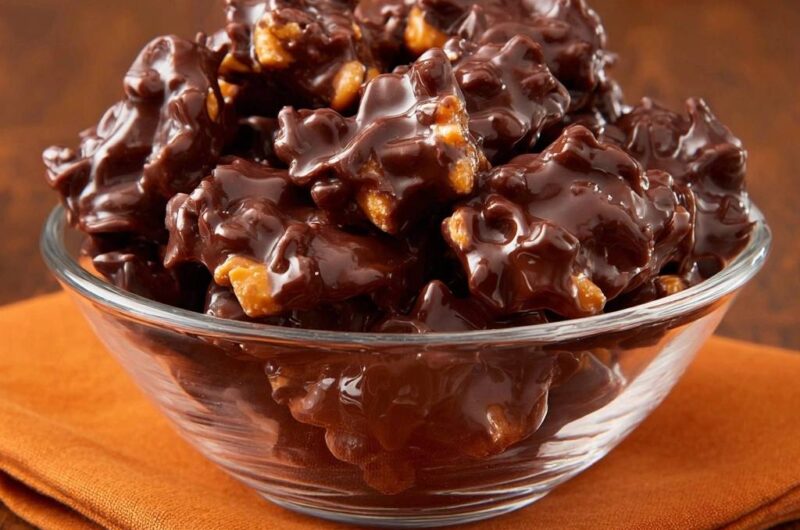
Peanut Clusters
Course: DessertCuisine: AmericanDifficulty: easy12
clusters10
minutes5
minutes185
kcal15
MinutesA simple yet professional candy recipe that uses tempered dark chocolate and roasted peanuts to create a high-shine, crunchy treat that stays stable at room temperature.
Ingredients
12 ounces high-quality dark chocolate (60-70% cocoa), finely chopped
1.5 cups roasted salted peanuts
1/2 teaspoon sea salt (optional for topping)
Directions
- Prepare a baking sheet by lining it with parchment paper or a silicone mat.
- Divide your chopped chocolate into two portions: Place 9 ounces in a microwave-safe glass bowl and set the remaining 3 ounces aside in a small dish. (Note: Do not add coconut oil or butter, as these fats can prevent the chocolate from setting with a professional “snap” and may cause the chocolate to look dull).
- Microwave the 9 ounces of chocolate in 30-second intervals at 50% power. Stir thoroughly with a rubber spatula between each interval. Stop heating when the chocolate is mostly melted but a few small chunks remain. Stir until completely smooth.
- Perform the Seeding Step: Immediately add the reserved 3 ounces of solid chocolate to the melted bowl. Stir constantly for 2 to 3 minutes. This process lowers the temperature and “seeds” the mixture with stable crystals. Continue stirring until all the solid bits have melted and the chocolate feels slightly cool to the touch (around 88°F-90°F).
- Once the chocolate is thick, glossy, and smooth, fold in the roasted peanuts. Ensure every nut is fully submerged and heavily coated.
- Use a tablespoon or a small cookie scoop to drop mounds of the mixture onto the prepared baking sheet.
- If desired, sprinkle a tiny pinch of sea salt over the top of each cluster while the chocolate is still wet.
- Let the clusters sit at room temperature in a cool, dry place (65°F-70°F) for at least 2 hours to set. Avoid the refrigerator, as the humidity can cause sugar bloom and ruin the glossy finish. Once set, the clusters will be perfectly snappy, shiny, and stable at room temperature.
Notes
- Do not add coconut oil or butter as they prevent the chocolate from setting with a professional snap. Avoid the refrigerator to prevent sugar bloom from humidity.